Congrats, excellent work George!Hi Blistard and Jacco
Thanks for your kind words. You are correct in the Spectral look. That was exactly what I was trying to achieve.
The only thing remaining is to change the knobs on the x-ono, as shown in post 262 and 263 to match.
I would like to share how I made the front panell.
The case is an off the shelf unit from the VT4C shop in Hong Kong.
The front is a 2 part affair, with a removable sub panell.
I drew up the front lettering in AutoCad (could use any other package for that matter), and printed them on overhead transperency film.
I then got 2mm thick clear acrylic cut to size for me, and then sandwiched the lot together. There are fastening screws from the rear.
It gives the front a really nice depth
Regards
George.
 & for fun !
off the shelf unit
What an affordable case, just the aluminum front and top panel are worth the order at that price.
Clever thinking, a really professional looking one-off at low cost and input, hats off.
Gee Vee,
wonderful
Please start a thread showing the stages in design, procurement and assembly of your chassis.
wonderful
Please start a thread showing the stages in design, procurement and assembly of your chassis.
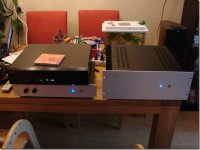
My F5 / B1 combo
This is the latest (and much better) incarnation of my F5 and B1. The preamp has a DAC included. (so yes, the philips is only allowed to send S/Pdif ). I am still searching for an appropiate phono-preamp to include. Any suggestions (preferrably an FET-design of which an PCB-design is available) ?
This is the latest (and much better) incarnation of my F5 and B1. The preamp has a DAC included. (so yes, the philips is only allowed to send S/Pdif ). I am still searching for an appropiate phono-preamp to include. Any suggestions (preferrably an FET-design of which an PCB-design is available) ?
Attachments
Thanks, but I couldn't find a single-sided PCB layout to etch myself.
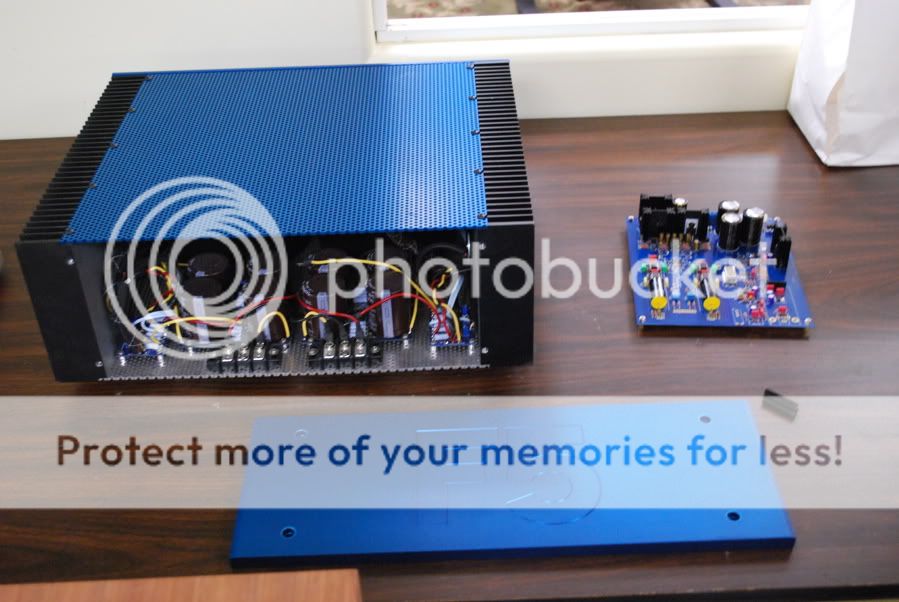
Here is mine, I just need to finish wiring it and assemble:
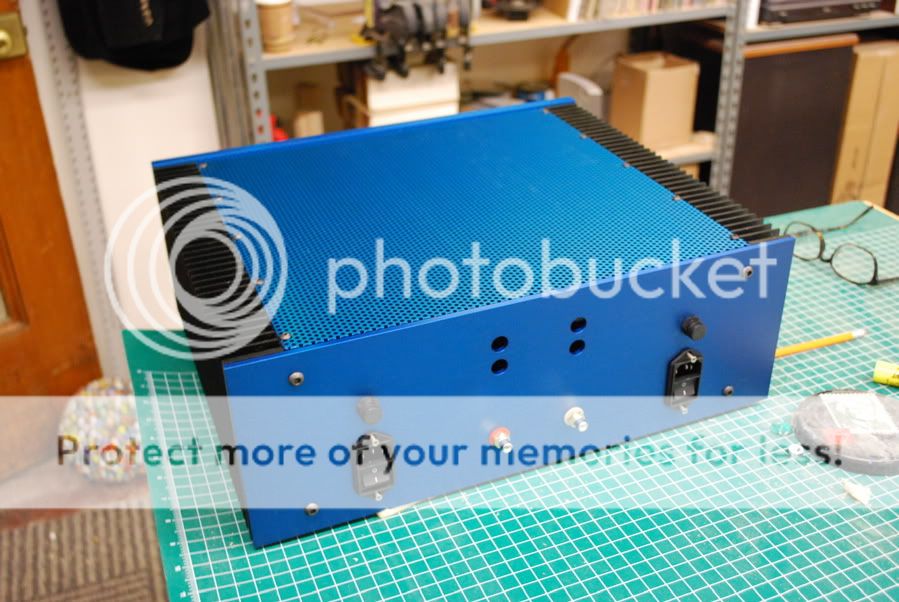
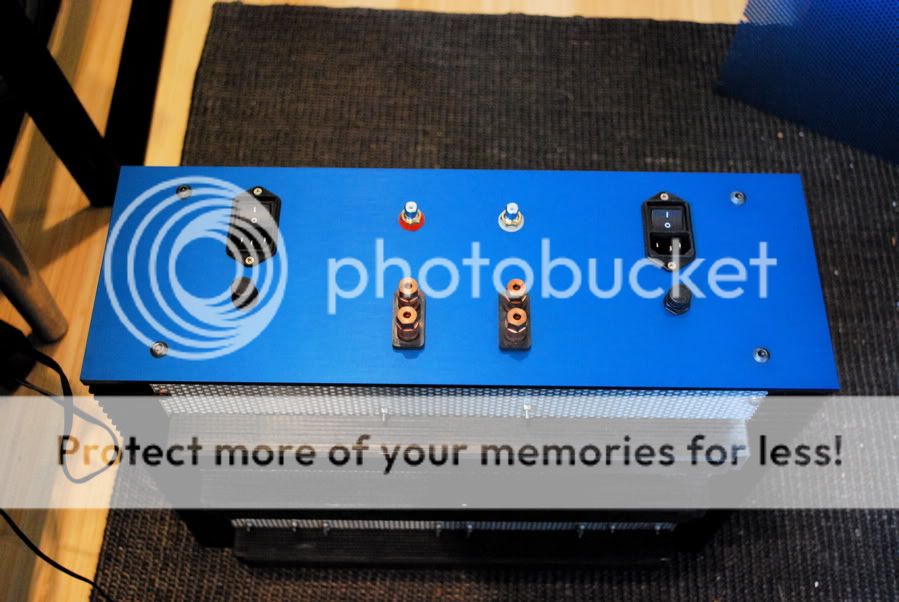
Dual mono down to two power switches and cords, over two pounds per watt per channel!
Dual mono down to two power switches and cords, over two pounds per watt per channel!
Wow, it looks great!
Congratulations!
How did you do this inscription on the front panel?
Greetings.
Congratulations!
How did you do this inscription on the front panel?
Greetings.
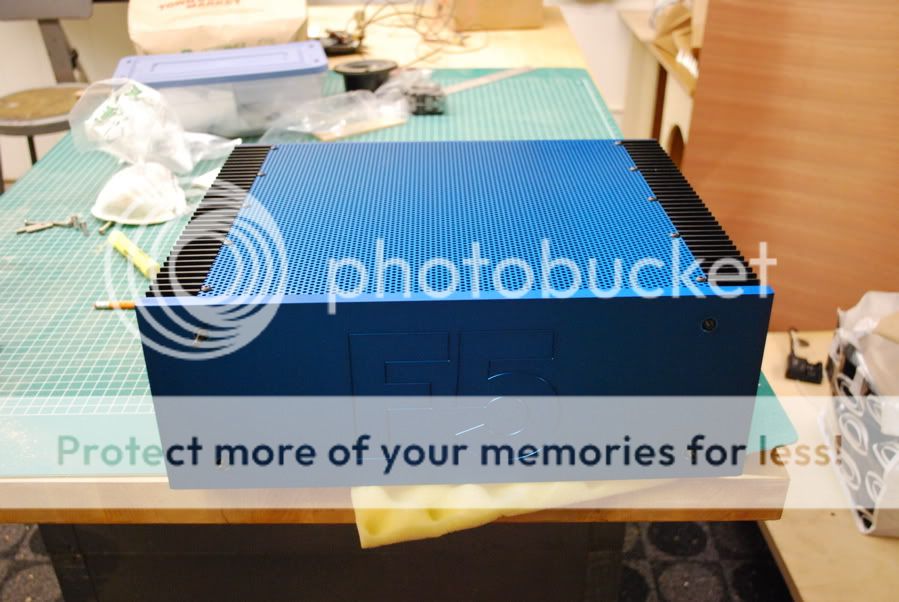
SirByrd,
very nice color🙂
what are dimensions of case and heat sink brand ? ( conrad ? )
thank you
very nice color🙂
what are dimensions of case and heat sink brand ? ( conrad ? )
thank you
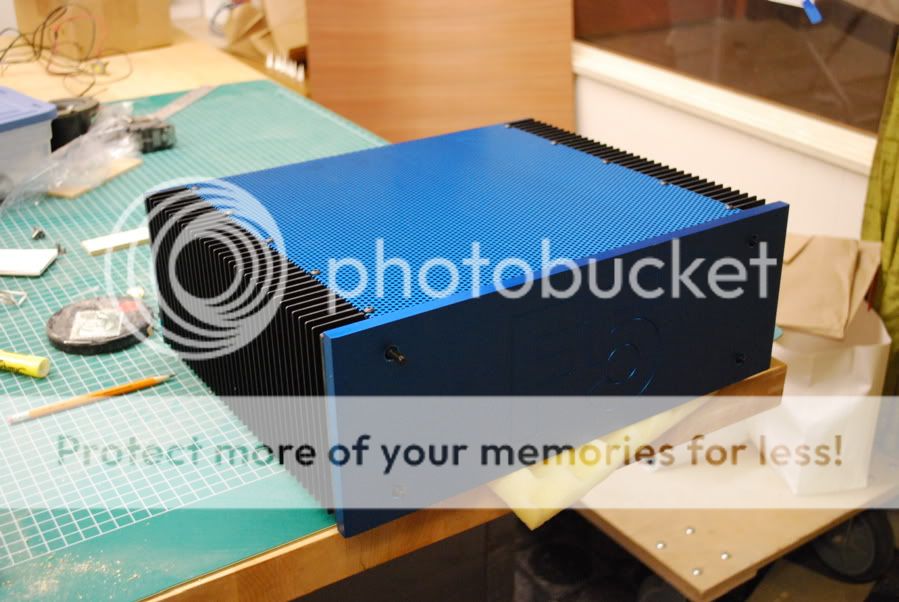
That's a good looking amp. Nice to see a different color!
Did you anodize the top and front panels after engraving?
Did you do the anodizing yourself?
Did you anodize the top and front panels after engraving?
Did you do the anodizing yourself?
The lettering was cnc engraved and then anodized (not by me) and the case is a flatpack from cwujek from here.
Next to it is my DAC board from hifidiy.net
Next to it is my DAC board from hifidiy.net
SirByrd's amp looks even nicer in person, believe it or not. Not too bad for your typical Seattle 17 year old teenager. BTW: all of his projects have been very detailed and well done.
😀
Best Regards,
Terry
😀
Best Regards,
Terry
The blue is a very nice color.
😎
Thanks!
It was good to hear from you when you visited Resolution Audio in Seattle, it was what started me out on this project.
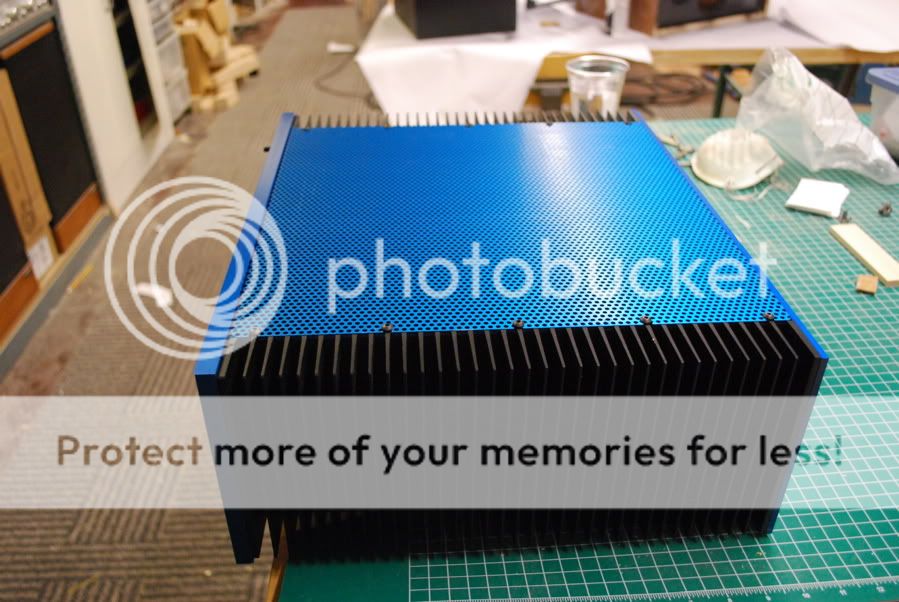
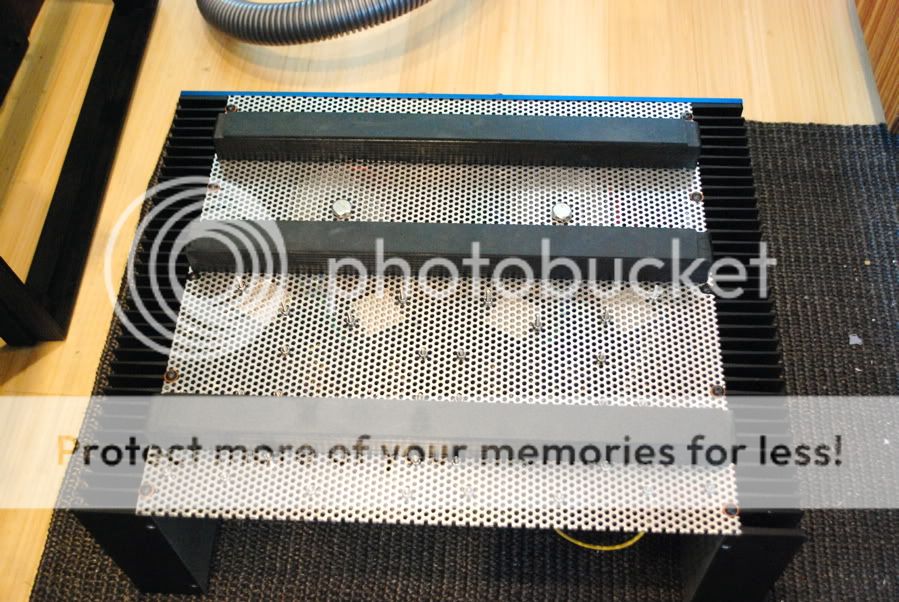
Decided I needed some support under the transformers so the 1/8" aluminum wouldn't bend so much. Now it is not going to bend at all!
Wow, i started in diy audio stuff around 3 or even 4 years ago, and that seemed to me to be too young 😀 Now I am 23.SirByrd's amp looks even nicer in person, believe it or not. Not too bad for your typical Seattle 17 year old teenager. BTW: all of his projects have been very detailed and well done.
😀
Best Regards,
Terry
- Home
- Amplifiers
- Pass Labs
- Pictures of your diy Pass amplifier