This is a shared DIY project for non-commercial use.
The SG4 generates 4 low distortion, high accuracy sinewaves suitable for driving conventional audio power amps to create a multi-phase drive for turntable motors. The generator outputs a reference sinewave at 60/81Hz or 50/67.5Hz on the 0° pin. The 90° pin outputs an exact replica of the reference sinewave, but shifted +90° (Cosine) for driving 2 phase AC synchronous motors. The 120° & 240° pins output an exact replica of the reference signal, but shifted +120° and +240° respectively for driving a 3 phase motor. The SG4 is a sinewave generator only. You will need to add the necessary
audio Power Amps and step-up transformers (if needed) to create the final signal to drive the motor. Low cost linear and class D amps are readily available on e-Bay and other on-line sources.
Working with High Voltage can be dangerous. Do not attempt this part of the project if you are not trained in handling power electronics: Seek competent technical help if needed.
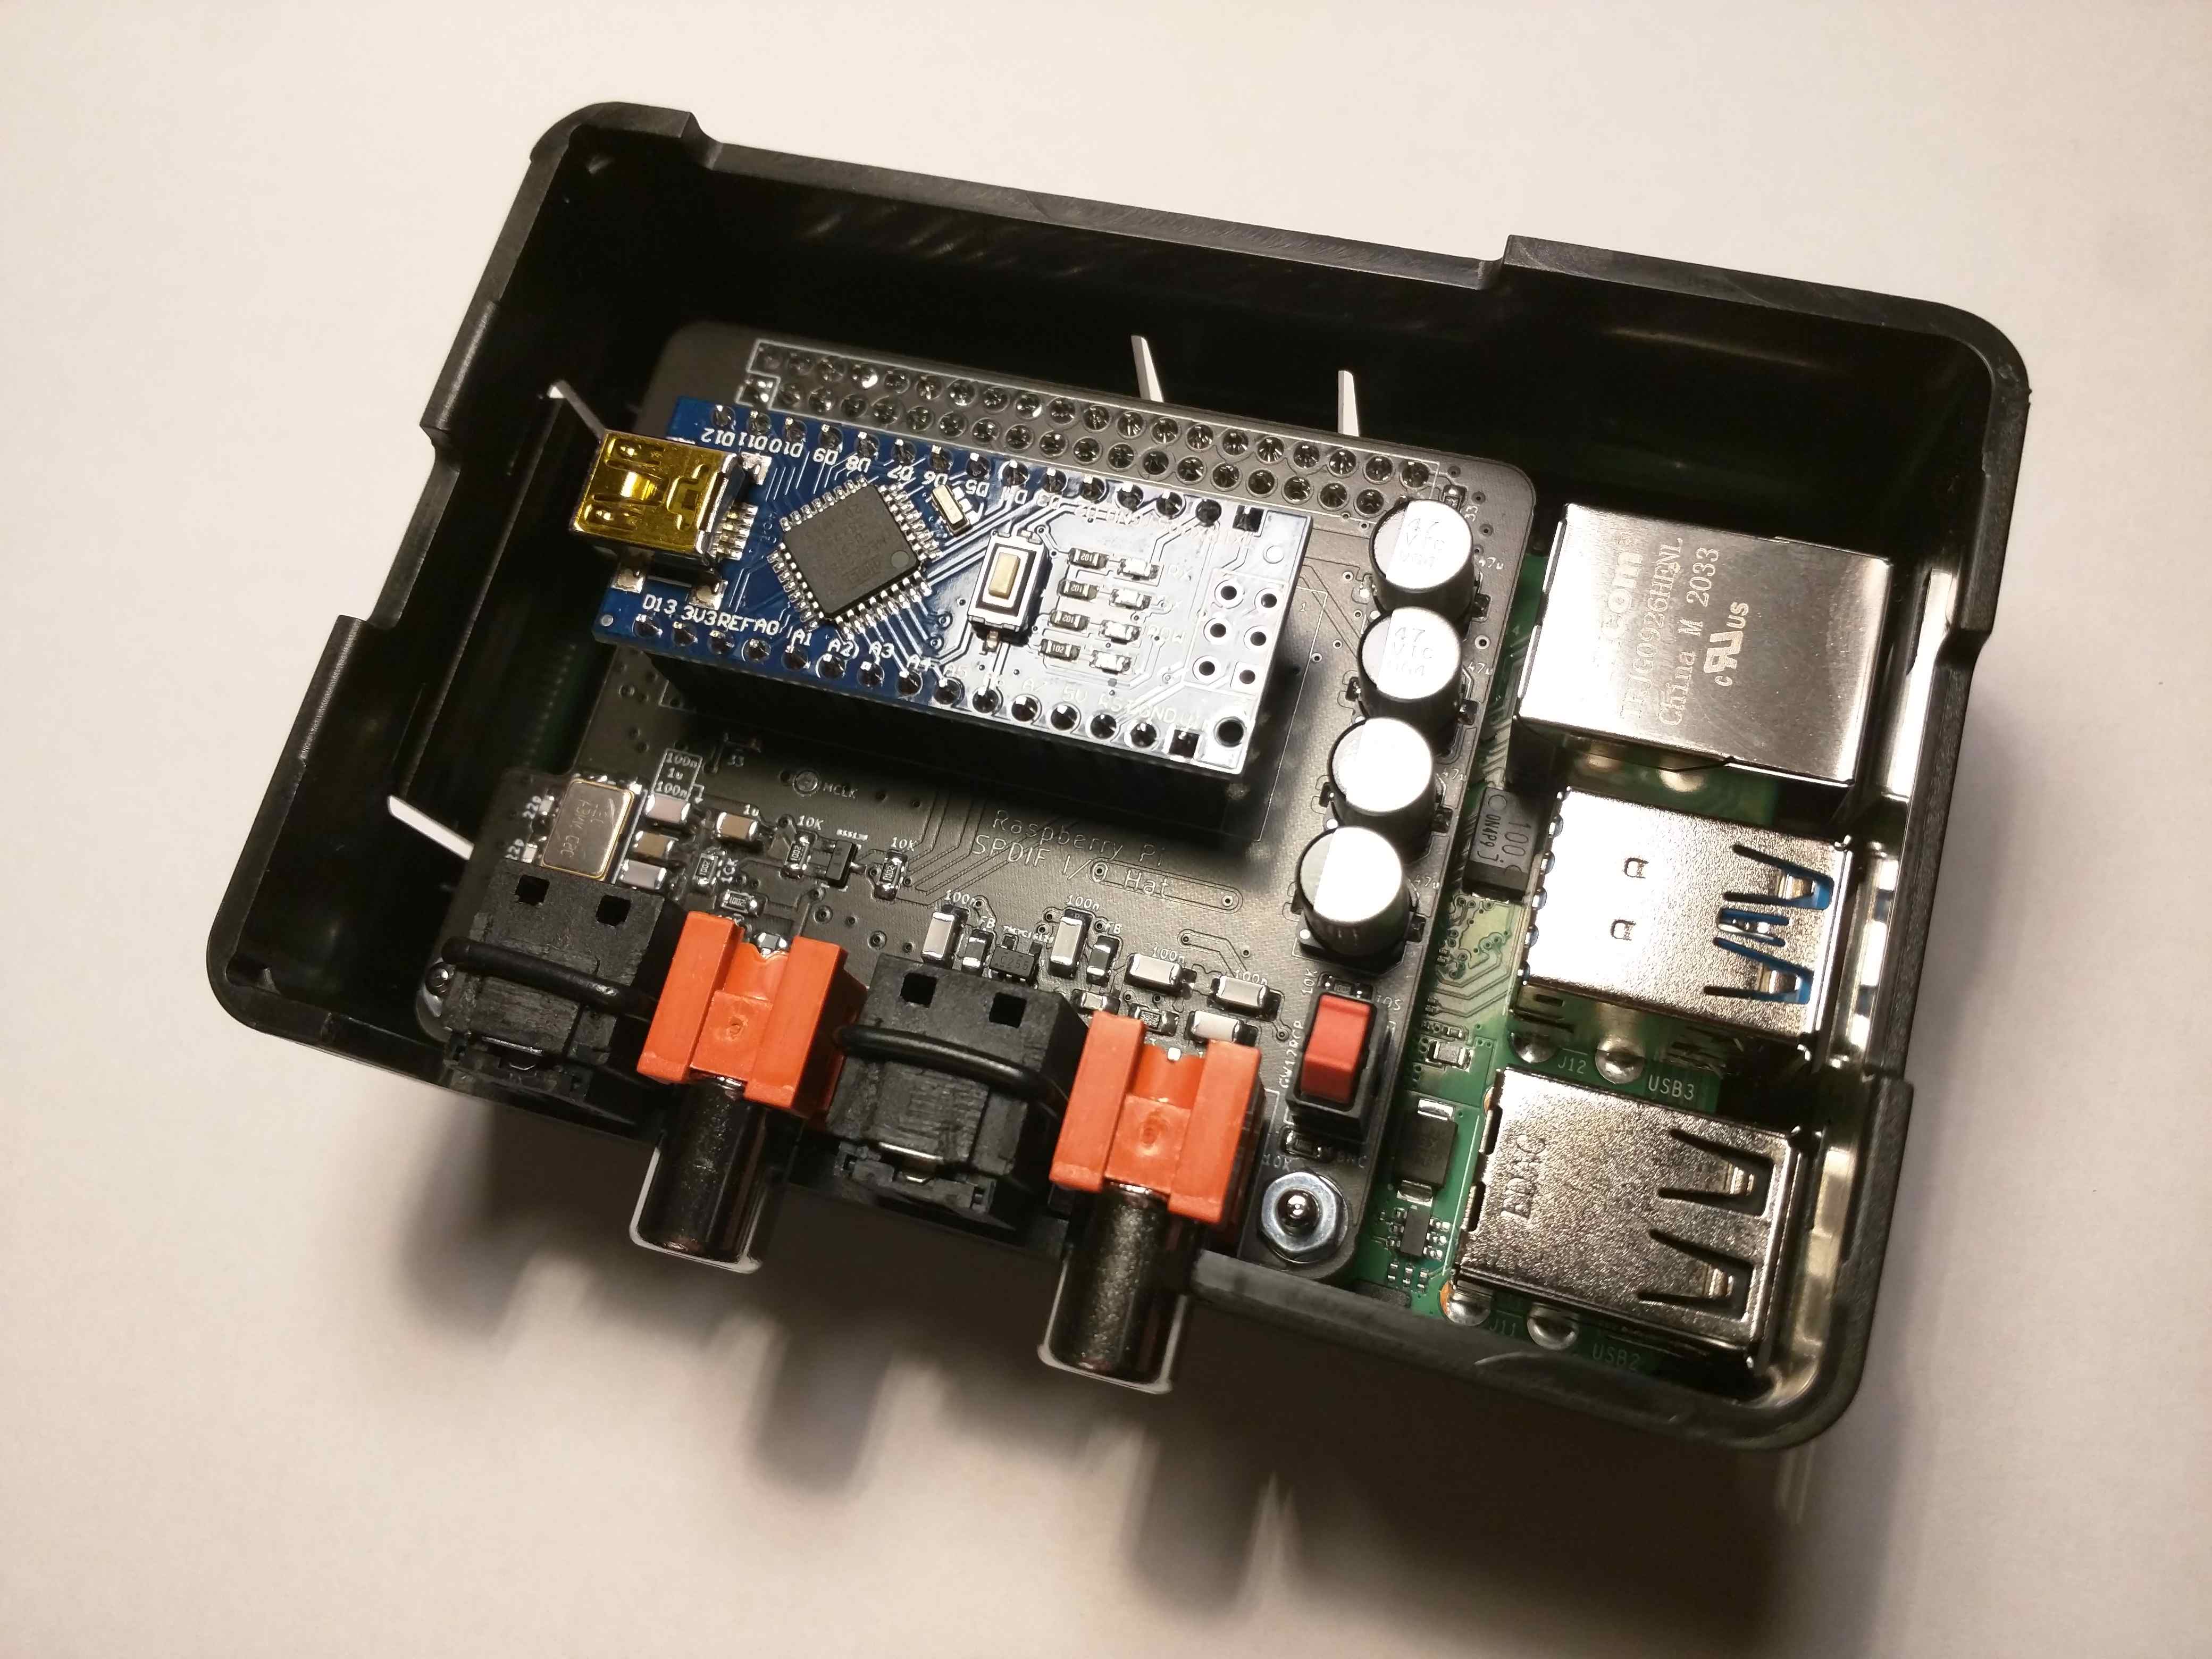
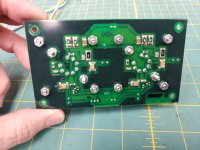
The PCB uses all thru-hole components for easy assembly, but some soldering skills are still required. The µP is a PLCC package but there is a socket for it on the board.
The project consists of a bare PCB, a parts "kit" available as a shared cart from Mouser electronics, a µP with the operating system pre-programmed into it and the on-line documentation you see here.
The PCB is available from OshPark PCB fabricators at the following link:
https://oshpark.com/shared_projects/E5zXjeJd
The PCB is created in multiples of 3 for a cost of ~$45 or $15/board.
24-Feb-2022 The parts kit at Mouser has been updated to include the MCP101 reset controller that replaces the DS1833 part. The pin out of the MCP101 is the
mirror image of the DS1833 so the PCB has also been updated to Rev C to reflect this. If you are using a Rev A or Rev B PCB, you must insert the MCP101 part
backwards; the Rev C PCB does not require any change.
The parts kit can be ordered from Mouser Electronics:
http://www.mouser.com/tools/projectcartsharing.aspx
Enter the Access ID code: 7A6A645FFA. The parts kit to build 1 PCB costs $32.34.
The pre-programmed µP is available in the US from DIYAudio member
Seth Hensel via email:
sethhensel (at) icloud.com. Cost will be ~$12 plus $8 handling plus shipping.
The pre-programmed µP is available worldwide from DIYAudio member
ralphfcooke via PM. Cost will be ~£10 plus shipping.
The following documentation is available below to aid in construction of the project:
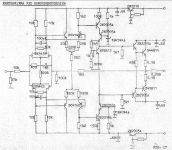
SG4 Schematic.pdf
SG4 Parts Locator.pdf
SG4 Assembly Instructions.pdf
SG4 BOM.pdf (Generic bill of materials with part references)
SG4 CART.pdf (Mouser cart with mfr's part numbers and costs)
SG4.zip (Gerber X274 files if you want to use your own PCB fabricator)
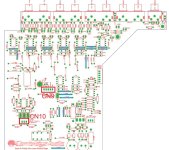
SG4.png (X-Ray view of the PCB w/traces, pads and silk screen)
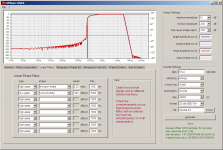
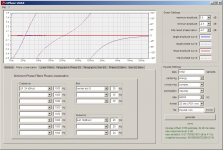
The SG4 uses a 20 bit DDS core implemented in software to generate the reference sinewave. Frequency resolution is 0.01Hz. Frequency range is 40.00-70.00 Hz for 33 RPM and 60.00-90.00 Hz for 45 RPM. There is an on-line video showing the frequency operation
Here and a video for phase adjustment
Here.
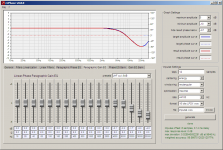
There are four 8 bit phase accumulators to generate the four phases. The reference signal is fixed, but the other 3 are adjustable in 1.5° steps ±15° maximum. D to A conversion for the 4 signals is done with 8 bit PWM at 18kHz. There are 4 LPFs on the board to convert the PWM signal to analog. The outputs are DC coupled, 5VPP and centered at 2.5VDC. Distortion is ~0.5% (-46dB) and frequency stability is 30 PPM.
Update: The firmware has been updated to version 1.02. A 7 bit linear taper attenuator has been added to ramp the voltage from 0 to 5VPP at start up when exiting standby mode. This should prevent the amplifiers from shutting down when first started as they will have time (~650mS) to overcome the core magnetization of the transformers. I also added a reduced output voltage mode, where the output voltage will automatically be reduced to a user programmed level after 5 seconds. The level is adjustable from 128 (maximum) to 64 (half voltage) in ~40mV steps which equates to ~1V steps at the transformer outputs.
19-Nov-16: I returned the phase adjustment to 1.5°/step. One of the peculiarities of using a 16 bit phase accumulator with an 8 bit DAC (PWM in this case), is the limited precision math can create different points where a carry occurs (and thus an additional phase step). For most frequencies, this isn't noticeable as the difference in phase shifts is usually in the mSec range. In certain cases, the math works out where it becomes quite noticeable and in the audio range where it could affect performance. Using a 16 bit phase accumulator in the SG4, a nasty phase spur will occur on either side of 81.92Hz, which is fairly close to the frequency needed for 45 RPM. The new firmware hasn't hit the field as of yet, so there will be no need to do another exchange. V1.02 will ship with the attenuator capability, but will retain the 1.5° phase adjustment of the original.
Users who upgrade to the new firmware should perform a
Factory Default Reset after installing the new firmware.
28-Dec-2016: Just added the PCB files to OshPark for a Rotary Encoder to SG4 interface PCB. The circuit converts the 2 quadrature signals from the encoder to a single pulse train on the UP pin when turned CW and a single pulse train on the DN pin when turned CCW. The momentary push button switch of the encoder is connected to the STBY button of the SG4. This allows all of the normal operating functions to be performed by one rotary control.
The 1 inch square board uses all surface mount components in order to keep the size down. The IC is a CD4013 in SO14 package. C1 and C2 are both 0.47uFd Tantalum caps 10V rating in a 1206 size package. R1, R2 and R3 are not necessary if you use the
Arduino Rotary Encoder which has the pull up resistors already on its PCB. If you use another encoder without pull ups, add the 3 resistors (all 10K 0805 size). Vcc is connected to the 5VDC output of the regulator on the SG4.
You can order the PCB here ($5 for three):
[url]https://www.oshpark.com/shared_projects/AbsVI39H[/URL]
The Encoder PCB can also be ordered with thru-hole component layout instead of SMT:
[url]https://www.oshpark.com/shared_projects/W6QWOCOF[/URL]
1-May-2017: Version 1.03 of the SG4 firmware reduces the lower frequency limit to 1.00 Hz for both 33 and 45 RPM. The reduced lower limit was needed for 3 phase BLDC motors, some of which require 20Hz for 600 RPM. If you are not using a 3 phase BLDC motor, there is no need to update the firmware.
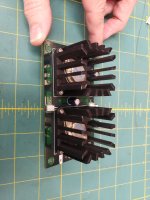
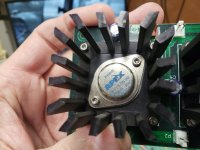
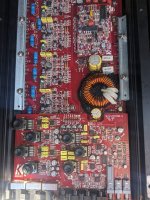
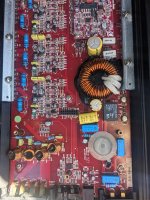
16-May-2017: A DIY 3 phase amplifier project is now available to drive a BLWR172S-24-2000 or BLWS231S-24-2000 BLDC motor from Anaheim Automation.
It is not a universal controller and will only work with these two motors:
3 phase class D DIY BLDC motor drive amp
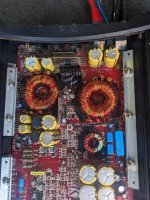
A suitable audio power amp and step up transformers are available here:
60-wpc-amplifier-diy-turntable-motor-drive
13-Dec-2021 The PCB has been updated to Rev B and the firmware has been updated to v1.04. These changes add the ability to use a 2 x 16 character LCD display that has an I²C interface PCB with a PCF-8574A interface chip. Version 1.04 firmware is backward compatible with the previous PCBs so an LCD display can be added to a previous build. The details of all the changes can be seen here:
SG-4 Version 1.04 Update
It is important the LCD interface chip is a PCF-8574
A and not a PCF-8574; the two chips work nearly identically, but have different address schemes. The new SG4 firmware will only work with the PCF-8574A addressing.
.png")