§ The Motivation:
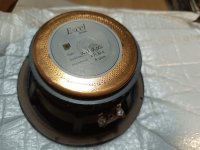
We have a couple of OLS loudspeakers, over 20 years old. OLS is a small company in Breda, still designing and selling loudspeakers, so they must be doing something extremely good. So, more than 20 years ago, together with a friend of mine we build 4 kits ‘OLS Emotion-III loudspeaker together. At that time, named after one of the original designers: Charles van Oosterum, who now owns Kharma, the non-speaker-kit successor of OLS. (Look at Kharma.com for their loudspeaker range) I still love my old OLS beasts, due to the Focal tweeter and Audax low-mid driver. but I found out that I needed amplifier improvement.
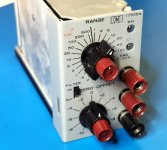
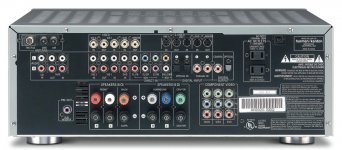
We had a Harman-Kardon amplifier, one of the 5 in 1 beasts, pretty old now, even without dolby. I decided to skip all these option and to turn back to basics: Back to stereo only. The reason is obvious: See attached picture
😕
First I ordered a budgetary Rotel amplifier, with some whistles and bells only to be able to play directly from a streaming server, but the sound was too cold: All the warmth was out and the mid-range sounded undefined. Again, I needed something else…
On DIY Audio I scanned around for amplifier concepts and schematics. Suddenly I clicked this link:
http://www.diyaudio.com/forums/soli...hematics-later-models-wanted.html#post1998327
(Many many thanks, tiefbassuebertr ;-)
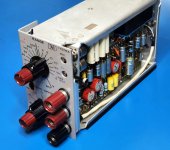
And then I found info about the Cyrus-III amplifier. Immediately I liked the concept of the amplifier stage: It is setup extremely basic and smart: Very good designed differential amplifier/current source, followed by a voltage amplifier, which is collector coupled to a 3 stage current amplifier. A bit conventional maybe -in today’s view- but very very well designed. This design is aged in todays perspective, but it certainly can stand a good test against modern amplifiers. So I decided to look out for a 2nd hand Cyrus-III. After a couple of weeks I found one for EUR 250,- in a reasionable state. Quickly picked it up, paid for it, went home and connected it to my old OLS speakers.
I was stunned.
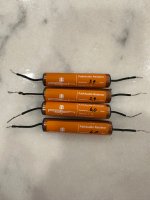
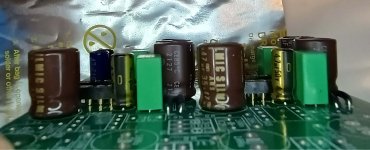
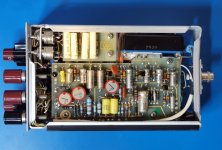
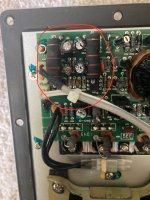
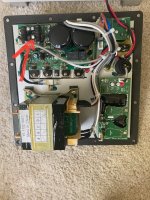
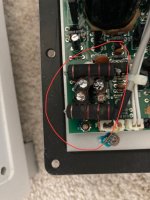
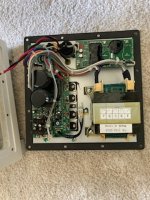
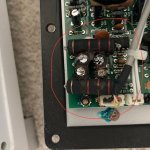
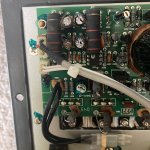
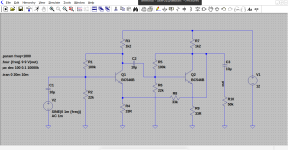
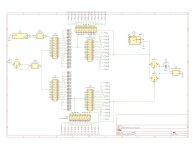
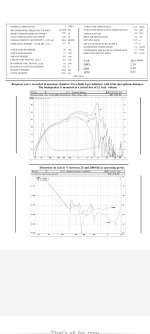
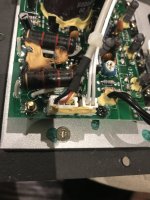
This is what I have missed for a long time: Warm, but extremely well defined in the whole frequency range. You can isolate each tiny instrument individually, clean, smooth, but not confronting you in an aggressive way. Here the golden combination of the Focal dome tweeter and the Cyrus-III really came to praktise: Man, was I satisfied. This is 3 years ago now. After more than 20 years in service I decided to open it up and to improve it with new capacitors. This turned out to be a very wise decision: The capacitors used were 85deg. types regular ones, over 20 years old, so near to death. After doing this I connected it back to my speakers and listened again:
I was even more stunned.
With my music choices, mainly progressive jazz: Charles Mingus, Tony Williams, Allan Holdsworth, Lester Bowie’s Brass Fantasy, from horns to drums, from piano to guitar, what a fantastic amplifier. The definition simply is amazing !
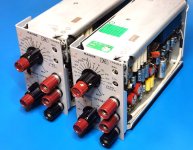
In the time being I had some friends and one customer over to listen to this restored amplifier. Today we already refurbished 9 Cyrus-III 2nd hand amplifiers: 3 in and around our house, and 4 with and for friends, and 1 for one of our customers. Now it is time to share this with you here on this forum of what we have done.
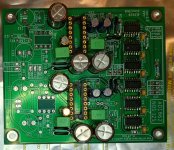
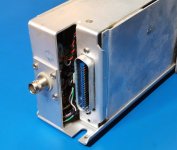
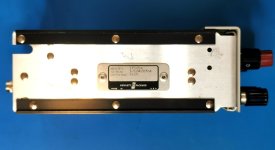
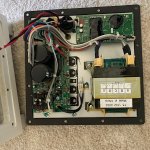
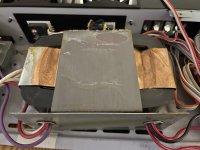
Plan is to do this in a couple of posts, hopefully with photo’s attached to show to you what we have done. The question is: Can *you* do it? Well, if you are able to solder SMD parts you can: It is actually basic stuff, replacing some caps here and there. We did not change the concept of the amplifier by itself, because we find that this stands strong, even today !
😀