The blue and black wires to the speaker terminals are 18ga.
The red power wires are 22ga but you use 2, one to each channel.
It works fine, and remember, this is a pretty low output amp.
The red power wires are 22ga but you use 2, one to each channel.
It works fine, and remember, this is a pretty low output amp.
So what pregame is everyone using to drive your ACA?
How about one from the DIY store?
(Yes, I’m fishing.(
Thanks
Dan
Give the main ACA thread a search for tips, e.g.:
Amp Camp Amp - ACA#7777
Then, you could poke around the kits section at the store, find inspiration and go for what turns you on.
To elaborate slightly., look at the cable that comes from the PSU to the chassis, it's pretty small gauge! There have been various suggestions regarding the PSU in the ACA premium Parts thread, including removing the outer PSU case and installing it inside the chassis.
The amp works great as it is, and my pair are stock. I think it's preferable to keep the PSU outside the chassis (hey, having a remote PSU is so Audiophile!) but perhaps one could shorten the cable from the PSU to the jack that plugs into the chassis if one is worried about that sort of thing. Of course it's a Single Ended Class A amp so it doesn't suddenly need huge amounts of current to reproduce transients, it's already sucking almost full power from the PSU at all times.. .
The amp works great as it is, and my pair are stock. I think it's preferable to keep the PSU outside the chassis (hey, having a remote PSU is so Audiophile!) but perhaps one could shorten the cable from the PSU to the jack that plugs into the chassis if one is worried about that sort of thing. Of course it's a Single Ended Class A amp so it doesn't suddenly need huge amounts of current to reproduce transients, it's already sucking almost full power from the PSU at all times.. .
So what pregame is everyone using to drive your ACA?
How about one from the DIY store?
(Yes, I’m fishing.(
Thanks
Dan
I drive ACAs with both the WHAMMY and NOIR preamps with much success.
--Tom
The two favorite preamps at the moment are the Whammy and the Transcended Grounded Grid, a tube unit. Both are fairly inexpensive just like the ACA.
The Whammy changes considerably with different op amps and my current favorite is the 2107. Build it with the DiyAudio store kit.
The Grounded Grid isn't too tubey but it definitely makes the sound a tad more palpable. It is not rolled off or thick sounding. It was built from scratch but I'd buy the kit if doing it again.
They are both better than their price would suggest.
I run the Korg Nutube Kit preamp with a pair of bridged ACA monoblocks into 105db/watt horn speakers. Massive soundstage very wide and high.
So what pregame is everyone using to drive your ACA?
How about one from the DIY store?
(Yes, I’m fishing.(
Thanks
Dan
I'm presuming by "pregame", you mean preamplifier.
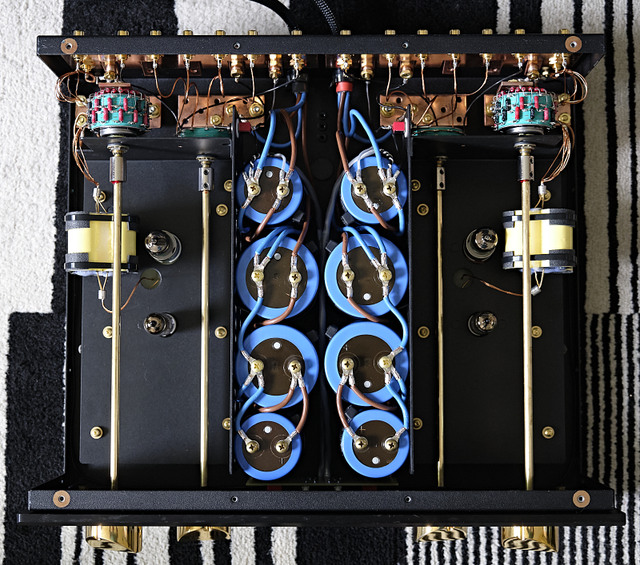
I'm using my First Sound Presence Deluxe 4.0 MkIII-Si dual-mono preamplifier, custom built by hand by one person, Emmanuel Go.
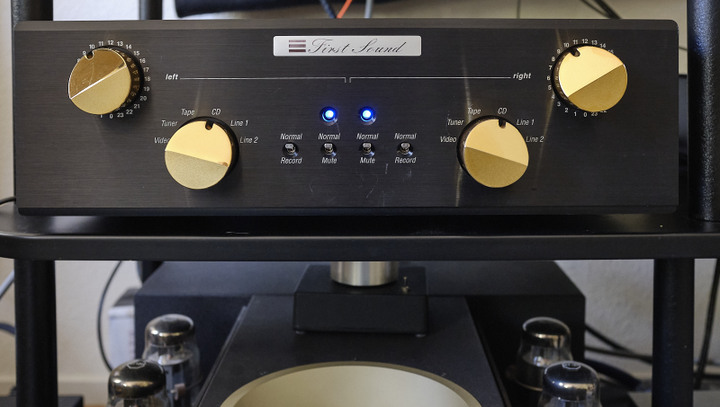
This preamp uses dual external mono power supplies.

I'm jonesin' to run my two ACAs as monoblocks. Any suggestions for a preamp kit with balanced outputs?
I'm jonesin' to run my two ACAs as monoblocks. Any suggestions for a preamp kit with balanced outputs?
You could check out Wayne's BA2018 Line Stage. I'm pretty sure that can work balanced in & out.
I just tried out the FireMetall Solder on my continuing Oppo 205 upgrade Project, this stuff is great.
Mark
Mark
You could check out Wayne's BA2018 Line Stage. I'm pretty sure that can work balanced in & out.
Will do. Thanks for the tip!
Hi,
I'm at the part where it says "cut a strip of length of wire from the heaviest gauge wire" to create the ground buss
does it matter which color wire I choose? I don't want to cut the red wire then end up with not enough red at the end
Also, the picture on the website shows the strands to be copper, however mine appears to be aluminum wire?
Thanks for your assistance!
pic of wire - is this actually copper?
https://i.imgur.com/k79KSK6.jpg
Last edited:
PcChip,
Yes the wire in your picture is copper. The picture in the build guide shows bare copper wire. The wire in your kit is 'tinned copper' wire, each strand has a very thin covering of solder. It stops the copper oxidising and makes it easier to solder.
Yes the wire in your picture is copper. The picture in the build guide shows bare copper wire. The wire in your kit is 'tinned copper' wire, each strand has a very thin covering of solder. It stops the copper oxidising and makes it easier to solder.
Thanks, I got the wire all sorted out now
Having an issue getting the chassis assembled now - it seems it's not totally square, as in the silver brackets that mount to the heatsinks must be off a bit. When I stretch it apart to line up with the pre-drilled holes in the front panel, it slightly bows the back panel. Anyone else had this issue?
Having an issue getting the chassis assembled now - it seems it's not totally square, as in the silver brackets that mount to the heatsinks must be off a bit. When I stretch it apart to line up with the pre-drilled holes in the front panel, it slightly bows the back panel. Anyone else had this issue?
No .. that's sounds odd. If you follow 6L6's guide, I'm sure there's advice noting to keep the fasteners loose until final tighten but it should all come together snugly in the end.
At least that's what happened with my ACA v1.6.
At least that's what happened with my ACA v1.6.
astromo said:No .. that's sounds odd. If you follow 6L6's guide, I'm sure there's advice noting to keep the fasteners loose until final tighten but it should all come together snugly in the end.
Actually PcChip is correct, there is a slight bow to the silver brackets from front to back...before you install the bottom cover.
Given that I just bolted my ACA 1.8 up last night...I know exactly the issue that PcChip is talking about; he is correct that the silver side brackets are little bowed at the back panel compared to the front, when you have the front aluminum panel mounted to the silver brackets and the rear panel has been bolted to the silver brackets, but...the bottom and top covers have not yet been installed.
Astromo is also correct you need to keep the fasteners a little loose until you "square everything up". In my case, it was installing and tightening up the bottom panel that was key to get every aligned and "square". I had to pull out at the rear of the silver brackets a little at the back panel to align the holes in bottom cover with the threaded holes in the silver brackets so that the fastener would go into both holes. Once you pull out gently at the sides of the silver brackets at the rear so that the two sets of holes align, you can insert the fasters in at all four corners of the bottom panel, and then the silver bracket support rails will be straight from front to back, so that when you finally button everything up and tighten up all the fasteners, everthing is aligned properly and "square, from side to side, back to front, and top to bottom.
Last edited:
Thanks Puma Cat, glad to know I'm not going crazy 🙂
I managed to get it all bolted together, let it warm up for 10 minutes then set the pots to exactly 12v each
Then I went to test it out... one channel sounds fantastic, the other channel does not work at all 🙁
I ran a test tone of 440hz through the RCA input and verified the board was seeing the 440hz at the input pads, so I know the issue is in on the board somewhere
I'm going through the troubleshooting picture to measure resistances at each place https://d17kynu4zpq5hy.cloudfront.net/igi/diyaudio/2FQWIEvDoExCO1FQ.large , however right away I noticed that R9 is supposed to measure 1k ohms, but mine only measures 0.5k ohms. I thought I had found the problem, but when I went to measure the other side (that works perfectly), it measured exactly the same 0.5k ohms! Is this troubleshooting picture out of date with our v1.8 kit?
I'm not sure where to start troubleshooting this thing
- Home
- The diyAudio Store
- Amp Camp Amp Kit 1.6/1.8