OK, got 17.3 vdc all around. Do you want me to continue to bring the project along using the 12v transformer? Or secure a 15v transformer. Thanks for help.
Great news! No smoke and 2.3v in front of regs. Do you have 15v after regs?
Have you measured the bias current in the circuit yet?
Have you measured the bias current in the circuit yet?
No work beyond no smoke and PSU/Phono voltage checks. I'll proceed with the current trans and see what gives.
I'm curious what you get when you measure voltage on R27. If you are high on current and end up changing R27, I'm curious to see if that impacts the pre-reg 17.3V much. You need 2V+ before the regs, and and you have 2.3V now. So once you check out R27 I think you're ready for rock'n'roll. Or jazz, classical, etc.
With 510R in R27, showing 2.5-2.7V. Readings are pretty jumpy; and both D-1 LEDs are flashing.
The blinking is steady. (It was blinking steadily before the resistor change.) The voltage reading at R27 is very unsteady, but it was steady before the resistor change.
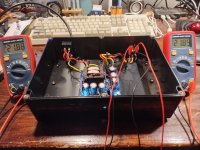
Tried both boards solo (one at a time). Both behaved the same: LED flashed steadily, voltage readings were jumpy, but in a small range between 17 and 18 volts.
The only time I noticed non-stop blinking was when I was underpowering mine with a bipolar bench supply. Randy's query about post-reg voltage sounds spot-on to me.
I think you will need a 15V transformer. Smaller transformers tend to have poor regulation, so unloaded they will read quite a bit higher than loaded.
Last edited:

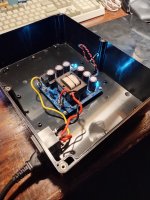
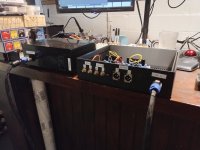
Just finished my Pearl 3 last night and plugged it into my system. Here are some photos of the build. First off is the PSU, in a separate enclosure. When under test I get 21.88/21.89 Vdc output.
Attachments

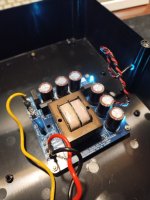
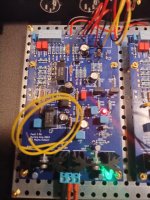
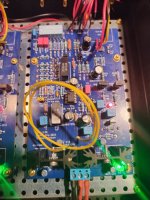
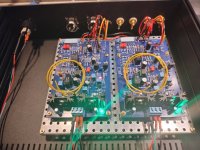
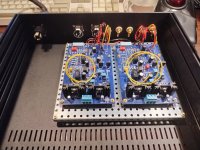
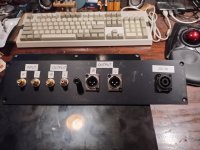
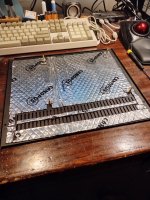
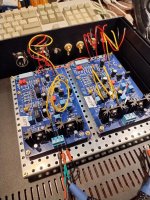
Next up is the enclosure, it's one from the DiyAudiostore. Boards installed and psu connection wired in. 14.99/15 Vdc on the outputs of the positive regulators and -15/-15 on the negative regulators.
Attachments
-
 IMG_20240512_222435030_HDR.jpg426.3 KB · Views: 116
 -
 IMG_20240512_222437412_HDR.jpg435 KB · Views: 121
 -
 IMG_20240512_222440590_HDR.jpg517 KB · Views: 115
 -
 IMG_20240512_224031433_HDR.jpg510.3 KB · Views: 119
 -
 IMG_20240512_222430557_HDR.jpg436.6 KB · Views: 111
 -
 IMG_20240512_215105029_HDR.jpg446.8 KB · Views: 107
 -
 IMG_20240512_215101716_HDR.jpg495 KB · Views: 112
 -
 IMG_20240512_215055424_HDR.jpg489.8 KB · Views: 111
 -
 IMG_20240512_215051689_HDR.jpg478.5 KB · Views: 117
 -
 IMG_20240512_214816867_HDR.jpg309.7 KB · Views: 108
 -
 IMG_20240512_213925719_HDR.jpg337.1 KB · Views: 115
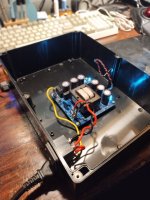
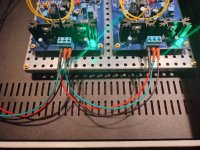
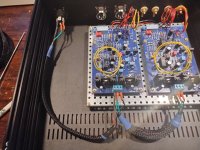
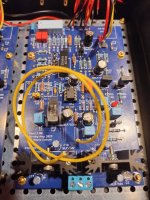
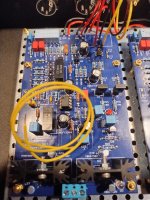
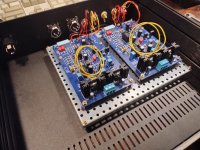
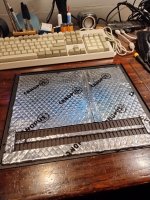
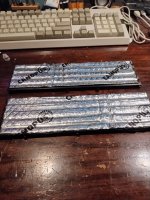
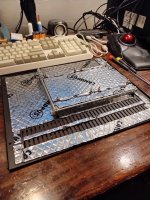
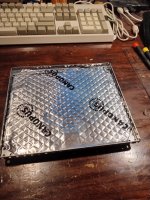
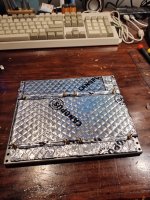
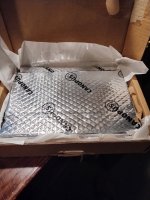
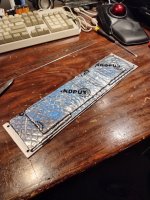
I decided to add dampening to the enclosure (not because I had to, but I had the sheets so why not) this is DIY after all. I also fitted the PCB's to a removable mounting plate so I could add even more damping material by the boards.
Attachments
-
 IMG_20240519_182103567_HDR.jpg558.9 KB · Views: 102
 -
 IMG_20240519_181438721_HDR.jpg502.6 KB · Views: 89
 -
 IMG_20240519_180951970_HDR.jpg504 KB · Views: 83
 -
 IMG_20240519_180807786_HDR.jpg503.1 KB · Views: 81
 -
 IMG_20240519_180802010_HDR.jpg512.8 KB · Views: 80
 -
 IMG_20240519_175810951_HDR.jpg495.5 KB · Views: 89
 -
 IMG_20240519_173740460_HDR.jpg564.8 KB · Views: 93
 -
 IMG_20240519_173243931_HDR.jpg363.8 KB · Views: 87
 -
 IMG_20240519_182536413_HDR.jpg518.5 KB · Views: 90
 -
 IMG_20240519_183701052_HDR.jpg471.7 KB · Views: 99
 -
 IMG_20240519_190324323_HDR.jpg495.9 KB · Views: 104
- Home
- Amplifiers
- Pass Labs
- Pearl 3 Burning Amp 2023