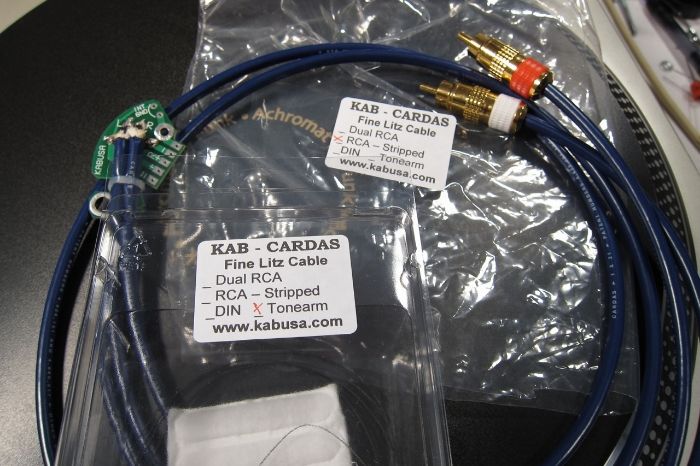
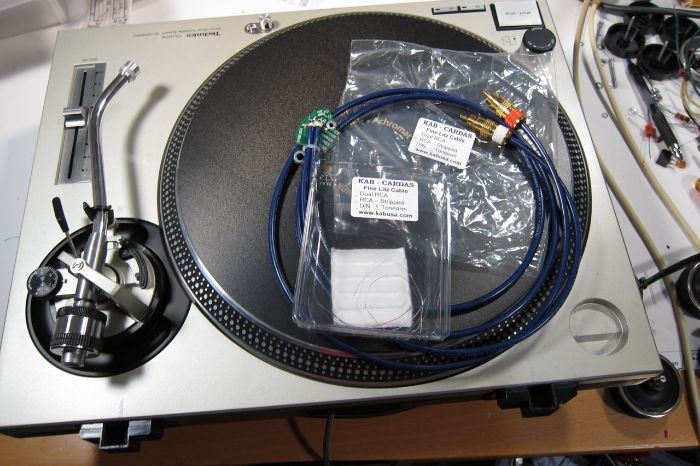
This is what I started with, a KAB rewire kit (the prepared tonearm wire, fishing wire and damping) and a replacement interconnect with the KAB Technics circuit board. This cable is not on their webpage, it's an
all-litz coax of very low capacitance. Call or email Kevin, he will happily make you one.
I storongly suggest getting the wire kit, the wire itself is prepared - it's cut to length, tinned (which is no small feat on litz wire, and worth the price of admission) and it's covered in a graphite coating to help counteract the triboelectric effect of teflon-covered wire.
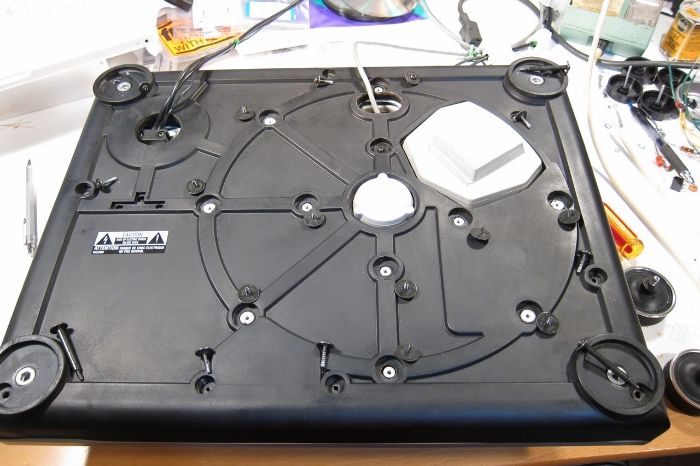
Remove the platter, rest the turntable on something soft or properly supportive, and remove the base. Take a photo of all the screws near their holes, so you can reference the photo when you re-assemble the table.
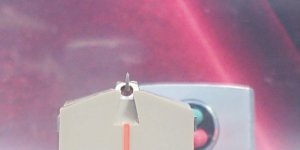
This is the bottom of the arm, the screws holding the plastic block (strain relief) need to be removed, and the strain relief as well.
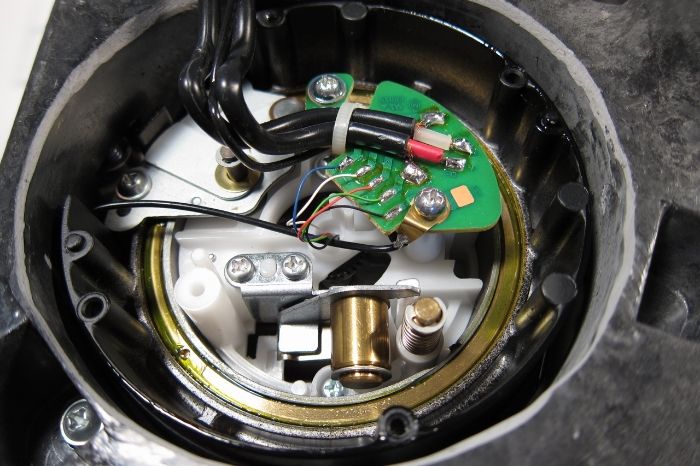
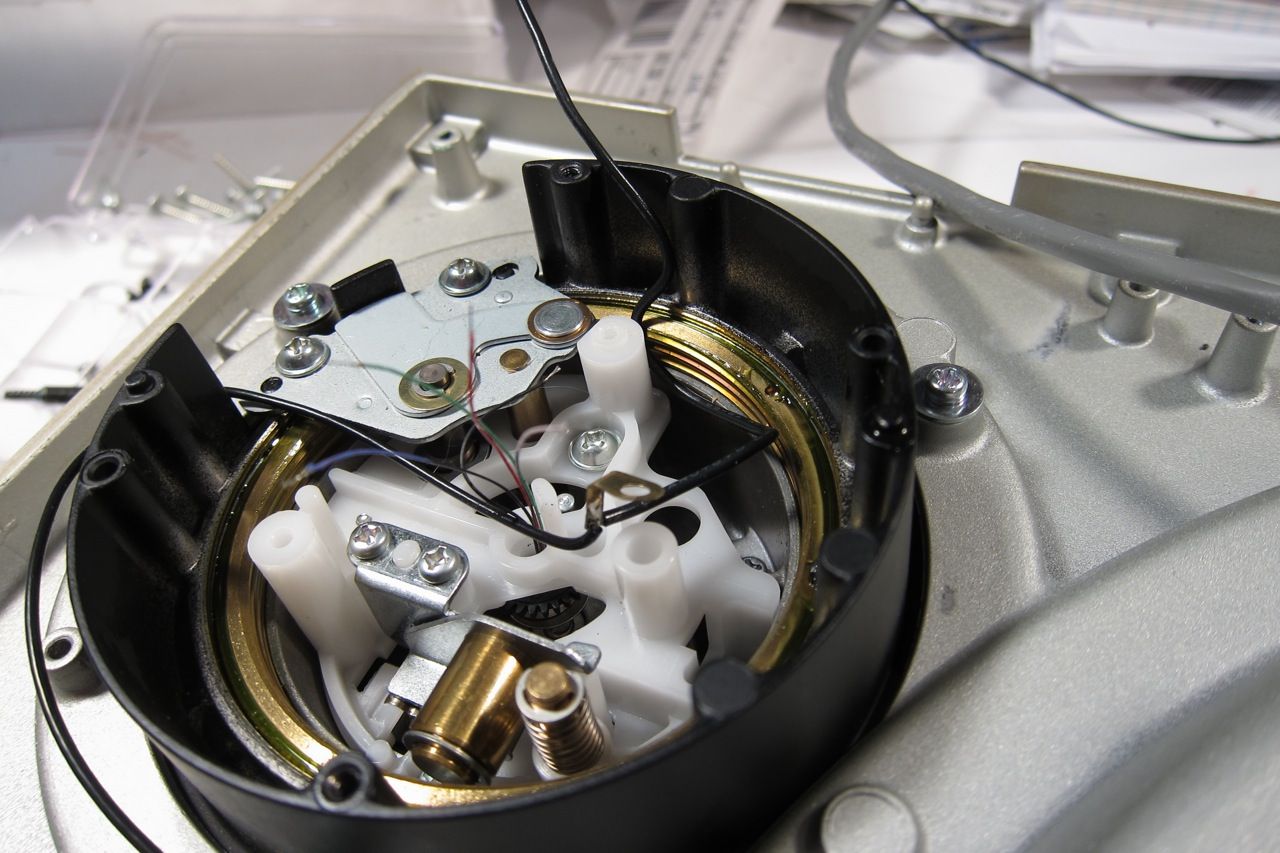
Remove the metal lid.
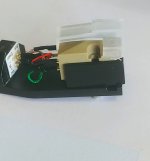
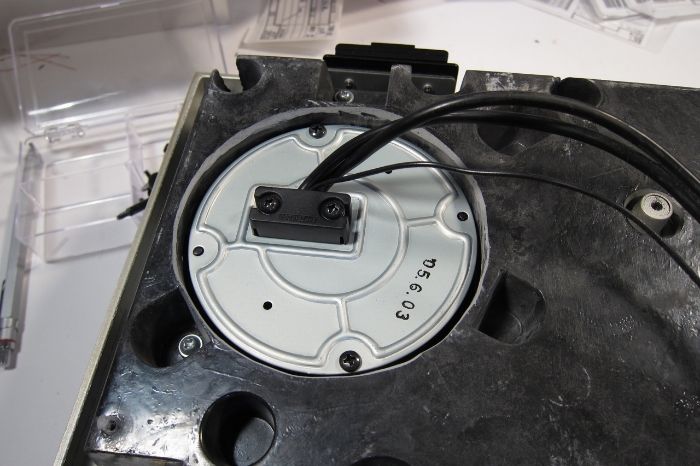
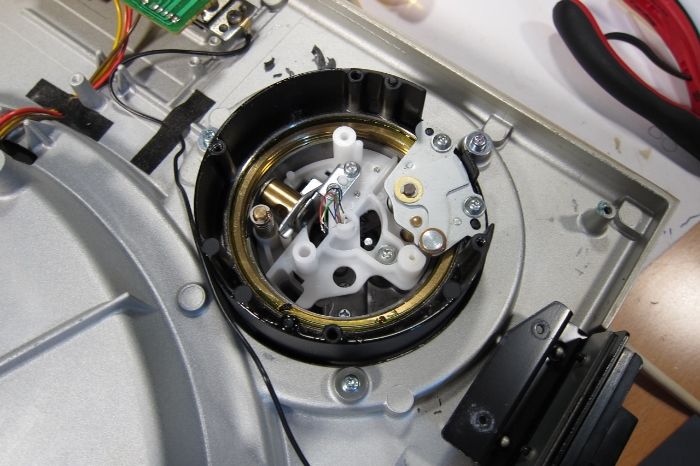
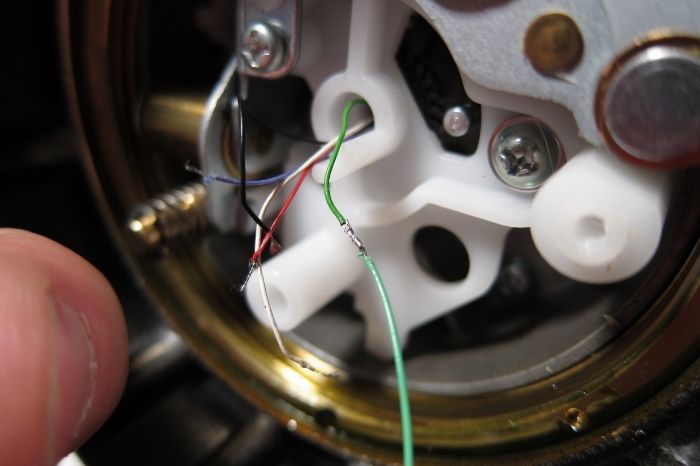
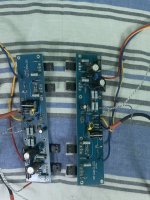
And here is the stock wiring. It's actually quite nice. De-solder the small wires from the PCB.
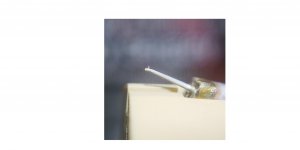
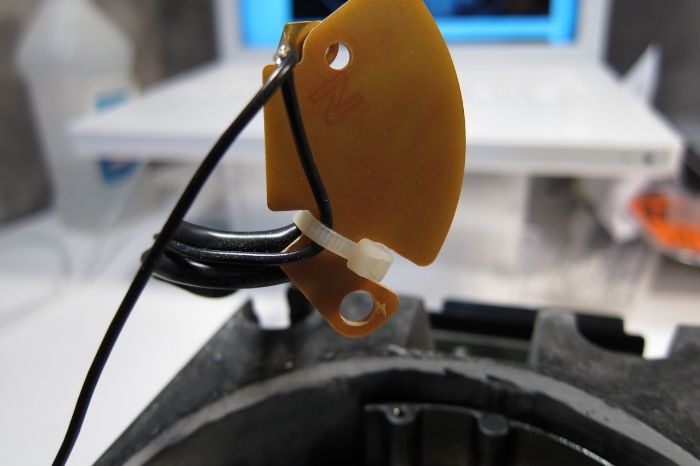
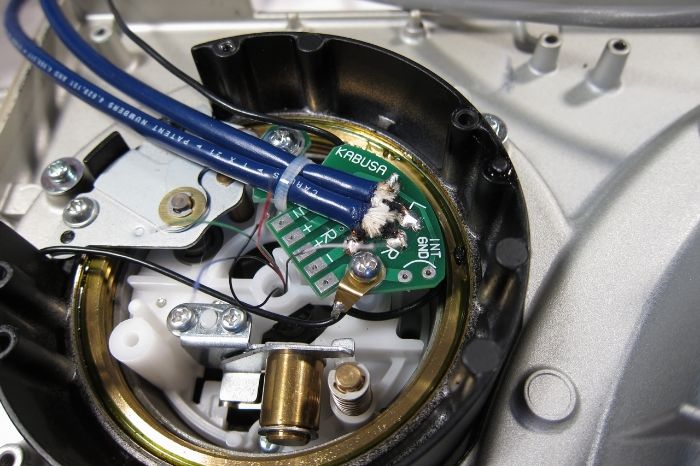
Remove the screws from the PCB, and lift gently. The zip-tie needs to be cut, as the ground wire is
not going to be removed from the turntable.
Arrange the groundwire out of the way, as it's going to be connected to the table throughout.
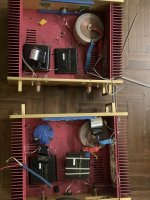
You can see here that I got a bit ahead of myself, not removing the resin sub-plinth yet. It's actually easier if you do that first.
🙂
Sub-plinth removed.
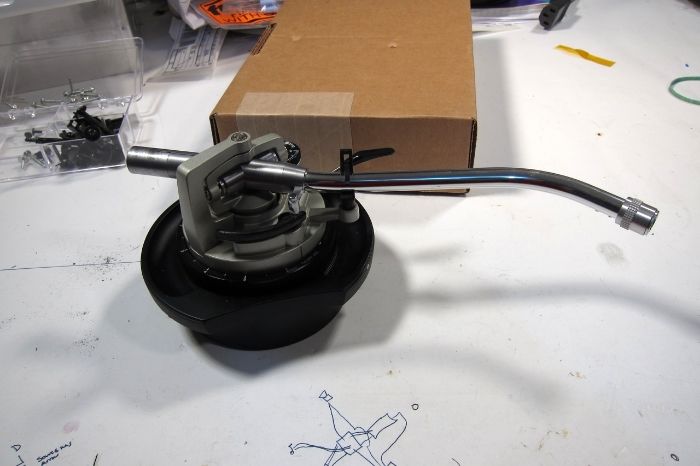
The 3 silver screws around the perimeter of the arm hold it in. Remove those and it will easily slide out.
The arm assembly removed.
Remove these screws.
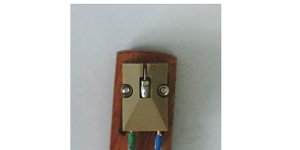
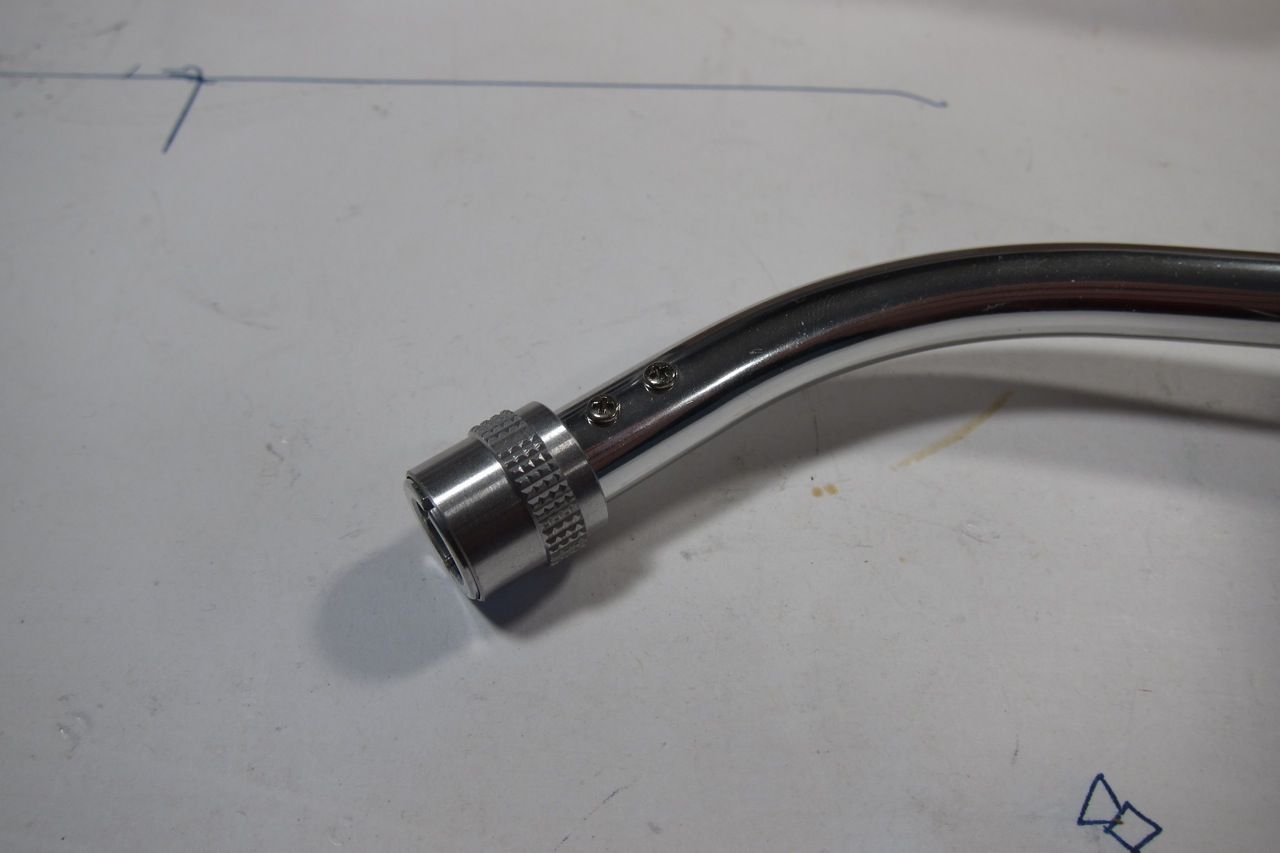
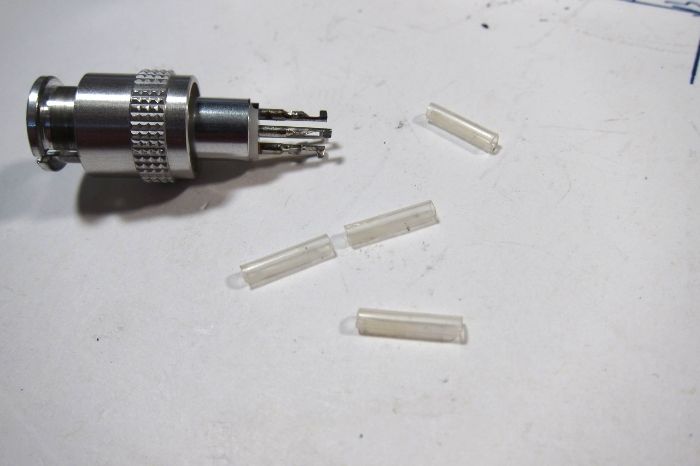
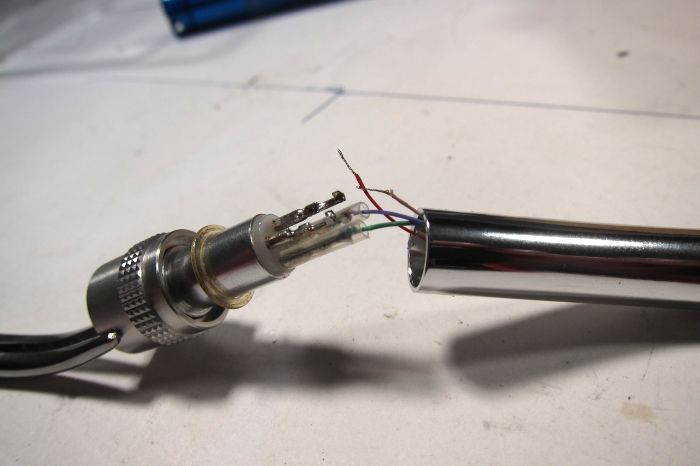
Pull out the headshell collar, but don't pull out the wires!
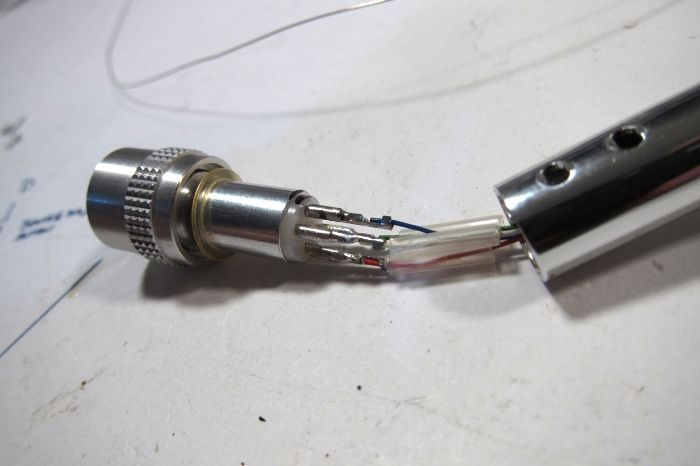
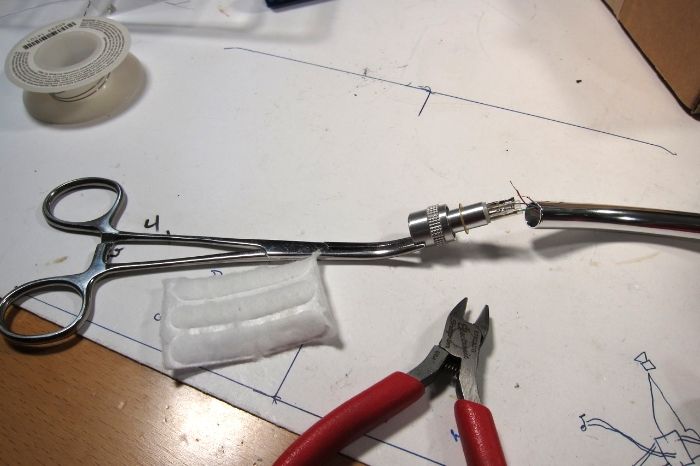
De-solder the wires, and place the insulators aside.
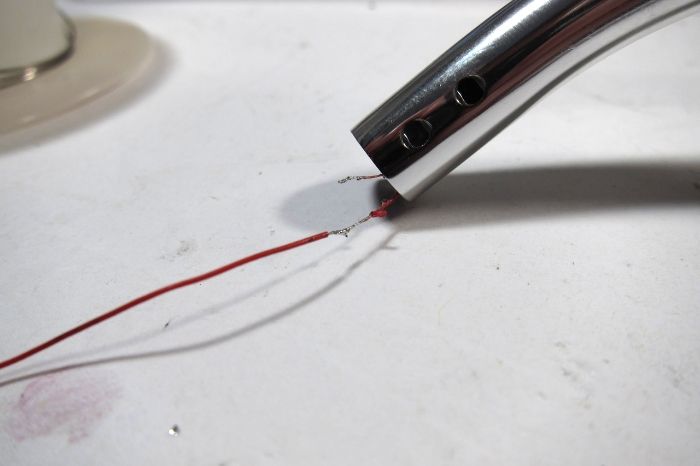
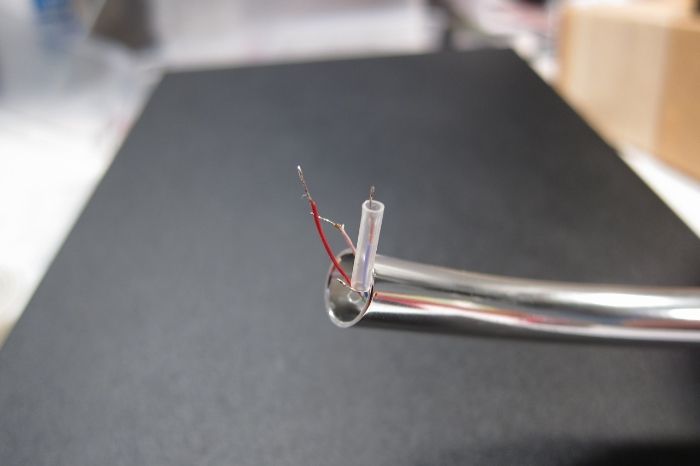
I attached (soldered) the new wire to the old. Gently, without forcing anything, you can fish the new wire through the whole assembly using the old to pull it through.
When the new wire is through, unsolder the old wire and discard. (Ignore the color difference from the previous photo.)
Once all the wires are through replace the insulators,
And re-install the collar. This is very fiddly to solder.
Cut a few strips of the Cotton and gently stuff down the armtube.
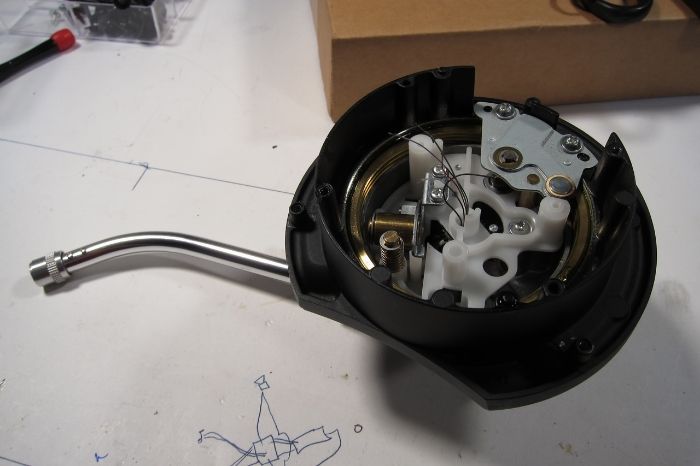
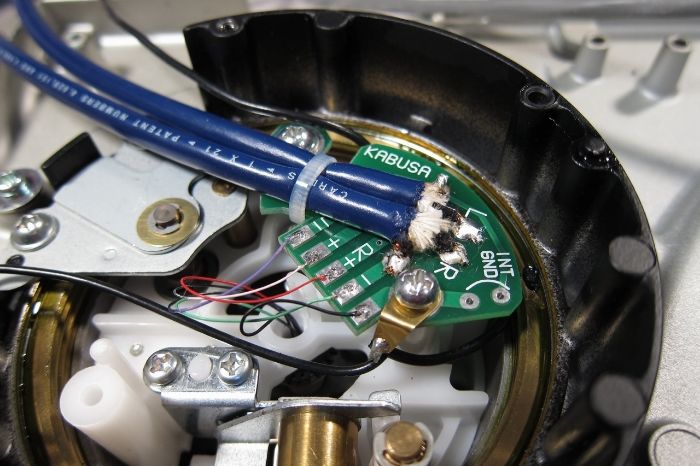
The wires need to be re-attached on the base.
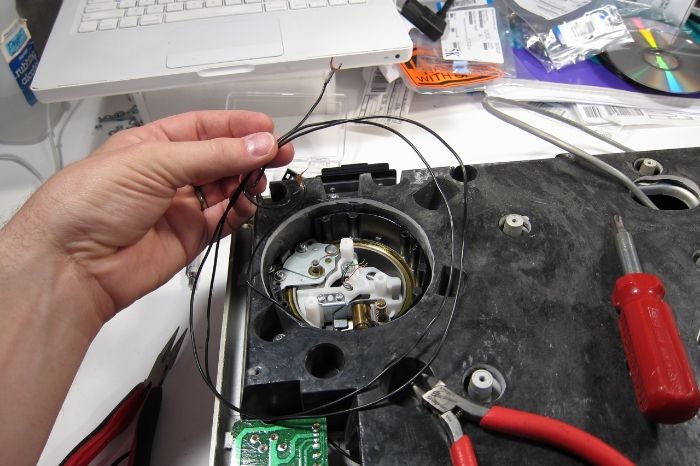
Here are all the wires, and the old ground wire. That, like the ground that goes out with the RCA leads remains stock.
Lay the groundlead back in it's place, the bend of the wire will naturally find it's home again...
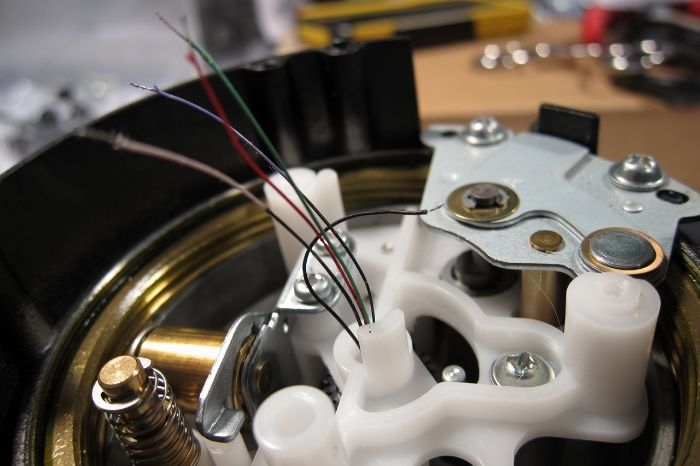
Attach the PCB in place of the old.
Attach the new wires to the new board.
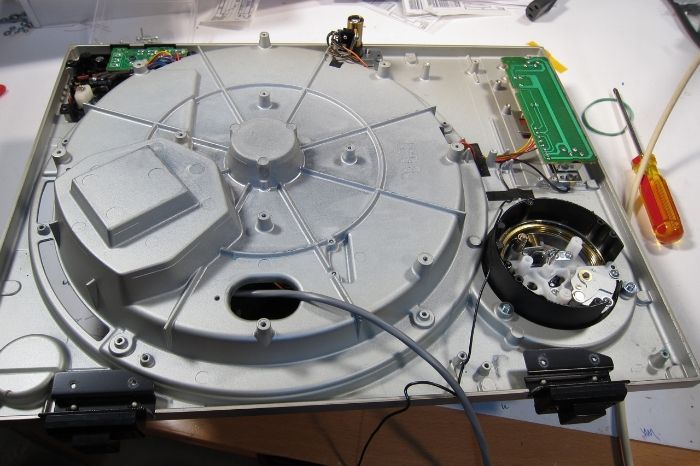
This is a great time to check continuity with your meter. If it's all good, start to re-assemble the table.
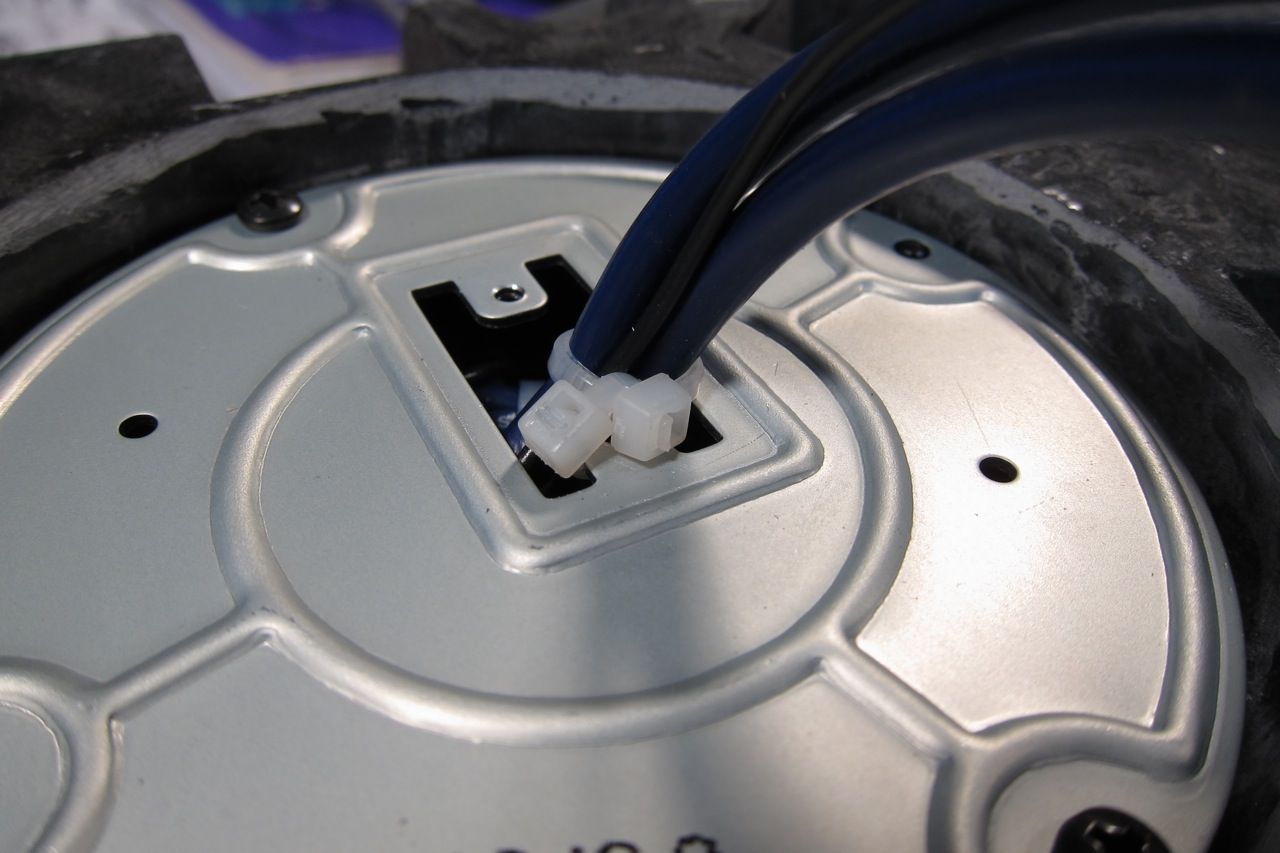
I needed to improvise a strain relief, as the new cable will not fit through the original plastic block.
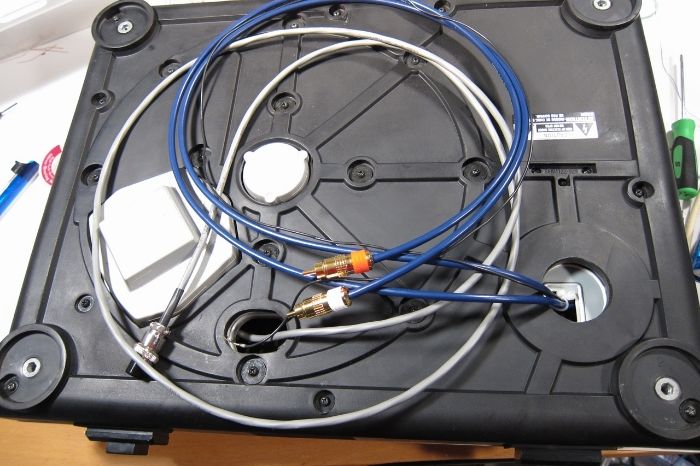
And it's done!


