@system7 collected the tweeters today 😀
They are big and heavy!


Measurements:
1. 5.55 - 0.08 = 5.47
2. 5.54 - 0.08 = 5.46
The front plate is really thick, 3-4mm and made of metal. The rear of the tweeter is sealed and fits within the existing cutout, but the spade connectors protrude ever so slightly so I will need to make a slight notch in the cut out to the left and right side.
Build quality looks phenomenal, I hope they sound good 😛
They are big and heavy!
Measurements:
1. 5.55 - 0.08 = 5.47
2. 5.54 - 0.08 = 5.46
The front plate is really thick, 3-4mm and made of metal. The rear of the tweeter is sealed and fits within the existing cutout, but the spade connectors protrude ever so slightly so I will need to make a slight notch in the cut out to the left and right side.
Build quality looks phenomenal, I hope they sound good 😛
I make those as 94mm soft dome tweeters. Should be as much good as any other. Especially at £15! 😀
My own current challenge is a better cone tweeter. This is what I am fixing. Tweeters fried on these ancient Wharfedale Super Lintons.
Solution?
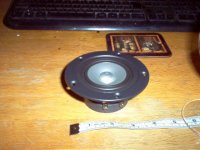
CHN-50 full range driver | KJF Audio
planet10 (dave) tells me these 100mm jobbies are good. But need a litre or so enclosure.
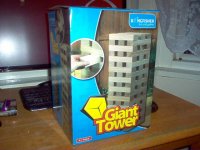
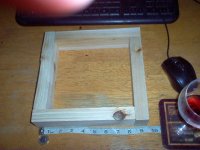
Have solved the enclosure problem, being hopeless at woodwork...
A Child's toy! Age 4+! Available at Robert Dyas for £20. About my woodwork level. Just glue these finely machined blocks together, stick a bit of 7-layer ply (available in any builder's skip) on the top and JOB DONE! About 1 litre and extendable since there are 60 blocks in the box!
Can't wait! Crossover will be a doddle since I am good at those. 😎
My own current challenge is a better cone tweeter. This is what I am fixing. Tweeters fried on these ancient Wharfedale Super Lintons.
Solution?
CHN-50 full range driver | KJF Audio
planet10 (dave) tells me these 100mm jobbies are good. But need a litre or so enclosure.
Have solved the enclosure problem, being hopeless at woodwork...
A Child's toy! Age 4+! Available at Robert Dyas for £20. About my woodwork level. Just glue these finely machined blocks together, stick a bit of 7-layer ply (available in any builder's skip) on the top and JOB DONE! About 1 litre and extendable since there are 60 blocks in the box!
Can't wait! Crossover will be a doddle since I am good at those. 😎
Attachments
That's a neat example of lateral thinking, Steve. 😎Just glue these finely machined blocks together...
You must have been the smartest kid on the block! 😀
Nice 😀 that gets extra kudos because it’s giant Jenga 😎 I’m always a fan of stuff like this. If you can get some cable ties in there for cable management when you build the crossover and start wiring then that’s even better 😉 What are you using to glue them together? If you use cheap/generic liquid nails and clamp it, it’ll probably be stronger than the cabinet! Watch out for clamps in Aldi/Lidl in the random crap aisle, they’re good quality but cheap. Also liquid nails, silicone and caulking guns, often going for a fraction of the price compared to the usual DIY stores. Please post a pic when completed!
You’re almost right with the tweeters, the front plate is 103mm which brings it quite close to the Faitals. Good news is the screws are miles away from the cutout, so no issues there or with using tape for gaskets. They only came with screws but no biggie.
I also can’t wait to get this going! I’ve had a bit of an issue with the rods I ordered to build the ferrites, so I’ve ordered some others. As soon as those get here I’m good to assemble. I’ve been messing with the veneer today. I really wasn’t happy with the “stain” I got given, i thought it was oil based but I realised after applying it that it’s actually acrylic based and just looked awful in the end. It wasn’t difficult to remove though, just find a corner and it peels off like a sticker! A quick sand down for any strangling bits and I have been bleaching it today in prep for some wood dye. That plus a ton of wax is the direction I’m heading in now. Pics soon. 🙂
After I’ve assembled, I’ll have to post all the pics I’ve been taking in one lump. It’s quite nice to see the progress. Here are the cabinets today after removing the dark walnut acrylic layer:

Before removing:

The original colour was Mahogany so very red, which I don’t like:

Hopefully dye and wax will bring out the grain a bit more than dumping a plastic layer on it. 😛
You’re almost right with the tweeters, the front plate is 103mm which brings it quite close to the Faitals. Good news is the screws are miles away from the cutout, so no issues there or with using tape for gaskets. They only came with screws but no biggie.
I also can’t wait to get this going! I’ve had a bit of an issue with the rods I ordered to build the ferrites, so I’ve ordered some others. As soon as those get here I’m good to assemble. I’ve been messing with the veneer today. I really wasn’t happy with the “stain” I got given, i thought it was oil based but I realised after applying it that it’s actually acrylic based and just looked awful in the end. It wasn’t difficult to remove though, just find a corner and it peels off like a sticker! A quick sand down for any strangling bits and I have been bleaching it today in prep for some wood dye. That plus a ton of wax is the direction I’m heading in now. Pics soon. 🙂
After I’ve assembled, I’ll have to post all the pics I’ve been taking in one lump. It’s quite nice to see the progress. Here are the cabinets today after removing the dark walnut acrylic layer:
Before removing:
The original colour was Mahogany so very red, which I don’t like:
Hopefully dye and wax will bring out the grain a bit more than dumping a plastic layer on it. 😛
Last edited:
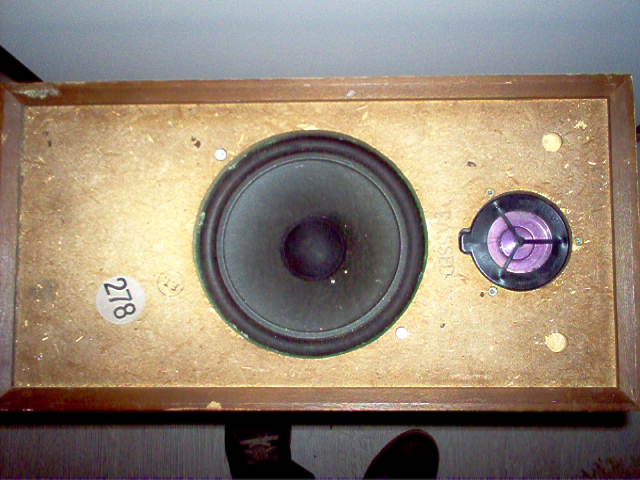
Off topic, I know but look what I just picked up on freecycle 🙂

Very rarely see Tannoy come up. Dead chuffed.
Very rarely see Tannoy come up. Dead chuffed.


An update!
Cabinets nearly ready, you can see grain now. I’m using a watered down dye and varnish to avoid going too dark.

And I started on the ferrites this evening…. A learning curve but I’m pleased:


They don’t look pretty, and they aren’t uniform, but the values are there. I couldn’t find a former for a) cheap and b) that fitted the bill so ended up winding directly on the rod very carefully. Resistance values are very low so I’m pleased. This was a real learning curve. I might get a chance to do the air coils tomorrow. 😱
Cabinets nearly ready, you can see grain now. I’m using a watered down dye and varnish to avoid going too dark.
And I started on the ferrites this evening…. A learning curve but I’m pleased:
They don’t look pretty, and they aren’t uniform, but the values are there. I couldn’t find a former for a) cheap and b) that fitted the bill so ended up winding directly on the rod very carefully. Resistance values are very low so I’m pleased. This was a real learning curve. I might get a chance to do the air coils tomorrow. 😱
Even a scramble wound coil will perform well provided the scrambling is not too sloppy!
Thanks, I needed to hear that! Makes me feel a bit better. They started well each time but after a few layers things tend to cascade at the ends. Ended up just keeping it tight and measuring but they look a bit more like a messily re-wound bobbin of yarn after you’ve confiscated it from the cat! I quickly taped them up to avoid any change in value. 😀
Ferrite bobbins would have made your winding task easier.
For future reference, this UK supplier has an assortment of both ferrite and air core bobbins:
Loudspeaker Crossover Inductors and Air Cored Coils
For future reference, this UK supplier has an assortment of both ferrite and air core bobbins:
Loudspeaker Crossover Inductors and Air Cored Coils
Attachments


Last edited:
Have bookmarked, thanks. I just checked my tracking app and I have something arriving today that I have been really excited about. It cost next to nothing and I think it’s going to make these look really good. Post usually comes about 2. Watch this space. 😀
We wait with bated breath to hear about the mystery package.
But puts on systems engineer hat.
I have CONCERNS here!
This doesn't look like the sort of coil I would trust in one of my designs. 😱

Insulating tape is not a trusted long-term solution to engineering problems. The adhesive creeps. Heat turns it to goo. And specifically when the bass coil heats up, the tape will stop that heat dissipating, which might burn down your house!
The professionals wire ferrite bass coils tidily then lacquer them. With tweeter coils, power is so much lower that much can be got away with.
I would install a smoke alarm in your HiFi den if you must persist. 😀
But puts on systems engineer hat.
The systems engineering process must begin by discovering the real problems that need to be resolved, and identifying the most probable or highest impact failures that can occur – systems engineering involves finding solutions to these problems.
I have CONCERNS here!
This doesn't look like the sort of coil I would trust in one of my designs. 😱
Insulating tape is not a trusted long-term solution to engineering problems. The adhesive creeps. Heat turns it to goo. And specifically when the bass coil heats up, the tape will stop that heat dissipating, which might burn down your house!
The professionals wire ferrite bass coils tidily then lacquer them. With tweeter coils, power is so much lower that much can be got away with.
I would install a smoke alarm in your HiFi den if you must persist. 😀
Yes, he doesn't want to get into a pickle, does he Steve? 😉
I would remove the insulating tape and immerse the coils in varnish which, when dry, will secure the turns in the coils in place.
Is that safe, Steve, or is there a particular type of varnish/lacquer you would recommend?
I would remove the insulating tape and immerse the coils in varnish which, when dry, will secure the turns in the coils in place.
Is that safe, Steve, or is there a particular type of varnish/lacquer you would recommend?
They’re here!

I couldn’t find the Goodmans badges for any less than about £12 so I paid £6 for these instead. 😉 finding the fonts was a bit of a bind but they match the Goodmans font of the year, and the magnum font matches the magnum text on the sticker on the back. Can’t wait to see them on the grilles!
I can redo the coils. What kind of varnish? Any?
Last edited:
That's a nice touch! 😎
Will need to look into the varnish question - where's Steve when you need him!
Varnish must be treated with care. I once knew a chap who drank some varnish - and it killed him.
But he did have a beautiful finish! 😀
Will need to look into the varnish question - where's Steve when you need him!
Varnish must be treated with care. I once knew a chap who drank some varnish - and it killed him.
But he did have a beautiful finish! 😀
The material you need is called electrical resin.
Have a search and see.
Transformers get hot don't they?
So what about - RED AIR DRYING VARNISH TRANSFORMER & SOLONOID INSULATING VARNISH 100ml | eBay
Have a search and see.
Transformers get hot don't they?
So what about - RED AIR DRYING VARNISH TRANSFORMER & SOLONOID INSULATING VARNISH 100ml | eBay
Last edited:
@Galu I had a quick look but there’s all sorts of things popping up. :S what about something like polyurethane?
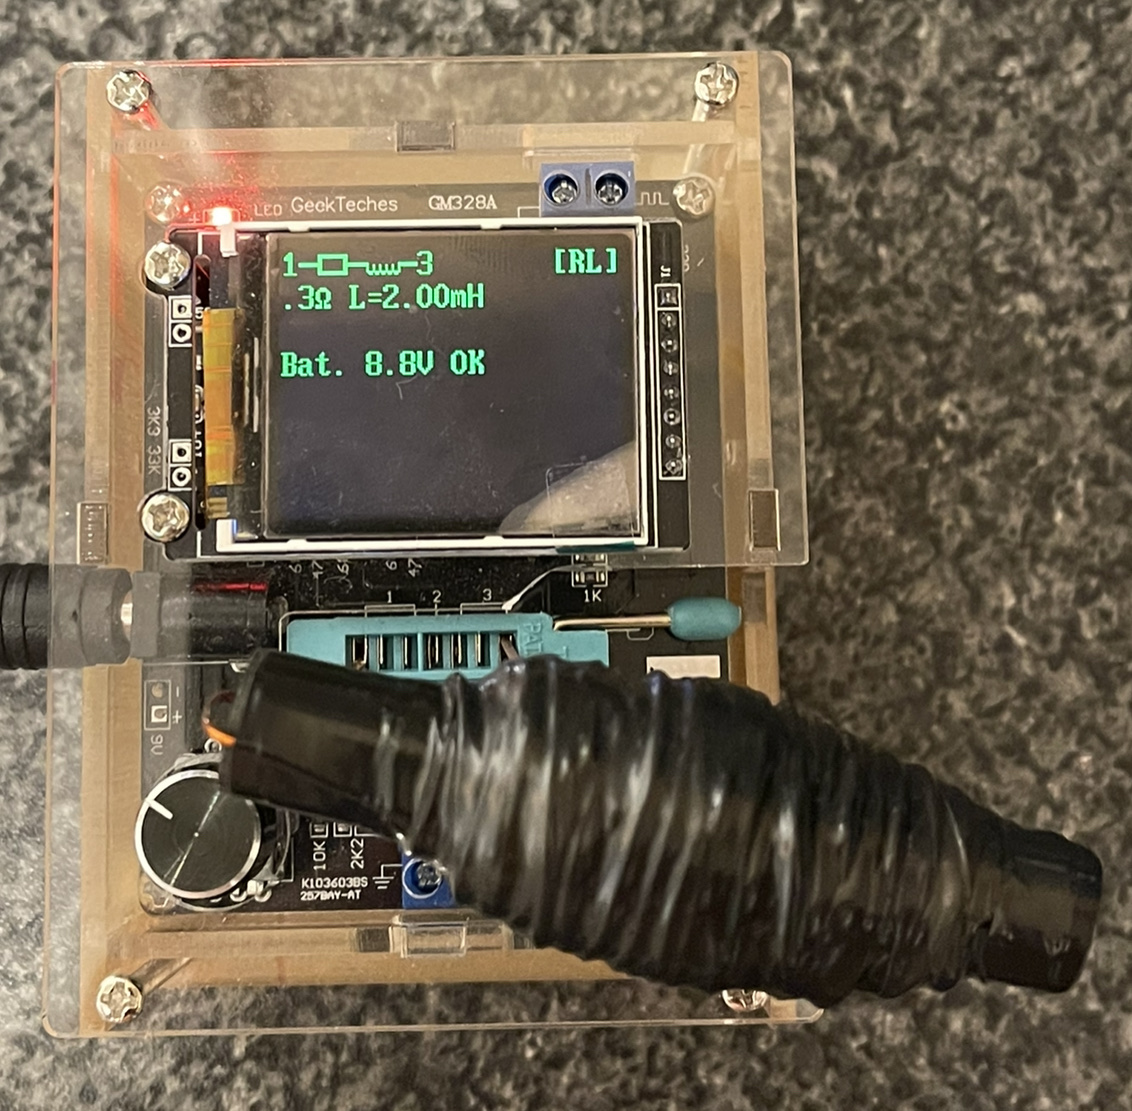
@system7 hopefully my 0.18mH air coil pleases you more 🙂

@system7 hopefully my 0.18mH air coil pleases you more 🙂
I found this!
Insulating Varnish Overview | PDF | Insulator (Electricity) | Inductor
Insulating varnish!
Insulating Varnish Overview | PDF | Insulator (Electricity) | Inductor
Insulating varnish!
- Home
- Loudspeakers
- Multi-Way
- Restoring / Modifying Goodmans Magnum K2s Advice Needed