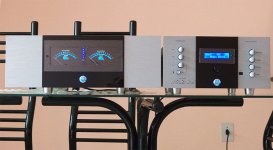
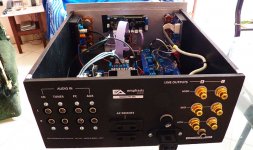
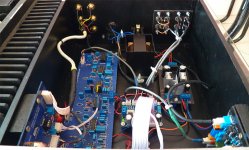
That does look cool. 🙂 I like it. It gives the techno look alright when one can see some of the guts inside.
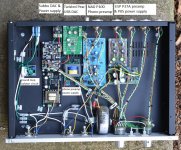
But my curiosity, what is the bright green light ? General illumination of the circuitry inside ? It seems very bright.
Cheers
Thanks, it's from the power supply at the rear of the enclosure, the pcb has three led's so I swopped then with Cree high bright types.
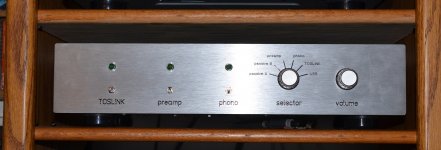
My latest build: preamp/control center
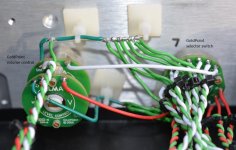
Here is my latest creation. It’s an all-in-one control center, so to speak – what used to be called a preamplifier. It consists of:
· A Twisted Pear USB DAC Receiver The USB DAC/Receiver
· The Subbu DAC V3.0 and power supply with a TORX S/PDIF input module. http://www.diyaudio.com/forums/grou...-wm8804-spdif-power-supply-pcb-group-buy.html
· The board from an NAD P100 Phono Preamp. The NAD P100 came with a wall wart power supply, so I bought another power supply with the same DC voltage, which I could put inside the chassis.
· An Elliott Sound Products P37A “Death of Zen” preamplifier and P05 power supply. Minimalist Discrete Hi-Fi Preamp Because most sources don’t require a preamplifier, I connected only one pair of inputs to the “signal in” of the preamplifier board. The “signal out” from the board then goes to the selector switch.
· Two passive analog inputs.
· A ground loop isolation (loop breaker) circuit Earthing (Grounding) Your Hi-Fi - Tricks and Techniques
· ON/OFF switches for the three power supplies (the Subbu DAC, NAD phono preamp, and ESP preamplifier) and indicator LEDs. Because each power supply had different voltages for the LED indicators, I used variable resistors to make all three LEDs the same brightness.
· It’s all inside a Pesante 2U chassis with from the diyAudio store Pesante 2U – diyAudio Store I had the graphics on the front done by Front Panel Express https://www.frontpanelexpress.com/
Any questions about this project feel free to post or send me a PM!
😛
Attachments
That's another thing I have to get at some point in time. An infrared camera. I'll have to wait until they become commodity items.
-Chris
-Chris
That's another thing I have to get at some point in time. An infrared camera. I'll have to wait until they become commodity items.
-Chris
Hi Chris,
I hear ya. Such a camera is a very valuable tool to have, but becoming a commodity any time soon, not sure about that. I saw few offers at around 5000 bucks on epay but they had poor resolution. To spend several thousand on a camera that is been used occasionally is quite some waste of funds unless one does not care much about money.
I agree completely - which is why I don't have one. But it would be so darned useful working with prototypes. I currently poke around with a thermocouple probe. Not ideal. I blew up a dual thermocouple meter when the other lead moved and touched common ground. That fried the cold junction compensation as well as the analogue IC. So I'm back down to the single unit.
-Chris
-Chris
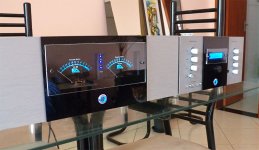
Hi! I finished today the pre + 3-way crossover + subwoofer filter + remote control. It will pair with my tri-amp previously posted.
Looks really good. 🙂
small loop areas are more tolerant of emi.Hi Byron. Don't you get some hum from having a transformer so near to the selector switch?
Pocket SE Class A to-go
Single ended (SE) Class A to take along for good headphones.
http://www.diyaudio.com/forums/group-buys/302859-xrk971-pocket-class-headamp-gb.html

Class A SMT side:
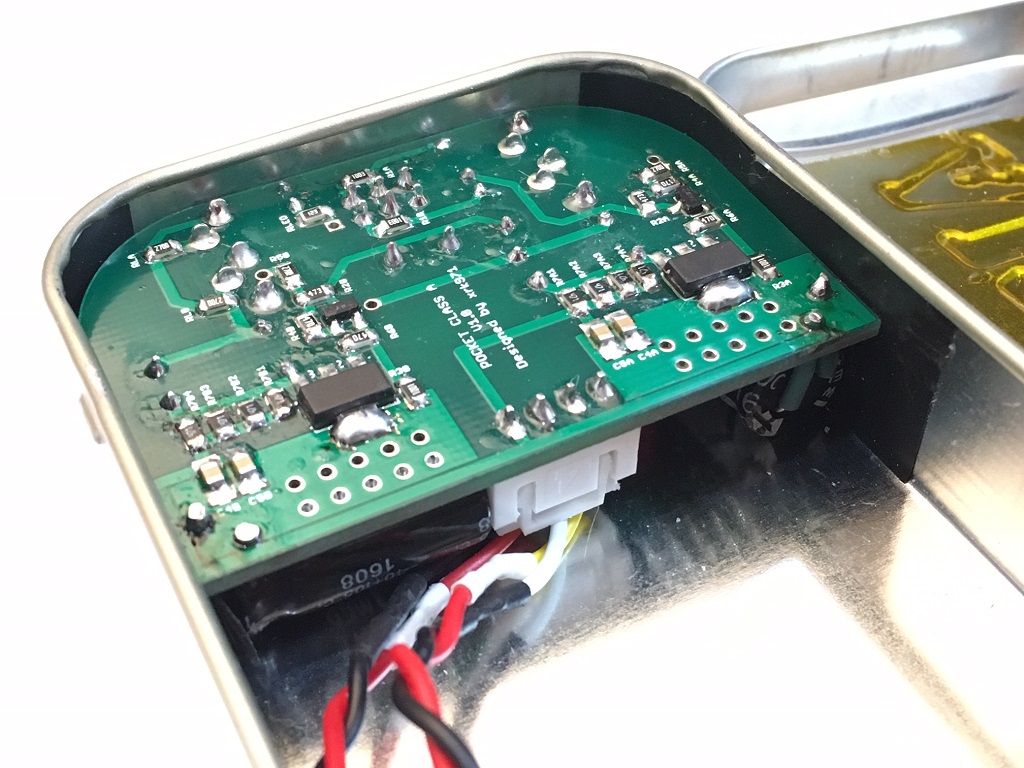
Through-hole side:
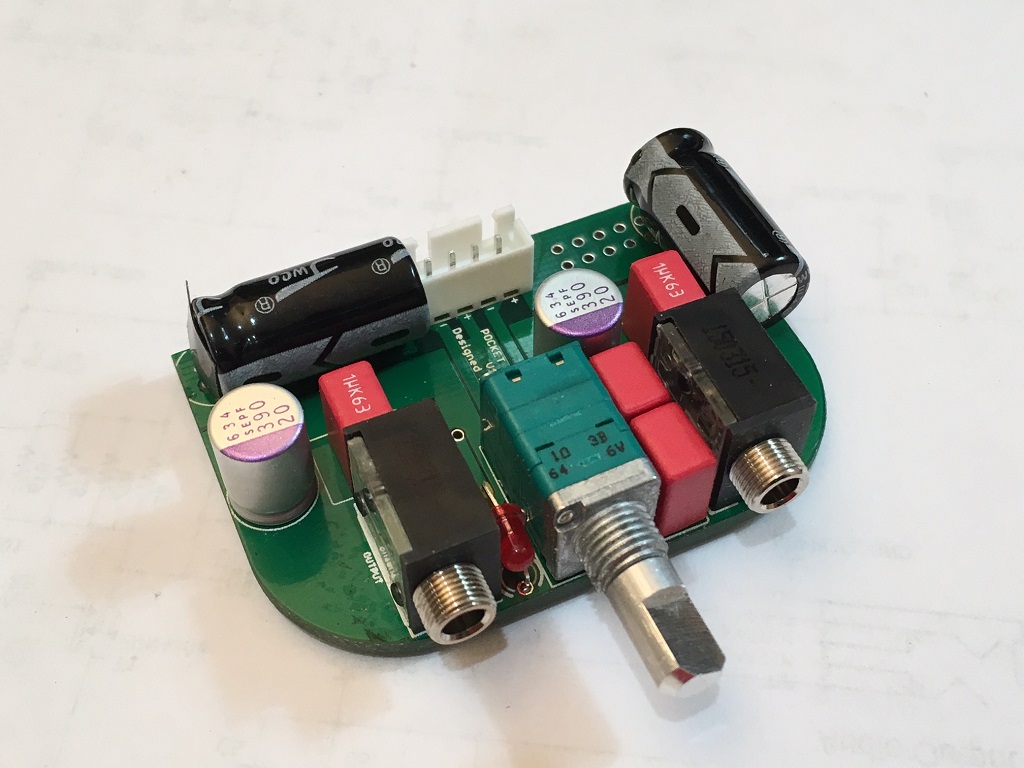
Single ended (SE) Class A to take along for good headphones.
http://www.diyaudio.com/forums/group-buys/302859-xrk971-pocket-class-headamp-gb.html

Class A SMT side:

Through-hole side:

Last edited:
xrk's Class A looks also very good. Altho I wonder how long the batteries will last in Class A operation.🙂
55mA bias and 600mAhr 9v Li-ion batteries will get 4-5hrs between charges. I have tested the lifetime personally on numerous long bus rides.
I tried searching for the circuit diagram of the NAD P100 phono stage but couldn't find it. Do you have it ? Thanks.
I made a short Hollywood buster at the clipping point 😀
[url=http://www.diyaudio.com/forums/gallery/showphoto.php/photo/14773] [/URL]
[url=http://www.diyaudio.com/forums/gallery/showphoto.php/photo/14773]
 [/URL]
What amp is this? Also, if you have any shiny metal that you want to get the IR temp from, tape a small piece of Kapton tape to it to change emissivity from 0.2 to 0.9. Even white masking tape or liquid Whiteout correction fluid works.
What amp is this? Also, if you have any shiny metal that you want to get the IR temp from, tape a small piece of Kapton tape to it to change emissivity from 0.2 to 0.9. Even white masking tape or liquid Whiteout correction fluid works.
Hi X,
yes, thanks for the tip with the tape, I tripped over that one too while I was using my elcheapo IR thermometer. In this image above I am not pointing at bare metal but at the soldermask and the reading is quite consistent with my expectations. However, you are right, taking I reading of the heat sink needs a local surface mod to get a true reading. Kapton Tape or pretty much any other sticky tape would do.
Surprisingly even a rough aluminum surface appears like a very decent mirror in IR, I have a picture of myself as a reflection. 🙂
Oh, the amp is my interpretation of the well performing Technics A5.🙂
Cheers
The First Amp I Ever Played With
I'm having a bit of a clear out of some of my "stuff" from the loft space. I found the first amp that I ever played with. Mt Dad built it for my older brother in the late 1950's/early 1960's but it never worked. I got hold of it a few years later and a nerdy type at school fixed it. I think it had an incorrect connection to one of the transformers.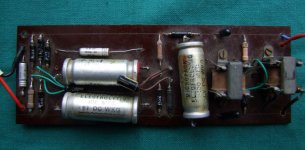
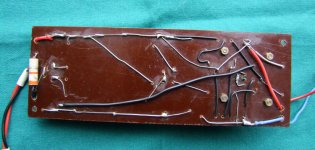
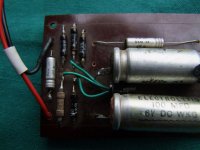
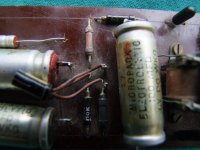
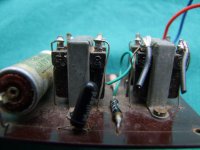
The military grade resistors and CV marked transistors give a clue to where my Dad worked at the time!
I'm having a bit of a clear out of some of my "stuff" from the loft space. I found the first amp that I ever played with. Mt Dad built it for my older brother in the late 1950's/early 1960's but it never worked. I got hold of it a few years later and a nerdy type at school fixed it. I think it had an incorrect connection to one of the transformers.


The military grade resistors and CV marked transistors give a clue to where my Dad worked at the time!
- Home
- Amplifiers
- Solid State
- Post your Solid State pics here
