One other alternative for 'underhang' is to cut a thin strip of MDF (just a couple of mm wide) and glue it onto the overcut edge (with lots of clamps).
You can then use the router + trimming bit and trim it flush - that way it's still all made of MDF, and you don't have to bodge in loads of filler.
I agree with peter_m - don't sand with your armpits. It's very hard to get a flat finish. The hairs take ages to remove too.
You can then use the router + trimming bit and trim it flush - that way it's still all made of MDF, and you don't have to bodge in loads of filler.
I agree with peter_m - don't sand with your armpits. It's very hard to get a flat finish. The hairs take ages to remove too.
DavidLR said:Got to admit, I've never considered using Bondo during speaker construction. These speakers on wheels or something ? [/B]
In all seriousness, folks have recommended Bondo to fill gaps during cabinet construction. Why, exactly, I don't remember, but I followed their advice.
I'm sure there are several materials that all work well. I'm just following orders, not an expert or improvising something wacky.
StewLG said:
In all seriousness, folks have recommended Bondo to fill gaps during cabinet construction. Why, exactly, I don't remember, but I followed their advice.
Bondo sets fast, hard and doesn't shrink. Three excellent qualities. There are some drawbacks, but it depends on the level of finish you want on the cabinet.
Well, good to know then. Thanks. If one is going to paint the MDF instead of veneer, I assume the Bondo will take paint differently than the MDF, although if you first use a sanding sealer like your supposed to, then that problem could probably be circumvented.
What kind of damping material was shipped with your Madisound kit, Stew ? Zaph likes to use the Whispermat products, which, after my cursory internet search, might be sort of hard to find here in PDX
What kind of damping material was shipped with your Madisound kit, Stew ? Zaph likes to use the Whispermat products, which, after my cursory internet search, might be sort of hard to find here in PDX
DavidLR said:What kind of damping material was shipped with your Madisound kit, Stew ? Zaph likes to use the Whispermat products, which, after my cursory internet search, might be sort of hard to find here in PDX
There was this foam:
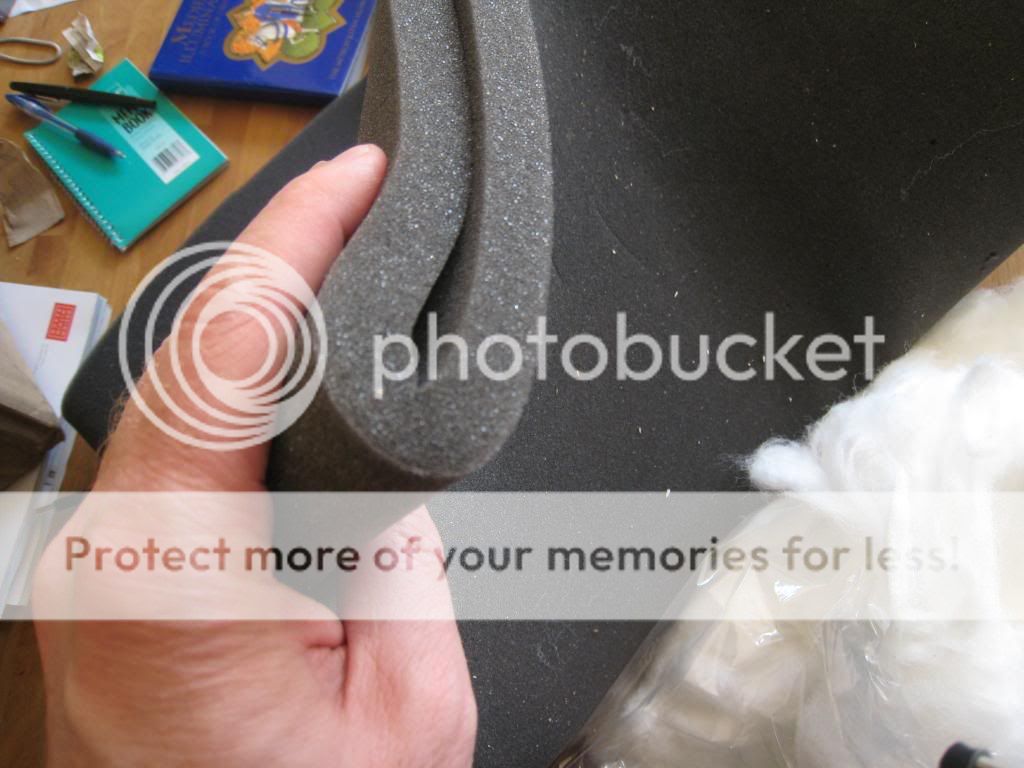
And this batting:

Others can tell you how important name brand damping is, but I bet it isn't critical.
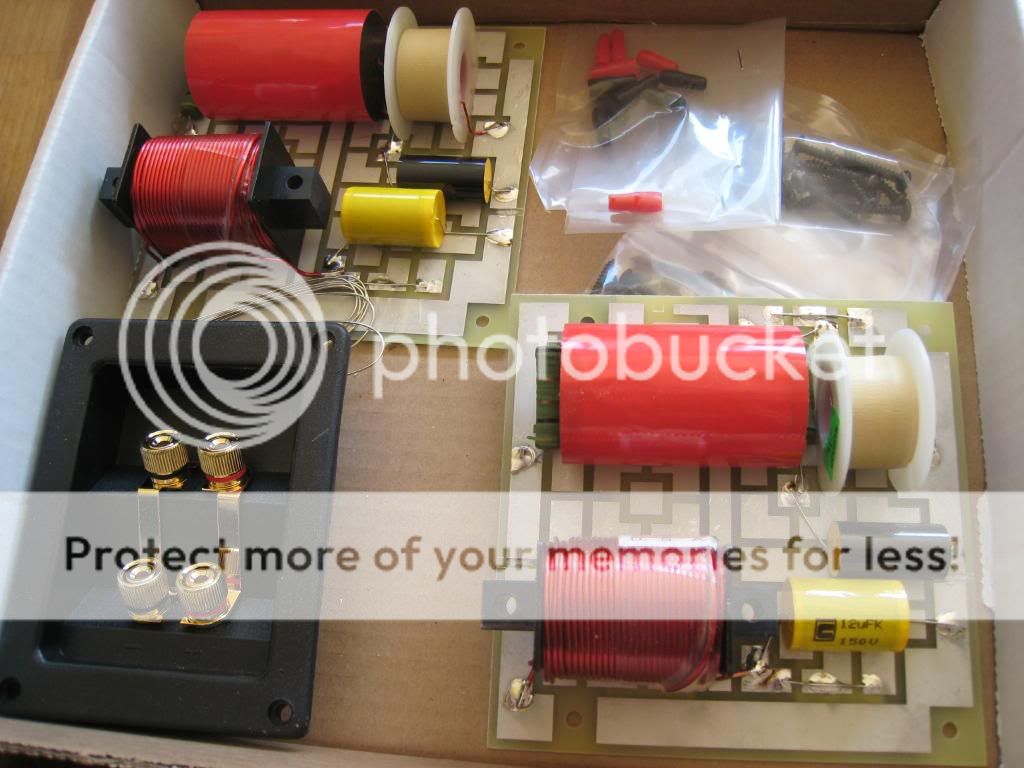
Also, I never did supply the requisite driver/crossover parts pr0n that seems to be how every build thread starts. Here's the preassembled crossovers:
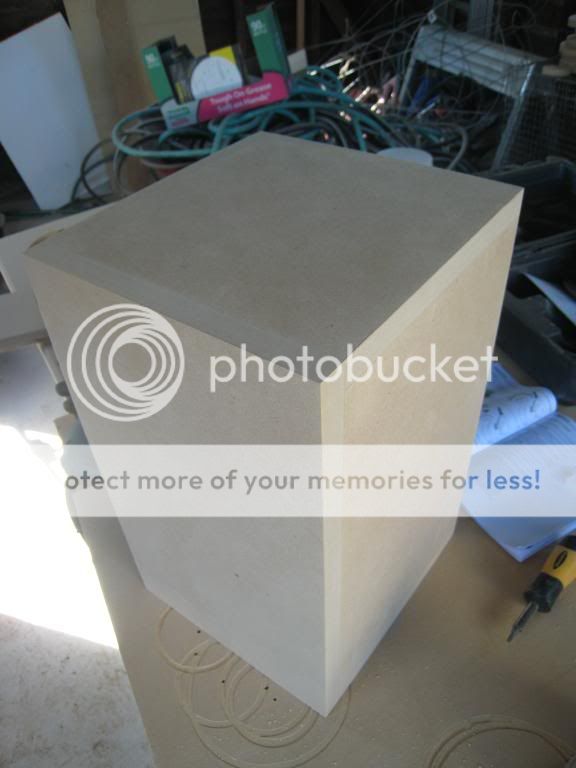
First sanding nearly complete
It's a beautiful day..

..so, let's get in the garage while they chainsaw a 4 ton tree down right next to it (not shown).
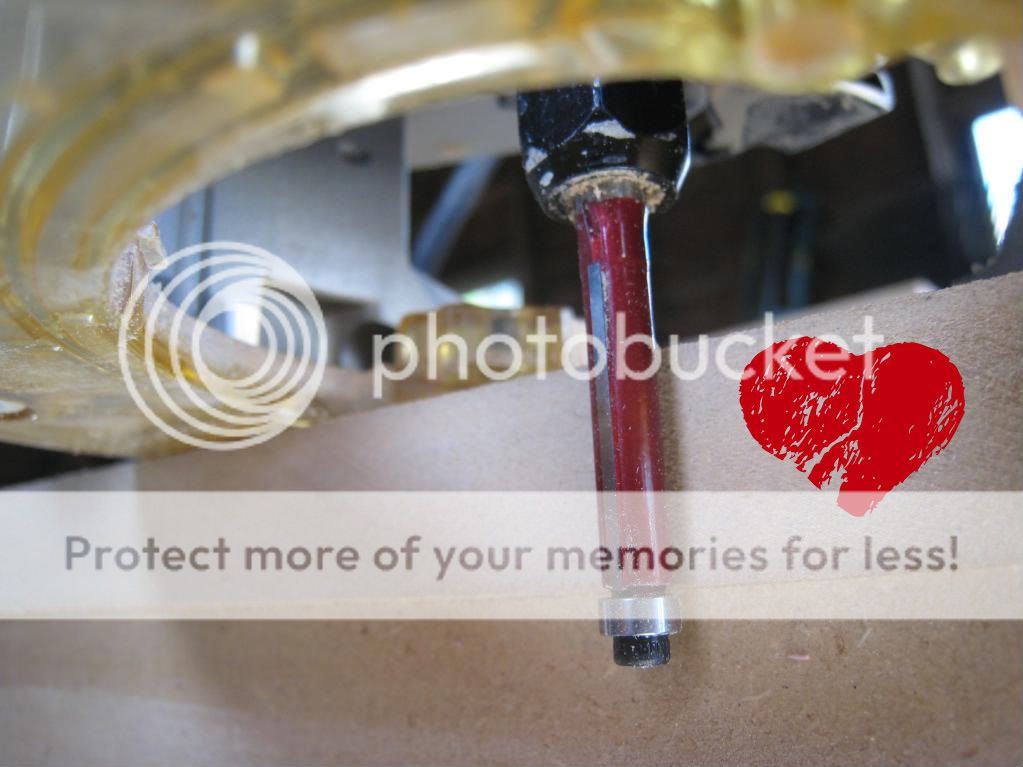
First up, I tried the trim bit on the test jig I glued together:

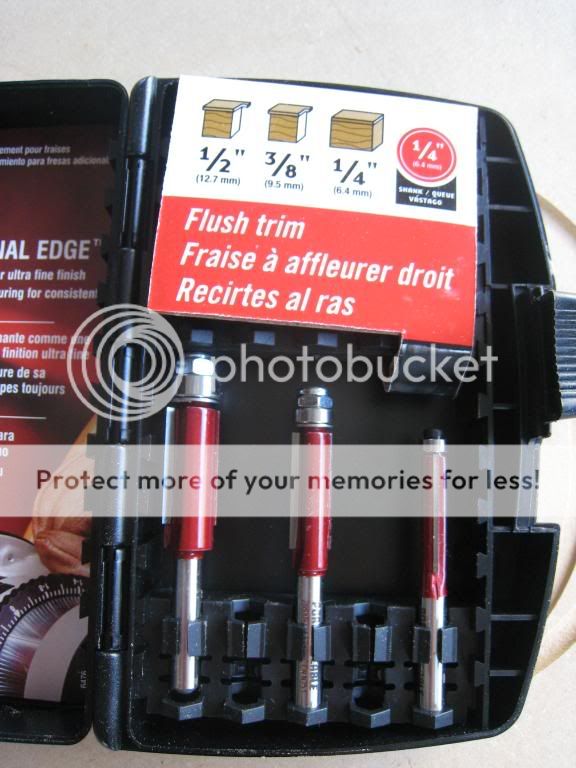
It took me a bit of work to figure it out.

But in a few minutes I was convinced this was absolutely the best way to get things square and flat - or, at least, square-and-flat-seeming.
(We haven't set a date yet, we were thinking about the spring.)
But sanding worked well too, just slower. I bought both a belt sander and an orbital sander, and I must have known which was going to work best since I put the most thought and $ into the orbital. I was very right to get one with adjustable speed, that turned out to be great to have, at least for me.
Tool:
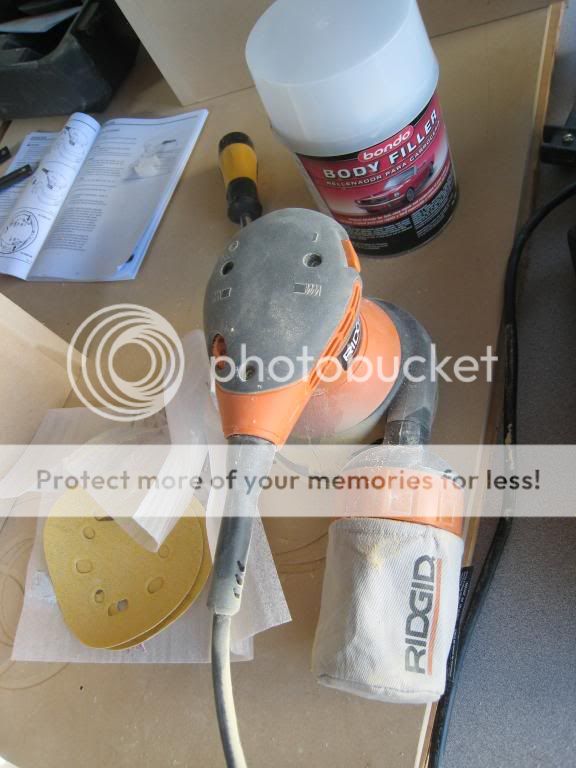
Result:

In the end, all but two of the faces (see below) looked pretty good after a couple of hours.
I did another pass at the Bondo on the screw faces of the left speaker (only the left speaker has screws in it). One of these faces looks like it has a pretty poor chance of ever being flat due to a screw I couldn't get countersunk, but it will probably be the bottom of the speaker.
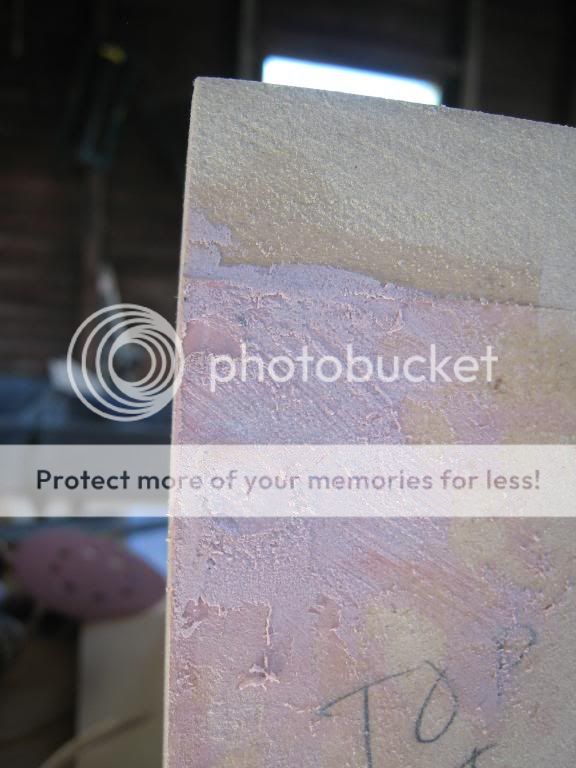
I'll be sanding these as much as I can shortly.
I'm tempted to move on to something else, like prepping the inside of the speaker, but I wanted to have the port and terminals cut before I did that, and I wanted to cut through the veneer before I installed those.
Since I don't want to glue on the front faces yet for several reasons, I wonder if I'm stuck until the veneer arrives. (I also have a chamfer bit ordered, but that's 20 minutes whenever it arrives.) Is there anything else I can do right now? Should I paint the baffles black, or should finishing them wait until they've been glued on?
It's a beautiful day..
..so, let's get in the garage while they chainsaw a 4 ton tree down right next to it (not shown).
First up, I tried the trim bit on the test jig I glued together:
It took me a bit of work to figure it out.
But in a few minutes I was convinced this was absolutely the best way to get things square and flat - or, at least, square-and-flat-seeming.
(We haven't set a date yet, we were thinking about the spring.)
But sanding worked well too, just slower. I bought both a belt sander and an orbital sander, and I must have known which was going to work best since I put the most thought and $ into the orbital. I was very right to get one with adjustable speed, that turned out to be great to have, at least for me.
Tool:
Result:
In the end, all but two of the faces (see below) looked pretty good after a couple of hours.
I did another pass at the Bondo on the screw faces of the left speaker (only the left speaker has screws in it). One of these faces looks like it has a pretty poor chance of ever being flat due to a screw I couldn't get countersunk, but it will probably be the bottom of the speaker.
I'll be sanding these as much as I can shortly.
I'm tempted to move on to something else, like prepping the inside of the speaker, but I wanted to have the port and terminals cut before I did that, and I wanted to cut through the veneer before I installed those.
Since I don't want to glue on the front faces yet for several reasons, I wonder if I'm stuck until the veneer arrives. (I also have a chamfer bit ordered, but that's 20 minutes whenever it arrives.) Is there anything else I can do right now? Should I paint the baffles black, or should finishing them wait until they've been glued on?
sploo said:One other alternative for 'underhang' is to cut a thin strip of MDF (just a couple of mm wide) and glue it onto the overcut edge (with lots of clamps).
You can then use the router + trimming bit and trim it flush - that way it's still all made of MDF, and you don't have to bodge in loads of filler.
I like this suggestion - thank you for it. I did not have to resort to it, gladly - so far massive sanding has gotten me there.
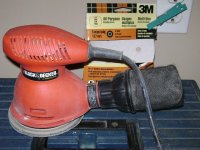
I just today finished a can of bondo that size. The trick is not to mix to much to avoid waste. Dont add to much red it hardens quicker. The trick is to finish the tube as you finish the can. I managed that. This palm sander is my best friend. It really gets the job done. I cant see you needing a belt sander in speaker building.
Attachments
Finishing Bondo & bracing rods
Even after a second pass, I had holes in my Bondo:

But by now I'd realized Bondo sands very easily. (It was designed for that, duh.) So, Bondo cupcakes:

We have a local store called Voodoo Donuts that serves odd donuts such as the Nyquil donut. A Bondo cupcake isn't that far fetched for us.
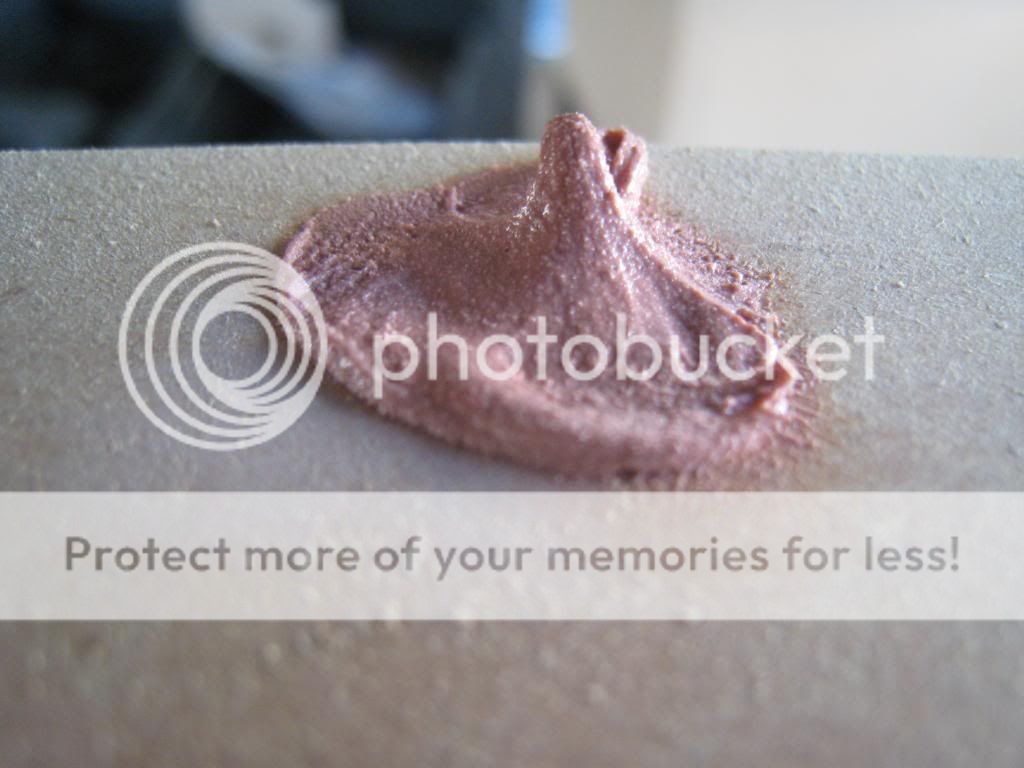
Finally, that worked and I had smooth screw holes.

Next, I worked the edges off these MDF bracing rods with the sander and the router. It would have been less trouble to just buy dowel, but I forgot last time I was at Home Depot and wanted to make a bit more progress today.
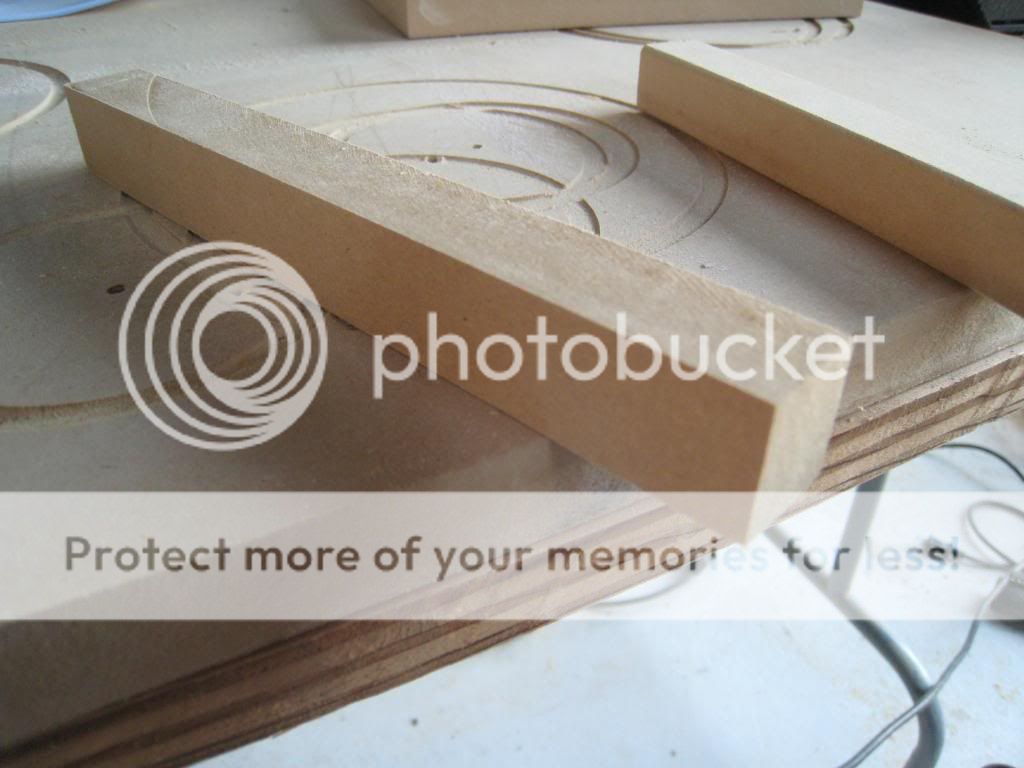
Waiting for veneer.. unless there's something else I can do? (Bracing rods are just tension fit right now, and front baffle is just resting there.)

Even after a second pass, I had holes in my Bondo:
But by now I'd realized Bondo sands very easily. (It was designed for that, duh.) So, Bondo cupcakes:
We have a local store called Voodoo Donuts that serves odd donuts such as the Nyquil donut. A Bondo cupcake isn't that far fetched for us.
Finally, that worked and I had smooth screw holes.
Next, I worked the edges off these MDF bracing rods with the sander and the router. It would have been less trouble to just buy dowel, but I forgot last time I was at Home Depot and wanted to make a bit more progress today.
Waiting for veneer.. unless there's something else I can do? (Bracing rods are just tension fit right now, and front baffle is just resting there.)
Looking very good ! Nice stuff. Just curious, you say you're waiting for veneer. Did you order online or something ? There are some pretty good places in Portland where you can get veneer, both the iron on type & veneer needing contact cement.
My first set of speakers, using the iron on type, actually turned out better the second using contact cement. Got a lot of bubbles that showed up later on. Probably was too impatient or something .
Beautiful day in Portland today, eh ? Saw your pic. About time !!
It's been a long,cold, wet spring.
My first set of speakers, using the iron on type, actually turned out better the second using contact cement. Got a lot of bubbles that showed up later on. Probably was too impatient or something .
Beautiful day in Portland today, eh ? Saw your pic. About time !!
It's been a long,cold, wet spring.
DavidLR said:Looking very good ! Nice stuff. Just curious, you say you're waiting for veneer. Did you order online or something ? There are some pretty good places in Portland where you can get veneer, both the iron on type & veneer needing contact cement.
Yeah, I ordered online after trying Parr and Home Depot. I'm not clueful enough to know where else to look, so I stopped there.
Next time, where should I go?
My first set of speakers, using the iron on type, actually turned out better the second using contact cement. Got a lot of bubbles that showed up later on. Probably was too impatient or something .
I'll be trying the iron-on-wood-glue method suggested for beginners. Some people say the iron-on veneers are inferior, some people say they're fine. I have no opinion myself yet.
The place I bought mine was Woodcrafters, 212 NE 6th Ave. Oriented towards serious woodworkers but a great place just to look & drool at at the exotic hardwoods. Helpful to anybody, though, doesn't matter your level of skill or experience.
DavidLR said:The place I bought mine was Woodcrafters, 212 NE 6th Ave. Oriented towards serious woodworkers but a great place just to look & drool at at the exotic hardwoods. Helpful to anybody, though, doesn't matter your level of skill or experience.
These guys are so close to me it's embarrassing I didn't know about them.
Thank you!
Re: Roundover on front done
I know this is late, but I used screws and glue to build my cabinets. You got a lot of good advice there. I used #7 deck screws, predrilled and countersunk. I had no problems and had the cabinets assembled very quickly.
I also used Bondo. Worked great once I figured out what you did about leaving it very high and sanding it flat. Your butt joints look very flat and smooth, and this is good. Veneer will cover mistakes, but not much. You need joints to be flat with no undulations. I did a lot of sanding and re-applying Bondo to get things nice and flat.
I veneered with paper backed veneer using the PVA glue-iron on method. It also worked great.
http://oak.cats.ohiou.edu/~schneidw/audio/veneering.html
I found the tape along the edge to be unnecessary and a PITA to remove. I also applied glue to both cabinets and the veneer, let it dry, then cut the veneer to size and started ironing. That way I didn't have to wait for glue to dry as I went and I also didn't have to worry about getting glue on the completed veneer.
I followed Krutke's advice to the letter for the baffles. That is: sanding sealer, Rustoleum texture, followed by a gloss coat. One thing I did was to coat the baffle edges (the roundover) with PVA glue and let it dry. I did a couple coats and sanded. This sealed the MDF very well and gave a nice smooth edge that took the paint very good. I thought it was easier than tons of coats of sanding sealer. The baffles took the most time. Lots of sanding and making things were nice and smooth with no scratches or chips.
Here is one baffle. This is the worst one as the mid is a little recessed, the other is flush but I don't have a nice pic of it. Maybe some day I'll pull the mid and fix it. As you can see, the finish Krutke recommends matches the drivers very well.
I built the ZDT3 and completed it about two weeks ago. This was my first build and I ran into some of the same problems you did. One way to get around the problem quoted above is to leave the circle jig on the router or move it to the fixed base when doing the roundover. Having the jig turned to rest on the flat area gives you a large area to place your hand and keep the router perpendicular.StewLG said:
Is it just me, or is it hard to keep everything level when you're far out on a corner like this? Is there some trick to doing this? I've been directly working on clamped wood - is there more to this? A better way to work?
I know this is late, but I used screws and glue to build my cabinets. You got a lot of good advice there. I used #7 deck screws, predrilled and countersunk. I had no problems and had the cabinets assembled very quickly.
I also used Bondo. Worked great once I figured out what you did about leaving it very high and sanding it flat. Your butt joints look very flat and smooth, and this is good. Veneer will cover mistakes, but not much. You need joints to be flat with no undulations. I did a lot of sanding and re-applying Bondo to get things nice and flat.
I veneered with paper backed veneer using the PVA glue-iron on method. It also worked great.
http://oak.cats.ohiou.edu/~schneidw/audio/veneering.html
I found the tape along the edge to be unnecessary and a PITA to remove. I also applied glue to both cabinets and the veneer, let it dry, then cut the veneer to size and started ironing. That way I didn't have to wait for glue to dry as I went and I also didn't have to worry about getting glue on the completed veneer.
I followed Krutke's advice to the letter for the baffles. That is: sanding sealer, Rustoleum texture, followed by a gloss coat. One thing I did was to coat the baffle edges (the roundover) with PVA glue and let it dry. I did a couple coats and sanded. This sealed the MDF very well and gave a nice smooth edge that took the paint very good. I thought it was easier than tons of coats of sanding sealer. The baffles took the most time. Lots of sanding and making things were nice and smooth with no scratches or chips.
Here is one baffle. This is the worst one as the mid is a little recessed, the other is flush but I don't have a nice pic of it. Maybe some day I'll pull the mid and fix it. As you can see, the finish Krutke recommends matches the drivers very well.
An externally hosted image should be here but it was not working when we last tested it.
StewLG said:I like this suggestion - thank you for it. I did not have to resort to it, gladly - so far massive sanding has gotten me there.
You're welcome. The only reason I discovered it was getting myself out of a disaster. The collet in an old router (in my router table) failed as I was cutting a rebate, and the bit rode up, cutting a much deeper rebate on the edge of a panel (even worse, it started at the right depth, and finished somewhat badly).
I didn't want to chuck the panel, as it already had several rebates, holes and flanges cut. It took a few hours of looking at it in desperation before it occurred to me to just glue a strip on, then re-route it. 🙄
StewLG said:I'll be trying the iron-on-wood-glue method suggested for beginners. Some people say the iron-on veneers are inferior, some people say they're fine. I have no opinion myself yet.
Be careful when trimming the edges of the glued veneer. I've previously used real wood veneer (no backing) and it was a pain to cut without it cracking or splitting.
Pics are looking great BTW. I've not had much success with fillers on MDF (part of the chemical is absorbed by the bare MDF, and it doesn't cure properly). Looks like the Bondo is working well.
Stew.... CHeck out J.L.'s step by step project build. He really spelled it out for everyone. Plenty of helpful tips.................... And talk about a sub woofer. WOW
http://www.avsforum.com/avs-vb/showthread.php?t=170942
What do you think??
http://www.avsforum.com/avs-vb/showthread.php?t=170942
What do you think??

- Status
- Not open for further replies.
- Home
- Loudspeakers
- Multi-Way
- PDX Zaph SR-71 Build Thread