Btw, I am sending out my UMIK-1 to Cross Spectrum Labs to get calibrated on Monday. I should have it back by the end of next week, and I'll get started on building the second cabinet.
I don't think CSL does a sensitivity calibration, but as far as frequency response goes, from 30hz up I should be able to get pretty accurate measurements for you guys!
I don't think CSL does a sensitivity calibration, but as far as frequency response goes, from 30hz up I should be able to get pretty accurate measurements for you guys!
I also got most of the stuff I need to complete the system.
(4)18 sound 1" HF drivers
Dayton 10" round waveguide
(4) eminence sealed back midranges
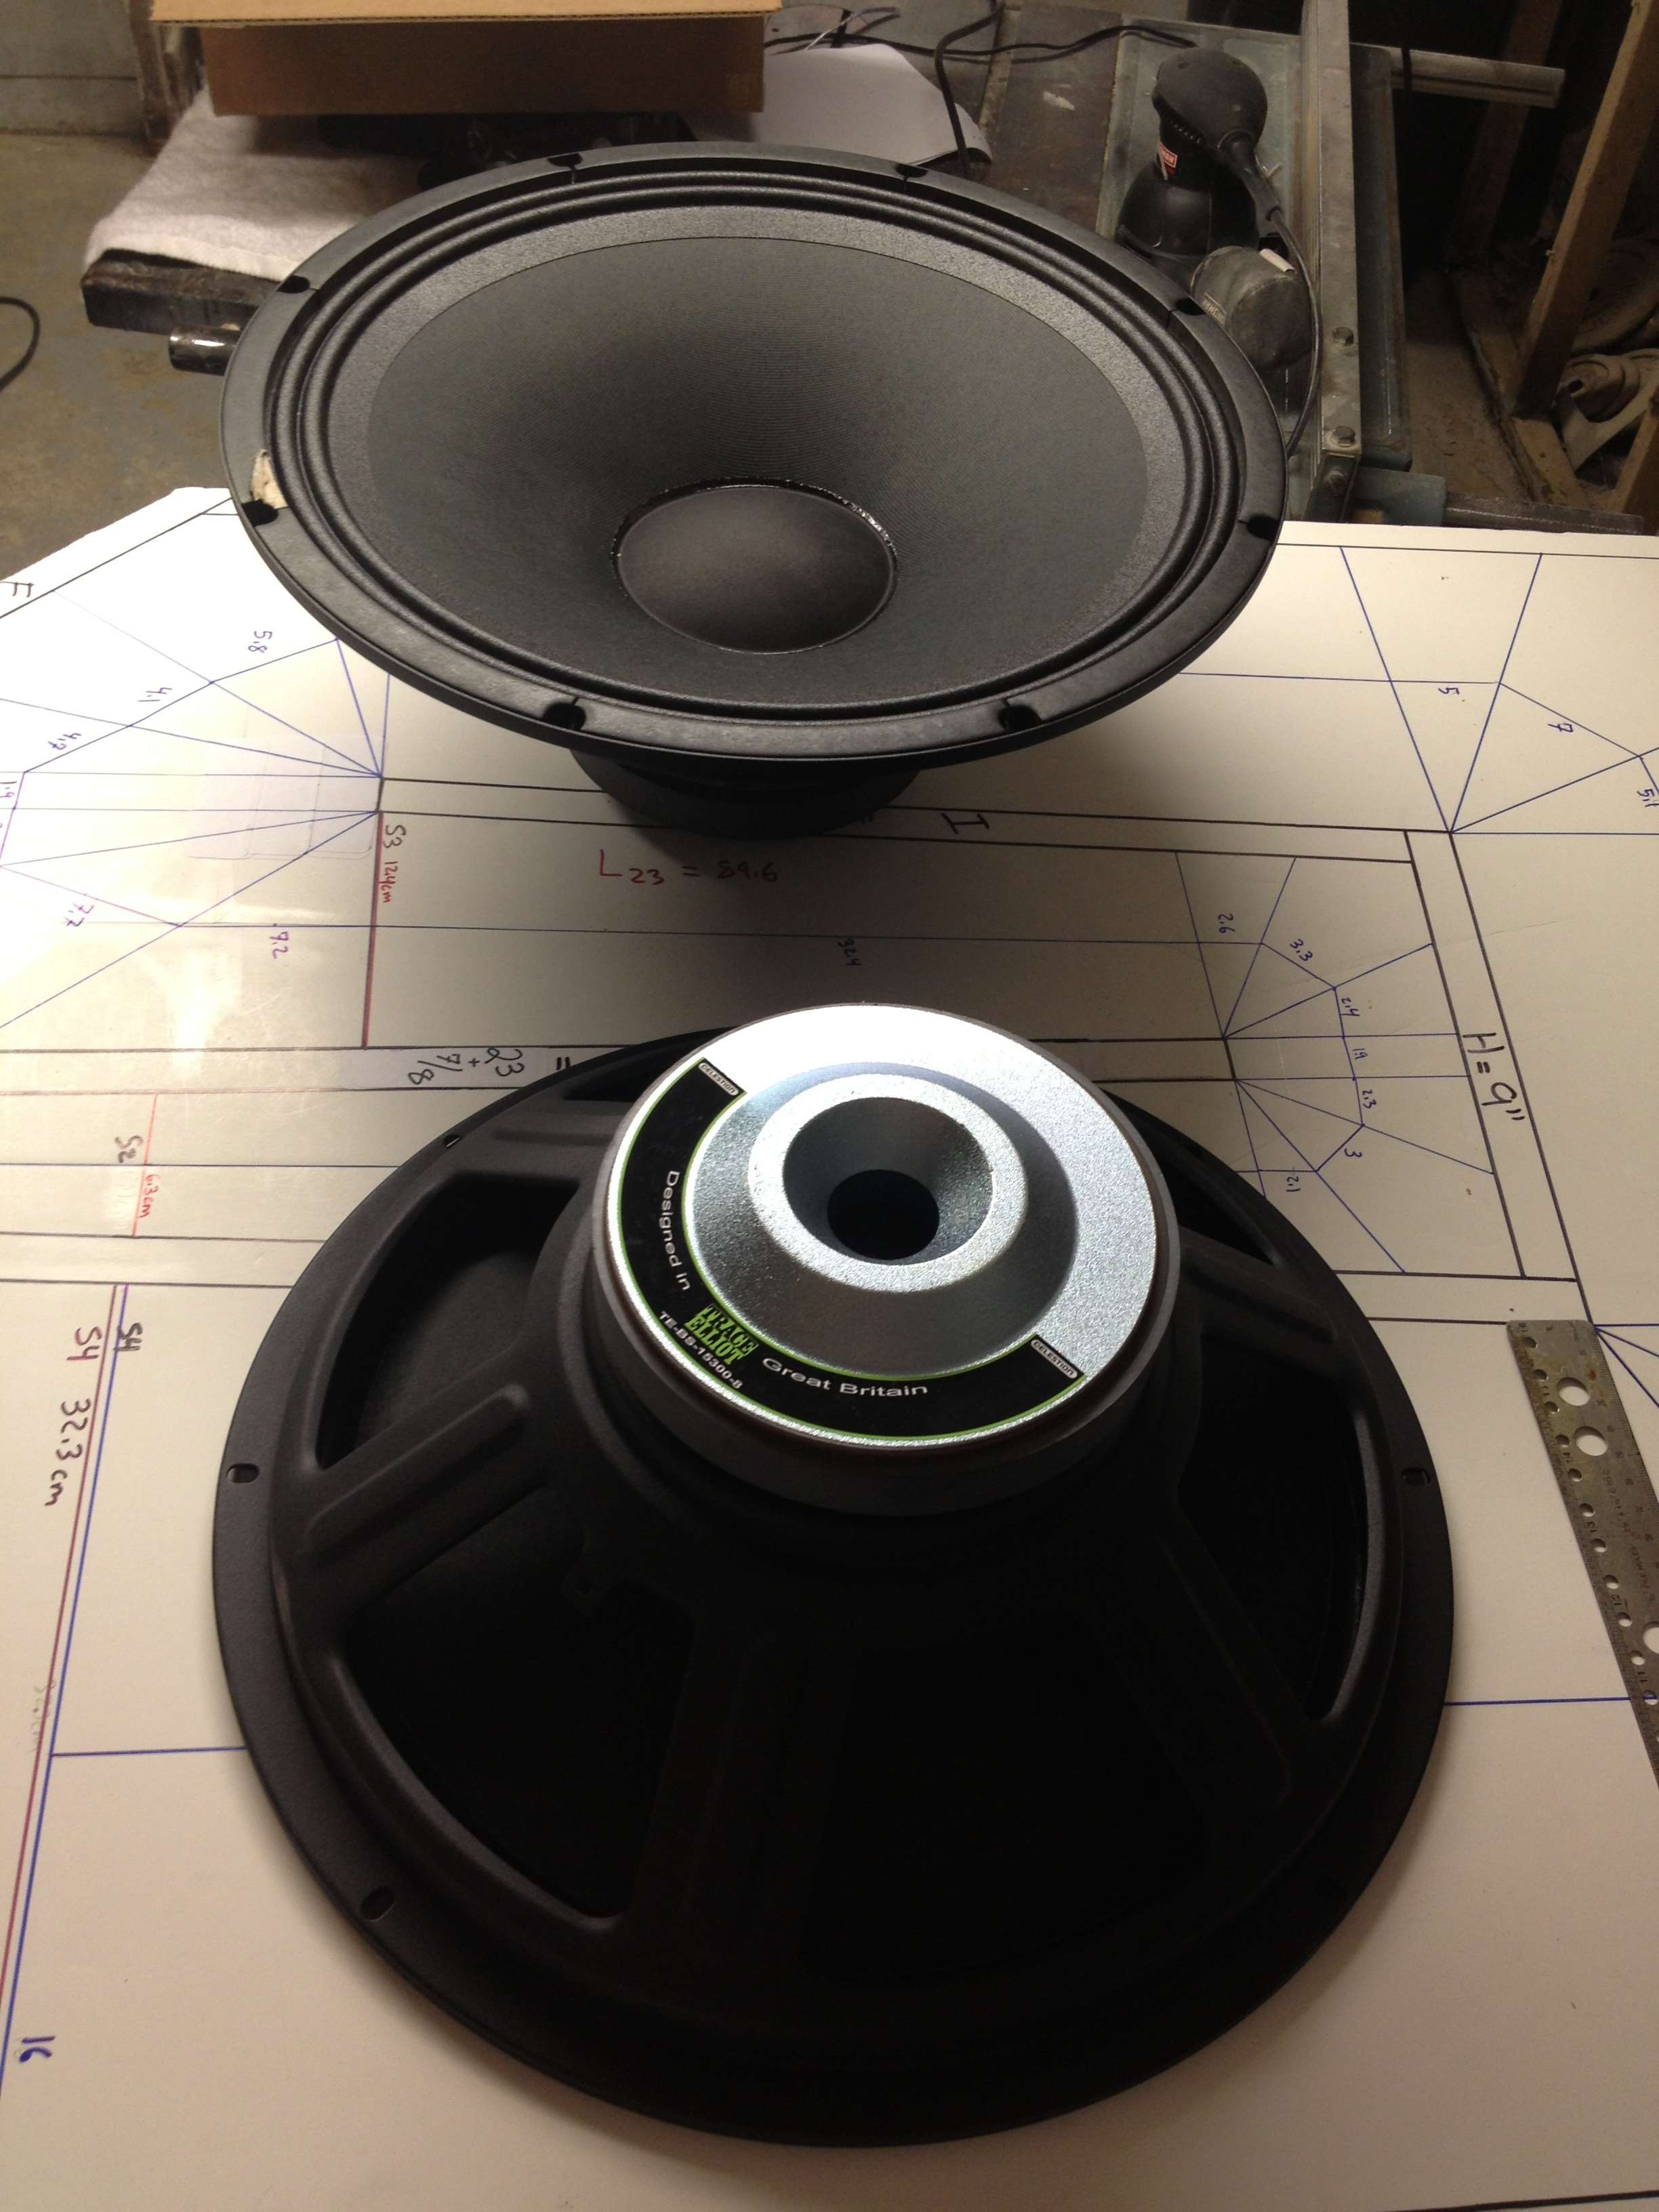
(4) celestion 15" for midbass

(4)18 sound 1" HF drivers
Dayton 10" round waveguide
(4) eminence sealed back midranges
(4) celestion 15" for midbass
Mention the plans posted in Post # 123 in your OP so it does not get buried, so new readers can find the plans easily.Thanks tb! Hope others can use it now 🙂
You might also update the OP to point to your measurement posts too.
Last edited:
Awesome!
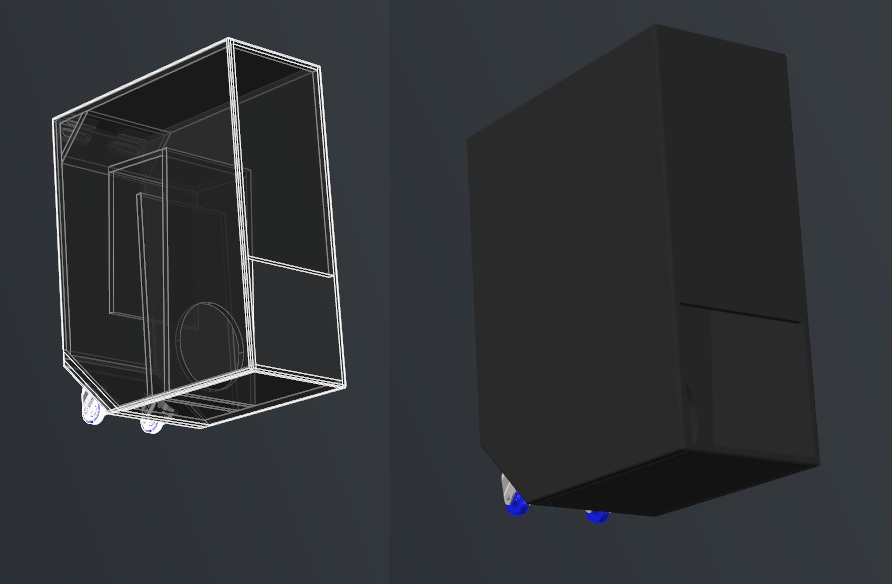
Just want to point out a few things. My "as built" cabinet is slightly under 30" deep. Off by about a quarter inch.
Also, in the rendering I see a reflector (most likely so one can cut handles Into the top and back, I just chose the Dayton metal handle. Takes up less internal volume
How do I edit the first post?
Nevermind I see I can edit the first post. I thought I couldn't.
Got the second one going, did a little different construction order on this one, I liked it better.
CONSTRUCTION
Started with the bottom panel, G then glued D on perpendicular to that.
Then went to the top panel B and squared the back panel A to it.
Then glued on the angled panel E

Then as you can see I attached F H and I at right angles to each other, but seperate from the horn.

I will then attach that as an assembly, then move to the front panel C and voila! Easier this way, took much less time.
Got the second one going, did a little different construction order on this one, I liked it better.
CONSTRUCTION
Started with the bottom panel, G then glued D on perpendicular to that.
Then went to the top panel B and squared the back panel A to it.
Then glued on the angled panel E
Then as you can see I attached F H and I at right angles to each other, but seperate from the horn.
I will then attach that as an assembly, then move to the front panel C and voila! Easier this way, took much less time.
Last edited:


First time using duratex. This is the first coat. I'll put a few more on. I really like it! Easy to use and looks like it'll go a long way!

Those wires wont move around too much over time like that will they? Could it perhaps be better to glue them around the wall so they can't move?
I don't they'll move too much. I have them tacked down, the tacks had pretty long legs, don't think they'll come out.
Second coat finished. Went on nice and thick, and texture looks great. I'll have enough to do one more coat on this cabinet, then three coats on the third cabinet. Works out to $35 per cabinet. Not bad at all!

Close up of the texture.

Second coat finished. Went on nice and thick, and texture looks great. I'll have enough to do one more coat on this cabinet, then three coats on the third cabinet. Works out to $35 per cabinet. Not bad at all!
Close up of the texture.
Looks good!I don't they'll move too much. I have them tacked down, the tacks had pretty long legs, don't think they'll come out.
Second coat finished. Went on nice and thick, and texture looks great. I'll have enough to do one more coat on this cabinet, then three coats on the third cabinet. Works out to $35 per cabinet. Not bad at all!
Using regular paint for a prime coat using a pad brush is easier to get an even seal, then only one coat of Duratex is needed.
Saves 1/3 painting time, and about 1/2 the cost.
Last edited:
Just ordered $650 worth of wires and connectors. Ouch!
Ohh well the system will be complete soon! (And im making it so setup will be super easy. 8c wire with 8c speakon connectors each side. Everything shoukd be set up in 15 mins or so)Woohoo!
Ohh well the system will be complete soon! (And im making it so setup will be super easy. 8c wire with 8c speakon connectors each side. Everything shoukd be set up in 15 mins or so)Woohoo!
Last edited:
i think duratex is the same stuff as warnex ,wich whe use on this side of the pond.
that being the case,its waterbased,so the undercoate needs to be waterbased aswell.
or could als mix some duratex with water for the base coat.
that being the case,its waterbased,so the undercoate needs to be waterbased aswell.
or could als mix some duratex with water for the base coat.
No, it sticks well to latex.Thanks!
No problems with the duratex sticking on top of the painted wood?
- Home
- Loudspeakers
- Subwoofers
- $325 Lab 12 based PA tapped horn ~ 35Hz extension