The best solution in this case is to broke the legs of the caps and let it the rest of these legs soldered in place on board. Then the new component may be soldered over in a more convenient way, with much less thermal stress for traces/vias on PCB.
Changing caps goes out fine using an 100W soldering gun and a desolder pump if you have some experience.
hello lucpes tell me exactly where to put the cap. Thanks.
An externally hosted image should be here but it was not working when we last tested it.
I'd say on the second marked cap from left to right. I put my silvered mica 4700pf there and it sounds great.
Last edited:
I have to remove the electrolyte ce57 and I'll put this on mica silver?
Should I just put one or even at the ce72?
Thanks.
Should I just put one or even at the ce72?
Thanks.
This is ok, keep the electrolytic then shorten the leads on the mica and bend them to fit the 5mm space, solder it as an bypass on the back side of the board across the existing electrolytic. Across CE72 - the second cap I marked on the picture.
Last edited:
Then tells me that I have to take two?
One will be sufficient, on the second cap from left to right marked on the pic I put on. 7805 has C-L-C filtering for analog supply of the dac, just try it on the second C.
Silvered mica

Here's the cap soldered across the second cap from the 7805, it's actually an 1500pf, but 4700 should sound better, hope this clears all questions. Hi hi, board looks like it's been to war 🙂
Here's the cap soldered across the second cap from the 7805, it's actually an 1500pf, but 4700 should sound better, hope this clears all questions. Hi hi, board looks like it's been to war 🙂
ASIO pop&crack fix
Here's a little program that fixes pops&cracks when using ASIO under windows 8 and 8.1 by setting the asiohost to realtime priority each second. WASAPI isn't bit perfect at least in FB2k as I tested using the file here which is 30khz and 30khz intermodulation file and I heard a high pitched noise. You should hear nada. Turn your volume down to avoid damaging your tweeters/headphones 🙂 http://people.xiph.org/~xiphmont/demo/30_and_33-long.flac.
Here's a little program that fixes pops&cracks when using ASIO under windows 8 and 8.1 by setting the asiohost to realtime priority each second. WASAPI isn't bit perfect at least in FB2k as I tested using the file here which is 30khz and 30khz intermodulation file and I heard a high pitched noise. You should hear nada. Turn your volume down to avoid damaging your tweeters/headphones 🙂 http://people.xiph.org/~xiphmont/demo/30_and_33-long.flac.
Attachments
Last edited:
Vanguard 0.1ppm 24.576 TCXO
I changed the quartz on the STX for the TCXO today. Used nose pliers to crush the parts to be removed then cleaned the area and made sure nothing's shorted. The shrill in highs is gone, instruments have better separation, bass is more tight. Overall a worthy upgrade. I'm also hearing new things on familiar tracks. I'll post a picture later, I'll let it burn in for a day or two.
I changed the quartz on the STX for the TCXO today. Used nose pliers to crush the parts to be removed then cleaned the area and made sure nothing's shorted. The shrill in highs is gone, instruments have better separation, bass is more tight. Overall a worthy upgrade. I'm also hearing new things on familiar tracks. I'll post a picture later, I'll let it burn in for a day or two.
TCXO
Here it is, I put the V+ from 7805 through a coil of unknown value, the cap is WIMA MKP 0.26uf, shortest paths to gnd and clk are ensured by sticking using epoxy to AV100 processor (dissipation 0.15W as per datasheet so I won't have to worry about heat). Clk is fed through 47R to the point marked in the pic in previous pages. Measurements are about the same but it sounds great 🙂
An externally hosted image should be here but it was not working when we last tested it.
Here it is, I put the V+ from 7805 through a coil of unknown value, the cap is WIMA MKP 0.26uf, shortest paths to gnd and clk are ensured by sticking using epoxy to AV100 processor (dissipation 0.15W as per datasheet so I won't have to worry about heat). Clk is fed through 47R to the point marked in the pic in previous pages. Measurements are about the same but it sounds great 🙂
OSCONS on molex input
Are the OSCONS on the molex power input for 5V only? From what I measured it seems so... I will change them for 1800uf/6.3V Rubycon ZLH if that is the case.
Are the OSCONS on the molex power input for 5V only? From what I measured it seems so... I will change them for 1800uf/6.3V Rubycon ZLH if that is the case.
TCXO decoupling
Added 22uf tantalum axial cap to the TCXO decoupling. And replaced the molex OSCONS for 1000uf 10V Rubycon ZLH... congested soundstage is gone, everything more open. Any idea for the 12V to 5V conversion... 3.3R x 3 series and a tiny cap... I think I'll change them for coils (L) and add a bigger cap to the input of 7805.
Added 22uf tantalum axial cap to the TCXO decoupling. And replaced the molex OSCONS for 1000uf 10V Rubycon ZLH... congested soundstage is gone, everything more open. Any idea for the 12V to 5V conversion... 3.3R x 3 series and a tiny cap... I think I'll change them for coils (L) and add a bigger cap to the input of 7805.
Last edited:
Funny thing is, I didn't decoupled anything, been working fine for almost 2 years, everyday.
I'd love to compare to your card, but to me and some of my mates it sounds much better than I remember the original using my Beyerdynamic DT880 Edition 250ohm headphones.
I'd love to compare to your card, but to me and some of my mates it sounds much better than I remember the original using my Beyerdynamic DT880 Edition 250ohm headphones.
What I mean is, I did some mods on my STX, including OPAMPs and clock, will do the caps for Molex soon. As OPamps been using Bursons, they outperformed anything on IC I have tested on it. I still don't know how Muses sounds, but I don't think they will impress me anyhow.
Been happy probably for over 2 years, time runs so fast I didn't even remember when I got this (STX) card and the fun started. 😀
MLCC
I just added 22uf 16v MLCC 1210 ceramics to the I/V, 5V molex caps, headphone amp electrolytics. Dropjaw in soundstage and doesn't take away any of the 'clarity' of the sound. Bass is right where it should with these compared to MKP or MKT caps.
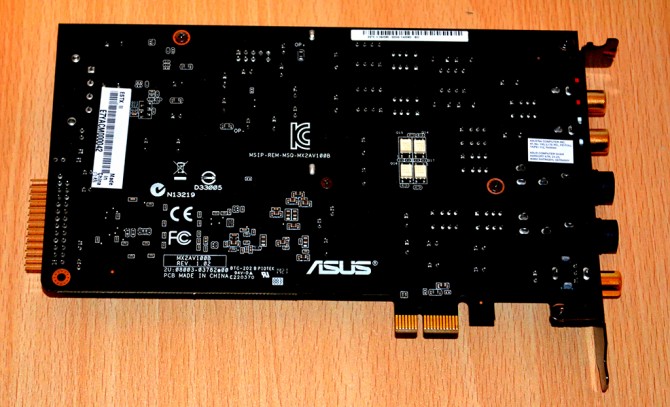
ASUS put additional decoupling (MLCC or tantalum I can't tell) for the headphone amp themselves on the STX II as far as I can tell from this pic...
I just added 22uf 16v MLCC 1210 ceramics to the I/V, 5V molex caps, headphone amp electrolytics. Dropjaw in soundstage and doesn't take away any of the 'clarity' of the sound. Bass is right where it should with these compared to MKP or MKT caps.
ASUS put additional decoupling (MLCC or tantalum I can't tell) for the headphone amp themselves on the STX II as far as I can tell from this pic...
Bigger photo here:
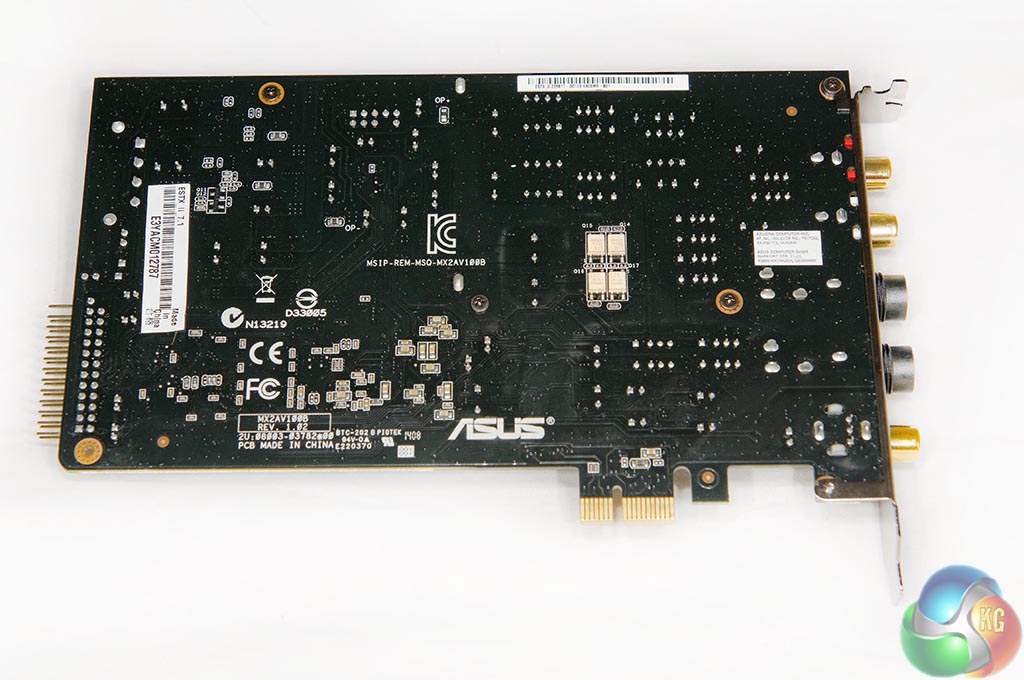
Much more here:
http://www.kitguru.net/components/s...-7-1-sound-card-headphone-amplifier-review/2/
But after all those MODs I made on my STX, I guess my next upgrade will be this:
ºÍ§Ó*µ响
Much more here:
http://www.kitguru.net/components/s...-7-1-sound-card-headphone-amplifier-review/2/
But after all those MODs I made on my STX, I guess my next upgrade will be this:
ºÍ§Ó*µ响
Last edited:
My mod is actually 4 times cheaper than your Chinese suggestion...
Fully electrical isolated from the rest of the computer, redesigned DAC system, with its own ultimate low noise regulators.
If you may go back into the thread, you may see also the battery powered clock board, special designed for this board.
A new final upgraded/improved version of this complete mod it will come out in the next weeks.
The only intervention on the original board is to mount the connector for new DAC system over the original DAC chip, as removing the original resonators, and connecting the coaxes for new clock system.
Send in your ST/STX, and you may have the mod installed. For more details PM me.
Attachments

- Home
- Source & Line
- PC Based
- Xonar ST/STX mods...