Hi lawbiding,
You either maintained the angle, or you kept the back opening @ 2", both would work, I just would like to know for reference.
Regards,
Tb46
This is what my layout looks like. Please let me know if it is correct.

Thanks
Hi,
Just a quick check. I'll look at it some more tonight (?). 🙂 What happened to the 12-7/16" opening?
Regards,
Just a quick check. I'll look at it some more tonight (?). 🙂 What happened to the 12-7/16" opening?
Regards,
Attachments
Last edited:
Hi,
Just a quick check. I'll look at it some more tonight (?). 🙂 What happened to the 12-7/16" opening?
Regards,
Tb46
I don't know how to get the opening to be 12 7/16.I tried a few times with sketchup but I keep getting 11 15/16
Hi Y'all,
I made an updated drawing w/ the new 34.5" width, and the front opening of the slot being 12-7/16". This should provide a little more room to get the drivers in place. I updated all the internal panels to maintain the duct length. The opening from the duct into the driver slot is still 2" wide. Acoustically, there should not be enough of a difference to matter.
Hope this helps.
Regards,
Attachments
Hi Y'all,
I made an updated drawing w/ the new 34.5" width, and the front opening of the slot being 12-7/16". This should provide a little more room to get the drivers in place. I updated all the internal panels to maintain the duct length. The opening from the duct into the driver slot is still 2" wide. Acoustically, there should not be enough of a difference to matter.
Hope this helps.
Regards,
Tb46
Thanks for the drawing I really appreciate it.
Hi lawbiding,
I hope you'll post pictures when you get this build, and maybe even measurements. I think "X" has done a great job w/ this design.
Regards,
I hope you'll post pictures when you get this build, and maybe even measurements. I think "X" has done a great job w/ this design.
Regards,
Hi lawbiding,
I hope you'll post pictures when you get this build, and maybe even measurements. I think "X" has done a great job w/ this design.
Regards,
I will do that.


Hi lawbiding,
Quick work. Make sure all joints are sealed. The 2x4s look good, they were supposed to have an inlet chamfer (rounding) at the inside end of the ducts, but, I'm sure they will work as is.
Keep on digging.
Regards,
Thanks TB46.
Nice! You are a fast builder - I like that🙂
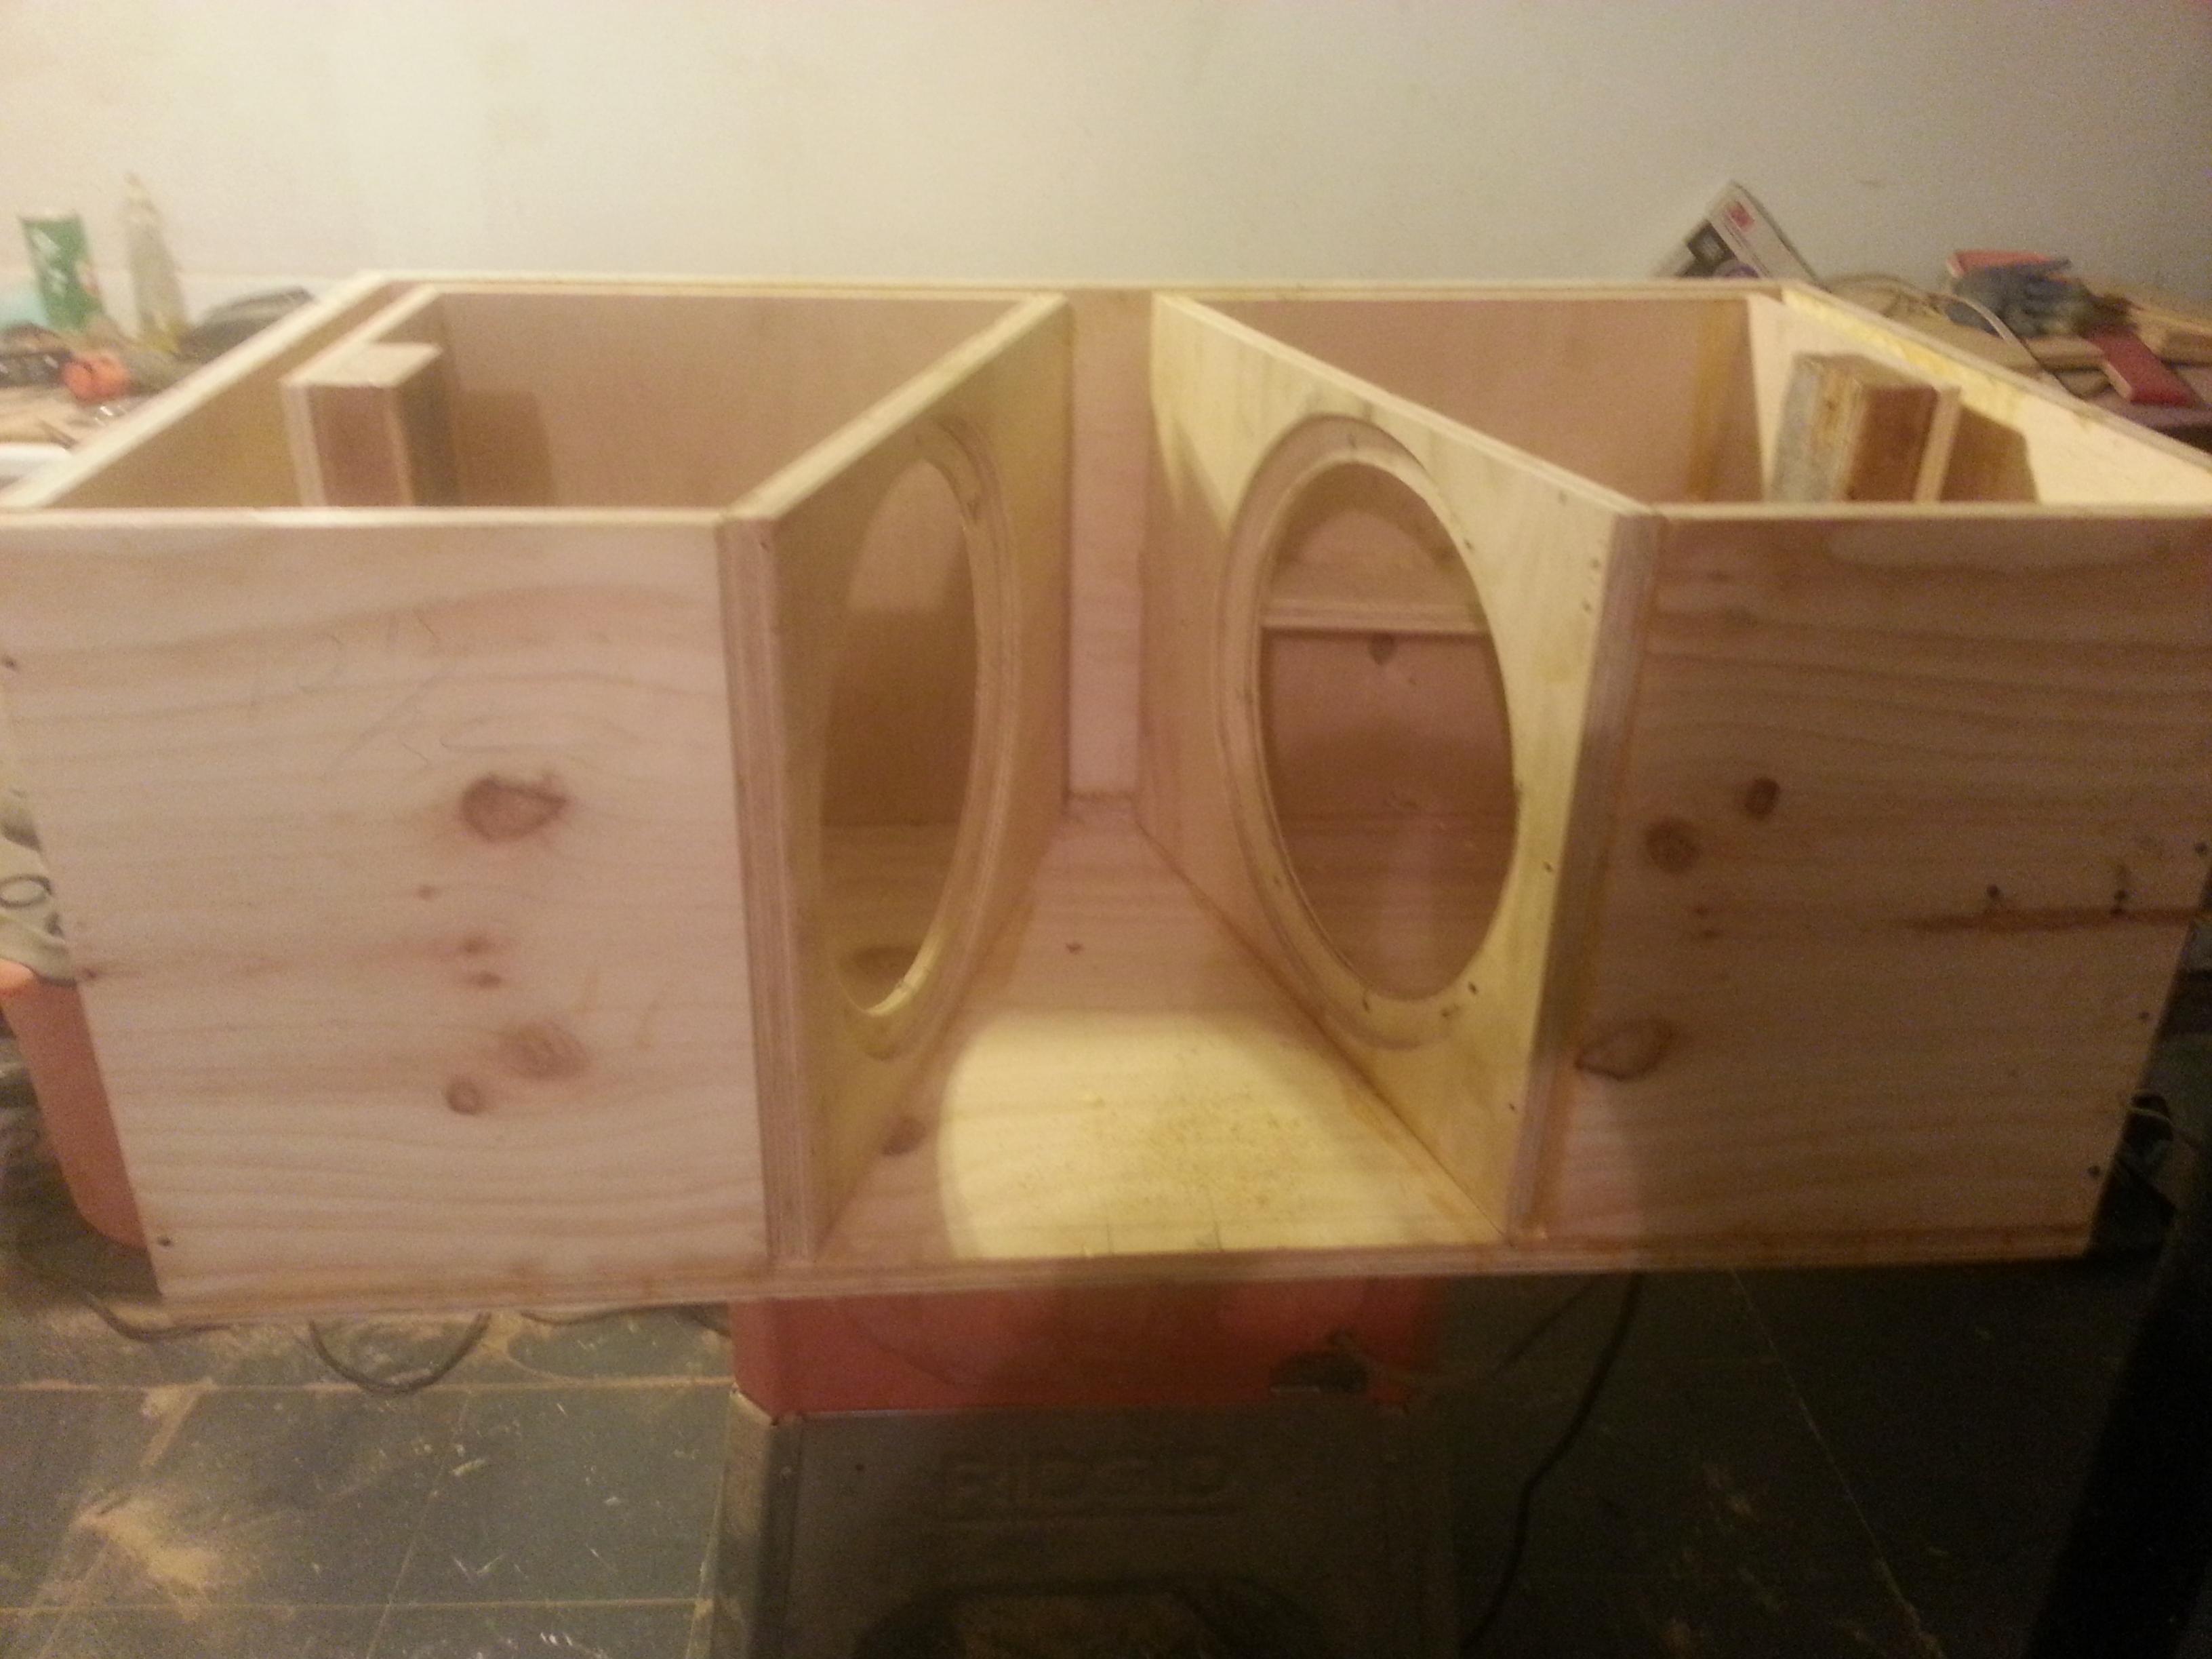
Line 3 internal sides with either polyfill or denim carpet padding should work. Be sure not to let damping material block flow at vent inlet. If you have 1in to 2in thick open cell foam, hot gluing that can work well too. I see you did a rebate on the baffle cutouts - was that to give extra clearance for the cone to move? The thinness of the material leftover for the driver to mount on concerns me. Seems like it could have used the full 3/4in thick material there and only 3/8in is left. I wonder if a ring of wood glued on the inside may be needed to reinforce that area? Also try to put a roundover on the sharp edge where the vents lead to the center expansion. Use a small sanding block or even a razor to avoid that sharp corner.
Looking great!
Last edited:
Nice! You are a fast builder - I like that🙂
I see you did a rebate on the baffle cutouts - was that to give extra clearance for the cone to move? The thinness of the material leftover for the driver to mount on concerns me. Seems like it could have used the full 3/4in thick material there and only 3/8in is left. I wonder if a ring of wood glued on the inside may be needed to reinforce that area? .
Looking great!
Any ideas on how to reinforce the baffle cutout.
Cut a square piece of half inch ply with a hole and glue on the inside. It will reduce volume a tad bit which is not a big deal but more important to have a strong driver mount. That is a lot of force that the drivers push with. In the side with the reverse mount you could put a brace (flat piece of 3/4 in ply with holes) right up against the baffle mount panel if you wanted to.
Hi lawbiding,
Post #98: "...In the side with the reverse mount you could put a brace (flat piece of 3/4 in ply with holes) right up against the baffle mount panel if you wanted to."
I agree with xrk971 you need to reinforce the driver mounts. If you put anything across the driver cutout add scallops (relief) in the driver surround areas, this driver has an extreme amount of displacement. See this thread for woodworking details: Danley DTS-10 "Super Spud" DIY kit - AVS Forum
Regards,
Attachments


- Home
- Loudspeakers
- Subwoofers
- PP Slot Loaded Sub with Alpine SWR 12D2