Well the good news is I have found an alternative to the vacuum pump. Rather than the ($1500) big red bucket I posted photos of earlier, I have a small hand operated system claiming to pull 27 - 30Hg. We need at least 25Hg to effectively remove the bubbles from resin, so this unit at $125 (complete with a vacuum guage) is looking very good.
Of course I still need a vacuum chamber, and today I placed an order with the plastic's guy to build one out of some large diameter PVC pipe off cuts. All that is needed is a base and a lid with a BIG O-Ring.
I should have it all together late next week...
Mark
Of course I still need a vacuum chamber, and today I placed an order with the plastic's guy to build one out of some large diameter PVC pipe off cuts. All that is needed is a base and a lid with a BIG O-Ring.
I should have it all together late next week...
Mark


The hand vacuum pump 🙂
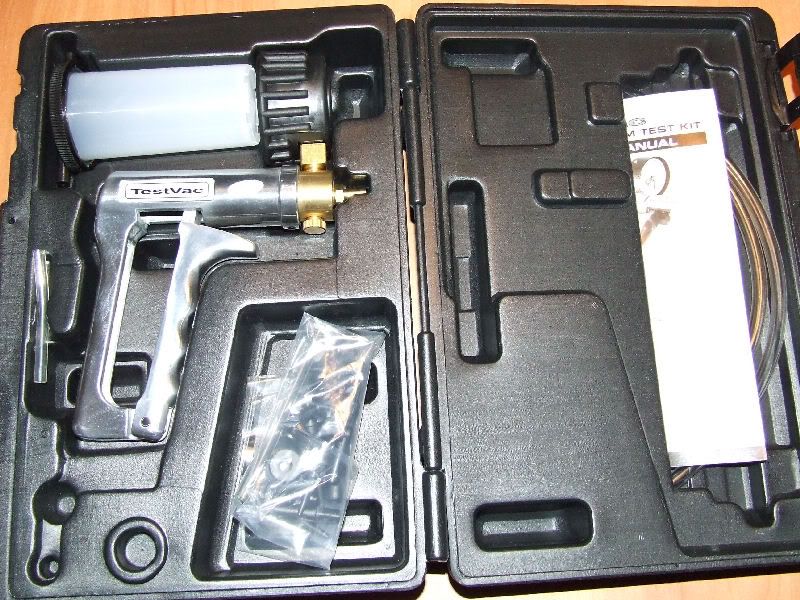
complete with a plastic case. This unit is capable of pulling 27inHg (inHg stands for inches of mercury) so can easily do the required 25inHg needed for degassing the resin. Testing it tonight and it should maintain that vacuum providing there is no leaks...
Mark
complete with a plastic case. This unit is capable of pulling 27inHg (inHg stands for inches of mercury) so can easily do the required 25inHg needed for degassing the resin. Testing it tonight and it should maintain that vacuum providing there is no leaks...
Mark
An externally hosted image should be here but it was not working when we last tested it.
How come these guys are not making prisms?
A 4" cube costs $110USD and 1 cube easily makes 2 prisms...
Mark
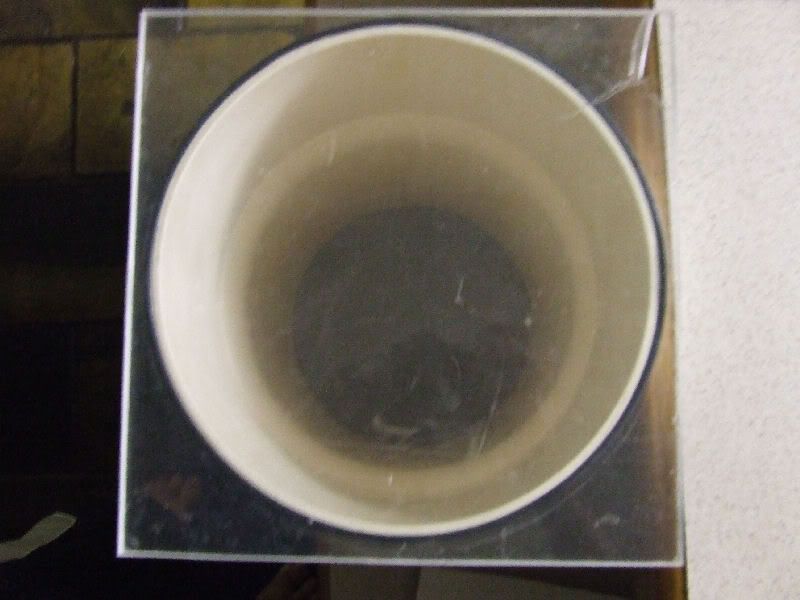
Today I picked up the Vacuum Chamber. It is basically a 300mm PVC pipe with a plate welded to the base. An O-Ring and Perspex lid complete the kit. Pretty hard work de-pressurizing with a hand pump...
That is not a crack BTW, but a tear in the protective lining on the perspex...
Mark
An externally hosted image should be here but it was not working when we last tested it.
That is not a crack BTW, but a tear in the protective lining on the perspex...
Mark
After a nasty mishap last night (the prism broke and resin leaked 🙁 everywhere) I had a rethink to how to pour these new prisms...
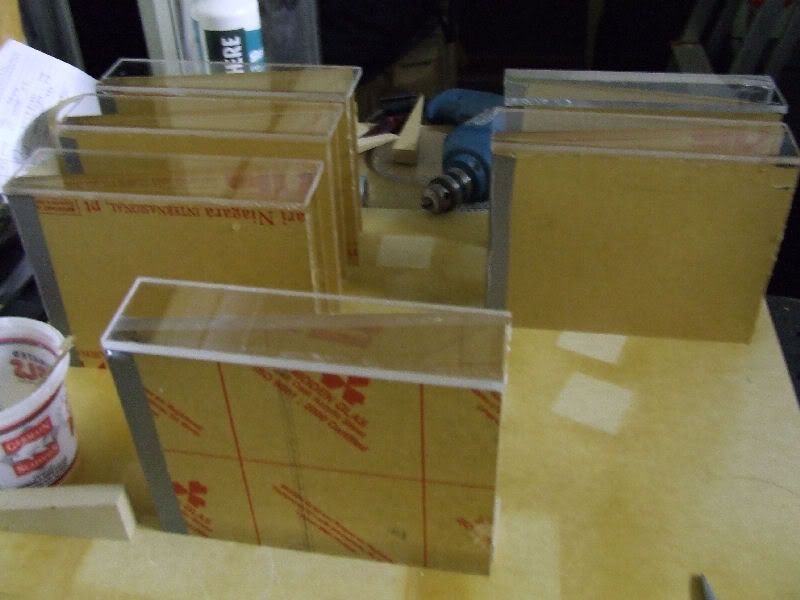
I am making empty prisms first, then will fill them with resin, and then place the full prism into the vacuum chamber to extarct the bubbles. I have found a perfect vessel to use as new small chamber.
Tonight I have made the empty prims. They are basically four peices of perpsex that are glued together using resin made with extra hardener to act as a bonding agent. The left over gel started hissing and smoking. clearly 10% hardener is too much 😀
Mark
Hi Liuwzen,
Welcome to the forum. You would know me better as CAVX on AVSForum. This is one site that I have been documenting my own anamorphic lenses which are prism based...
Mark
Welcome to the forum. You would know me better as CAVX on AVSForum. This is one site that I have been documenting my own anamorphic lenses which are prism based...
Mark
Well so much for just 17inHg 🙁 that the manufactures of this resin recommend. The bubbles just do not move at that vacuum and the chamber is a little to large to be trying to decrease the pressure to more than 25inHg within the pot life which is supposed to be 18min, but I would say is closer to just 8.
So what I have curing is once again two prisms that can not be used becuase they are full of bubbles...
I so need that other unit...
Mark 🙄
So what I have curing is once again two prisms that can not be used becuase they are full of bubbles...
I so need that other unit...
Mark 🙄
I'm sure you know this already, but setting time is primarily determined by the amount of hardner you are using. Short setting times mean higher temperatures during curing as well - Which means that bubbles are enlarged more.
Also, the reason you're probably getting lots of air bubbles is during stirring the hardner in, right?
One way I can think of to do this completely without bubbles is with a drip bag. Cut off most of the gubbins at the tubing end, leaving about 12" of tubing. You'll also probably need to seal the filling hole. Fill it with the resin, remove as much of the air manually as you can. The bag needs to be significantly larger than the volume of the resin you're using for the next step.
Next, take the resin in the bag and support it the wrong way up in your vacuum chamber. Pump it out and leave it until all of the visible bubbles have migrated to the top of the bag.
Now, you're left with a (tiny) air bubble at the top of the bag, hopefully in the hose. Keeping the bag upright (without removing it from the vacuum chamber, but after repressurising, obviously), push this out slowly from the tube. Use the drip regulator to stop the flow of resin.
You now have a bag full of degassed resin. Not much use, huh?
Prepare your perspex mould as usual - Except make it taller than it usually would be in the dimension looking along the V of the shape. Add a hole and pipe nipple at what will be the BOTTOM of the mould. This means that the mould needs to be raised off from the table you're doing this on.
This is the bit which is potentially a problem. You now need to inject the bag with the hardner. I'd use the smallest needle you can get with a syringe. Remove the needle as soon as the right amount of hardner is in the bag and seal with a LARGE patch of duck tape or similar. Remember - If you get this right, resin is oozing out of the hole, so be quick but make sure you get a good seal.
Now, squidge it around to mix the hardner in well. Take 30 seconds or so over this.
Push the end of the pipe onto the nipple on the mould. Release the regulator and squeeze the resin from the bag. Do this as slowly as you possibly can to reduce the number of bubbles that will form on the periphery of the mould. I'd suggest measuring the time-to-set of the resin and making sure you're finished before it starts hardening - Remembering that you're pushing it through a relatively thin tube, therefore it "sets" quicker than you're expecting.
Anyway. Good luck! Hope this gives you some ideas, even if it's not directly applicable.
Cheers,
Allan.
Hi Allan,
Thanks for the tip. I had thought about bagging in the mix, but I still need more vacuum than my pump can pull faster than what I have right now, as the time it takes to reach the needed vacuum is biting right into the pot life of the resin, then it still takes time to pull up the bubbles, but your idea of injecting the hardener seems like a good idea as any bubbles in the un-mixed resin seem to rise fairly quickly on their own...maybe leaving the resin in the bag for an hour of so prior to mixing might work...
I am finding that the resin I am using goes from liquid to gel in less than 18 minutes. Your correct with the bubbles being created during the mixing process as air gets mixed as well as gas from the re-action.
The hand vacuum pump came with a 120ml container that can be used as a vacuum chamber. Today I mixed a small batch (100ml) with minimum hardener (1% / Volume) to delay the gel state, but it still goes off quick when you're in a hurry.
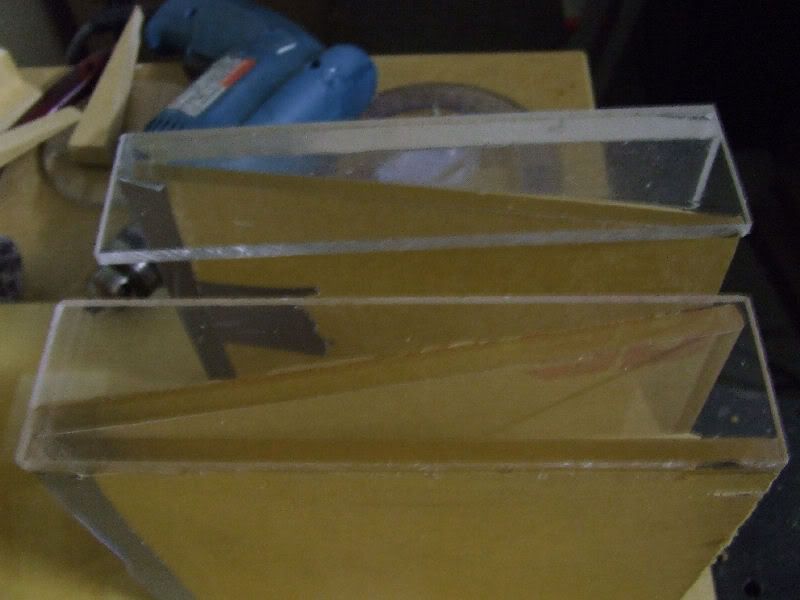
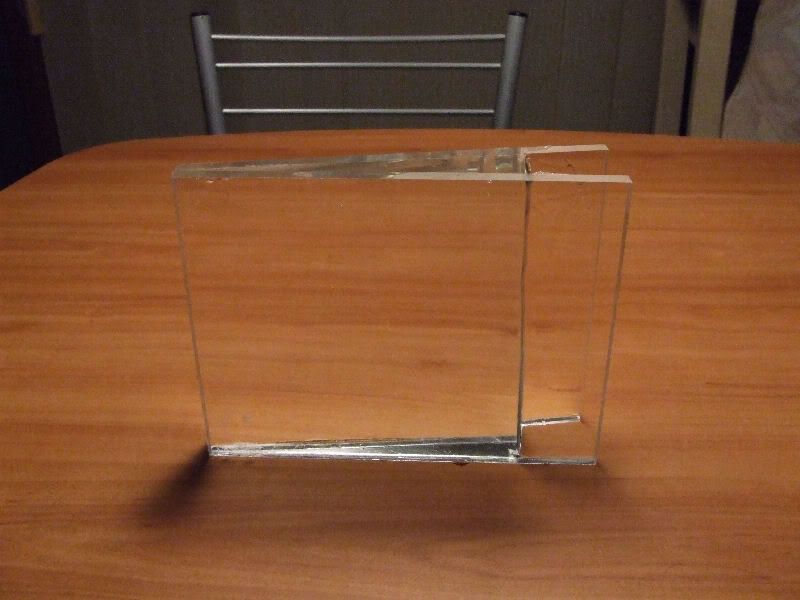
The Perspex wedges -
These wedges were cut with a band saw, and as a result, the blade has a tendancy to wave, so the result is a cut that is not as flat as I would like...
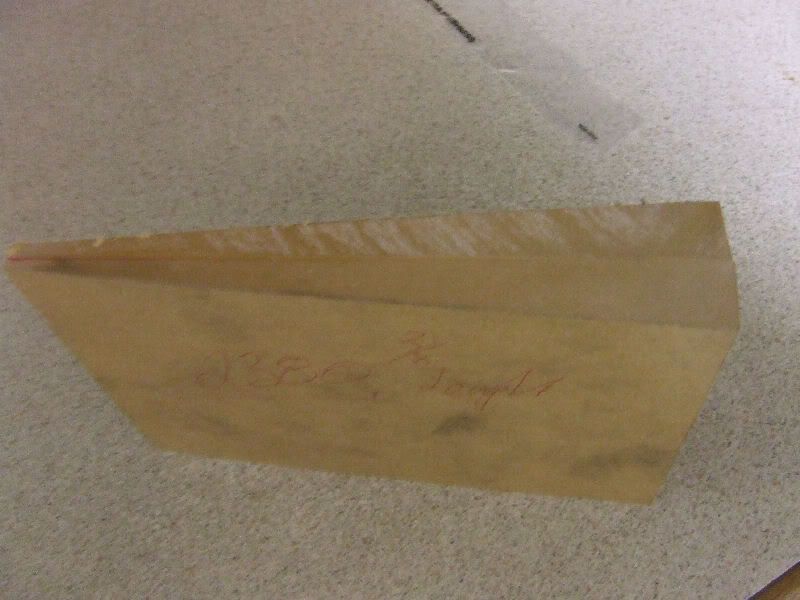
What I did this time was to sand the two wedges of Perspex to a fairly smooth finish, mix up some resin and bond the two halves. I had to peel back the paper on one side to see what was going on inside, and then using a clamp and block of wood, applied pressure which forced the excees resin out the sides. Even though I degassed the resin, there was still some tiny bubbles in the chamber and time was not on my side...
Squeezing the job together was a bit messy, but it took most if not all the bubbles with it as well.
This process is slow because this job will need to remain under pressure for the entire curing time.
There is a bag laminating system that claims to place up to 3000 cubic inches of pressure on the job. It is desiged for exactly what I am doing, but I didn't like the look of the pump that came with the kit...
Anyway, in about 12 hours, we will see if this idea worked or should I go back to the drawing board...
Mark
Thanks for the tip. I had thought about bagging in the mix, but I still need more vacuum than my pump can pull faster than what I have right now, as the time it takes to reach the needed vacuum is biting right into the pot life of the resin, then it still takes time to pull up the bubbles, but your idea of injecting the hardener seems like a good idea as any bubbles in the un-mixed resin seem to rise fairly quickly on their own...maybe leaving the resin in the bag for an hour of so prior to mixing might work...
I am finding that the resin I am using goes from liquid to gel in less than 18 minutes. Your correct with the bubbles being created during the mixing process as air gets mixed as well as gas from the re-action.
The hand vacuum pump came with a 120ml container that can be used as a vacuum chamber. Today I mixed a small batch (100ml) with minimum hardener (1% / Volume) to delay the gel state, but it still goes off quick when you're in a hurry.
The Perspex wedges -
These wedges were cut with a band saw, and as a result, the blade has a tendancy to wave, so the result is a cut that is not as flat as I would like...
What I did this time was to sand the two wedges of Perspex to a fairly smooth finish, mix up some resin and bond the two halves. I had to peel back the paper on one side to see what was going on inside, and then using a clamp and block of wood, applied pressure which forced the excees resin out the sides. Even though I degassed the resin, there was still some tiny bubbles in the chamber and time was not on my side...
Squeezing the job together was a bit messy, but it took most if not all the bubbles with it as well.
This process is slow because this job will need to remain under pressure for the entire curing time.
There is a bag laminating system that claims to place up to 3000 cubic inches of pressure on the job. It is desiged for exactly what I am doing, but I didn't like the look of the pump that came with the kit...
Anyway, in about 12 hours, we will see if this idea worked or should I go back to the drawing board...
Mark
here are the lastest results of the resin casting. Bubble free thanks to the vacuum pump...
Mark
Very interested in all things DIY--especially anamorphic lenses. Was onto the resin idea last year, but events conspired to keep me from pursuing (having a third child has basically removed any spare time I have).
But I have recently found this thread (after spending most of my time on the AVS forum). One thought I had about removing the bubbles from resin--is it possible to do it without resorting to a vacuum? What about using activated carbon, or something similar that can be dipped into the hardening resin to "catch" the gas bubbles as they are forming.
Not having seen the process, I have no idea whether the bubbles form progressively, whether they are there to start, etc. Just a thought...
The bubbles are from two sources.
First and smallest are those from the disolved gasses in the resin as it's shipped.
Then, the bubbles which are unavoidably created when normally mixing / pouring the hardner.
These bubbles obviously exist in the resin when it's poured into the mould - However, neither is necessarily visible at that point.
During the curing process, the temperature of the resin increases dramatically. This causes any existing bubbles to expand. Since the resin is still hot when it solidifies, these bubbles remain at their larger size.
Cheers,
Allan.
- Home
- General Interest
- Everything Else
- The Moving Image
- Optics
- DIY anamorphic lens