Good stuff
Mark: Just checking on your progress. Do you have a picture of your prism after vacuum, and after curing? Just wondering if you are seeing any improvements...
Mark: Just checking on your progress. Do you have a picture of your prism after vacuum, and after curing? Just wondering if you are seeing any improvements...
Hi Steve,
The best result so far is the prism I made on post 537 of this thread. The one I made last week looks beter than the prism on 542 (less bubbles but not bubble free) but can not be used due to crazy cracks on the inside of the Pespex.
I have had this crazy cracking before, so tried out a combination of Perspex and Plexiglas (one of each per side) and it appeared that the Plexiglas is OK...
My biggest problem is that the resin is too thick, and I need a thinner product that not only pours easier, but will allow the vacuum to draw the bubbles...
Mark
I need a thinner product that not only pours easier, but will allow the vacuum to draw the bubbles
And I think I found it...I have made a new batch of molds tonight (using the hot glue gun - can't believe no-one did that before), so will have a go with this new resin and see how it all goes.
I bought this resin off a new supplier that manufactures their own product just west of where I live. It was even cheaper than the other resin, and the sales guys seemed to know their stuff 🙂 so hopefully I will have good news...
Mark
Thanks for the feedback. Very interested in what you come up with. The reason I am so interested is that I have had this idea for a while, and actually bought some resin and stuff to make the molds. However, nature has conspired to keep my from having any free time to work on anything like this (3 very young children...), so I am now living this project through you--I hope you don't mind.
Good luck.
Good luck.
Steve Scherrer said:Thanks for the feedback. Very interested in what you come up with. The reason I am so interested is that I have had this idea for a while, and actually bought some resin and stuff to make the molds. However, nature has conspired to keep my from having any free time to work on anything like this (3 very young children...), so I am now living this project through you--I hope you don't mind.
Good luck.
I'm actually in much the same boat (minus the three children part). I've been following this really closely so every development is great news. Keep up the good work Mark!
update for those that still care...
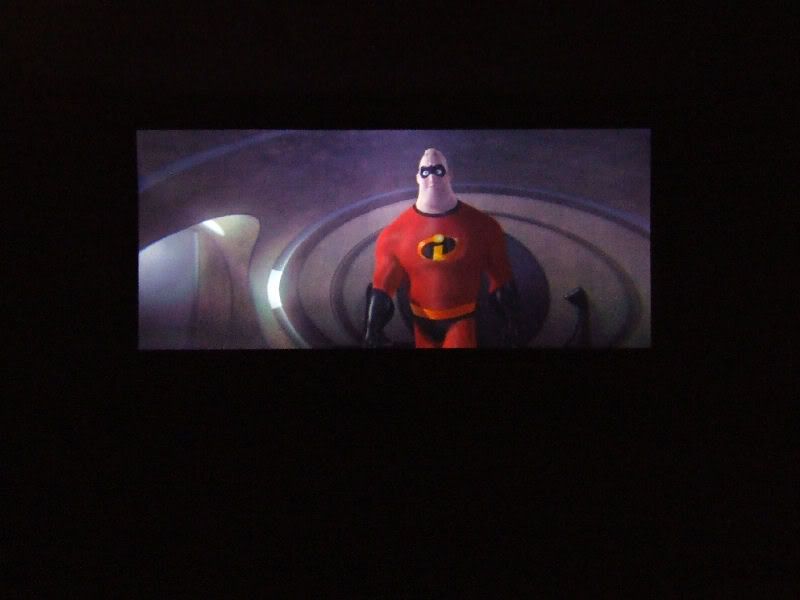
Over the weekend I made some more solid prisms, and here are some photos of the lastest development.
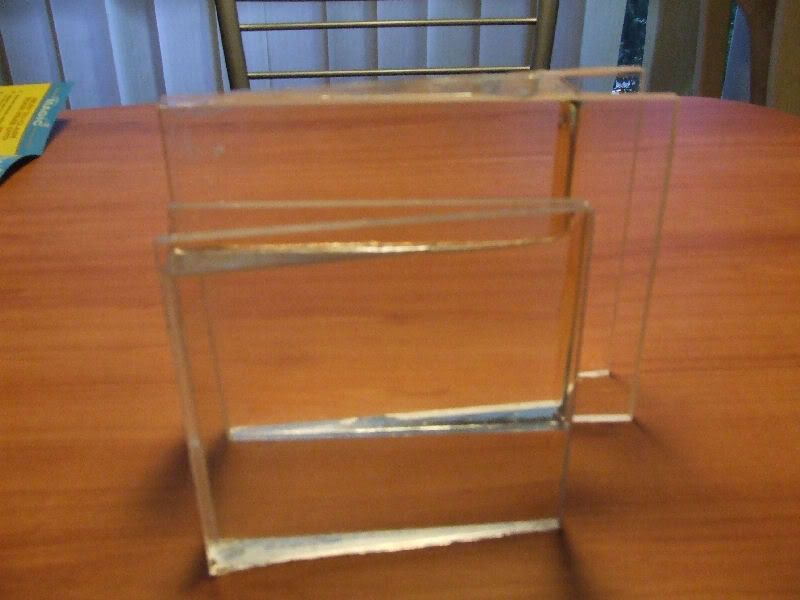
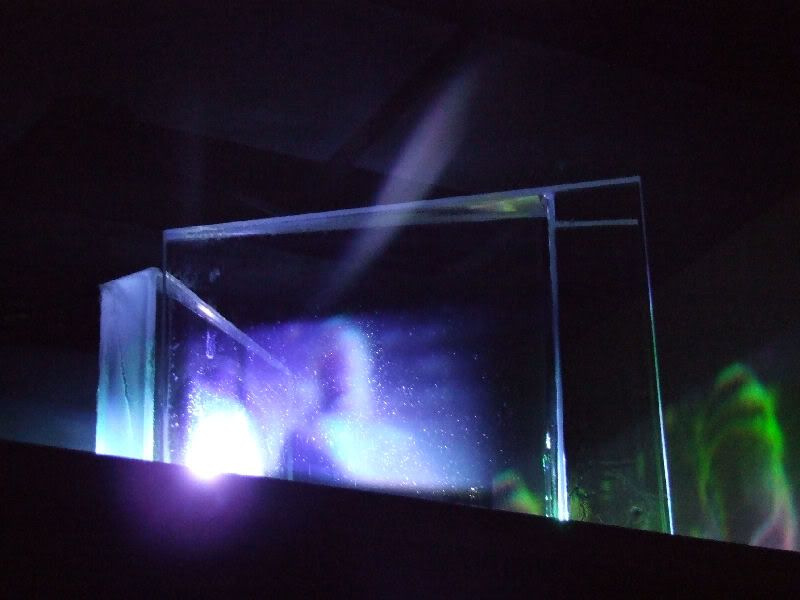
The last time I posted the same frame (pictiured below), there was some light patches caused by the bubbles in the front prism. This time round, both prisms are bubble free, and the prism I am using as the larger front prism is actually the same prism I used as the smaller, rear prism last time.
The good news: The resin for this prism was mixed and poured WITH OUT the need for a vacuum chamber. So it can be done by other DIYers!
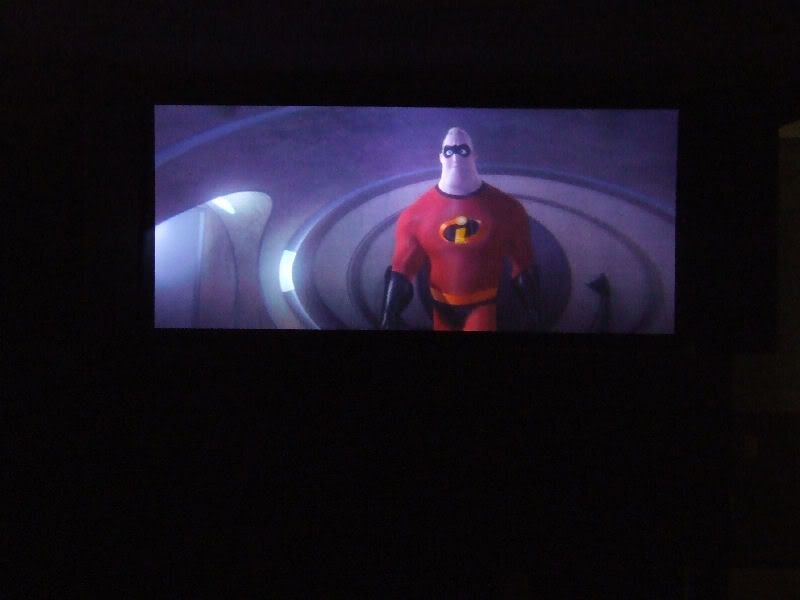
Here is the older attempt...
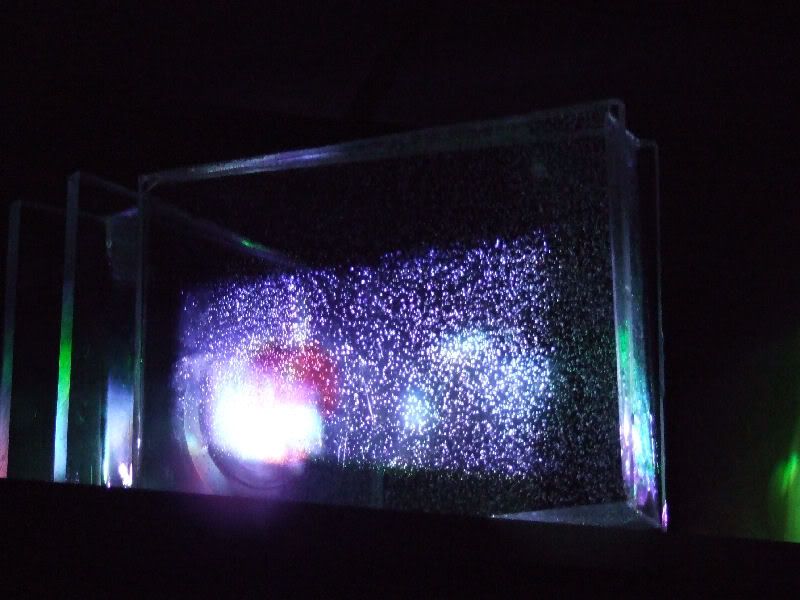
I have used the same camera, but must have used a different light setting, hence why this older shot appears brighter than the latest shots...
Mark
Over the weekend I made some more solid prisms, and here are some photos of the lastest development.
The last time I posted the same frame (pictiured below), there was some light patches caused by the bubbles in the front prism. This time round, both prisms are bubble free, and the prism I am using as the larger front prism is actually the same prism I used as the smaller, rear prism last time.
The good news: The resin for this prism was mixed and poured WITH OUT the need for a vacuum chamber. So it can be done by other DIYers!
Here is the older attempt...
I have used the same camera, but must have used a different light setting, hence why this older shot appears brighter than the latest shots...
Mark


Great work Mark. This looks very promising
You may have just turned the 2.35:1 CIH world upside down

A very special thanks to all that give me positive feedback (the list would like the end credits of a film, but you know how you are🙂) about this project. If it were not for this thread, I might not have even learned how an anamorphic lens works, much less how to make one.
I continue to post here to share what I have learned with others and hope that those that read this thread can follow what myself and others have done...
It would be a treat to read a post from the likes of Hoxford and Tor Arne now...
Mark
I continue to post here to share what I have learned with others and hope that those that read this thread can follow what myself and others have done...
It would be a treat to read a post from the likes of Hoxford and Tor Arne now...
Mark
Mark Techer said:A very special thanks to all that give me positive feedback (the list would like the end credits of a film, but you know how you are🙂) about this project. If it were not for this thread, I might not have even learned how an anamorphic lens works, much less how to make one.
I continue to post here to share what I have learned with others and hope that those that read this thread can follow what myself and others have done...
It would be a treat to read a post from the likes of Hoxford and Tor Arne now...
Mark
Great work, Mark! Can you divulge what resin you used?
Sorry, one other request...
I love pictures, but sometimes it is hard to tell exactly what the picture is trying to show without a reference. Do you have liquid-filled professionally manufactured anamorphic lens (Panamorph, etc.) that you can set side-by-side to get a comparison of the clarity? In addition, can you set up this manufacturer's anamorphic lens with the image shining through it so we can see how it compares to the solid prisms?
I love the solid prisms, in that they are so much thinner, and would not leak, obviously. I would imagine, however, that liquid-filled prisms are cleared, in that they would not be subject to imperfections within the substrate like the solid-filled prisms would be.
Steve,
The casting resin I used is made in Australia by Fibreglass International. It is a "clear casting resin". There does not appear to be any further details from the can apart from a batch number and emergengy medical information - should it be swallowed, come in contact with the eyes etc.
I suspect that there would be an equivalant in your country, though the sales did suggest that if this did not work, that Surf Board finishing resin is the most clear, most liquid resins around, as they are intended to be poured on as a finish coat.
This resin was very liquid, much more so than the previous clear casting resins I had been using. Once mixed, this product poured like a fine machine oil, and not a syrip like the other stuff did.
I am no expert on casting so any information I post is simply based on experiences that I have had. To get the bubble free pour is mostly technique, but I think having the correct product helps as well. And that technique also includes the mixing of the hardener, as impropper mixing technique will by defaut mix air into the resin, causing bubbles.
Surfing the net about vacuum chambers, and I found a product that allows the resin and hardener to be mixed under vacuum!
Whilst there is a slight difference between the water prisms and the solid casts I have made, both seem to have about the same clarity. My problem now is crazy cracks appearing on the inside surface of the prisms. Whilst holding the prism in your hand, the light passes without any problems, but at distance, the fine cracks give the illusion that the prism is foggy and might cuase a slight defocus to the projected image.
There are many explainations for this ranging from a possible chemical reaction between the resin and the Pespex (Plexiglas did not seem to be affected here) to thermal differences due to the exothermic nature of the casting resin Vs the ambient air temp whist it set. I also think that some of these crack are stress related due to contraction of the resin when it has set.
I might give 2mm glass a try and see if that solves this problem...
Lastly, no I do not own a pro made lens, and is why I am building one. Having seen the Prismasonic H1200 (4 prism lens), my casts are not as clear as their solid optical glass prisms, nor should Perspex sufaces be expected to be as clear. You get what you pay for, and given the price of the H1200, DIY is certainly the more cost effective approach.
Resin casting and the DIY lens works, with little CA and providing I can solve the crazy crack issue, will certainly be a viable solution for those looking to solid prisms as an alternative to liquid filled prisms...
Mark
Mark,
Have you considered making the molds slightly larger, and lining them with greaseproof baking paper?
With any luck, you could have a prism made of pure resin that will hopefully be free of the crazy cracks that you speak of.
Have you considered making the molds slightly larger, and lining them with greaseproof baking paper?
With any luck, you could have a prism made of pure resin that will hopefully be free of the crazy cracks that you speak of.
Yes I have and today I was looking for glass that could be used with a release agent. The resin supplier has two types of agent 🙂 a liquid and a wax.
The only problem I see is that if the surface is not 100% flat, then the image will be affected in much the same ways that crazy cracks have. This is why I wanted to leave the mold front and back on the finished product - a very flat surface and no pollishing required 🙂
I still need to test this and will soon enough...
Mark
When I was experimenting with DIY liquid filled prisms, I used anti-reflective glass. Would glass surfaces help with the cracking problem you are having?
for those of us in the North american contient, circa1850 finishing epoxy/resin mix might do the trick, and costs about $15.00 for enough to do multiple lenses. Hard to say, though, I've not looked to see if it is clear enough. OTOH, some of the surfboard resisn and the place they come from (the important bit-likely twice as cheap) might be the way to go, as it is likely only a few bucks more.
Hi guys,
I hoping that the glass (I am inquiring to day about an optically treated anti reflection product) has a better surface adhesion than the Perspex. What I have found is that the resin tends to shrink a bit when it has cured, and as a result seems to be stressed and then tear itself away from the plastic, resulting in these crazy cracks. I'm hoping that the glass is more stabe under the same pressures.
The new resin I worked with the other day is much less viscous than the previous stuff, and actually cost less.
I was also told by the supplier that surfboard finishing resin is the most clear and fine resin of all and should work extremely well but does cost more...
The last pour didn't require the vacuum chamber either, so here is hoping that I have now got my techinque down...
Mark
wow!
Go away for awhile and look what happens! The new kid on the block comes up with a new gameplan! Great stuff Mark, may I ask a few questions, as I am now interested with my new projector to expand horizontally (like an ISCO) rather than compress, have you tried your solid prisms on their sides to see if the image can be expanded without creating new issues?
Lastly, any other advantages to going all solid over liquid filled other than having to deal with leaks?
Hi Jude, good to see you come back 🙂
I've never built Vertical Compression lenses before - all my lens projects have been Horizontal Expansion - though I am interested in VC...So yes, the prisms lay on their sides and when aligned properly create an expansion lens...The interesting part is that their alignment is reversed to the compression lens - P1's apex moves slightly out towards the projector and P2's apex moves in to the thick end of P1 and leaves a steep angle on the front of the lens which looks it should not work, but it does do so quite well...
The beauty here is that the 21:9 image is then actually bigger than the 16:9 image (same height just wider!), and there is no vertcial offset, and because this last set of prisms are large, I have not had the need to tilt the lens either, making installation very simple - in fact just a shelf infront and slightly below the projector has worked a treat...
The idea of using casting resin came from back in the early days of this thread back in 2002, but no-one seemed to follow it up.
Basically all commercial lenses are now solid, including Panamorph which used to have liquid (some type of oil?) filled prisms.
Apart from NOT having to change the fluid (even those that used Glycerol have had to change the liquid) or have leaks, the idea of solid prisms like Prismasonic was always my goal.
Casting with resin is an not an exact science, but rather more of an art form (those in the industry know this) and I have made many mistakes getting to where I am now.
I even bought a vacuum pump and chamber to rid any bubbles, but interestingly enough, if the right resin is mixed and poured correctly, you shouldn't need one...
Mark
Go away for awhile and look what happens! The new kid on the block comes up with a new gameplan! Great stuff Mark, may I ask a few questions, as I am now interested with my new projector to expand horizontally (like an ISCO) rather than compress, have you tried your solid prisms on their sides to see if the image can be expanded without creating new issues?
I've never built Vertical Compression lenses before - all my lens projects have been Horizontal Expansion - though I am interested in VC...So yes, the prisms lay on their sides and when aligned properly create an expansion lens...The interesting part is that their alignment is reversed to the compression lens - P1's apex moves slightly out towards the projector and P2's apex moves in to the thick end of P1 and leaves a steep angle on the front of the lens which looks it should not work, but it does do so quite well...
The beauty here is that the 21:9 image is then actually bigger than the 16:9 image (same height just wider!), and there is no vertcial offset, and because this last set of prisms are large, I have not had the need to tilt the lens either, making installation very simple - in fact just a shelf infront and slightly below the projector has worked a treat...
The idea of using casting resin came from back in the early days of this thread back in 2002, but no-one seemed to follow it up.
Basically all commercial lenses are now solid, including Panamorph which used to have liquid (some type of oil?) filled prisms.
Apart from NOT having to change the fluid (even those that used Glycerol have had to change the liquid) or have leaks, the idea of solid prisms like Prismasonic was always my goal.
Casting with resin is an not an exact science, but rather more of an art form (those in the industry know this) and I have made many mistakes getting to where I am now.
I even bought a vacuum pump and chamber to rid any bubbles, but interestingly enough, if the right resin is mixed and poured correctly, you shouldn't need one...
Mark
stoked
Well I'm stoked now, I'll be studying all that you've written here Mark and will be building my own if I'm able. Have any other folks out there tried following your plans and made one of their own?
Here's a general question to throw out there on the table that I was kind of curious about, which I'm sure is available through searches at avscience... As far as picture quality and artifacts, are there disadvantages to expanding your image horizontally vs. compressing it vertically, or is the final image basically the same, just stretching it a different direction? The example that comes to mind were some "scanline" effects I saw on my old projector, when I compressed the 4:3 image into 16:9 the scanlines "went away" from my seating distance.
- Home
- General Interest
- Everything Else
- The Moving Image
- Optics
- DIY anamorphic lens