screws??....hmmmm maybe some glue....what??, i'm dumb!?......well, ok, that's a little too conventional for me but go for the screws then 😀
<serious mode> In fact I'm waiting for 1.5mm thick 18mm M3 aluminum washers </serious mode>
<serious mode> In fact I'm waiting for 1.5mm thick 18mm M3 aluminum washers </serious mode>
.....
have some old coins around ?
that's pretty much best material for task
Papa’s Koan (M)2 , an amp for living room | Zen Mod Blog
have some old coins around ?
that's pretty much best material for task
Papa’s Koan (M)2 , an amp for living room | Zen Mod Blog
Not sure I should get that much money....You ain't heard me sing 😱......wait!! people would maybe throw me coins if I promise I'll stop singing!😛
Drilling and tapping for the second heatsink.
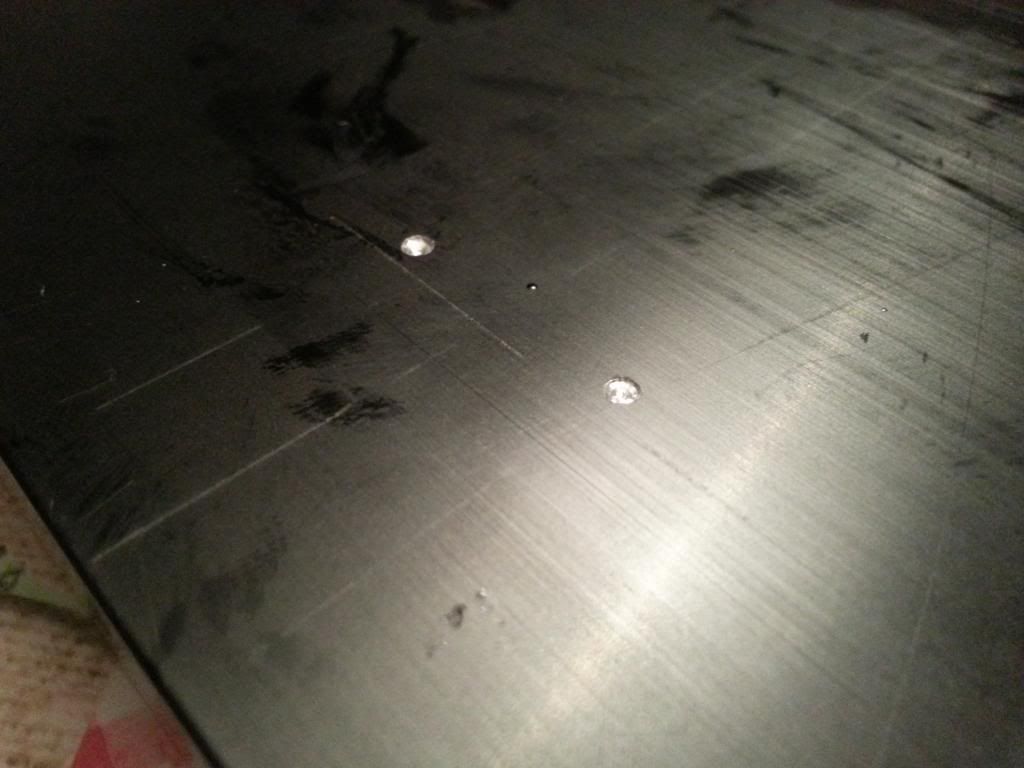
Firstly, I'm tracing on the heatsink to mark the drilling points (by mesuring and positioning the actual bare boards on the heatsink)
Then I'm making "pre-drills" with a hand drill (1mm then 2.5mm) for about 1,5mm depth.
I then use an electric drill on a Wolfcraft mobile drill stand (quite practical) to drill hole of about 6.5mm
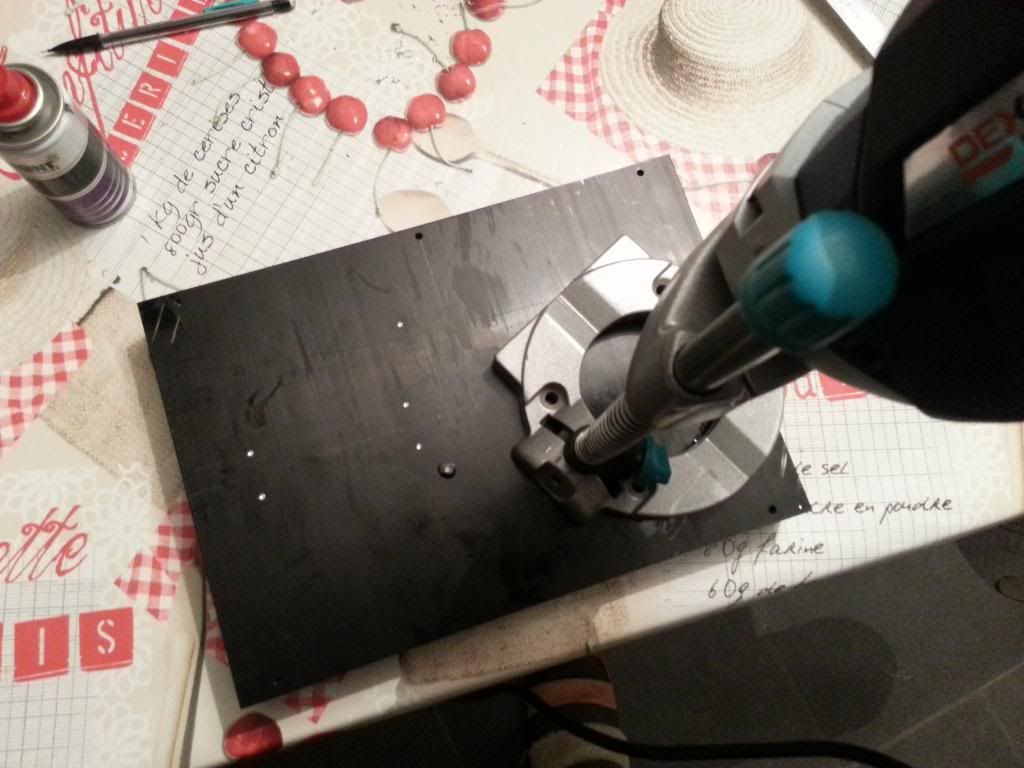
Don't forget to use cutting oil
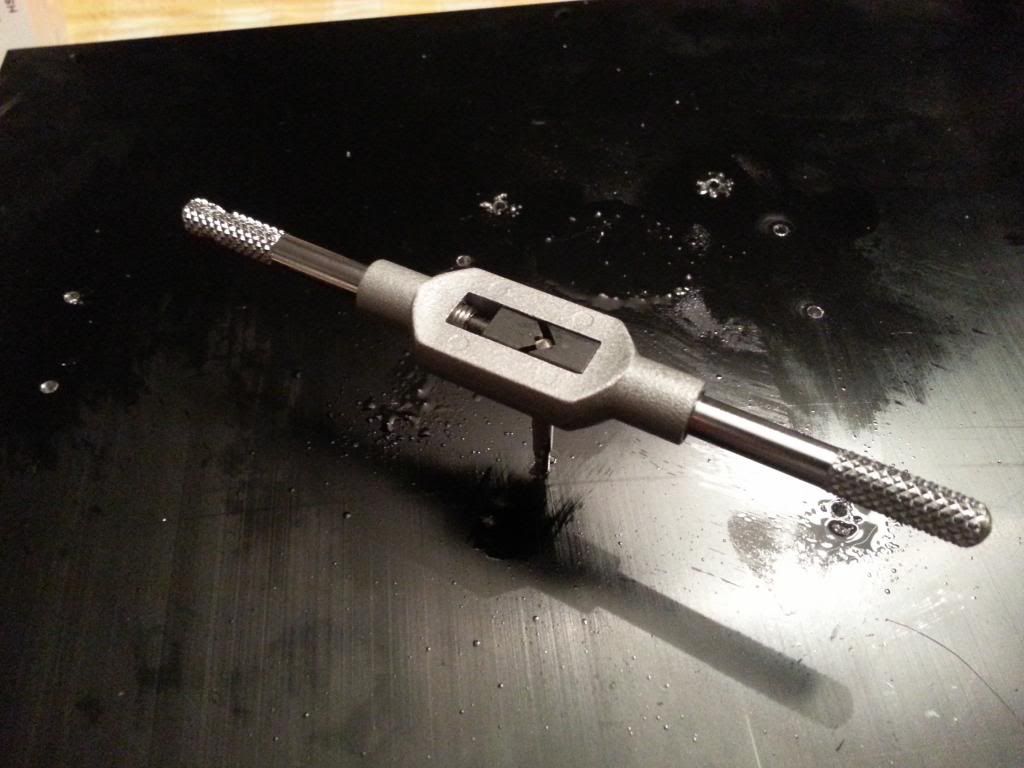
I then use M3 taps to create the threads (use oil here too, and process with caution)
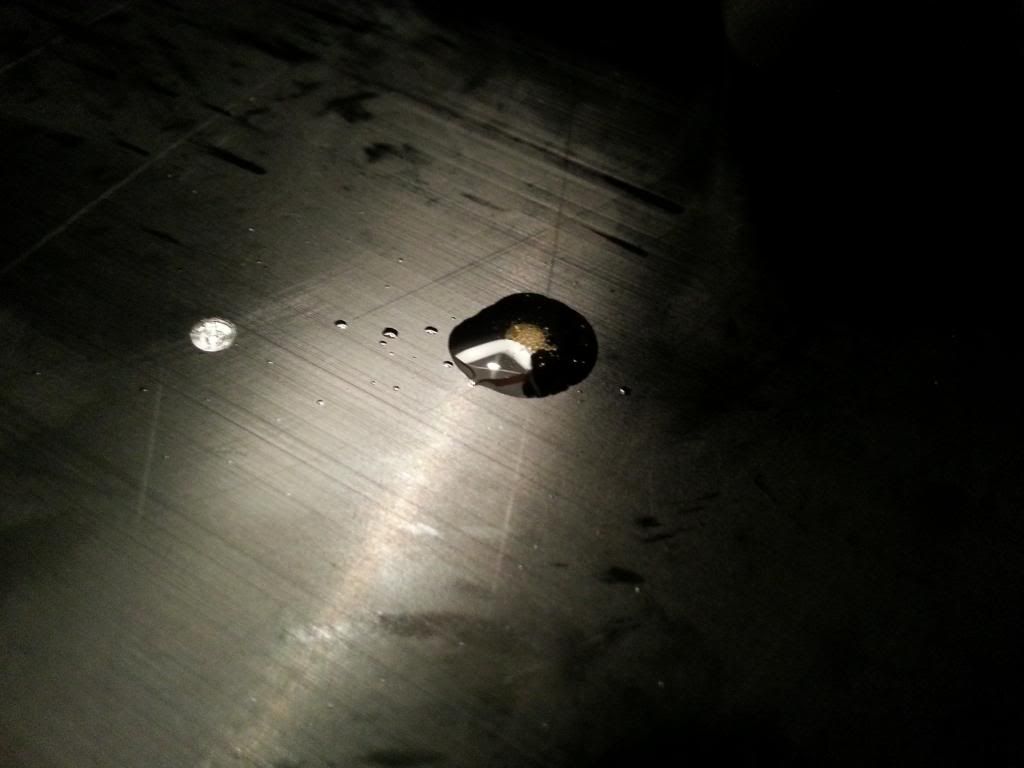
Then...... test fit
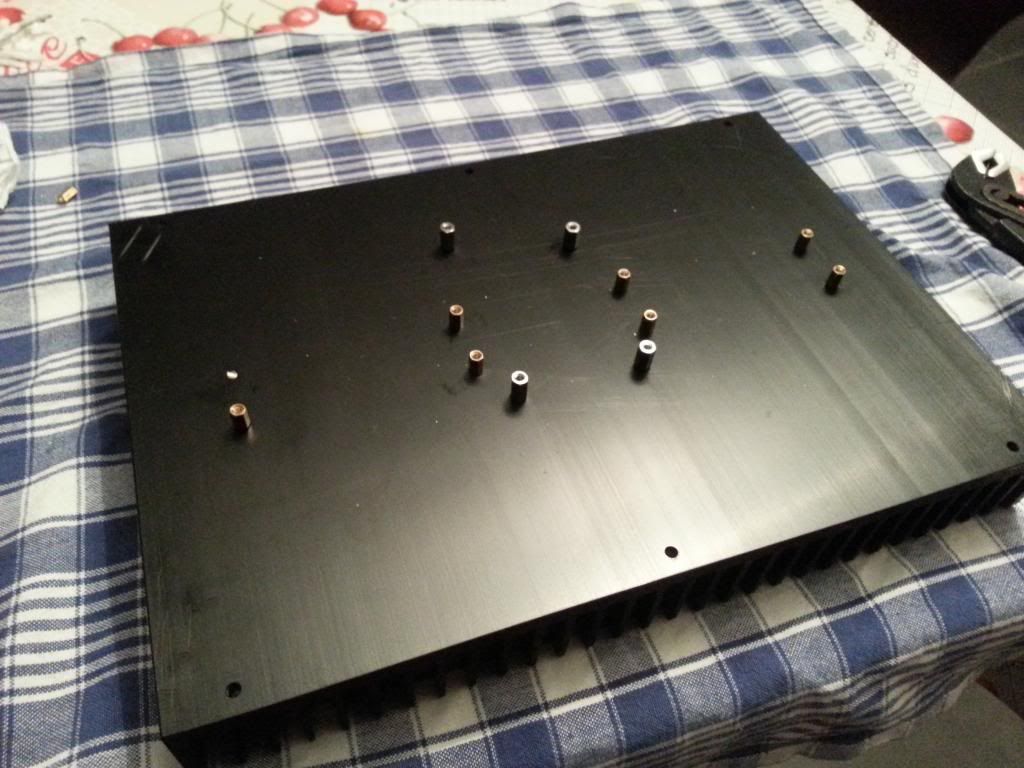
And DAMN SPACER!!!!, too soft, it broke right away 😡
Not too serious, It will not affect the build, it's just ugly.
Firstly, I'm tracing on the heatsink to mark the drilling points (by mesuring and positioning the actual bare boards on the heatsink)
Then I'm making "pre-drills" with a hand drill (1mm then 2.5mm) for about 1,5mm depth.

I then use an electric drill on a Wolfcraft mobile drill stand (quite practical) to drill hole of about 6.5mm


Don't forget to use cutting oil
I then use M3 taps to create the threads (use oil here too, and process with caution)

Then...... test fit

And DAMN SPACER!!!!, too soft, it broke right away 😡

Not too serious, It will not affect the build, it's just ugly.
......
And DAMN SPACER!!!!, too soft, it broke right away 😡..........
welcome my Son , welcome .......... to the Machine
😉
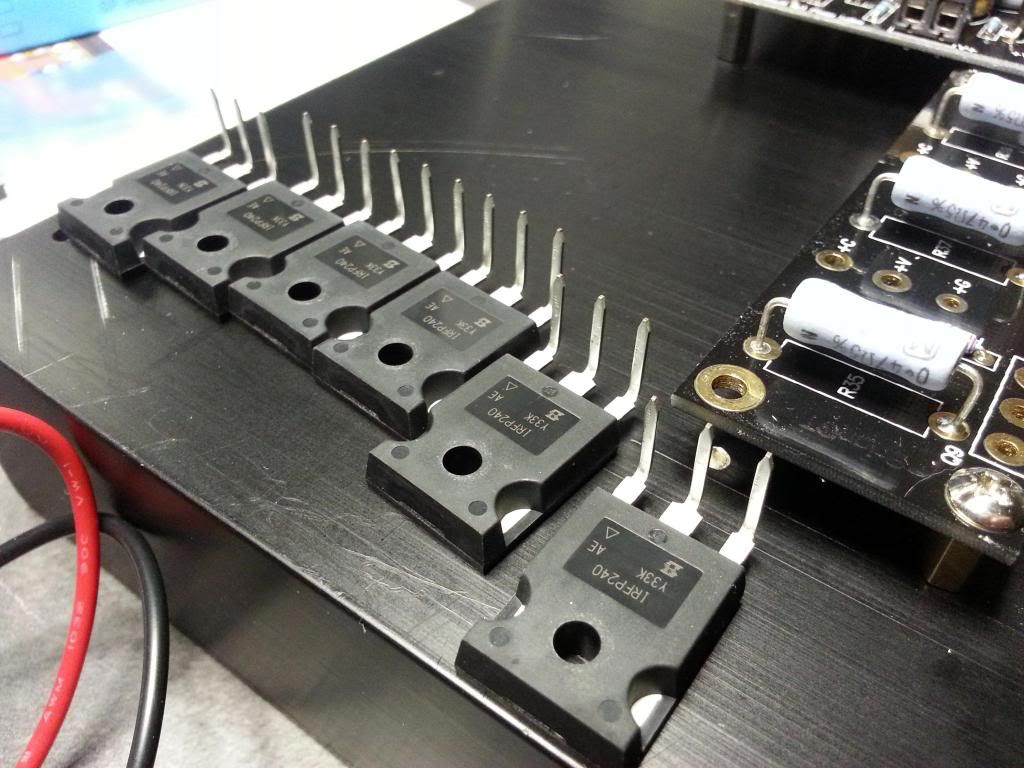
Some picture to show how I bend fets legs.
The idea is to bend them where they became narrower, but you must not bend them 90° straight as it will weaken then, You'd want to apply a curved bending; this is how I proceed:
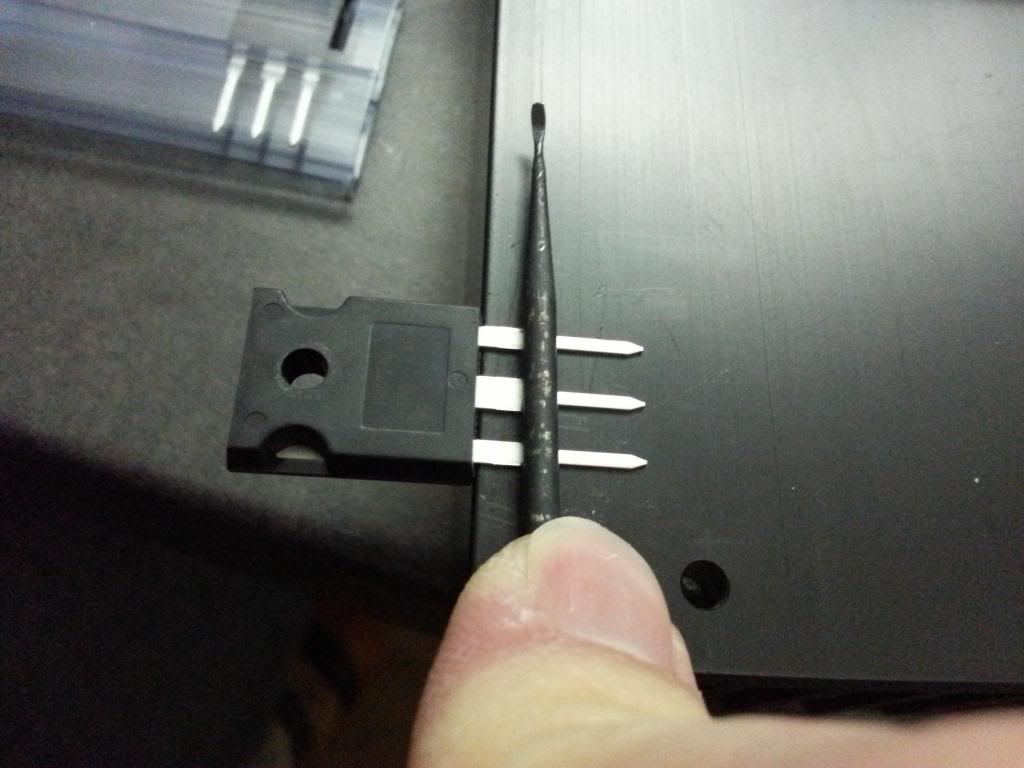
Wedge the fet on the border of your sinks, a table or anything that as a straight angle. Take a thin screwdriver and press it on the fet legs where you want to bend then.
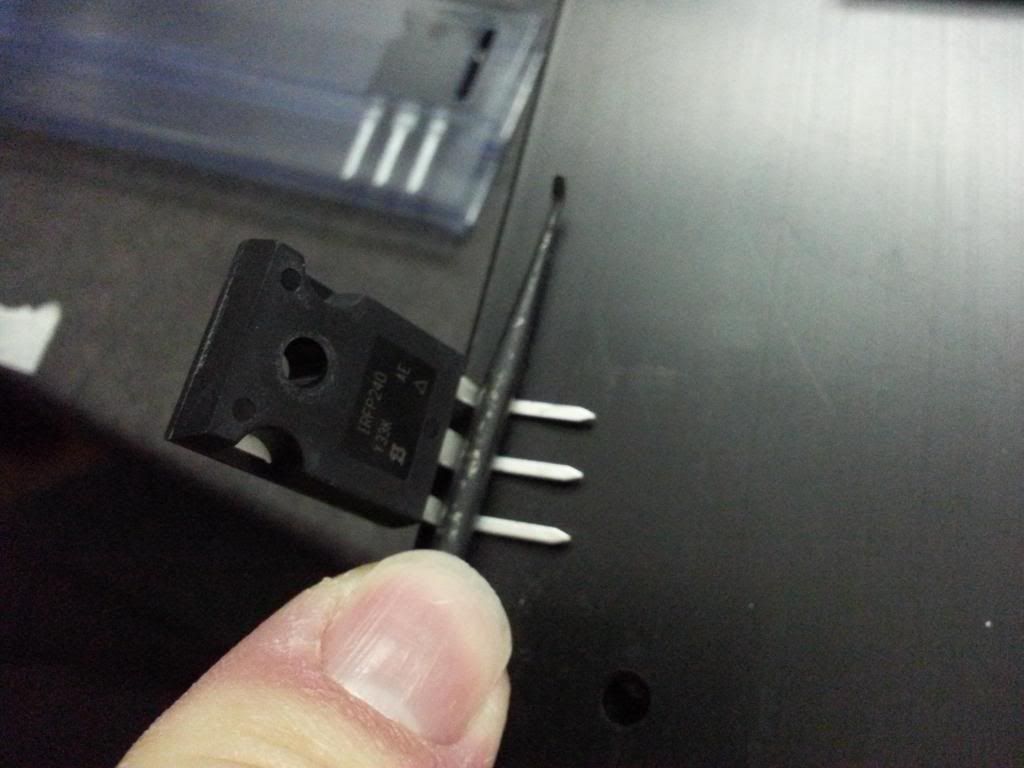
Then gently rise the fet body
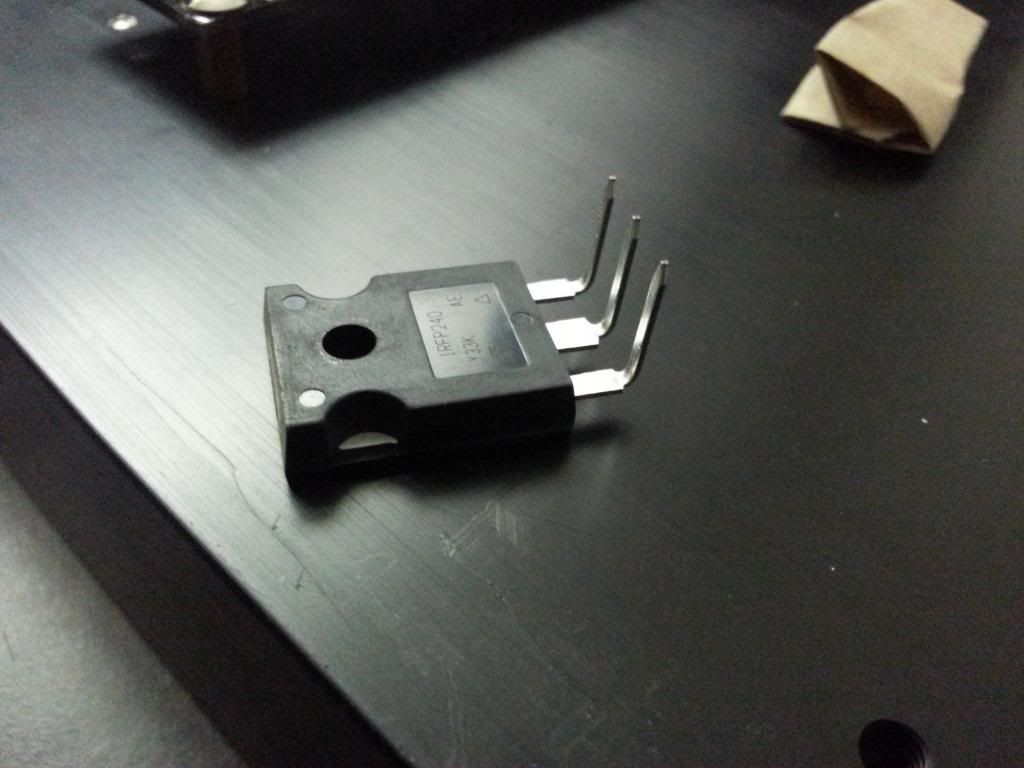
Until you reach 90°.
PS: don't forget to discharge yourself of electrostatics (fets doesn't like that at all)
The idea is to bend them where they became narrower, but you must not bend them 90° straight as it will weaken then, You'd want to apply a curved bending; this is how I proceed:

Wedge the fet on the border of your sinks, a table or anything that as a straight angle. Take a thin screwdriver and press it on the fet legs where you want to bend then.

Then gently rise the fet body

Until you reach 90°.

PS: don't forget to discharge yourself of electrostatics (fets doesn't like that at all)
welcome my Son , welcome .......... to the Machine
😉
😀 but seriously, it made me mad....&#*§ing junk

I go drink something and listen music

I will say it again, Fantastic, Fantastic photos and guide!
🙂 😀 🙂 😀 🙂 😀 🙂 😀
This needs to be assembled into one complete guide when finished.
🙂 😀 🙂 😀 🙂 😀 🙂 😀
This needs to be assembled into one complete guide when finished.
I will say it again, Fantastic, Fantastic photos and guide!
🙂 😀 🙂 😀 🙂 😀 🙂 😀
This needs to be assembled into one complete guide when finished.
Thanks a lot 😉
I was thinking the same thing, and probably add some notes about my errors/mistakes/misunderstandings as a beginner and link to solutions that where given in this thread.
Ok, today, drilling and taping the fets holes on the second heatsink:

Here You can see the marking and the pre-drill

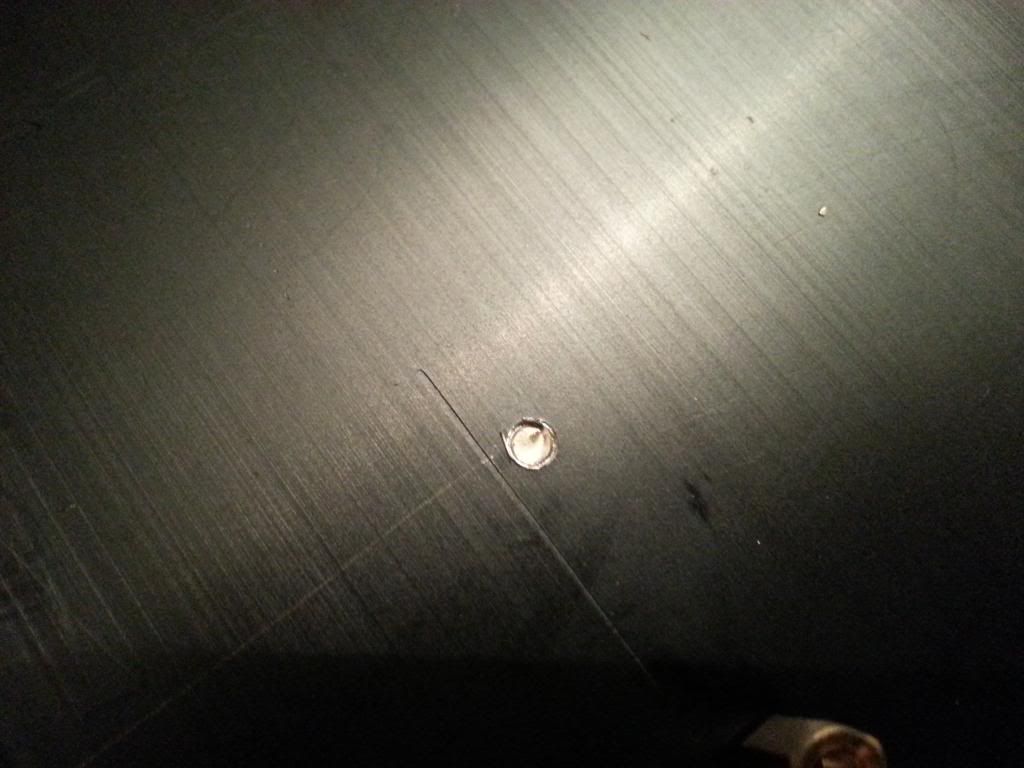
holes drilled, tapped, I added a little chanfer, to keep the surface where I'll fix the fets as flat as possible.

Sanding phase, to remove any bumps and crevices from the surface (grain 600, 1000 and 2000 with soapy water) you have to reach a mirror like surface.
I also repaired the broken spacer accident from yesterday (hand drilling 1mm, then drilling with 2mm, then redoing the tapping but deeper)
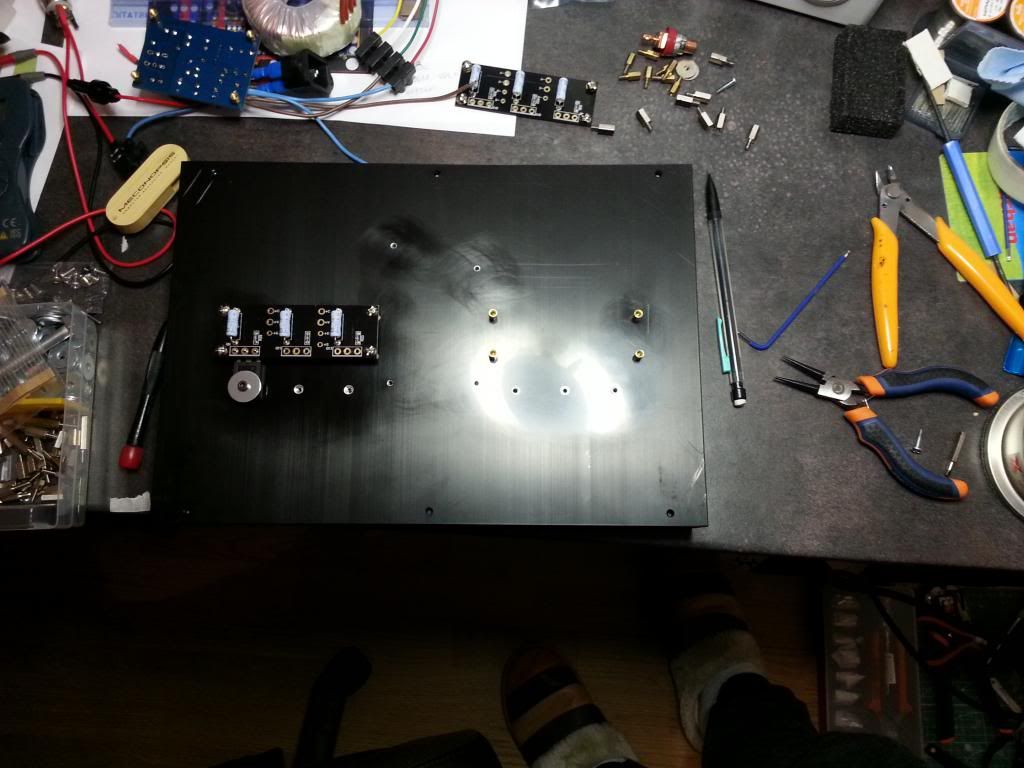
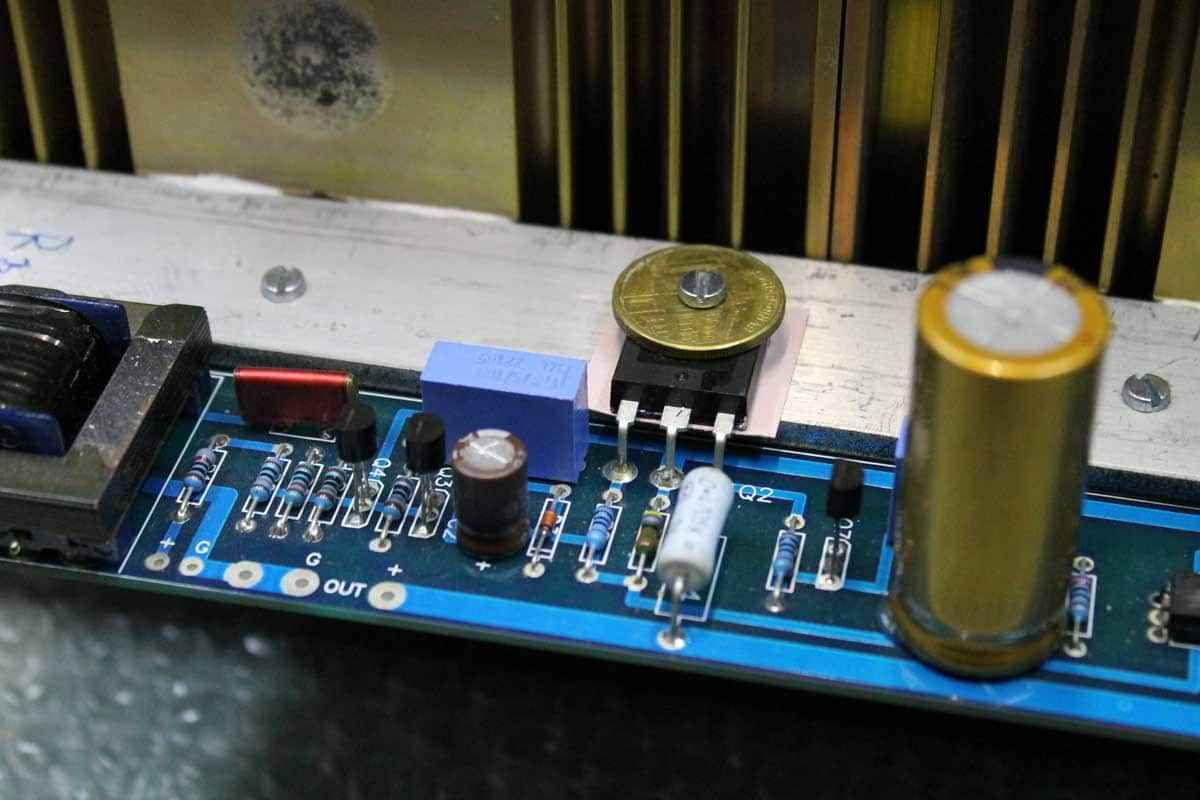
clean isn't it? 😛
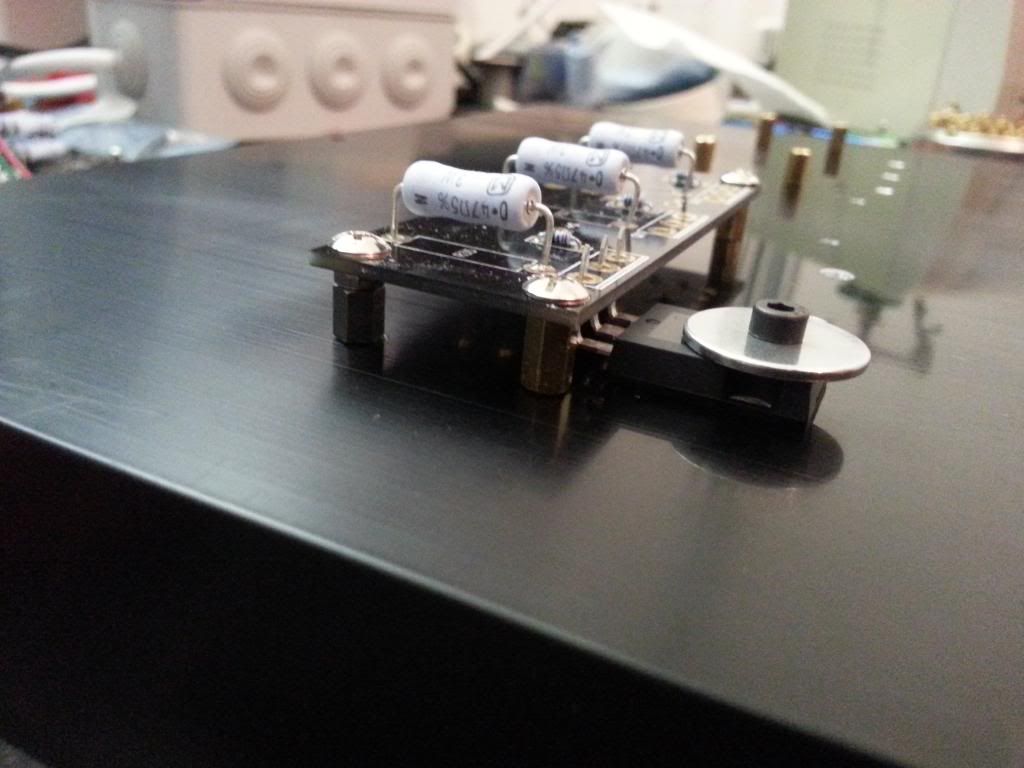
I replaced the 6.5 mm spacer with a 5mm+a nut to fill the repaired hole......perfect!😀
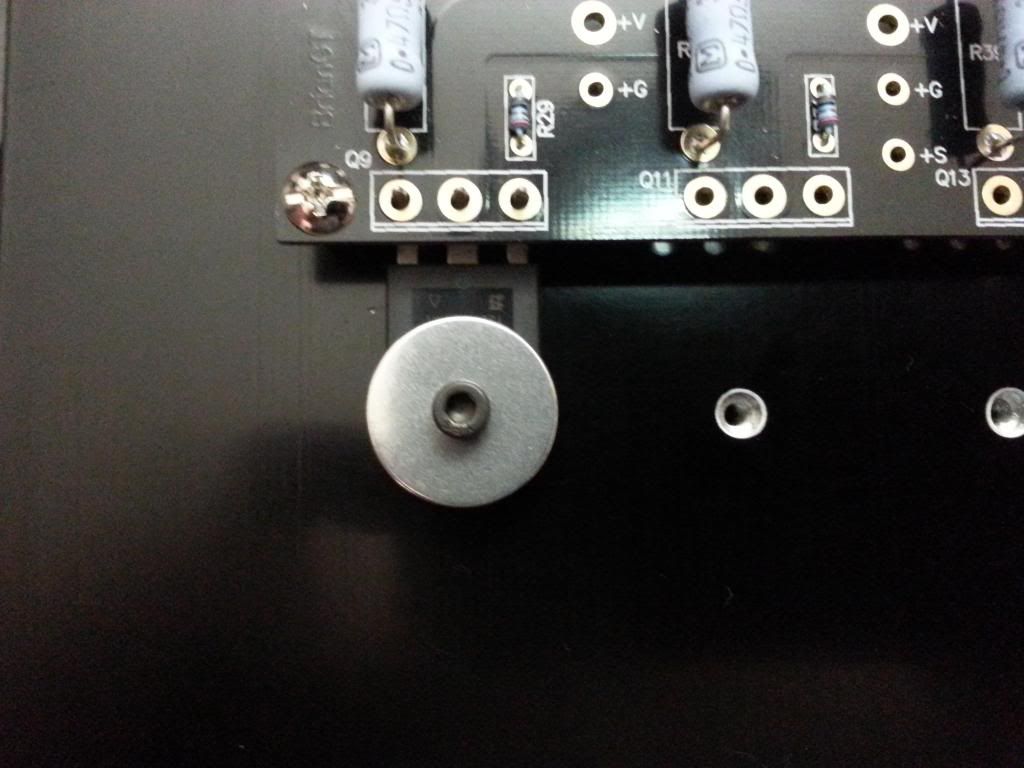
A close up of the 18mm 1.5mm thick aluminum washer

Here You can see the marking and the pre-drill

holes drilled, tapped, I added a little chanfer, to keep the surface where I'll fix the fets as flat as possible.

Sanding phase, to remove any bumps and crevices from the surface (grain 600, 1000 and 2000 with soapy water) you have to reach a mirror like surface.
I also repaired the broken spacer accident from yesterday (hand drilling 1mm, then drilling with 2mm, then redoing the tapping but deeper)

clean isn't it? 😛

I replaced the 6.5 mm spacer with a 5mm+a nut to fill the repaired hole......perfect!😀

A close up of the 18mm 1.5mm thick aluminum washer
Last edited:
As I have a small good quality torque wrench I would like to find out if there is a recommended torque load for securing such devices to heatsinks? Irish logic tells me that if they are all mounted at the same loading, then more equal transfer should occur. But what is the ideal loading?
- Status
- Not open for further replies.
- Home
- Amplifiers
- Pass Labs
- Beginner to build an Aleph30 needs some help