You may want to try to print the petals lying horizontally, not vertically as shown above. You'll see...
Updated for different petal angles, depending on what your printer can handle in one piece -Here's the test: https://at-horns.eu/ext/ST260-petals.zip
Attachments
I could imagine this part being printed with very low density infill and no top layer which could allow a polyuruethane or other liquid damping to fill the cavity
For a final product I would make this almost as a big cylinder, and yes, could be filled easily then.
Have you run any simulations to get an idea of how much of the rear shape needs to be maintained before the performance suffers?
It seems that once there is some roll back, it's actually pretty hard to make it seriously degraded. There were even attempts to put the waveguide almost against a baffle behind it (or to "dive" it through), without much degradation. Not something I would do or like (the smoothness of DI probably suffers at the lower end) but obviously it's quite immune - again, once there is some rolling back.
Last edited:
Updated for different petal angles, depending on what your printer can handle in one piece -
Great! Would it be possible to add some guide "holes" to the parts? Like dia 3mm and depth 5mm or something. Came to think about this as I happen to have 3mm wooden BBQ sticks that I have used before to align stuff using holes for M3 screws.
Is there really a need for that in this case? Such details can be a pain to print accurately and can easily cause more trouble than they solve, IMHO. I'm not very keen on the idea.
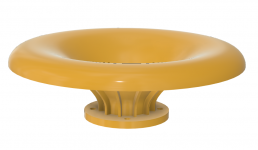
I would first assemble the petals, making a full circle and then attach it to the throat piece. Shouldn't be too difficult.
I would first assemble the petals, making a full circle and then attach it to the throat piece. Shouldn't be too difficult.
Last edited:
Sure, not difficult.
I did use pilot holes in my version of a Paraline. No problems with accuracy.
I did use pilot holes in my version of a Paraline. No problems with accuracy.
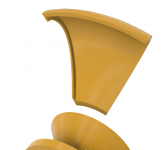
I can imagine adding ribs to the petals, making it easier to fix them together.
Like this (on both sides), maybe even bigger and in the middle as well -
Like this (on both sides), maybe even bigger and in the middle as well -
Attachments
Last edited:
Those would be grat with these:
https://productimages.biltema.com/v1/image/imagebyfilename/86-036_xxl_1.jpg
https://productimages.biltema.com/v1/image/imagebyfilename/86-036_xxl_1.jpg
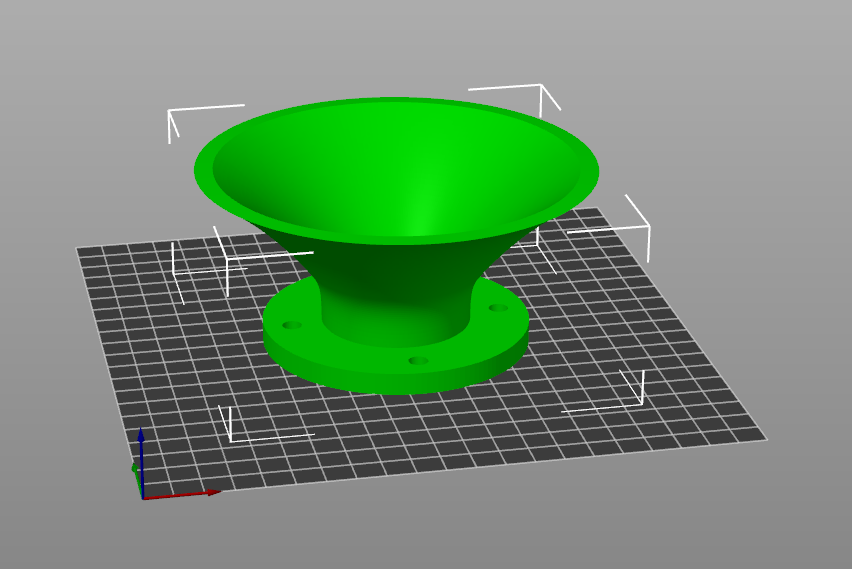
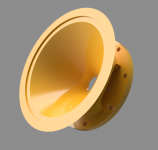
I hadn't any particular driver in mind, other than the size. The throat angle is 19°, which should work fine with just about anything out there.
I don't know the exit angle of the Peerless DFM2535R00-08 - it will hardly get any better than that, IMO. B&C DE500 was also exemplary. But it's all much more similar than different.
I don't know the exit angle of the Peerless DFM2535R00-08 - it will hardly get any better than that, IMO. B&C DE500 was also exemplary. But it's all much more similar than different.
Last edited:
What is the maximum dimensions this way? My printer is tiny . . .
I'm sure this is obvious, but note that you can increase the size of a horn that's printable by just rotating it 45 degrees on the bed.
IE, if your print bed measures 200mm x 200mm, you can print a 282.2mm horn on it by rotating the horn 45 degrees.
I'm sure this is obvious, but note that you can increase the size of a horn that's printable by just rotating it 45 degrees on the bed.
IE, if your print bed measures 200mm x 200mm, you can print a 282.2mm horn on it by rotating the horn 45 degrees.
Yes, I know. But with the thingy printed for adhesion the 150mm is really more like 140mm. Not much room to rotate.
Well well, I stand corrected. It seems to be possible to print the 180deg petal after all.
I´m a total noob whith 3D printing. Studying the slicer slightly more I found a way to fit the thing in to the print area. I didn´t relize that there´s actually 400 parameters and different ways to position the part on the print bed. My history in 3D printing is about 4 weeks . . .
I´m a total noob whith 3D printing. Studying the slicer slightly more I found a way to fit the thing in to the print area. I didn´t relize that there´s actually 400 parameters and different ways to position the part on the print bed. My history in 3D printing is about 4 weeks . . .
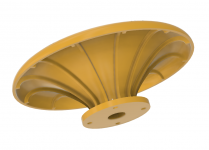
Working on the CE360, will try to build me a pair this way -
Attachments
Last edited:
- Home
- Loudspeakers
- Multi-Way
- Acoustic Horn Design – The Easy Way (Ath4)