Ah, right! I know I forgot something! I take it I should create it if there isn't any at the moment? Or maybe the smps chassis creates it?
Ah, right! I know I forgot something! I take it I should create it if there isn't any at the moment? Or maybe the smps chassis creates it?
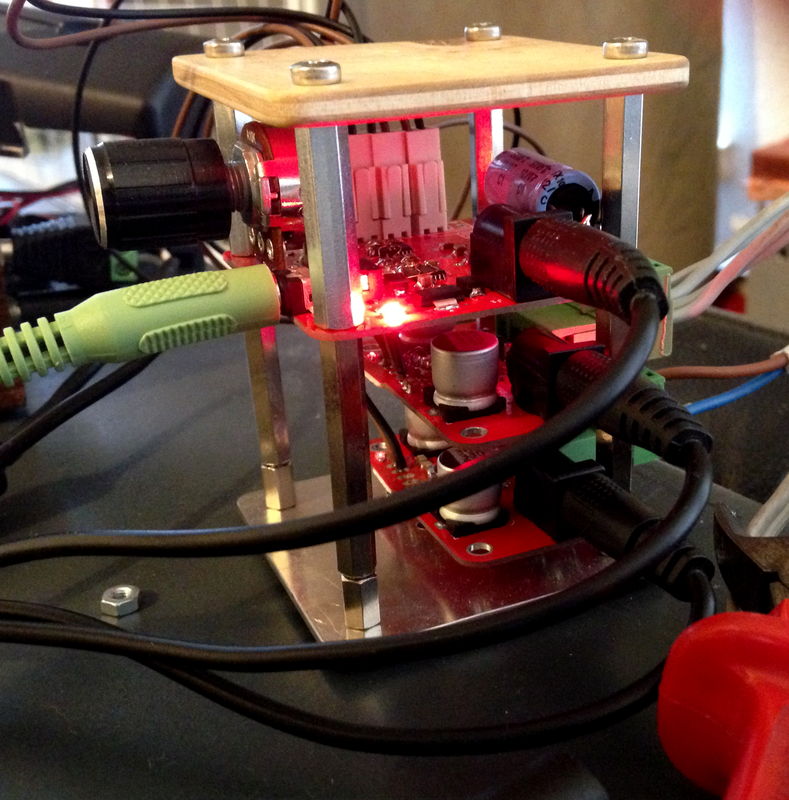
There is a GROUND symbol at one of the SMPS terminals, just run a wire (preferably green in color) from that terminal to any metal point in the chassis. I have mine connected to the bolt/screw holding the PCB base legs to the chassis.
Also bear in mind that anodising is a great insulator. You basically have to sand or file off the anodising to get a good connection where you make the connection with the chassis.
Maybe I'm wrong and someone can correct me. Doesn't the metal chassis of the SMPS grounds itself to the amp chassis via the steel bolts/screws holding the SMPS to the amp chassis?
Thanks for the advice guys, much appreciated. Guangui, that's what I was wondering as well. When I install the chassis ground I will first measure if the smps creates a ground and report back.
Wrong. You first will do a star-earth to the case directly from the power connector. From there you'll connect all case parts (like the top) and the SMPS.
Like so:
Anvil-Preamp (Endmontage)
Have a look at the schematic image here:
Die Elektronik Hobby - Bastelecke
http://www.hobby-bastelecke.de/bilder/projekte/schutzleiteranschluss.gif
Like so:
Anvil-Preamp (Endmontage)
Have a look at the schematic image here:
Die Elektronik Hobby - Bastelecke
http://www.hobby-bastelecke.de/bilder/projekte/schutzleiteranschluss.gif
Thanks for the advice guys, much appreciated. Guangui, that's what I was wondering as well. When I install the chassis ground I will first measure if the smps creates a ground and report back.
Please, check and advice...Thx
Not everyone agree that star ground is a good thing.
It's not signal grounding, it's earthing for protection.
ok - But I haven't seen star ground that way before. All amps I have build just stated one connection to chassis directly from power (bolted with washer and locking nuts, to prevent unintenden disassembling of the chassis bolt from outside - and never use starground for signal)
Thanks for the advice guys, much appreciated. Guangui, that's what I was wondering as well. When I install the chassis ground I will first measure if the smps creates a ground and report back.
Sorry it took so long for me to get back to this. I measured it today and the smps casing is connected to the ground. This means that the mounting bolts and nuts transfer this ground to chassis. But because the chassis is coated it is insulated from this ground. When testing the bare metal (cut through the coating) the whole case is connected to ground.
So, the questions are:
- is there still the need for a separate ground connection?
- and if so, why would that have any benefit over the current connection (since both will be limited to the bare metal - so touching the chassis will not guarantee being connected to ground)
Thanks again.
- is there still the need for a separate ground connection?
If you peeled some of the coating so there is metal to metal connection from the SMPS to the Bolts and to the Chassis, you don't need anything else, but if in doubt just run a ground wire from the ground connection terminal of the SMPS to the chassis.
- and if so, why would that have any benefit over the current connection (since both will be limited to the bare metal - so touching the chassis will not guarantee being connected to ground)
That I cannot answer with certainty, but as mentioned above, when in doubt go for it. It will only cost you a few centimeters of wire.
"200W" Stack, 2x50W + 1x100W TPA3132D2 with active X-Over (200Hz Linkwitz), powering my mobile Boombox. (2x 8" Beyma 8AG/N + 1x 12" MHB12 Sub)
Beymas at 26dB Gain, Sub at 32dB, PVCC=20V.
SPL at 2m, (C-Weight, slow, lp):
104dB, 122dB peak

Beymas at 26dB Gain, Sub at 32dB, PVCC=20V.
SPL at 2m, (C-Weight, slow, lp):
104dB, 122dB peak
Attachments


My Abacus TPA3116 amplifier
where'd you get your speaker protection circuits? Looks great, working on a similar one...
Hi, I have just finished assembling this three channel 2.1 amp with mini DSP for x-over duties. The three L15d's were from kits and mated to the mini DSP, Connex SMPS800re.
I had a spare pair of Mission 771's (wife deemed too big for surround duties!) so those and a 4 ohm Rockford sub (only needs a tiny enclosure) will make a nice upgrade to my PC/spare room 2.1 system.
Pretty happy with the sound but now that it all works I'll start having a play- cap upgrade to amps, soft start to stop speaker popping on power off, bit of gain after DSP and figure out why Ov on the DSP volume pot is not totally silent.
 fixed
fixed some of my amps...
Been busy lately with various TPA3116 and TDA7498 amps 🙂
The first photo shows RasPi server + TPA3116 amp in round cases - I've been working on these far longer than expected... 🙁
Been busy lately with various TPA3116 and TDA7498 amps 🙂
The first photo shows RasPi server + TPA3116 amp in round cases - I've been working on these far longer than expected... 🙁
Attachments

- Home
- Amplifiers
- Class D
- Class D Amp Photo Gallery