
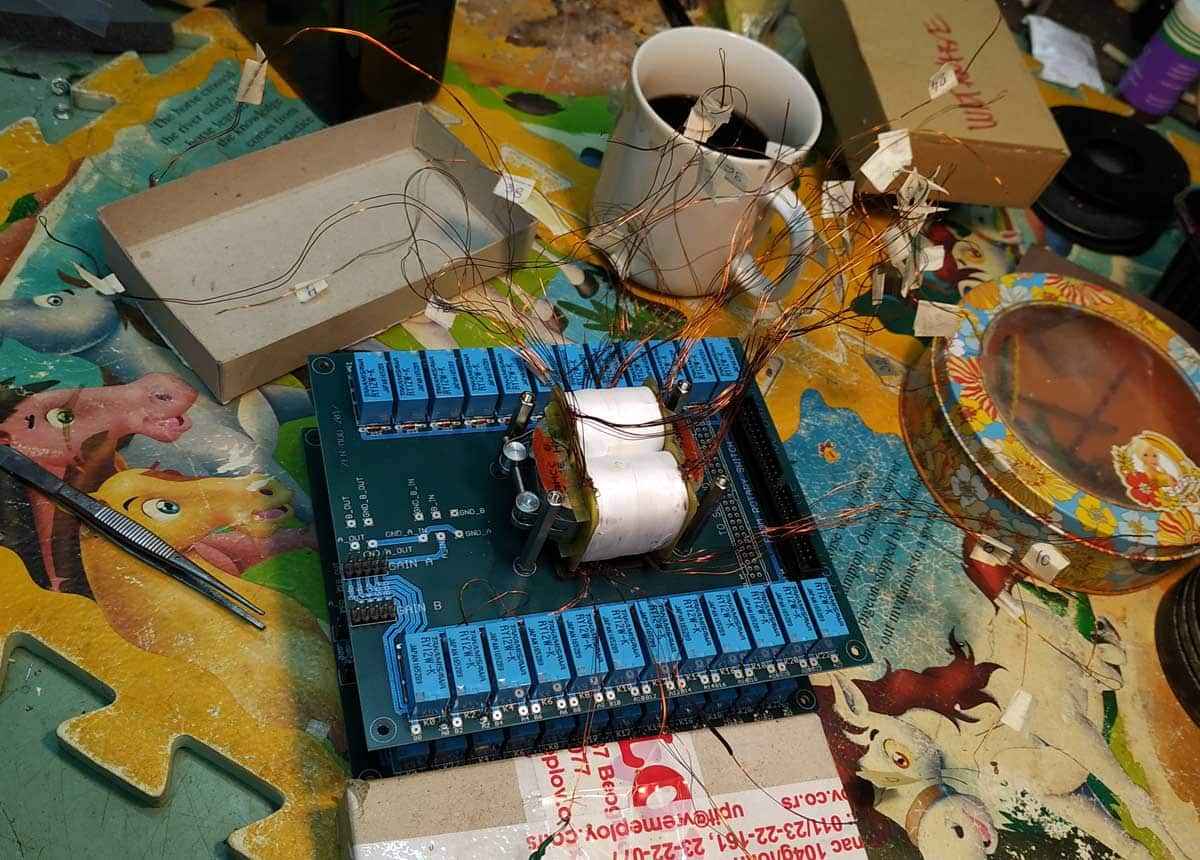
I believe this pic is more illustrative :
amusing fact :
this piece - fully balanced/differential Iron Turtle AVC - from bare pcb to fully assembled unit - no more no less than 24 working hours**
of course bobbins pre-wound by my (crazy ) guy
**am I just slow or I'm also old ....... that's 0.2mm enameled wire , 100 ends , of which 8 are single/solo strand , rest are double strand
Attachments
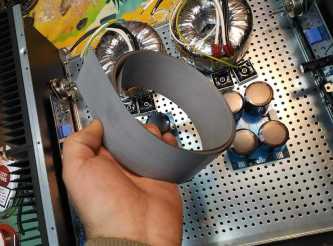
ham can ?
if nothing else , it'll do (taking care to not make short circuit with mounting method)........ though - if donuts are nicely made , you're good even without screening
I did use , this time , same thing which boyz in Donut production are using for magnetic screening - I believe it's same strip of which cores are wound
made two turns then rolled it with Tesa cloth tape , to look faaaaancy")
if nothing else , it'll do (taking care to not make short circuit with mounting method)........ though - if donuts are nicely made , you're good even without screening
I did use , this time , same thing which boyz in Donut production are using for magnetic screening - I believe it's same strip of which cores are wound
made two turns then rolled it with Tesa cloth tape , to look faaaaancy
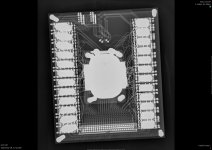
ZM, I have made a start on my Pumpkin (At Last).
Many Thanks.
Steve
Progress Pic.
I believe best thing is if I open new , Tips 'n' tricks thread ..... starting with last , actual , set of schematics
so , writing few general notes , pointing on few important steps , all in all - making life easier to few Greedy Boyz messing with Iron Pumpkins ....
most probably tomorrow evening
IP SE is having settable gain of 0, +2, +4, +6, +8db
[...]
How do I choose gain on IP SE?
No Turtle
Sorry , my bad that it was confusing somewhat .... both entire package and electronic part being called/named Iron Pumpkin , while AVC module having own name , and pcbs not having separate name
mono (single channel) pcbs are , logically , containing (relay based) input selector , buffer (or two buffers for balanced iteration) , and shunt regs for buffer(s)
so , no possible gain there
however , module organization is clearly explained more than once , especially in first posts of this very thread
of course , you can add autoformer of choice at output , thus gaining some .... gain

Iron Pumpkin SE is in the house.
About a month ago, I received a much anticipated package from Serbia.
Contents were one Iron Pumpkin SE built by Mighty ZM himself.
Serial # is 002 and will be referred to as that henceforth.
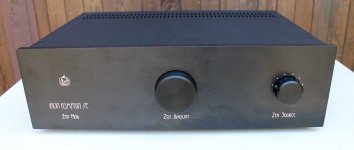
Opened package, carefully removed the black box inside. No external damage seen, front panel layout is perfect-big knob in the middle for Zen Amount, smaller one to the right for Zen Source, ID and logo to the left.
Ergonomic perfection, big one in the middle makes the noise.
So what next?
Well, turn the knobs, of course.
Zen Amount rotary switch knob size is not just for looks. Some leverage is helpful to reduce torque required to move from step to step which occurs in approximately 12deg of rotation with a very positive, very smooth and solid mechanically sound fashion.
It is very satisfying to operate.
Ditto on a smaller scale for the Zen Source.
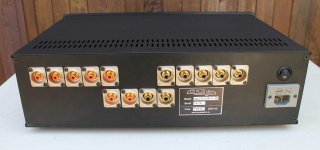
On to the back panel. Neutrix everywhere-Bravo, ZM.
The numbering sequence for the inputs is a bit unconventional. Signal (R) are grouped to one side as are signal reference (Bk) on the other, and numbered from 1 through 5 right to left.
Hmmm, but, as I soon discover, this is not quirkiness for its own sake.
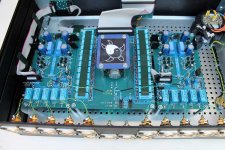
Now to pop the top.
Oh my, even prettier than the pictures, she is. Gain jumpers are both at 8db, better move those to 0 as my Aleph J with a unity gain pre provides more than adequate power for my situation.
Also, please observe that the signal wires are all the same length and well spaced from each other. Remember the "odd" grouping and numbering of the input connectors?
All is neat, tidy and laid out thoughtfuly.
Very well done.
How can this thing not sound good, even excellent?
About a month ago, I received a much anticipated package from Serbia.
Contents were one Iron Pumpkin SE built by Mighty ZM himself.
Serial # is 002 and will be referred to as that henceforth.
Opened package, carefully removed the black box inside. No external damage seen, front panel layout is perfect-big knob in the middle for Zen Amount, smaller one to the right for Zen Source, ID and logo to the left.
Ergonomic perfection, big one in the middle makes the noise.
So what next?
Well, turn the knobs, of course.
Zen Amount rotary switch knob size is not just for looks. Some leverage is helpful to reduce torque required to move from step to step which occurs in approximately 12deg of rotation with a very positive, very smooth and solid mechanically sound fashion.
It is very satisfying to operate.
Ditto on a smaller scale for the Zen Source.
On to the back panel. Neutrix everywhere-Bravo, ZM.
The numbering sequence for the inputs is a bit unconventional. Signal (R) are grouped to one side as are signal reference (Bk) on the other, and numbered from 1 through 5 right to left.
Hmmm, but, as I soon discover, this is not quirkiness for its own sake.
Now to pop the top.
Oh my, even prettier than the pictures, she is. Gain jumpers are both at 8db, better move those to 0 as my Aleph J with a unity gain pre provides more than adequate power for my situation.
Also, please observe that the signal wires are all the same length and well spaced from each other. Remember the "odd" grouping and numbering of the input connectors?
All is neat, tidy and laid out thoughtfuly.
Very well done.
How can this thing not sound good, even excellent?
Attachments
Last edited:
- Home
- Amplifiers
- Pass Labs
- Iron Pumpkin(s) and other smaller vegetable animals