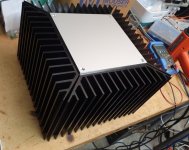
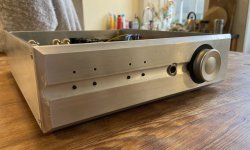
Just found this thread. Here's a photo from my workbench. This is supposed to become a Babelfish Aleph J. It might take a while, because life is happening and I am also trying to finalize my Open Source Monkey Coffin speakers...
Well, you still have room for sinks on the top and bottom!


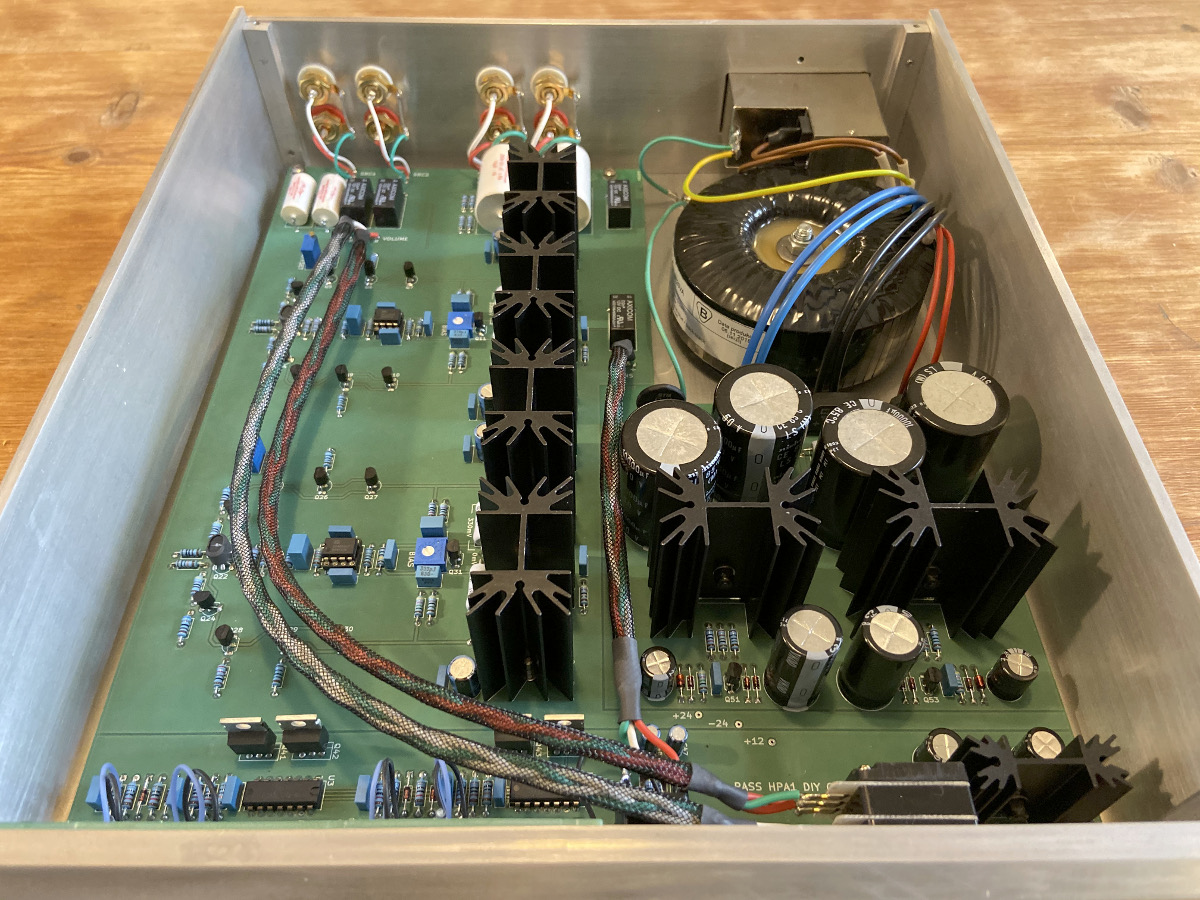
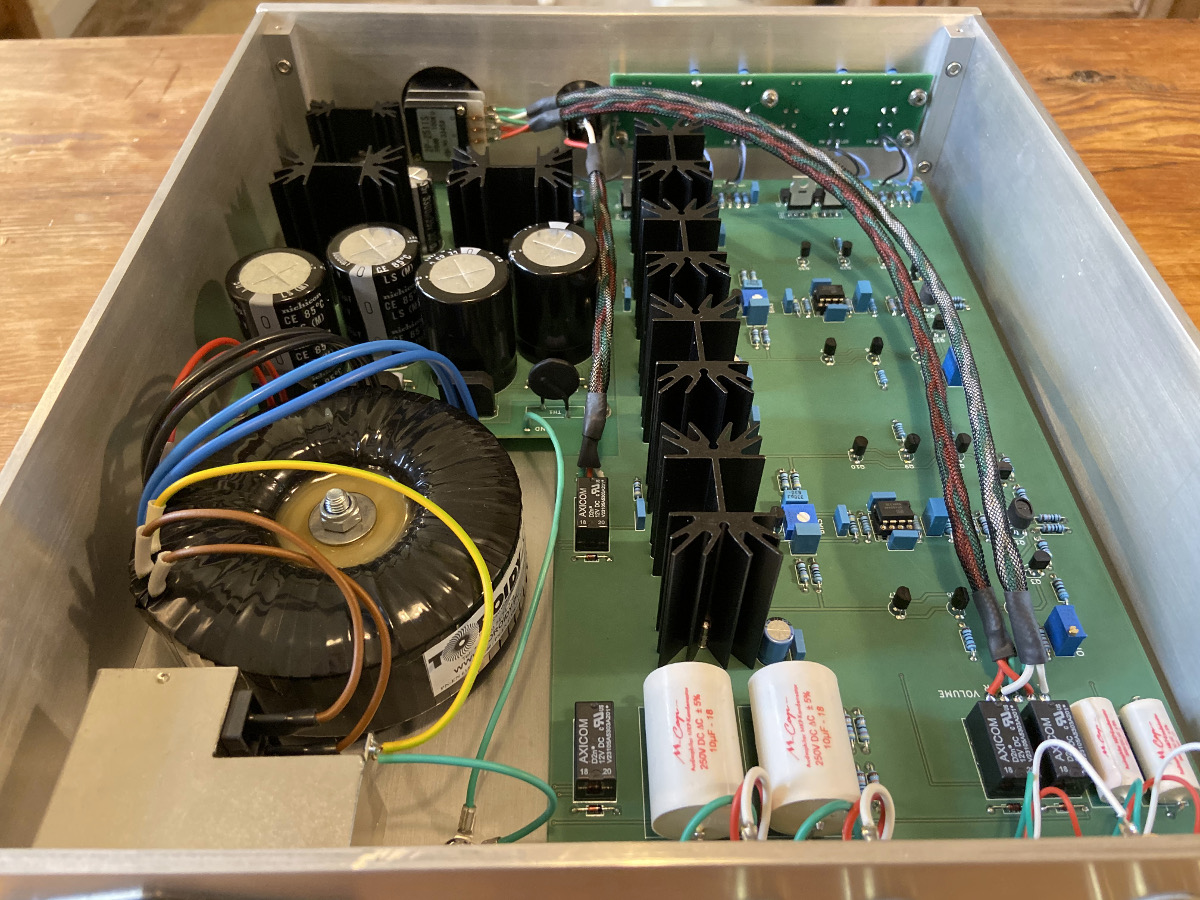
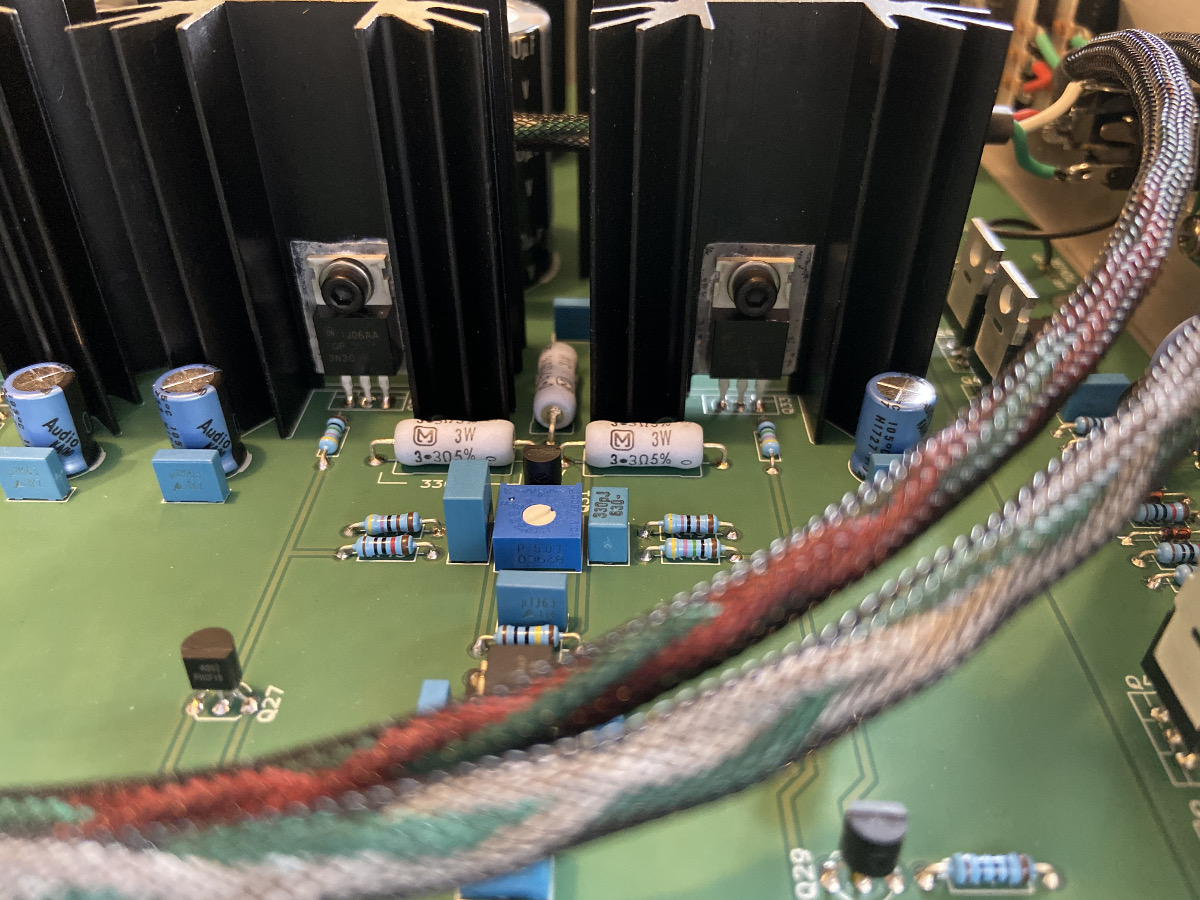
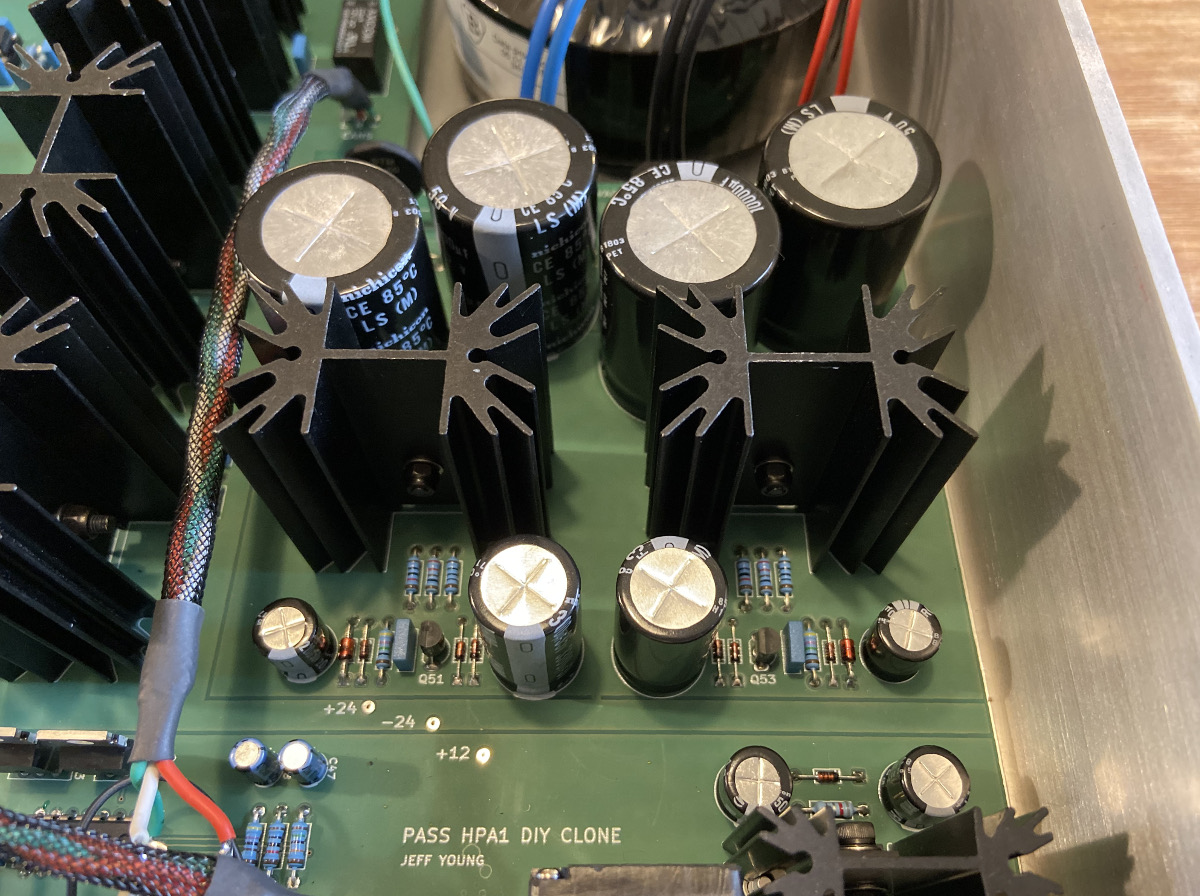
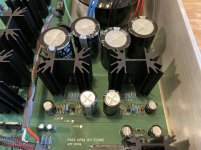
DIY Pass HPA-1:


Attachments
-
 finished8.JPG209.9 KB · Views: 1,425
 -
 finished7.JPG331.6 KB · Views: 1,392
 -
 finished6.JPG341.6 KB · Views: 1,393
 -
 finished5.JPG335.8 KB · Views: 1,397
 -
 finished4.JPG341.6 KB · Views: 1,395
 -
 finished3.JPG378.8 KB · Views: 1,403
 -
 finished2.JPG386.8 KB · Views: 1,452
 -
 finished1.JPG264.2 KB · Views: 1,435
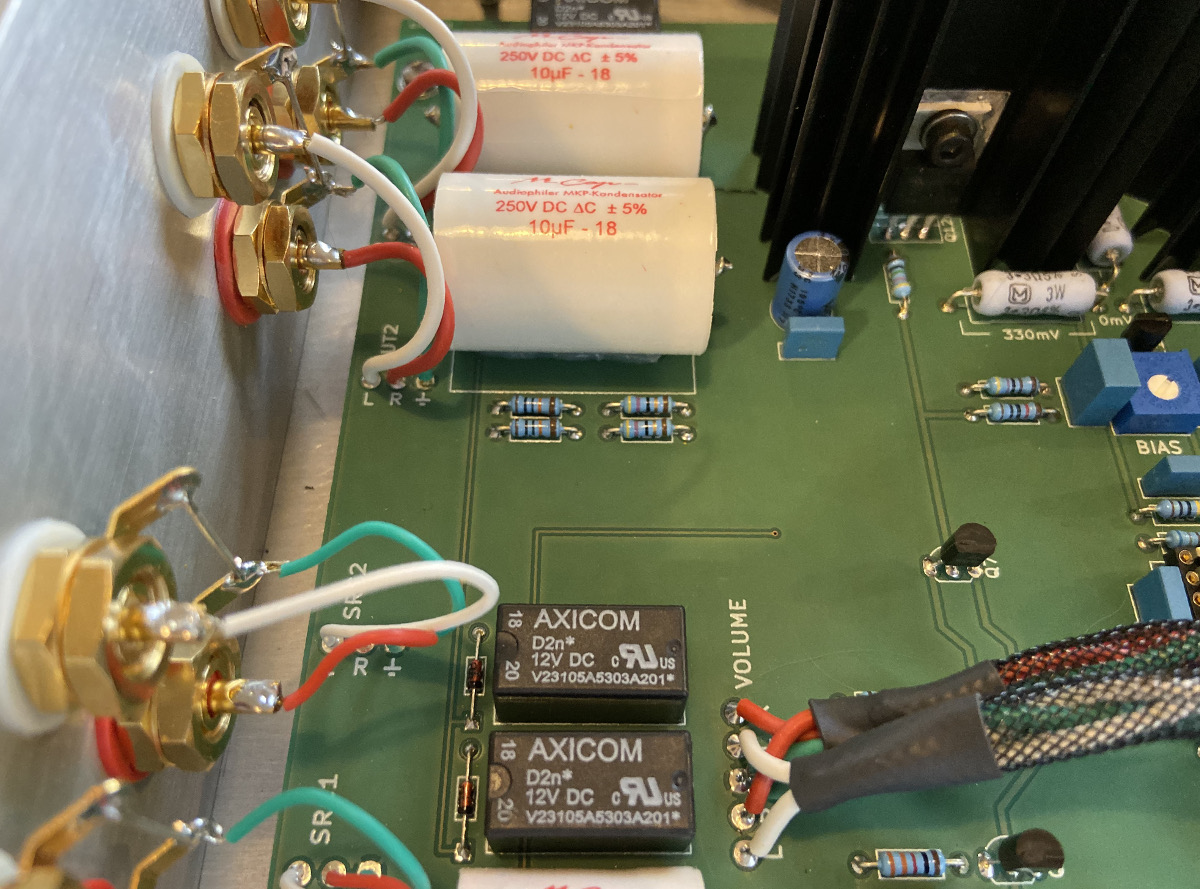
Very clean, nicely done Jeff... Are you happy with the MCaps? I've used them in some speaker work and found them nice-fast, but sometimes missing a bit of detail on the high end.
Thanks, guys!
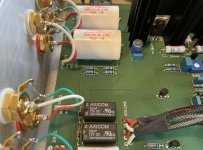
@thompsontechs, I'm afraid I'm a bit of a capacitor-sound skeptic (at least as far as coupling/decoupling caps go). I was going with a blue colour scheme for the amp sections (thus the Nichicon KAs and TDK films), but the blue ClarityCaps are absolutely monstrous -- so I settled on a different colour scheme for the I/O section and chose some decent caps which matched the white/red of the RCA sockets.
I have collected a nice cross-section of available caps to do some A:B testing in a speaker cross-over, but haven't gotten around to it yet.
PS: before some of you jump all over me for selecting components for colour, let me remind you that this is my amp. 🙂
Very Nice DIY Jeff !!!
p.s. to my taste - the NEUTRIK connector on the front panel is just a bit missing
p.s. to my taste - the NEUTRIK connector on the front panel is just a bit missing
Thanks, guys!
@thompsontechs, I'm afraid I'm a bit of a capacitor-sound skeptic (at least as far as coupling/decoupling caps go). I was going with a blue colour scheme for the amp sections (thus the Nichicon KAs and TDK films), but the blue ClarityCaps are absolutely monstrous -- so I settled on a different colour scheme for the I/O section and chose some decent caps which matched the white/red of the RCA sockets.
I have collected a nice cross-section of available caps to do some A:B testing in a speaker cross-over, but haven't gotten around to it yet.
PS: before some of you jump all over me for selecting components for colour, let me remind you that this is my amp. 🙂
I know there is a difference, but I think many get caught up in it the way they do cables and such.
Choosing for color will drive some bonkers, but as you said, it's your amplifier.
I must admit though I have never seen that approach to an amplifier build... 😀
Cheers!
Nice looking amp JeffYoung! Thanks for sharing. If you do choose to try some other coupling caps I don't think you will regret it. I used the same Mundorf "MCaps" on my B1, and replacing them with Clarity Cap CSA's on the output and Mundorf Supremes on the input made a very noticeable difference. If your amp has gain I suspect you would get even more out of the input cap change than I did on the B1.
PS: before some of you jump all over me for selecting components for colour, let me remind you that this is my amp. 🙂
 for saying it out loud!
IMHO, red components would be most appropriate on Papa's green B1K Christmas boards. It only makes sense.
.... Did you do the metal work yourself?
Yep.
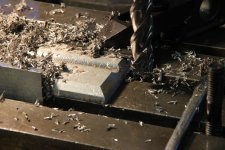
Grooving the faceplate:
Turning the volume knob insert from Richlite (check out the cool Bakelite knobs on my 1953 Clausing lathe):
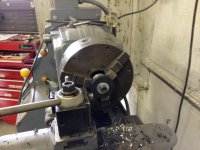
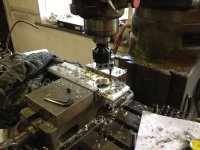
Boring the hole for the volume knob insert (this is a 1955 Bridgeport, although the boring head is "modern"):
Tapping holes for the "button board":
Cheers,
Jeff.
Attachments


Inspiration inspired by Papa's inspiration.
Beautiful craftsmanship Jeff. What many people don't recognize is that you could have paid for a commercial HPA-1 with the amount of hours you must have put into this. It's not about the having, it's about the doing that drives you. Cheers!

- Home
- Amplifiers
- Pass Labs
- Pictures of your diy Pass amplifier