OK I found the Specs.

Factory Specs:
View attachment gt120d.pdf
The higher frequency spikes above 100 hertz are a part of the simulation. They are rarely seen in measurement.
Factory Specs:
View attachment gt120d.pdf
The higher frequency spikes above 100 hertz are a part of the simulation. They are rarely seen in measurement.
Last edited:
Brian and I discussed the simulation a bit.
He tweaked a few things. PAR for the horn sections, influences the higher end of the output. OD versus ND driver as the driver is again Offset. This makes a little more difference. Adding in the volume of air in front of the cone also influences the depth of the dip that I simmed. Now the largest difference comes from the horn volume being smaller. Brian determined the proper width dimension and he came up with this:
.png")
One horn as you have built it. Simmed into 2Pi or outside against a wall.
This sim is important if you want to compare it with another box simulation program. 2Pi acoustic environment is what most programs simulate into.
This is corner loaded:
.png")
Grey line is 2Pi. Red line is 0.5 Pi or corner loaded. It also drops the higher frequency peaking! Pretty nice results Josh.
He tweaked a few things. PAR for the horn sections, influences the higher end of the output. OD versus ND driver as the driver is again Offset. This makes a little more difference. Adding in the volume of air in front of the cone also influences the depth of the dip that I simmed. Now the largest difference comes from the horn volume being smaller. Brian determined the proper width dimension and he came up with this:
One horn as you have built it. Simmed into 2Pi or outside against a wall.
This sim is important if you want to compare it with another box simulation program. 2Pi acoustic environment is what most programs simulate into.
This is corner loaded:
Grey line is 2Pi. Red line is 0.5 Pi or corner loaded. It also drops the higher frequency peaking! Pretty nice results Josh.
Attachments
I'll double check that I did the THT correctly. Bill Fitzmaurice does good work and I don't want to do him and disservice by posting incorrect results.
Well I've starting dialing the first 2 in pretty good. Currently playing a lot of slower dub and drum & bass with STRONG 28-32 HZ basslines and these are NAILING it, I'm starting to feel my hard work pay off. The way that the tubas grab the bass and represent in in FULL discernible detail is pretty awesome.
Also, live concert recording come to LIFE!
However I'm still craving my pressure iin my room so I'm going to make a strong point to finish 3 & 4 as fast as I can. I've also decided that at one point I'm going to build 2 v2 Gjallerhorns to cover the 16-40Hz range down the road. 😉
I've debated going to see Rogue One tonight but instead I think I'm going to fire up a movie at reference levels..... 😉
You will find a few things different when you are using a well designed horn sub. Much of the harmonic distortion of conventional subwoofers is not there. And this gives you a clean output that takes a little getting used to.
The kicker is that if you are a seasoned listener of low bass from non amplified instruments like bass drums and pipe organs the good horn subs nail the tonality of those instruments.
.jpg")
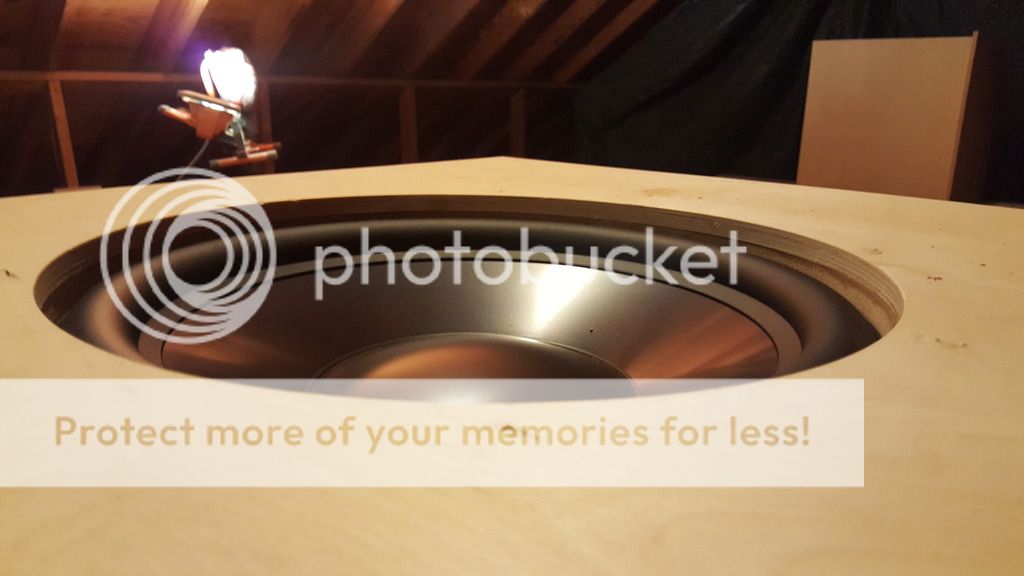
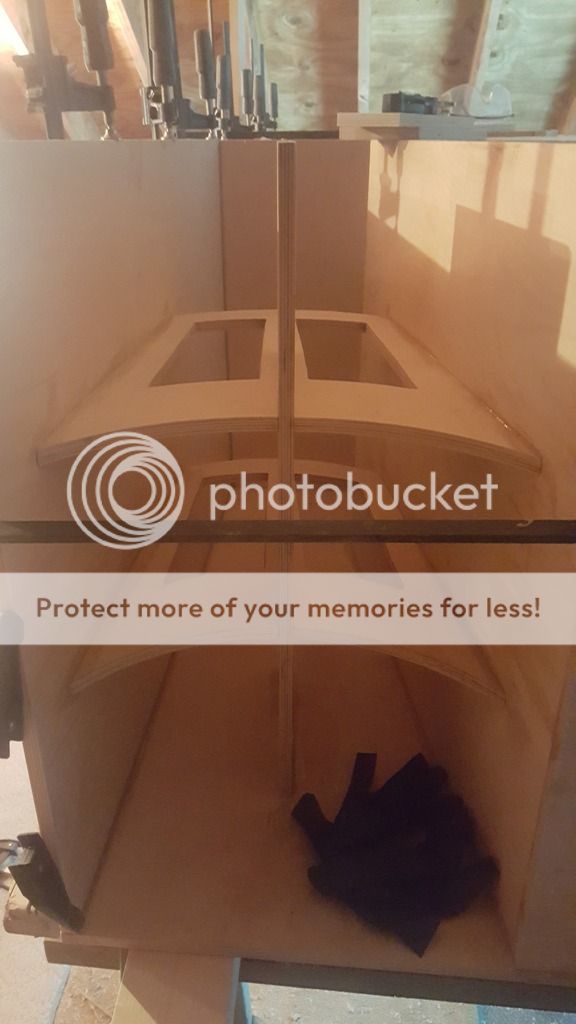
17.5 x 32 x 92 inches. Single 12 inch driver. Fs is 14 hertz.
.jpg")
I designed and built that as a prototype back in 2010.
The kicker is that if you are a seasoned listener of low bass from non amplified instruments like bass drums and pipe organs the good horn subs nail the tonality of those instruments.
17.5 x 32 x 92 inches. Single 12 inch driver. Fs is 14 hertz.
I designed and built that as a prototype back in 2010.
Last edited:
I remember that build!
Yep. Pretty much the same efficiency and another decade down in response.
And fun to play with. No longer alive and kicking. I didn't have the room for it. But there are many that were built and working well.
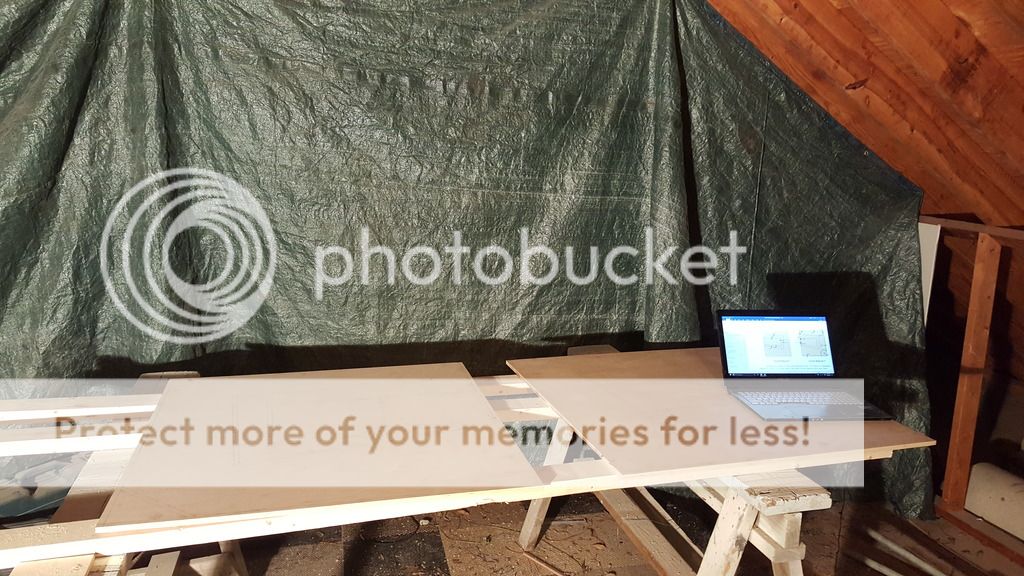
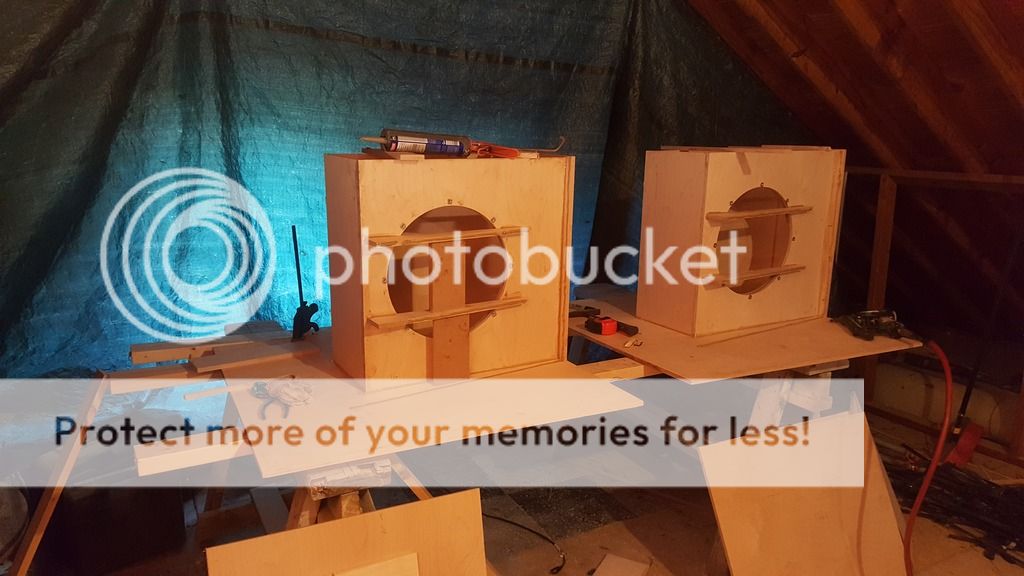
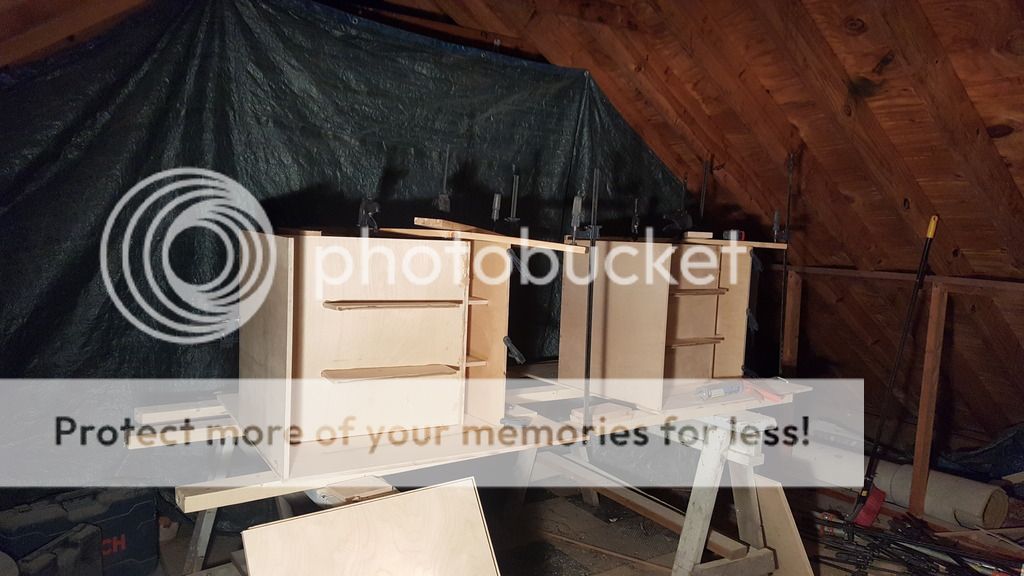
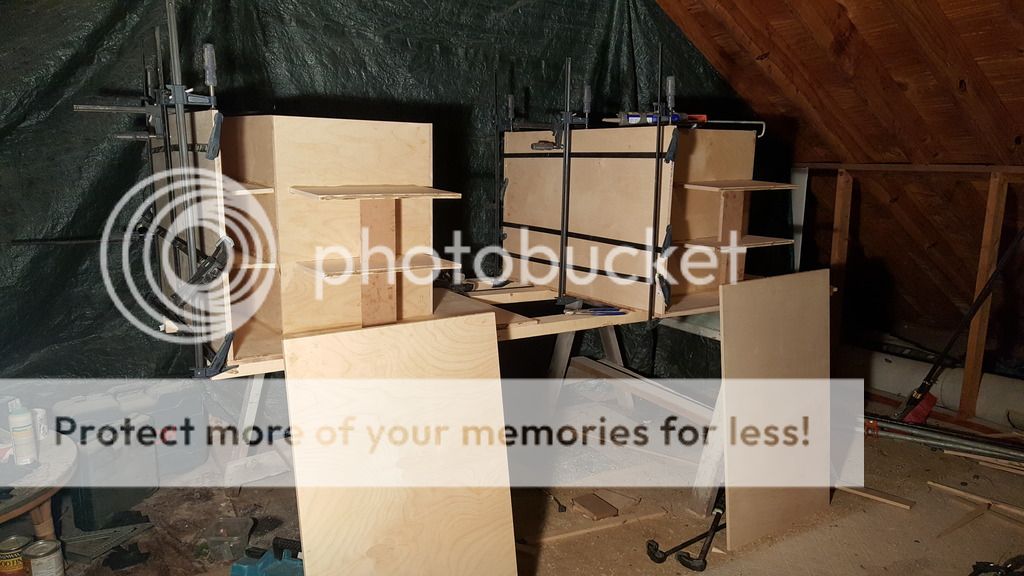
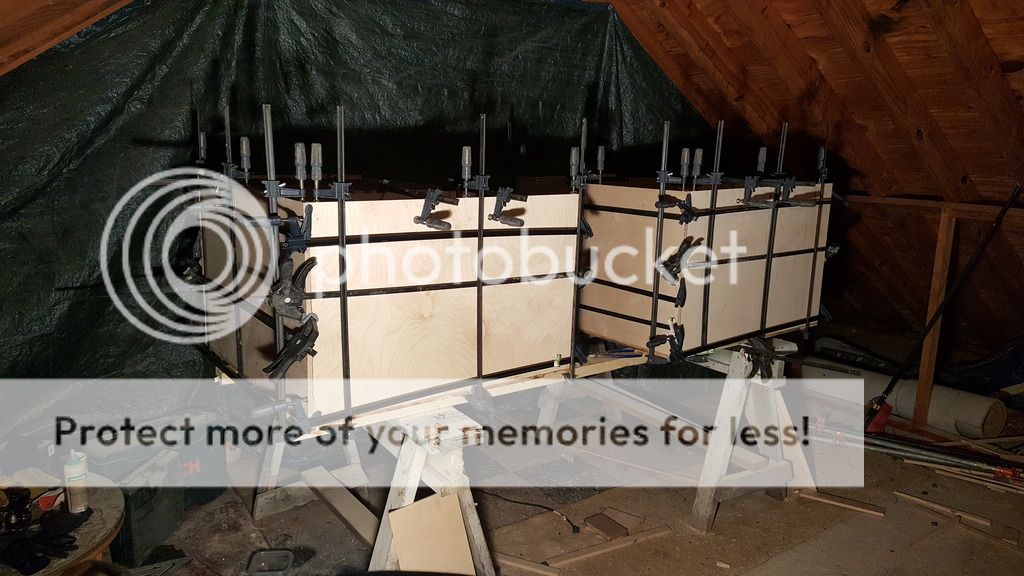
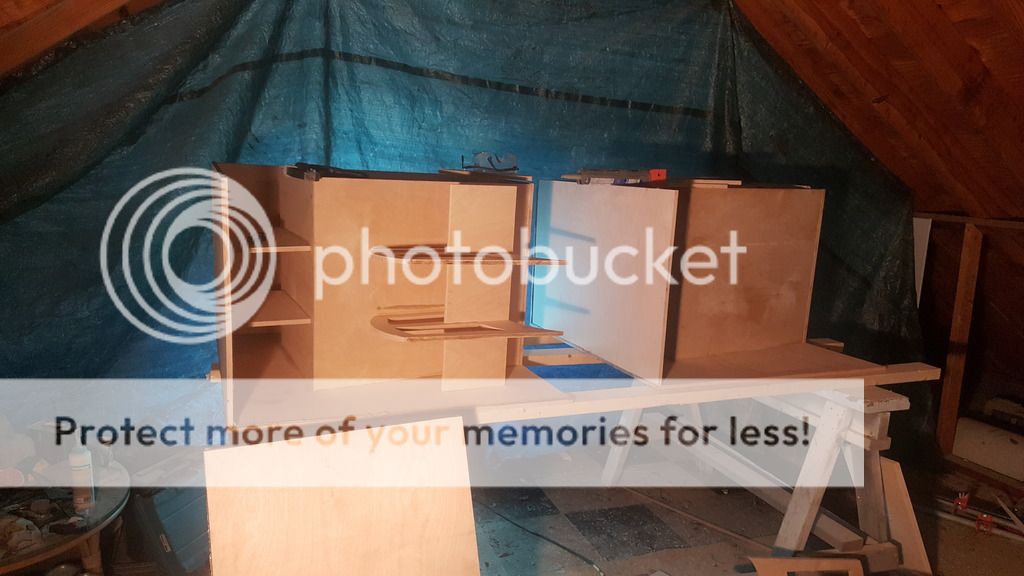
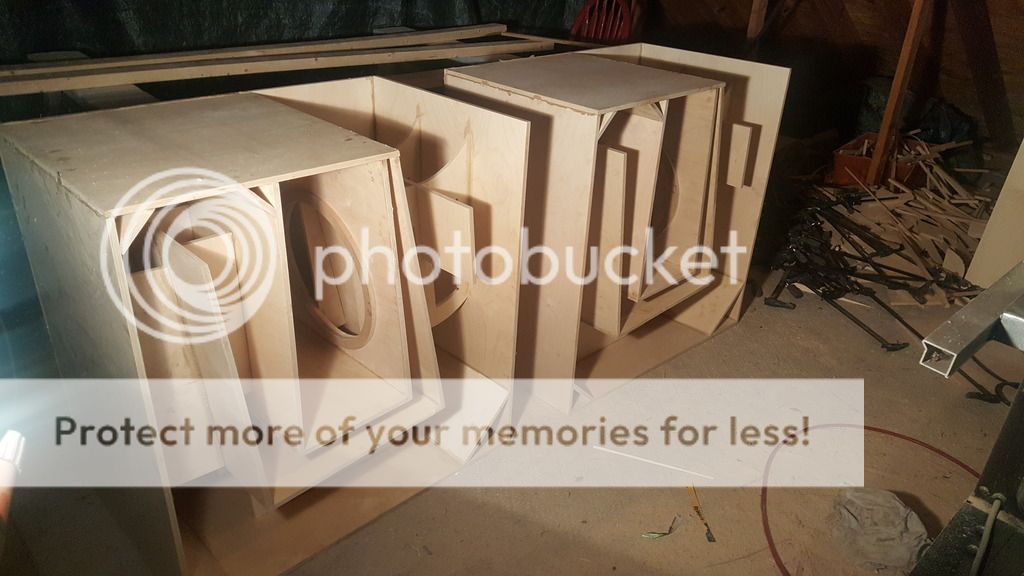
Second pair drying!
So despite taking 2 & 1/2 days off around christmas I finished the second pair in what will effectively be 4 working days!! Woot.
PICS!
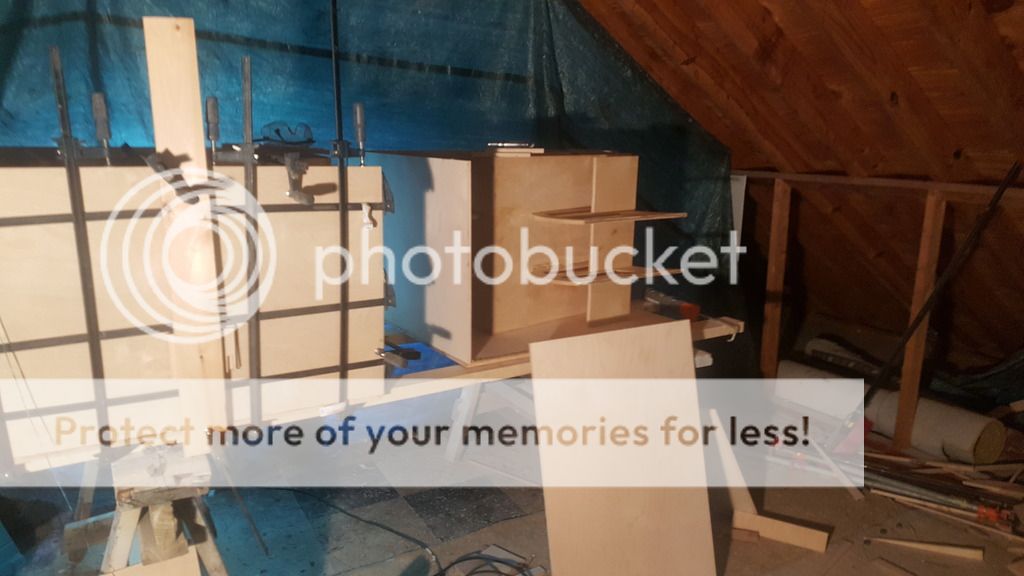
Laid the second two out mirrored to the first two.
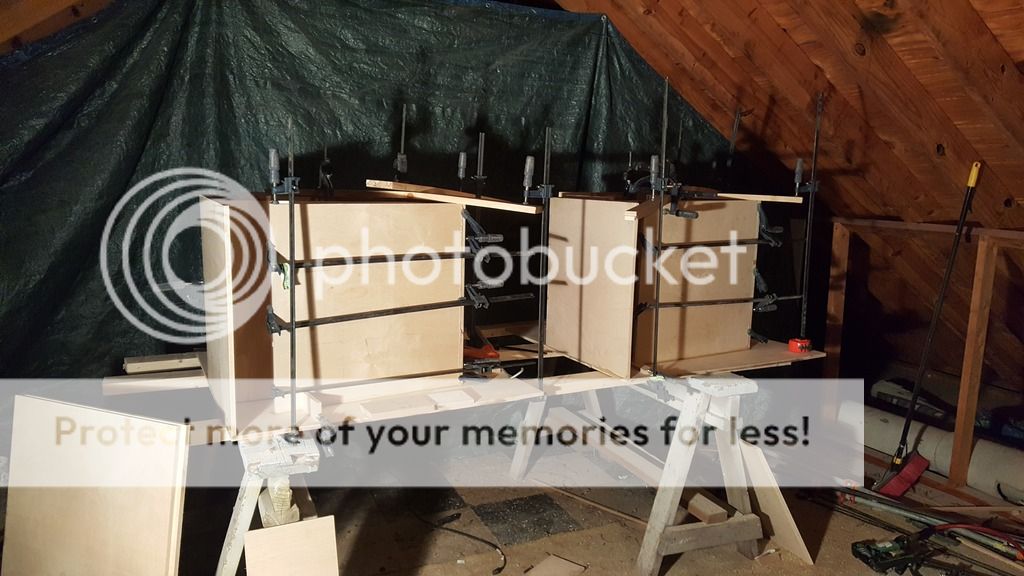
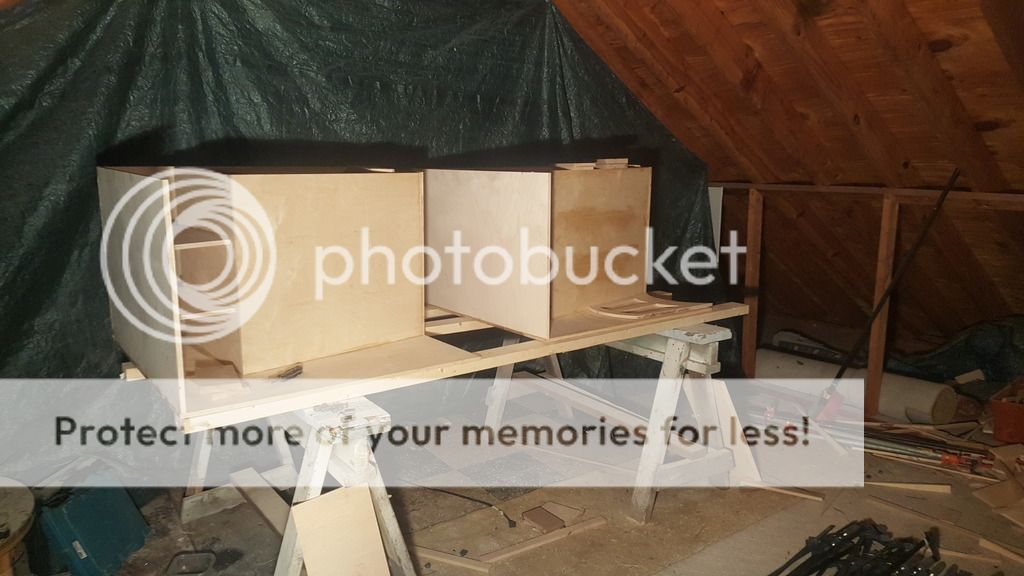
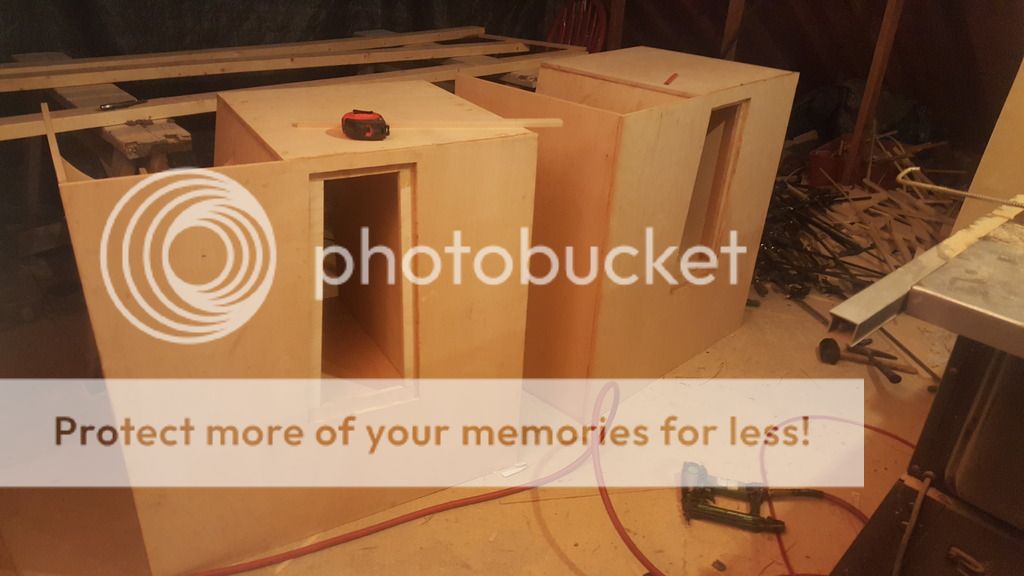
Ditched the guide a handcut the access panels. Much cleaner result.
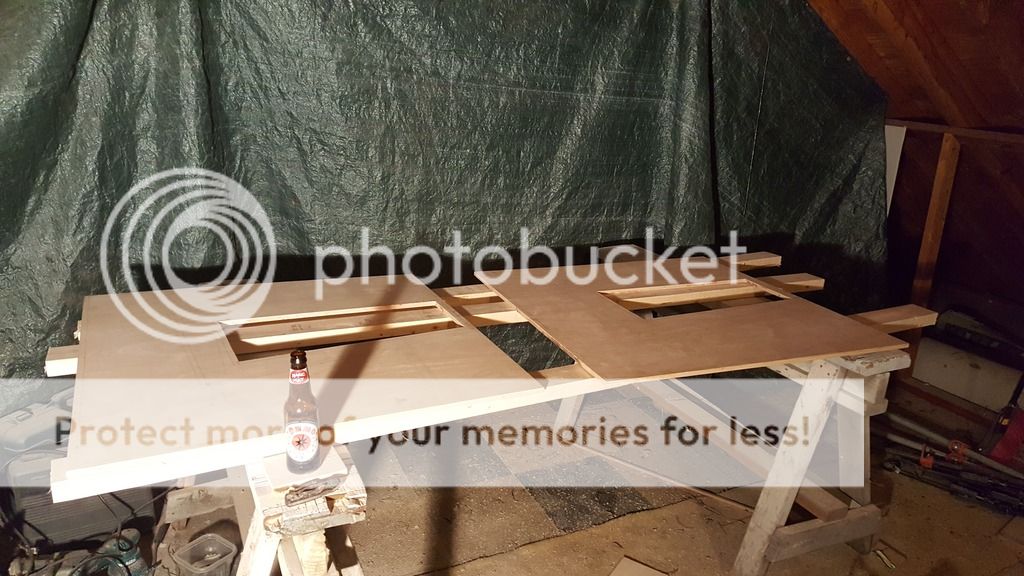
& go!
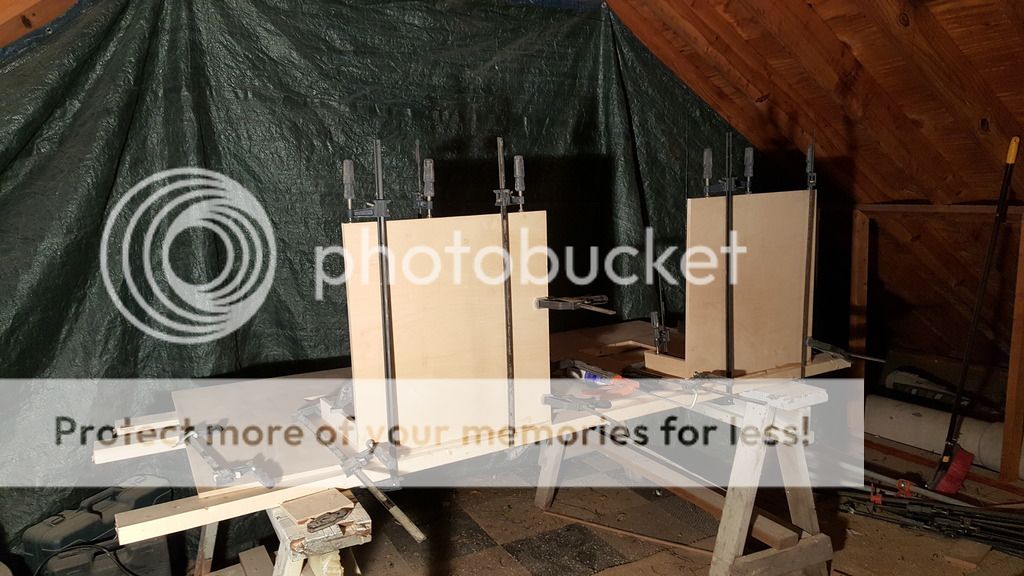
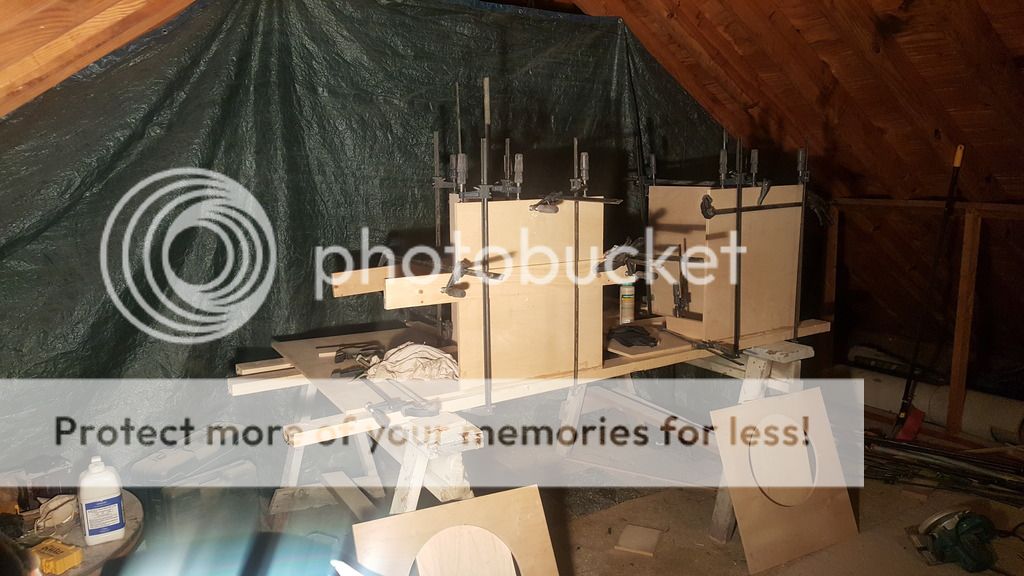

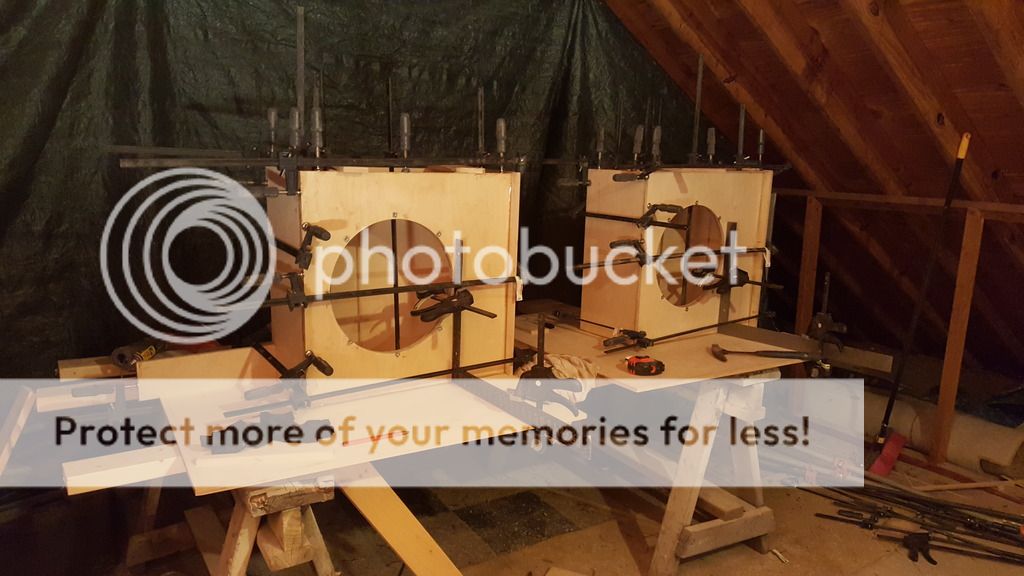
The glue spots on that far panel are because i initially put the panel in backwards...
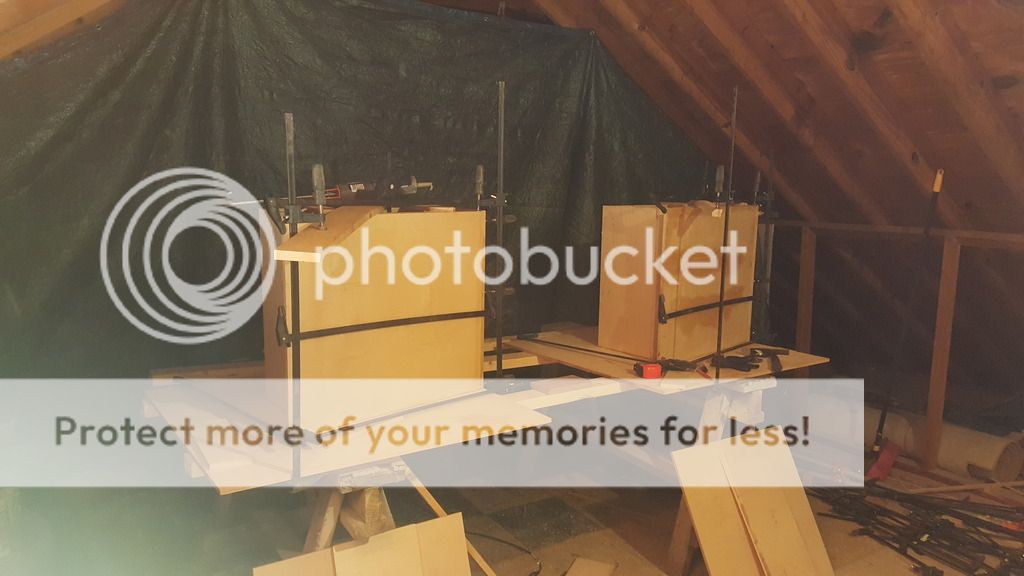
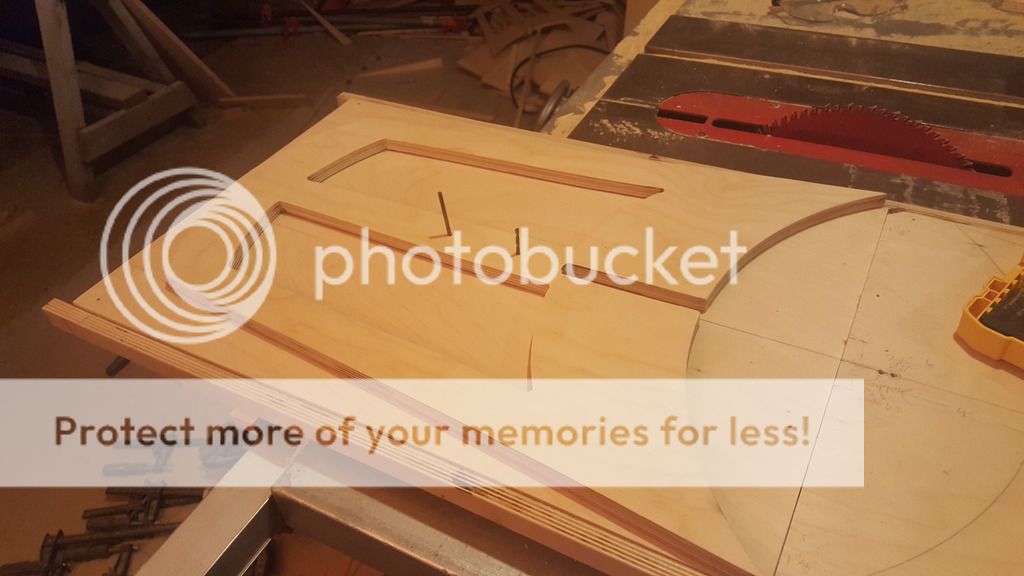
Learning to know just how much pl to use on butt joints


So despite taking 2 & 1/2 days off around christmas I finished the second pair in what will effectively be 4 working days!! Woot.
PICS!
Laid the second two out mirrored to the first two.
Ditched the guide a handcut the access panels. Much cleaner result.
& go!
The glue spots on that far panel are because i initially put the panel in backwards...
Learning to know just how much pl to use on butt joints
Typing has become a problem for me today. I can't spell worth beans! Sore hands. so it should read "in not ion"!
Typing has become a problem for me today. I can't spell worth beans! Sore hands. so it should read "in not ion"!
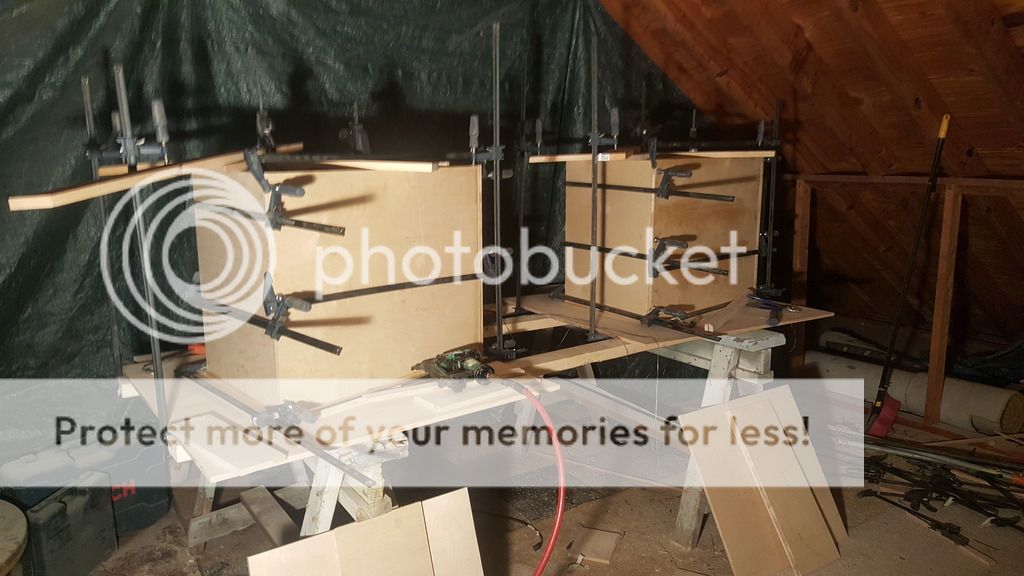
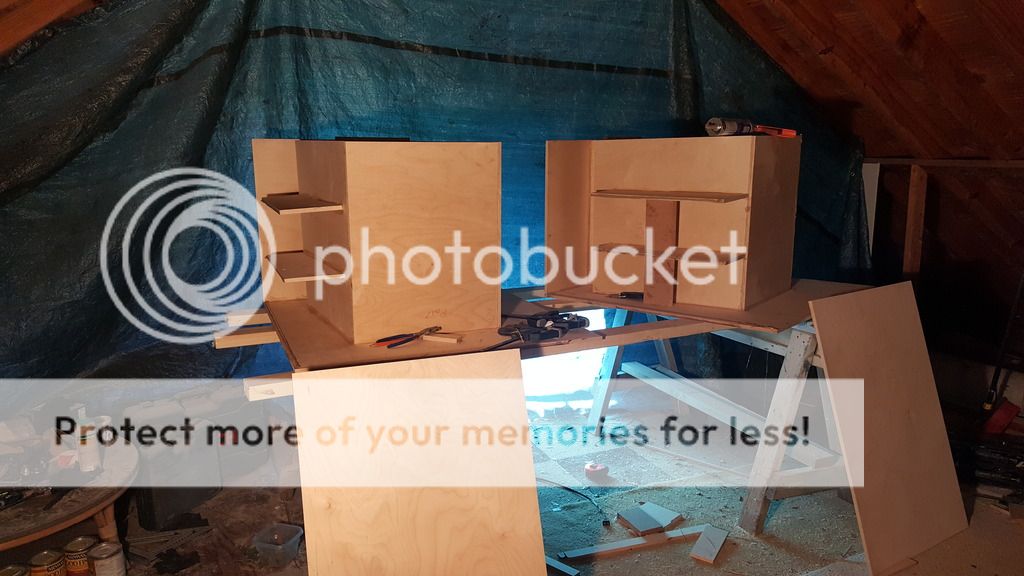
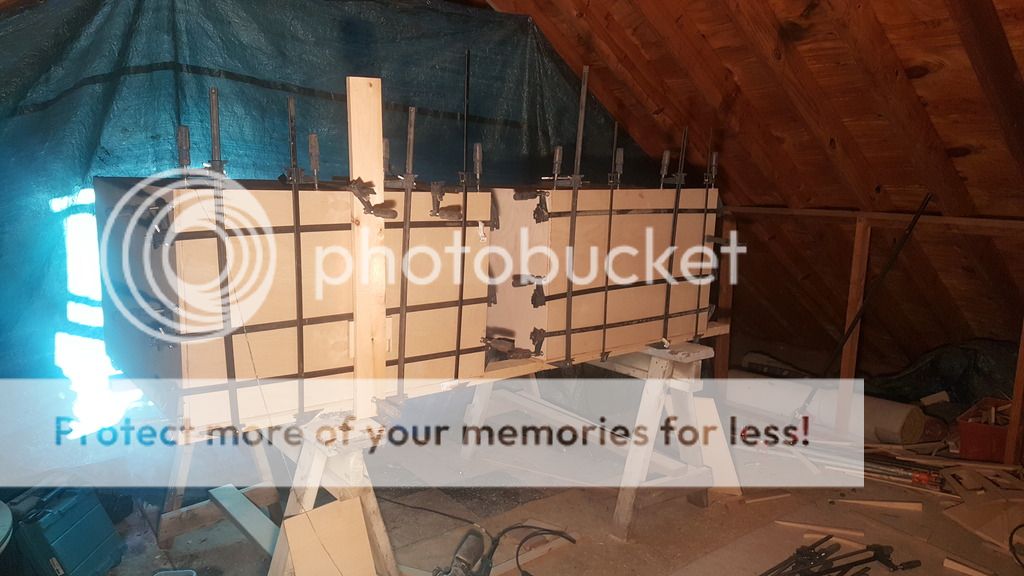
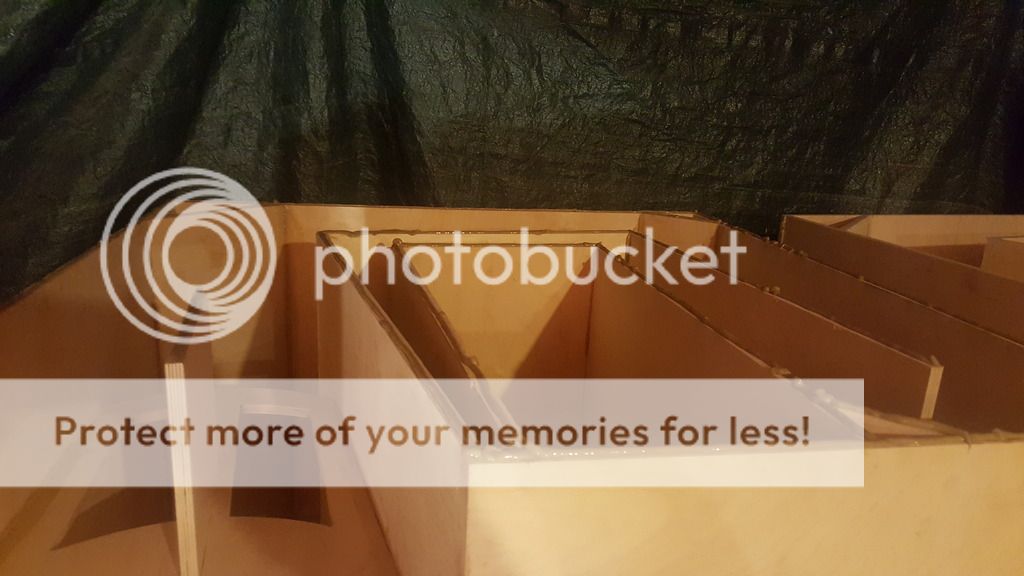
Haha, I knew what you meant. I was in the groove until I hit those braces. My success rate was 66% (Made 6 total) but that's because they had to be as close to perfect as I could manage using a jigsaw..
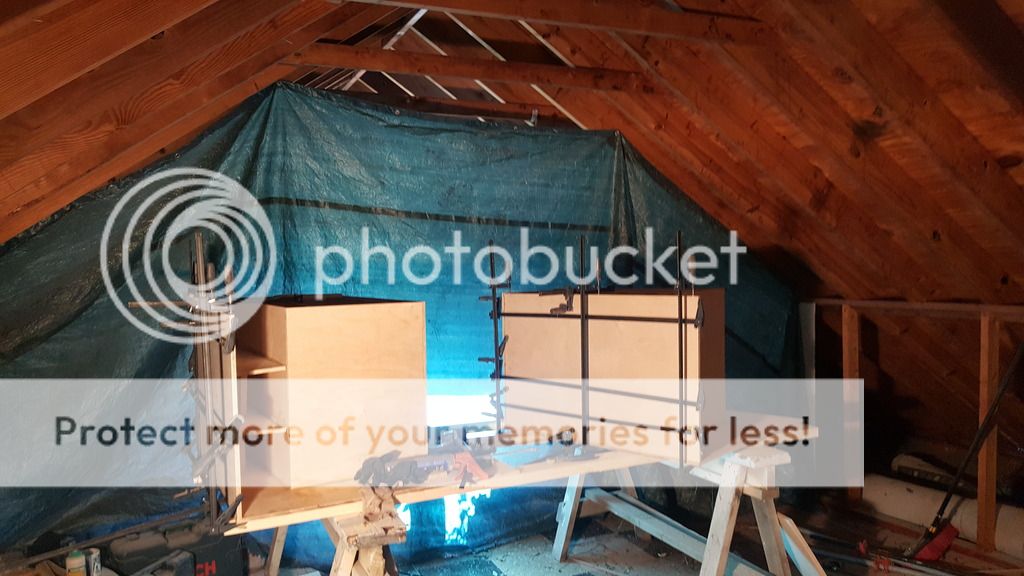
I spent 6 hours on & off cursing at that task...
Anyways, I'm going to give the side panel at least 18 hours to cure before unclamping as both pieces had slight warps. Meanwhile I have to remove the other two drivers from my car 🙁 So no sub in there for a week or so until my Ultimax 18 arrives 🙄
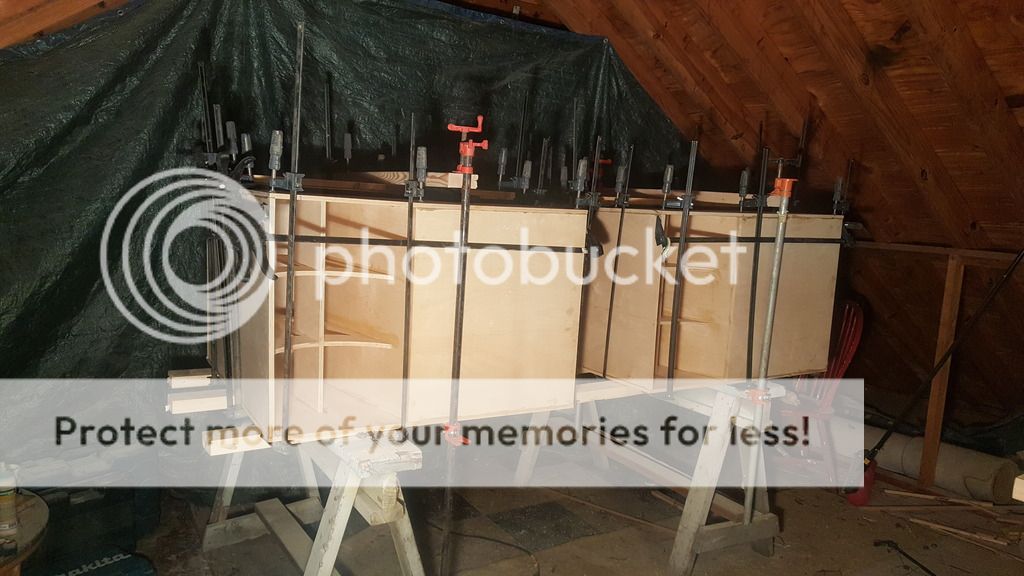
I should have them flush routered, corner rounded, sanded down and stacked up by 9 tonight....
-Josh
Seeing as you are becoming a box making machine....

Yes it is a cheesy graphic, but took me a whole minute to make it!
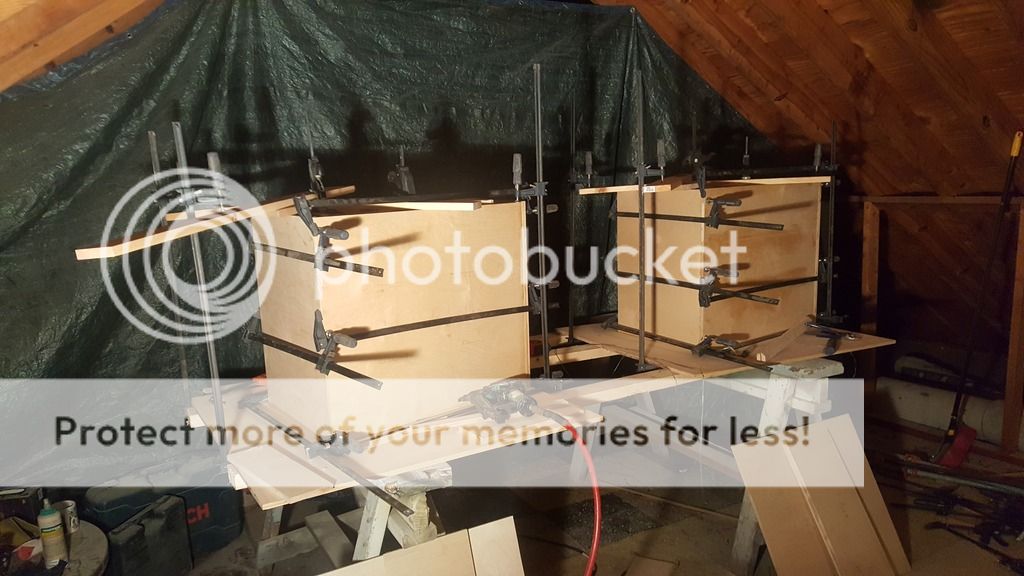
I use boards like this to apply pressure in the center of a large glue up. The center section is thicker than the outer edges. depending on your material and it's rigidity you can make a board with 1/2" to 3/4" of an inch difference in thickness and it will give you quite a bit of pressure in places where it is almost impossible to duplicate with the same ease of application.
If you use a 2 x 4 for example on it's wide edge a 1/2 gradual curve will give you a decent amount of pressure on the interior. If your wood is quite easy to bend you increase your prominence to 3/4 or 1 inch.
Yes it is a cheesy graphic, but took me a whole minute to make it!
I use boards like this to apply pressure in the center of a large glue up. The center section is thicker than the outer edges. depending on your material and it's rigidity you can make a board with 1/2" to 3/4" of an inch difference in thickness and it will give you quite a bit of pressure in places where it is almost impossible to duplicate with the same ease of application.
If you use a 2 x 4 for example on it's wide edge a 1/2 gradual curve will give you a decent amount of pressure on the interior. If your wood is quite easy to bend you increase your prominence to 3/4 or 1 inch.
You're a building mad man!
What can I say? I like bass 🙂
So yeah, I'm done with construction!

& this is waht I had visualized about 6 months ago, can't wait to finish the studio!!

Let me go ahead & say that while 2 was impressive. 4 was the call for me, the difference in subjective output with 2 vs 4 is stark.
Frankly, Idon't give two shakes about what graphs & simulations say, 4 takes this room to car audio levels of bass & the difference is outstanding. It my be that I now have the mouths at a high elevation & coupled but having 2k watts of horn loaded bass on tap is a very, very satisfying sensation.
test tones are VIOLENT!!!!haha
Now my challenege is making a decision on mains, I definitely want to build an active speaker that can keep up in the 80Hz range without slacking off on the mid bass..
Any suggestions??
-Josh
Well what the graphs show you is that you are very flat down to about 23 hertz in your small room with 4 boxes. And my guess is that you kind of like it!
If you are interested in making something that can keep up look through this thread:
http://www.diyaudio.com/forums/mult...-2-part-virtual-single-point-source-horn.html
Art is a guy who has done live sound for many years. And He has pulled off a very interesting two way that can be made quite efficient.
I do other kind of horn work but it is definitely not DIY kind of work.
bout this one.
Has much better factor size for what you are doing.
http://www.diyaudio.com/forums/multi-way/285030-bookshelf-multi-way-point-source-horn.html
Has much better factor size for what you are doing.
http://www.diyaudio.com/forums/multi-way/285030-bookshelf-multi-way-point-source-horn.html
I'd put the 4 subs accross the wall and place the tv and audio gear on top. How did you get the 2 on top of the other 2?
eView attachment 588402
Yes it is a cheesy graphic, but took me a whole minute to make it!
I use boards like this to apply pressure in the center of a large glue up. The center section is thicker than the outer edges. depending on your material and it's rigidity you can make a board with 1/2" to 3/4" of an inch difference in thickness and it will give you quite a bit of pressure in places where it is almost impossible to duplicate with the same ease of application.
If you use a 2 x 4 for example on it's wide edge a 1/2 gradual curve will give you a decent amount of pressure on the interior. If your wood is quite easy to bend you increase your prominence to 3/4 or 1 inch.
I did something similiar to this. I purposefully picked 2x4 studs with a healthy bow to them on the second pair. look through the pictures & you'llsee what i meam.
That looks AWESOME!
I looks awesome but over at avsforum per the overwhelming advice of others I aimed these parrallel to the front wall & yet again the output increase is sensational to say the least. I am going to have to make a video.

I'd put the 4 subs accross the wall and place the tv and audio gear on top. How did you get the 2 on top of the other 2?
I tilted the 2nd cabinet back, crouched into a chair pose, pulled the cabinet forward onto my thighs, tilted the front edge up and eased it on top.
Tehn I applied command strips to buffer the cabinets and prevent one from rattling off of the other..
- Status
- Not open for further replies.
- Home
- Loudspeakers
- Subwoofers
- Quad Tuba HT Build Log