Sharp right angles will cause a restriction of electrons. They tend to bunch up in the turns

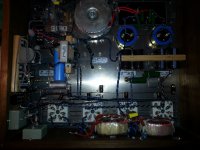
This is my crows' nest style of point to point wiring of a guitar amplifier built into a Hammond AO-64/68 chassis, using the iron of the same K-100 organ:

Admittedly, there are two perfboards, too: One holding a relay for treble boost, the other one populated with a voltage tripler, the LTP phase inverter cascode CCS and the output tubes' bias adjustment trimpots.
Best regards!
Admittedly, there are two perfboards, too: One holding a relay for treble boost, the other one populated with a voltage tripler, the LTP phase inverter cascode CCS and the output tubes' bias adjustment trimpots.
Best regards!
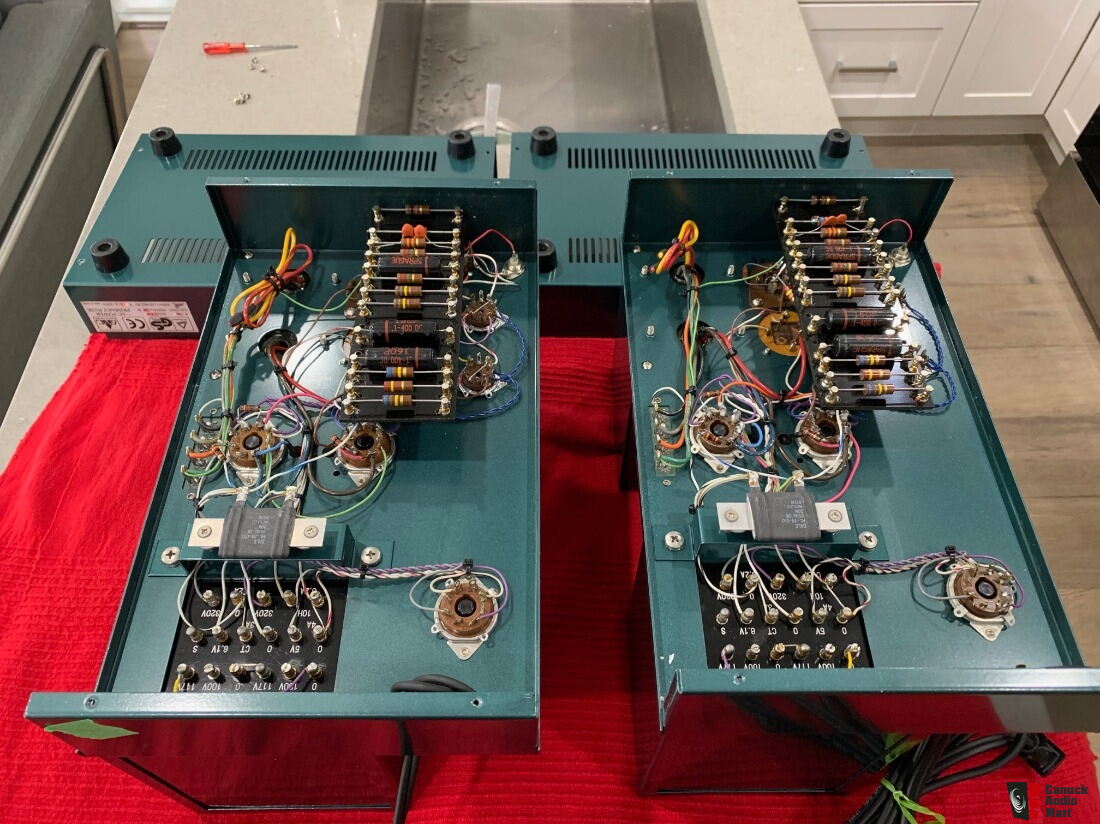
I have built 2 point to point amps so far. Both times I created them first using the physical layout drawing in DIY Layout Creator. This helps with locating bulky items and checking how many tags per tag strip. In the real world there is a 3D element, but access to components and pins is important, i think.
DIYLC is a bit fernickety with bending leads on components, but is free and support my wishes.
Any other approaches or tools?
DIYLC is a bit fernickety with bending leads on components, but is free and support my wishes.
Any other approaches or tools?
Wow, some really beautiful point-to-point builds here. Some are even deadbug style, which fascinated me when I first saw some CMOY headamps done this way years ago.
I think kodabmx takes the cake so far.
Any recommendations for a simple (but good sounding, of course) point-to-point tube pre or buffer for 2023 to keep the spirit of diy hobby active? I want to explore tube builds.
I think kodabmx takes the cake so far.
Any recommendations for a simple (but good sounding, of course) point-to-point tube pre or buffer for 2023 to keep the spirit of diy hobby active? I want to explore tube builds.
Using a tool like DIYLC you can build a circuit you like on your pc, looking up component sizes and pin layouts to help. Then run it up the flagpole hete and you will get some helpful feedback.
Preamplifiers are particularly fussy wrt layout and lead lengths. I am building up to that after a couple of push-pull amp projects.
Preamplifiers are particularly fussy wrt layout and lead lengths. I am building up to that after a couple of push-pull amp projects.
The neatness of the wiring in Uesugi amps and preamps are something to behold. Like many Japanese makers and diyers they are notable for using Satoparts solder terminals, which are hard to find in the USA.


At first glance that looked like a string loom but judging from other sites may be tied with separate plastic bits. Real trad demands period correct waxed cotton string in a single continuous run. Gorgeous and skilled as these builds are high impedance audio circuits in tight parallel bundles feels like a function compromise.Audio Tekne products.

-1.jpg)


Sharp right angles will cause a restriction of electrons. They tend to bunch up in the turns
Not if you use silver wires, though…they just slink around tight corners those silver electrons!
this is shindo preamp not amp. for point by point Skill is needed...so if you don't have this skill, it's better to use PCB
Tough crowd! Yes, it's a preamp. I was a referring to the first link of Shindo amplification devices, which a preamp is one. Yes, I should be more specific.this is shindo preamp not amp. for point by point Skill is needed...so if you don't have this skill, it's better to use PCB
Here are some pictures of Shindo power amps from hifido!


Man that's nice and neat, but if I did this, the chassis would need to be huge!
Here's a phono amp I built point to point. Uses a 12V brick to power it.
The PCB I made of this is larger than this chassis!

Here's a phono amp I built point to point. Uses a 12V brick to power it.
The PCB I made of this is larger than this chassis!
- Home
- Amplifiers
- Tubes / Valves
- Point to point wiring