hi nick
happy new year
yes i need one PCB and some critical parts as you sold me the first time
the first time i paid 50 pounds for the pcb around 40 pounds for parts and 17 pounds for transport to Paris france
Can we deal on this basis?
Hi .. happy to deal on this basis, email me for your requirements
regards
Nick
Hello just a quick update
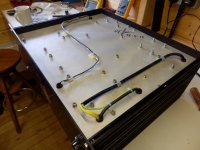
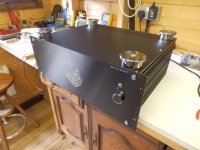
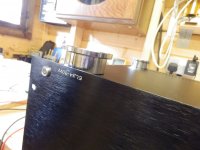
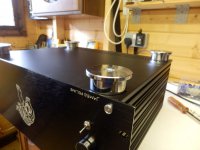
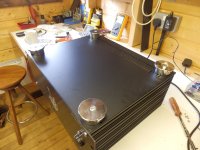
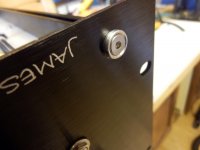
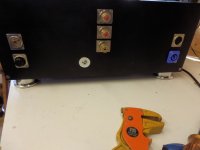
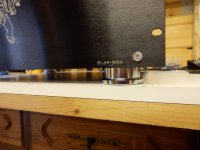
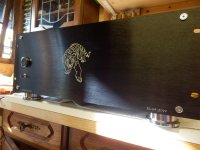
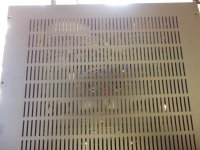
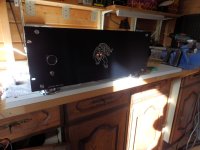
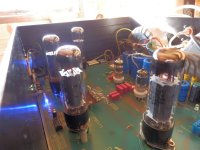
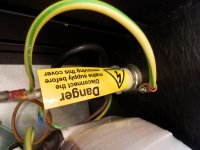
As I have started to put the valve monoblock into a rack case .. what do you all think ? the top panel that will go on the case is fully vented .
enjoy the pictures .... let me know your thoughts ..🙂
As I have started to put the valve monoblock into a rack case .. what do you all think ? the top panel that will go on the case is fully vented .
enjoy the pictures .... let me know your thoughts ..🙂
Attachments
-
 P4160001.JPG663.4 KB · Views: 313
 -
 P4160010.JPG633.7 KB · Views: 141
 -
 P4160009.JPG710.6 KB · Views: 132
 -
 P4160008.JPG673.9 KB · Views: 125
 -
 P4160007.JPG650.2 KB · Views: 125
 -
 P4160006.JPG659.4 KB · Views: 152
 -
 P4160005.JPG704.9 KB · Views: 276
 -
 P4160004.JPG668.1 KB · Views: 277
 -
 P4160003.JPG682 KB · Views: 286
 -
 P4160002.JPG680.3 KB · Views: 298
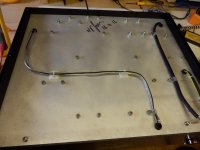
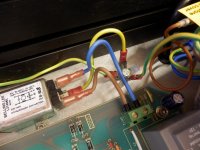
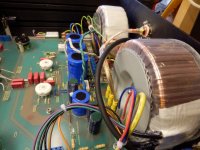
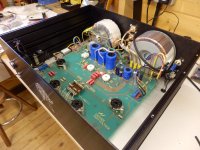
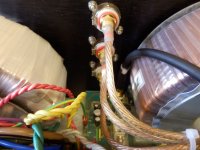
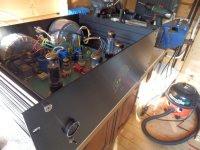
some more pics .. the transformer mounting took some thought but got there in the end
Attachments
-
 P4160020.JPG684.4 KB · Views: 159
 -
 P4160019.JPG706.3 KB · Views: 163
 -
 P4160018.JPG598.6 KB · Views: 142
 -
 P4160017.JPG681.6 KB · Views: 138
 -
 P4160016.JPG679.2 KB · Views: 139
 -
 P4160015.JPG687 KB · Views: 126
 -
 P4160014.JPG671 KB · Views: 114
 -
 P4160013.JPG651.6 KB · Views: 146
 -
 P4160012.JPG711.8 KB · Views: 174
 -
 P4160011.JPG728 KB · Views: 183

Hello samb .. that is a very nice kind comment, many thanks really appreciate it
This project did take some time, and I nearly lost interest in it, but I am very glad with the finsihed result .. glad I completed it now. This is one of 2 (as both are mono blocks)
It does take many hours of experimenting and manhours to get to the finished result, but again many thanks for the kind comments .. most welcome
Nick
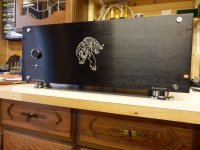
Hello Artosalo
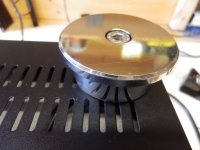
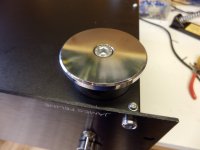
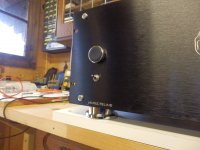
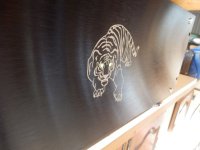
The basic case comes from hifi2000 webshop. I then laser engrave the front panel to my own design. Then the case feet are handmade by me and then chrome plated ?(very heavy duty feet) I make these on my lathe.
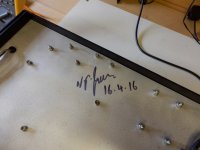
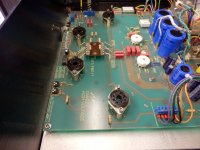
I then get a aluminium plate laser cut to form the bottom chassis plate which mounts all the circuit boards and components.
Then I just make the amplifier by hand ...... 🙂
The basic case comes from hifi2000 webshop. I then laser engrave the front panel to my own design. Then the case feet are handmade by me and then chrome plated ?(very heavy duty feet) I make these on my lathe.
I then get a aluminium plate laser cut to form the bottom chassis plate which mounts all the circuit boards and components.
Then I just make the amplifier by hand ...... 🙂
james,
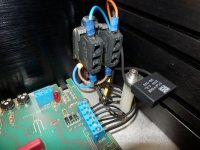
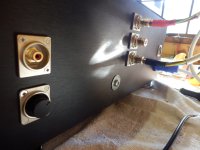
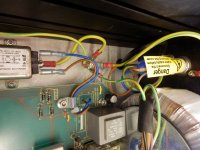
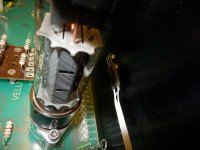
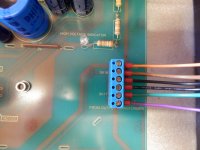
i see that you have modified the power on switch
What are exactly this two grey plastic units?
thanks
i see that you have modified the power on switch
What are exactly this two grey plastic units?
thanks
Hello
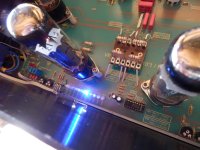
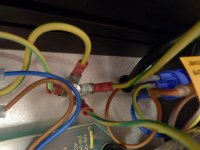
Sorry for the delay .. I added a full on/off switch, and use the small toggle switch for standby etc & pre heat for the valves
The plastic blocks you see are normally open contact switch blocks for the power on/off switch. I also use a snubber capacitor across the live contact to stop arcs and mains borne spikes etc
regards
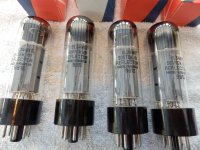
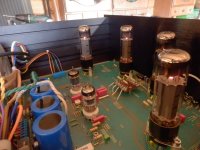
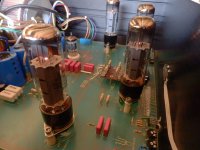
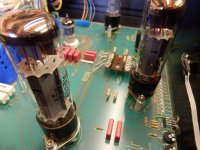
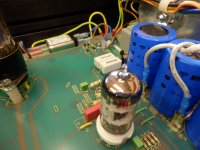
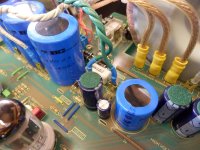
Hello .. it's alive, another K8011 fired up that's works & sounds beautiful
some more pics for you all .. comments please postive & constructive!
some more pics for you all .. comments please postive & constructive!
Attachments


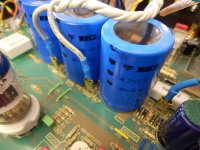
some more pics the resistors are the dummy loads for testing in the previous post
Attachments
-
 P5080041.JPG429.5 KB · Views: 110
 -
 P5080040.JPG444.8 KB · Views: 120
 -
 P5080039.JPG429.8 KB · Views: 105
 -
 P5080038.JPG415.5 KB · Views: 116
 -
 P5080037.JPG420.3 KB · Views: 125
 -
 P5080036.JPG421.1 KB · Views: 123
 -
 P5080035.JPG453 KB · Views: 117
 -
 P5080034.JPG430.8 KB · Views: 110
 -
 P5080033.JPG394.5 KB · Views: 116
some more pics ......
Attachments
-
 P5080051.JPG407.7 KB · Views: 94
 -
 P5080050.JPG426.8 KB · Views: 98
 -
 P5080049.JPG419.8 KB · Views: 103
 -
 P5080048.JPG431.9 KB · Views: 87
 -
 P5080047.JPG426.7 KB · Views: 97
 -
 P5080046.JPG432.4 KB · Views: 98
 -
 P5080045.JPG429.6 KB · Views: 107
 -
 P5080044.JPG419.2 KB · Views: 107
 -
 P5080043.JPG419.9 KB · Views: 101
 -
 P5080042.JPG432.6 KB · Views: 124
Last edited:
and some more ......
Attachments


hope you like all my efforts ??
You've made a work of art indeed!!!
Congratulations
- Home
- Amplifiers
- Tubes / Valves
- K8011/K8010 PCB build thread