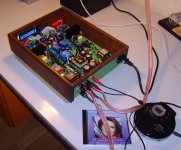
Sure TDA7498 100WPC @ 6 Ohms Board connected to a 36VDC Regulated Power Supply, all inside a Hammond 12" x 10" x 3" enclosure. Hookup wire is 20AWG 300V that has been doubled up for some applications (ie. 120VAC and IC). Shown without the top cover, also from Hammond.
I don't like the missing (proper) grounding of the case (PE onnection).
I don't like the missing (proper) grounding of the case (PE onnection).
When it comes to electricity I have basic knowledge; mechanical and fluid conveyance systems I'm a pro at that. Though simple this project was a learning experience. What would be proper grounding, so I can correct and/or modify. If you refer to a grounding cable from the Power Supply ground to the case. Since the PS is bolted with metal screws to the case my thought was that the screws would serve as grounding.
Last edited:
The doctormord is referring to the fact you don't have an earth connection on the power cable. I think here, PE = physical earth. So the third pin of the IEC mains connector.
As your case is metallic, if ever there were a short circuit from any internal component to the case, without an earth connection (least electrical resistance), then anyone touching the case could get an electric shock.
You can avoid having an earth if all of your live circuits have at least two layers of insulation before reaching the external sides of the case (if it's metallic). This is what is called "double insulated" and why a lot of commercial HiFi equipment doesn't have the earth connection.
However, in your case (pun not intended 🙂), the power supply's ground is in fact also part of the chassis so you need to implement a safety eletrical earth using the third pin of the IEC socket you have in the back 🙂
Better safe than sorry 😉
TFBOY and DR, I do have a ground cable connected to the IEC ground pin. It is not green, because at the time I didn't have green wire. The wire goes from the IEC ground pin to the ground terminal on the power supply. The power supply enclosure is screwed to the amp chassis using metal screws, which would create a conductive bridge for the ground. Now, if you recommend that I attach a grounding wire from the PS ground terminal to the amp chassis, that can easily be fixed. Is that what you are suggesting?
No, I guess it's the white wire that's your earthing ground? It's just not very easy to see from the photos.
You do have continuity between the ground terminal / earthing pin on IEC and the chassis?
If so, then you should be OK.
You do have continuity between the ground terminal / earthing pin on IEC and the chassis?
If so, then you should be OK.
No, I guess it's the white wire that's your earthing ground? It's just not very easy to see from the photos.
You do have continuity between the ground terminal / earthing pin on IEC and the chassis?
If so, then you should be OK.
Yes, I twisted a black and a white wire which is the ground from th IEC GND pin to the PS GND terminal. Continuity to the chassis is via the metal screws that hold the PS enclosure to the amp chassis, as the PS is internally grounded at the factory to its enclosure. To be safe, I can always add a GND wire from the PS GND terminal to any chassis screw, therefore assuring continuity.
Last edited:
D
Deleted member 148505
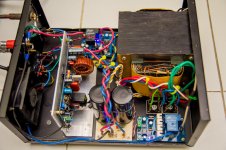

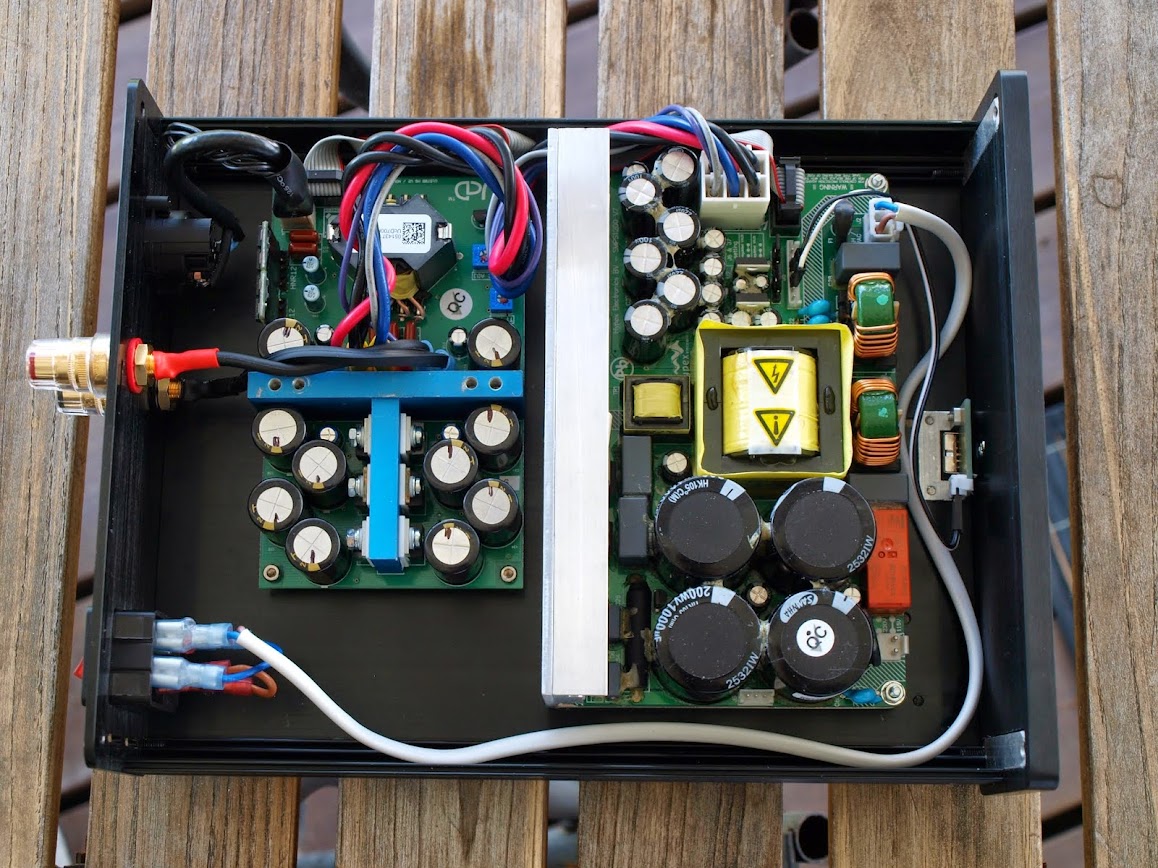
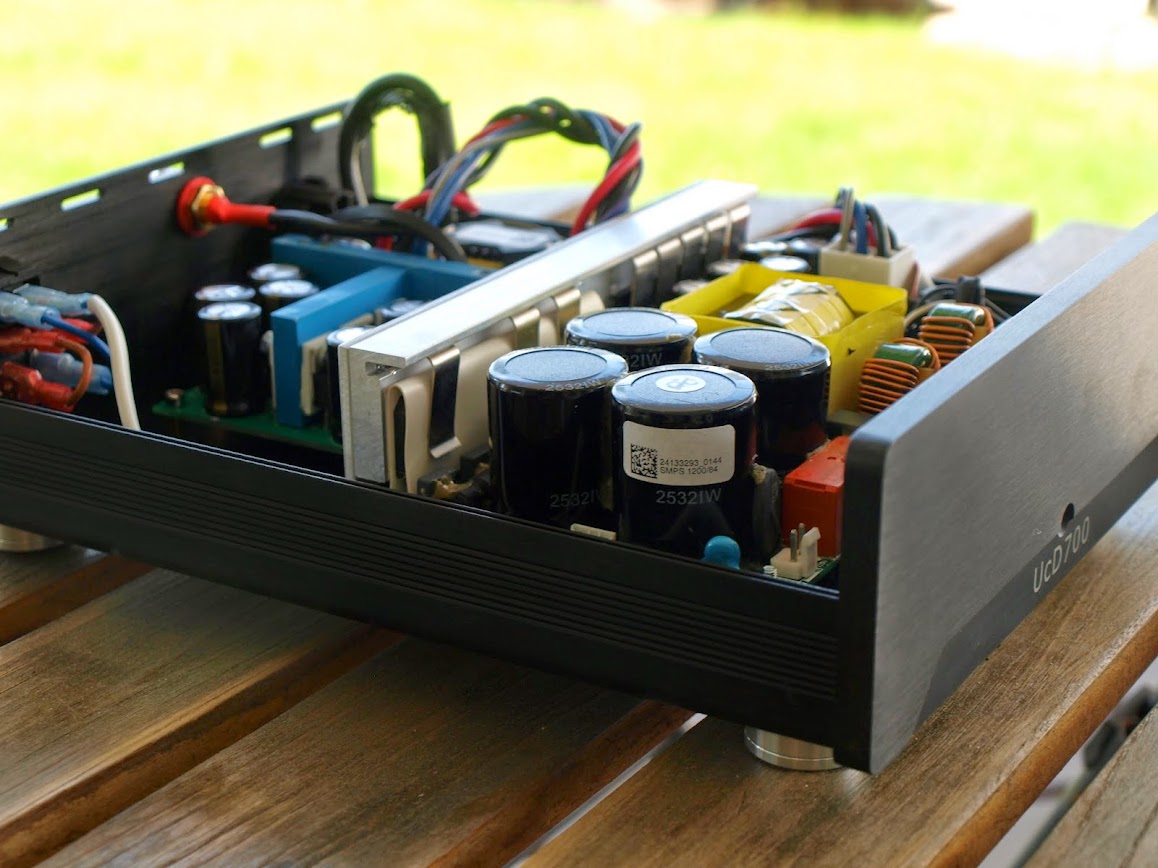
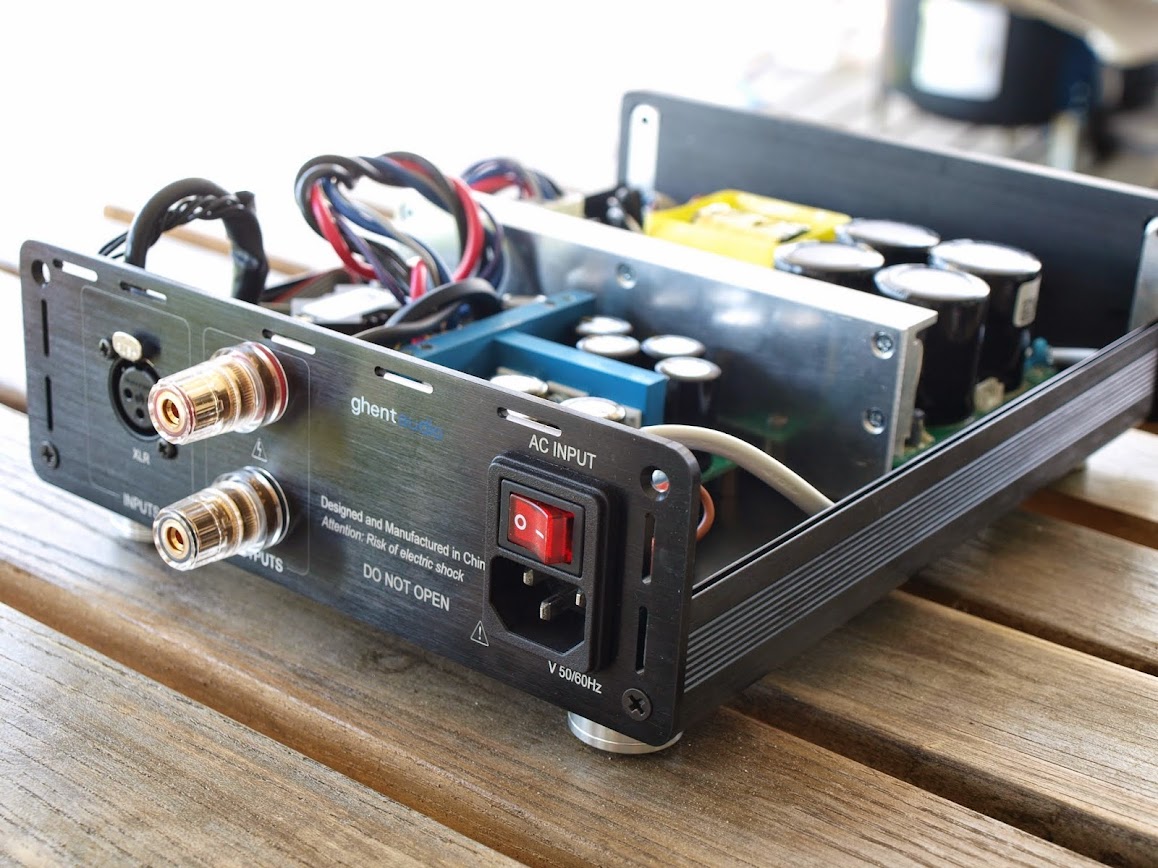
Built pair of UcD700HG with HxR and SMPS1200A700 powers. Cases are from Ghentaudio. Very easy build.
Missing from picture are heatsink/plate which connects module to case top cover and safety earth grounding, which were added.
Missing from picture are heatsink/plate which connects module to case top cover and safety earth grounding, which were added.
Last edited:
To be safe, I can always add a GND wire from the PS GND terminal to any chassis screw, therefore assuring continuity.
Yes, you should to that, right next to the power-inlet, as well as the cover.
Should be like this:
An externally hosted image should be here but it was not working when we last tested it.
Source: IG Warndienst und Sirenen • Thema anzeigen - Restauration S2a1
I have just finished my first "All-Digital-Amplifier".
It consists of:
- a SMPS300RE - PSU from Connexelectronic
- 2 x L15D amplifier modules (based on IRS2092)
- a PGA2311 based pre-amplifier
- a upC1237HA-based speaker protection module
This AMP works, and it is sounding quite good!
Best regards - Rudi_Ratlos
It consists of:
- a SMPS300RE - PSU from Connexelectronic
- 2 x L15D amplifier modules (based on IRS2092)
- a PGA2311 based pre-amplifier
- a upC1237HA-based speaker protection module
This AMP works, and it is sounding quite good!
Best regards - Rudi_Ratlos
Attachments
Last edited:
TFBOY: I am using a standard HD44780 compatible 16x2 - LCD.
The LCD is driven by a PIC µProcessor (on the PCB between the two L15D modules).
Since the PIC's firmware is evaluating the LCD's "Busy Flag" (R/W - pin = '1'), a LCD must be present, but since I was not able to cut an aperture into the wooden front plate,
I screwed the LCD on the inner side.
Any offer like this one:
PGA2311 Remote 3 ways Preamp kit DIY -- Ver020309 | eBay
will do it as well.
Best regards - Rudi
P.S.: Source Selection, volume attenuation, mute, ... can of course be controlled from a IR-remote control unit.
Last edited:
Desk Audio Box
Hi,
time ago my wife asked for "something" portable to let her listen to MP3 or web radios (through her smartphone).
Since I had two car coaxial speakers (Ciare CZ100) laying around on my desk, a week ago I decided to build what (with a lot of fantasy) I called "Desk Audio Box".
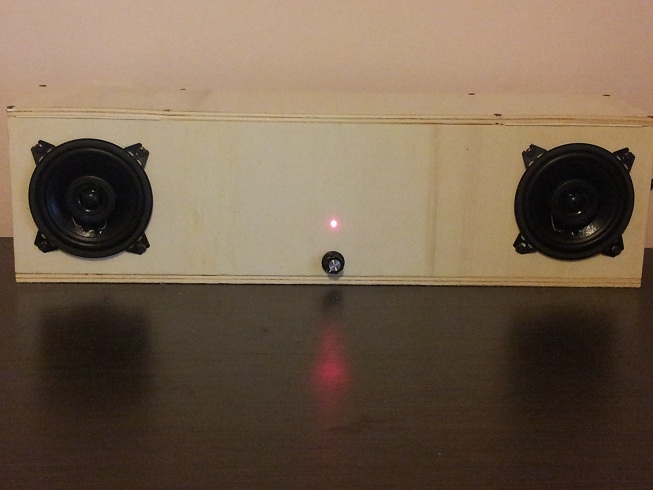
Basically it's a box made of plywood (8 mm thin) with 3 sections inside: 2 for the speakers (closed, 3 liters about each) and 1 for the amplifier and its PSU.
The amplifier is based on a TPA3123 bought on Ebay for 9 Euros shipped, the PSU is built using a 50VA toroid (15Vac) with 2x4700 uF caps so the output power should be around at 20W+20W, more than enough to "amplify" a smartphone or a MP3 player.
The overall sound is satisfying and bass are surprisingly present, considering the size of the speakers (100 mm).
Now the wife is thinking about decorations 😱
Regards,
Roberto
Hi,
time ago my wife asked for "something" portable to let her listen to MP3 or web radios (through her smartphone).
Since I had two car coaxial speakers (Ciare CZ100) laying around on my desk, a week ago I decided to build what (with a lot of fantasy) I called "Desk Audio Box".
Basically it's a box made of plywood (8 mm thin) with 3 sections inside: 2 for the speakers (closed, 3 liters about each) and 1 for the amplifier and its PSU.
The amplifier is based on a TPA3123 bought on Ebay for 9 Euros shipped, the PSU is built using a 50VA toroid (15Vac) with 2x4700 uF caps so the output power should be around at 20W+20W, more than enough to "amplify" a smartphone or a MP3 player.
The overall sound is satisfying and bass are surprisingly present, considering the size of the speakers (100 mm).
Now the wife is thinking about decorations 😱
Regards,
Roberto
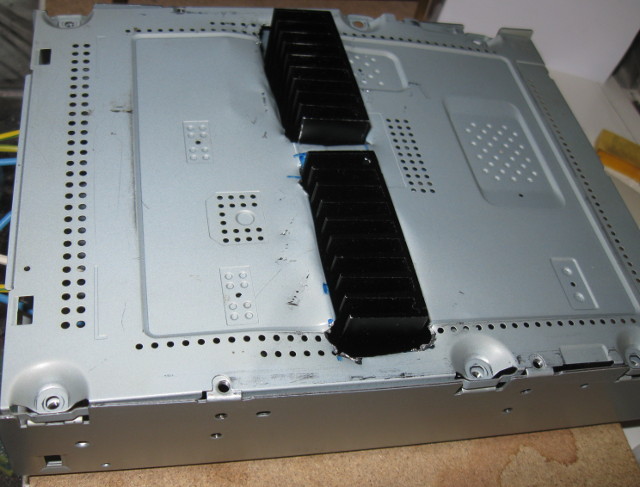
i found out that L15Ds "somehow" fit into old cdrom cases.
after cutting the first half of the venting holes i decided to bend the alu inwards. there was enough space. maybe psu and transformer go into something similar.
*crouch and run*
after cutting the first half of the venting holes i decided to bend the alu inwards. there was enough space. maybe psu and transformer go into something similar.
*crouch and run*
Yes, you should to that, right next to the power-inlet, as well as the cover.
Should be like this:
An externally hosted image should be here but it was not working when we last tested it.
Source: IG Warndienst und Sirenen • Thema anzeigen - Restauration S2a1
I will go ahead and do that, thanks for your comments and tutorial...😀
APEX D200
Hi Apex, are you have any D-class project based on IRS2092
Thought that I could share few pics of my monoblock project from last fall.
Modules are from NewClassD Products
including:
- NewClassD NCDX Discrete 480 W in 4 Ohms Discrete Class D Module
- Soft Start Circuit + DC / RFI Filter and power control Combo
- Power Supply Board 10.000/63 4 layer with Ultra Fast Recovery Diodes 4 wire
- Toroids 2 x 42 VAC 1000VA
Enclosures+feet from ebay. Connectors and inner cabling from ebay and from my own collection. Painting also my own work.

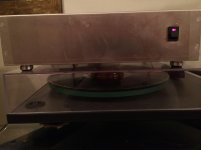
First test setup:


After testing disassmbled and painted the enclosures for my liking.


Overall costs around $2000 without painting for pair. I am very pleased with the sound, bass is controlled and no interference at all. Toroids make some noise in the enclosure, but when listening music, it's not audible at all.
Modules are from NewClassD Products
including:
- NewClassD NCDX Discrete 480 W in 4 Ohms Discrete Class D Module
- Soft Start Circuit + DC / RFI Filter and power control Combo
- Power Supply Board 10.000/63 4 layer with Ultra Fast Recovery Diodes 4 wire
- Toroids 2 x 42 VAC 1000VA
Enclosures+feet from ebay. Connectors and inner cabling from ebay and from my own collection. Painting also my own work.
First test setup:
After testing disassmbled and painted the enclosures for my liking.
Overall costs around $2000 without painting for pair. I am very pleased with the sound, bass is controlled and no interference at all. Toroids make some noise in the enclosure, but when listening music, it's not audible at all.
Thought that I could share few pics of my monoblock project from last fall.
Modules are from NewClassD Products
including:
- NewClassD NCDX Discrete 480 W in 4 Ohms Discrete Class D Module
- Soft Start Circuit + DC / RFI Filter and power control Combo
- Power Supply Board 10.000/63 4 layer with Ultra Fast Recovery Diodes 4 wire
- Toroids 2 x 42 VAC 1000VA
Enclosures+feet from ebay. Connectors and inner cabling from ebay and from my own collection. Painting also my own work.
.
They look great
What paint did you use? Did it require lots of coats.
David
- Home
- Amplifiers
- Class D
- Class D Amp Photo Gallery