Nice builds! I like seeing custom casework. It's interesting to see what people can dream up.
Thanks for all your kind words on my BA2018 and M2x builds.
@peppennino, @cherman
Yes the M2x is built into a 3U 400mm Dissipante enclosure. I was more than a little nervous drilling and tapping the mounting holes in the heat sinks. But it all turned out fine with a little patience and measuring everything three or four times before drilling. My biggest fear was breaking through the other side of the heat sink as I don’t have a drill press to control the depth of the holes. They were done by hand.
@elwood625
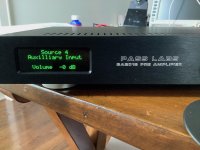
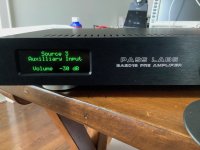
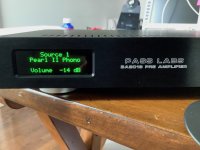
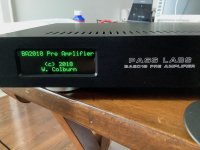
Here are some pics of the display. The first two are as the amp starts up. The other four are what’s displayed for each of the four inputs.
@peppennino, @cherman
Yes the M2x is built into a 3U 400mm Dissipante enclosure. I was more than a little nervous drilling and tapping the mounting holes in the heat sinks. But it all turned out fine with a little patience and measuring everything three or four times before drilling. My biggest fear was breaking through the other side of the heat sink as I don’t have a drill press to control the depth of the holes. They were done by hand.
@elwood625
Here are some pics of the display. The first two are as the amp starts up. The other four are what’s displayed for each of the four inputs.
Attachments
-
 2CF4F34F-F4DE-4B7A-8E1F-7D24ED900902.jpeg887 KB · Views: 869
 -
 1041C3D3-D6F5-4C05-8319-E7819ADB10BA.jpeg887.9 KB · Views: 345
 -
 E5715D2F-39D4-4EF3-B19E-B0AAF9E9CFF8.jpeg880.8 KB · Views: 789
 -
 BC9FC66C-1C8D-4F17-9B9F-01ABD9215604.jpeg844.2 KB · Views: 803
 -
 14A07078-324F-4406-BB68-A12ED3436126.jpeg814.7 KB · Views: 815
 -
 0F721E71-798A-4D71-AABC-7FE1849EA9C3.jpeg865 KB · Views: 880

HI temp on mosfet ?Yes the M2x is built into a 3U 400mm Dissipante enclosure.
I haven't measured it yet but I can comfortably keep my hands on the outside of the heatsinks and not have to let go, so can't be too hot I don't think.
Gary
Gary
I'm not the fastest builder in the universe so the thought of how much this would have cost if I was to add my time into the equation... To be honest, it would scare the living hell out of me. I must have spent well over a year on the BA2018. I also went through a couple of power supply and input selector board iterations, and that's the second enclosure you see there. The box of bits I've scrapped along the way is probably twice as much as I ended up using for the final build. But it's all about learning and making the next build easier.
This is not a hobby that I could ever do as any sort of commercial enterprise. I think I'd make a phenomenal loss, lose the house, and probably my wife as well. I just love building things. That's where I get the satisfaction. That, and the end result sounds pretty damn sweet 😀
Thanks Nelson and Wayne!
My original diy efforts from 07/08, back when there was no such thing as the store or UMS or even case suppliers. You waited for a heatsink group buy or bought salvage heatsinks ...
(Left to right - F2, F5, F4)
Congratulations Twichie

Well builds amps with DIY chassis,
no compromise on the heatsinks size 😀


- Home
- Amplifiers
- Pass Labs
- Pictures of your diy Pass amplifier