I have a Toshiba TDP-T1 dlp projector I sent in for upgrading to the new ballast so I could purchase a new lamp for it as the older lamps were no longer offered. It came back and worked fine until it was out of warranty of 30 days then the lamp started turning off then cycling back on off until it just went off. Would this be the lamp or the ballast going bad?
Do you have a lamp that will work with this projector? If the ballast is going I would like to replace it, what has to be done to the projector if I use a ballast other than the stock one to trick the projector into thinking the lamp is lit?
Do you have a lamp that will work with this projector? If the ballast is going I would like to replace it, what has to be done to the projector if I use a ballast other than the stock one to trick the projector into thinking the lamp is lit?
@ywh
Interesting info! What is the expected lifetime of this lamps in hours?
I have given up on the sharp because I found a very cheap Infocus X1 with a working lamp (500 hours used). But I am considering buying a new lamp from you already just to keep a spare. Do you have the lamp for it? If I ask, can you provide NO of post system like you did with Ri7? That number can be used for tracking on Brazilian Mail Service, I teste Ri7 number and it works.
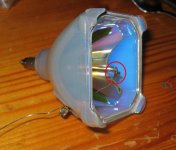
zeims said:I have problem connecting wires in this point... because the wire wasn't connected in it when i got it from ywh. what you use to connect it ?
look at the picture( it is not from my lamp) but shows the problem point.
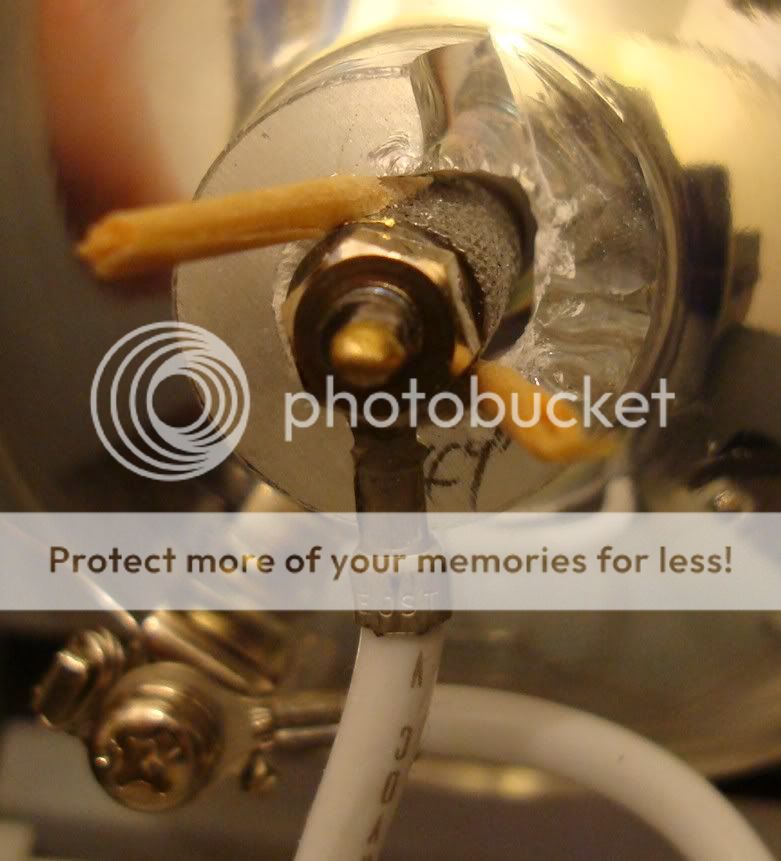
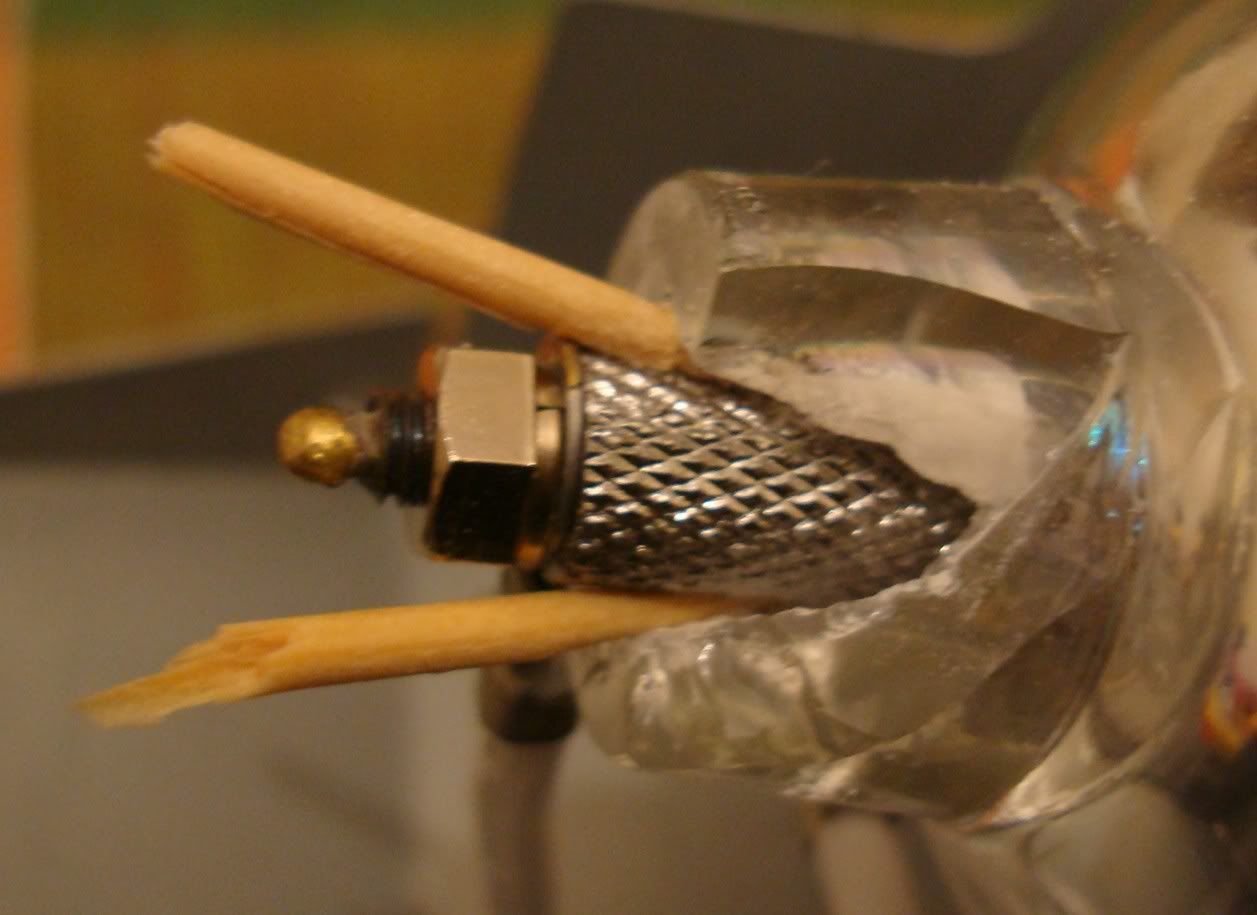
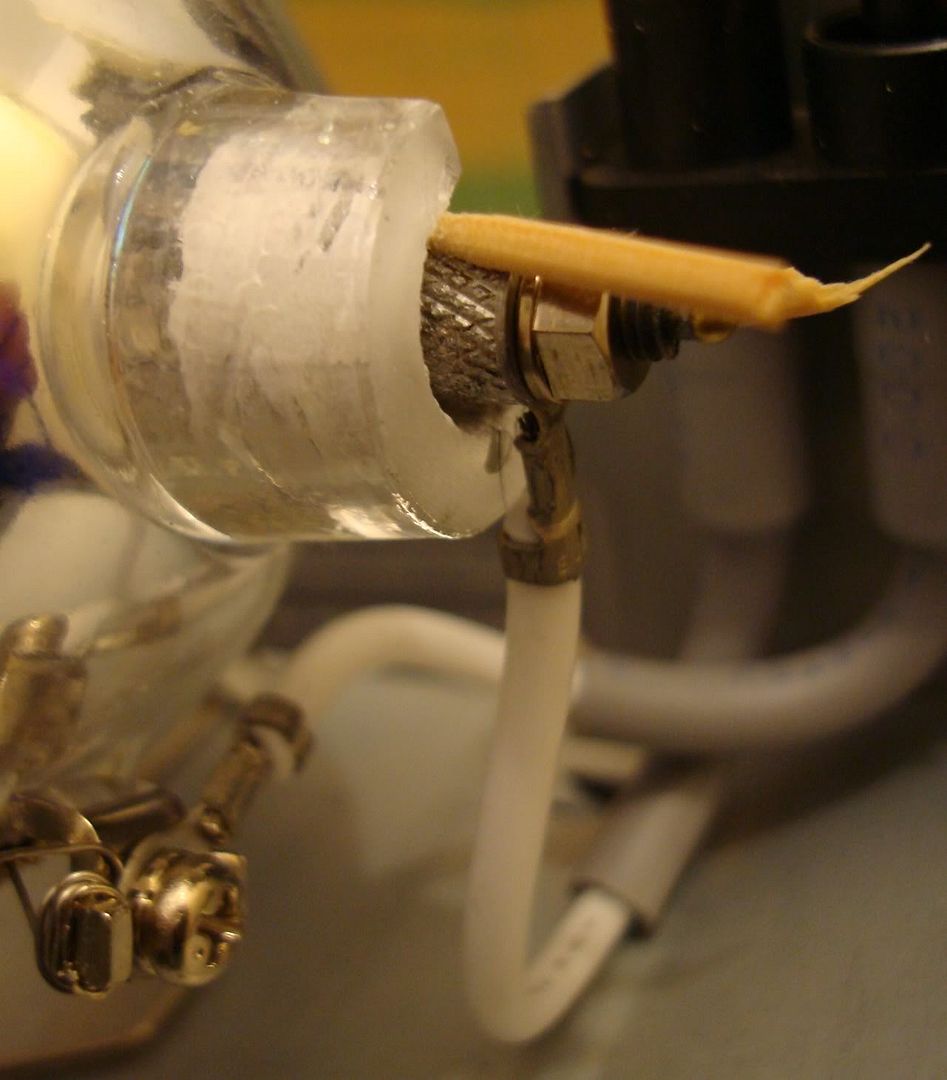
the only way I can think of without spot-welding is to use the "thingy" I mentioned earlier cut in 2 pieces and filed down to the desired size. See pics below.. I make one for demonstration with my old lamp.
An externally hosted image should be here but it was not working when we last tested it.
An externally hosted image should be here but it was not working when we last tested it.
An externally hosted image should be here but it was not working when we last tested it.
maybe due to its small size it wont affect performance inside the reflector.
Hi folks!
I finally have installed my new lamp!
The candidate was Epson ELP-3000.
The original lamp is small than new one but the new lamp fits perfect in the reflector and in the original wiring.
The gain in the brightness was incredible and now the colors are natural again!
I'm very happy and thankful to ywh!
Tomorrow I will glue the new lamp with the cement!
Hugs!
Ri7
Ri7 said:Hi folks!
Tomorrow I will glue the new lamp with the cement!
how did you perform the test without glueing the lamp?
That's my plan! 
The old reflector is fragile...in the photos you can see the broken part.
I will fill up everything with the cement.
Another thing...the original lamp was smallest than new one...but I've measured the distance from the "ball" of the original lamp and put the new one in the same place.
I'll post new photos as soon as I finish it!

Hi Ywh,
Do you have the lamp replacement for Epson PowerLite Home 10 Projector (ie. Epson EMP-TW10H). The bulb is something like Type:
132W UHE
you can check out in this link:
http://www.projectorcentral.com/Epson-PowerLite_Home_10.htm
please told me the price and the shipping cost if you have the bulb,
Thanks
zeims said:TonyMontana
Where did you get/take off that "thingy" ??
You can buy them in batches in electrical equipment stores... see pics:
An externally hosted image should be here but it was not working when we last tested it.
An externally hosted image should be here but it was not working when we last tested it.
they come in various sizes and they are cheap..
Keep in mind that I have not tried what I suggested it is just an idea
...hopefully it will work. Good luck man.zeims said:thanks ! I just found those before you made your post !! I'll buy one tomorrow. I hope it solves my problem
thats good
just check which size suits you best...Hi folks!
As I promessed yesterday, here comes the pictures of the final process!
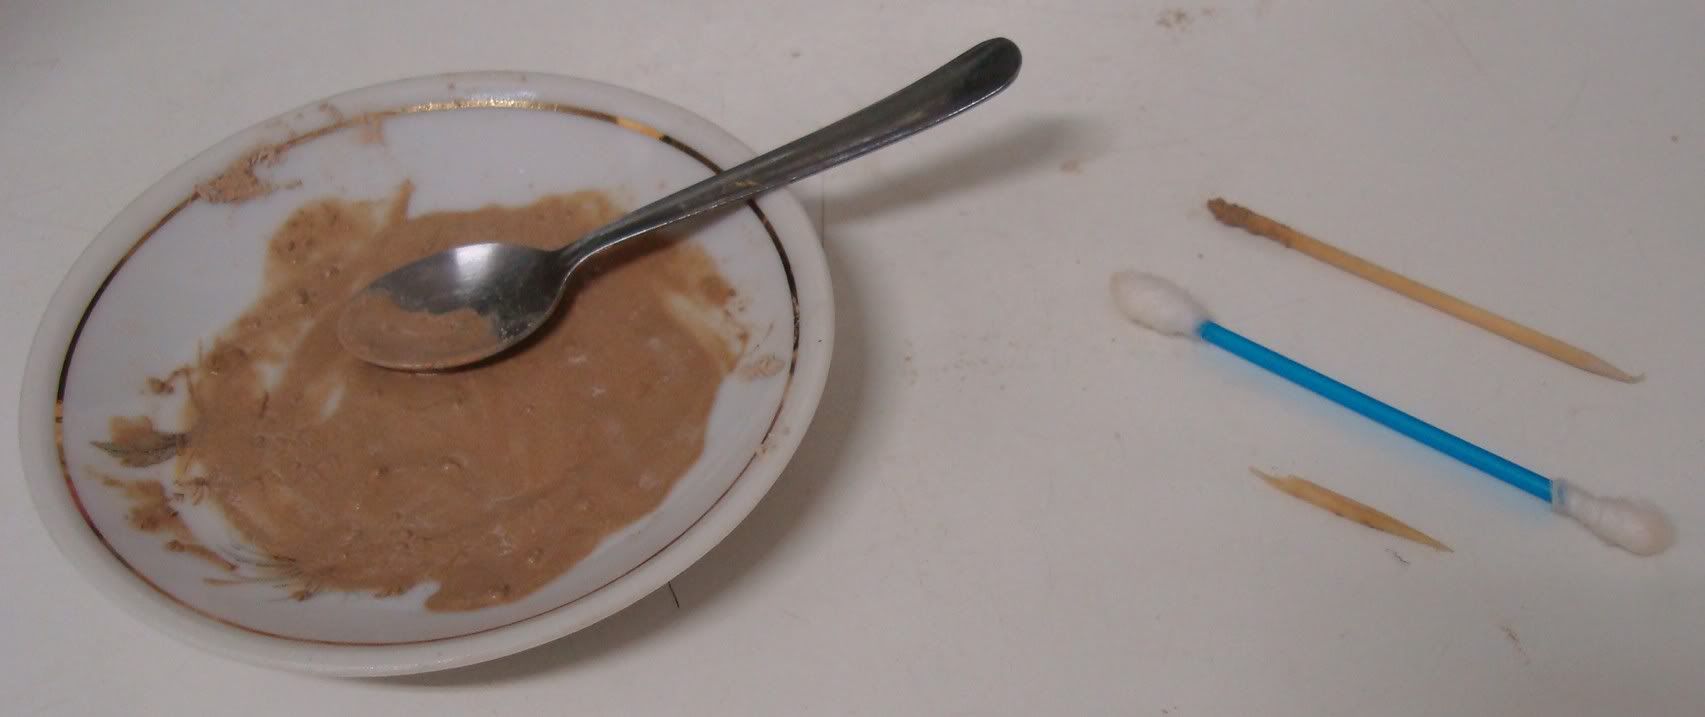
I'd started putting some cement in the lamp side:

Then I covered the reflector with insulation tape and start to fill up all spaces between reflector and lamp:
That's the place where I made the cement with a little water:
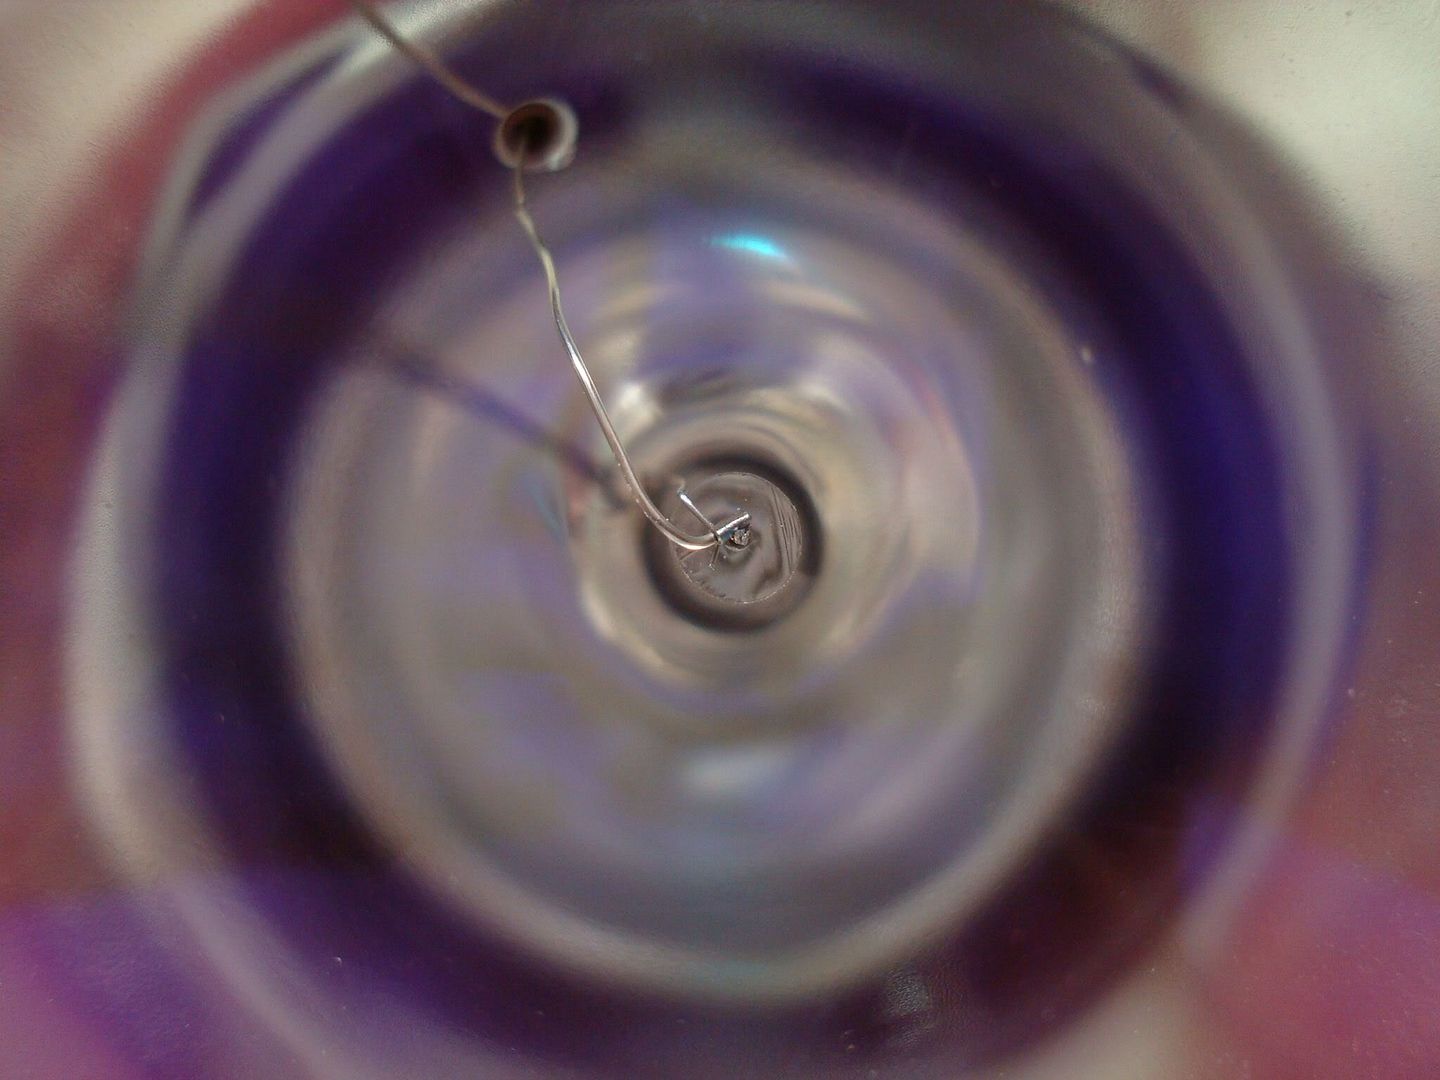
Then, I've made a "fine" adjust in the cement by the side of the lamp:
After that, I removed the black tape and fill the broken part of the reflector with cement:
I've used a hair dryer to accelerate the drying process:
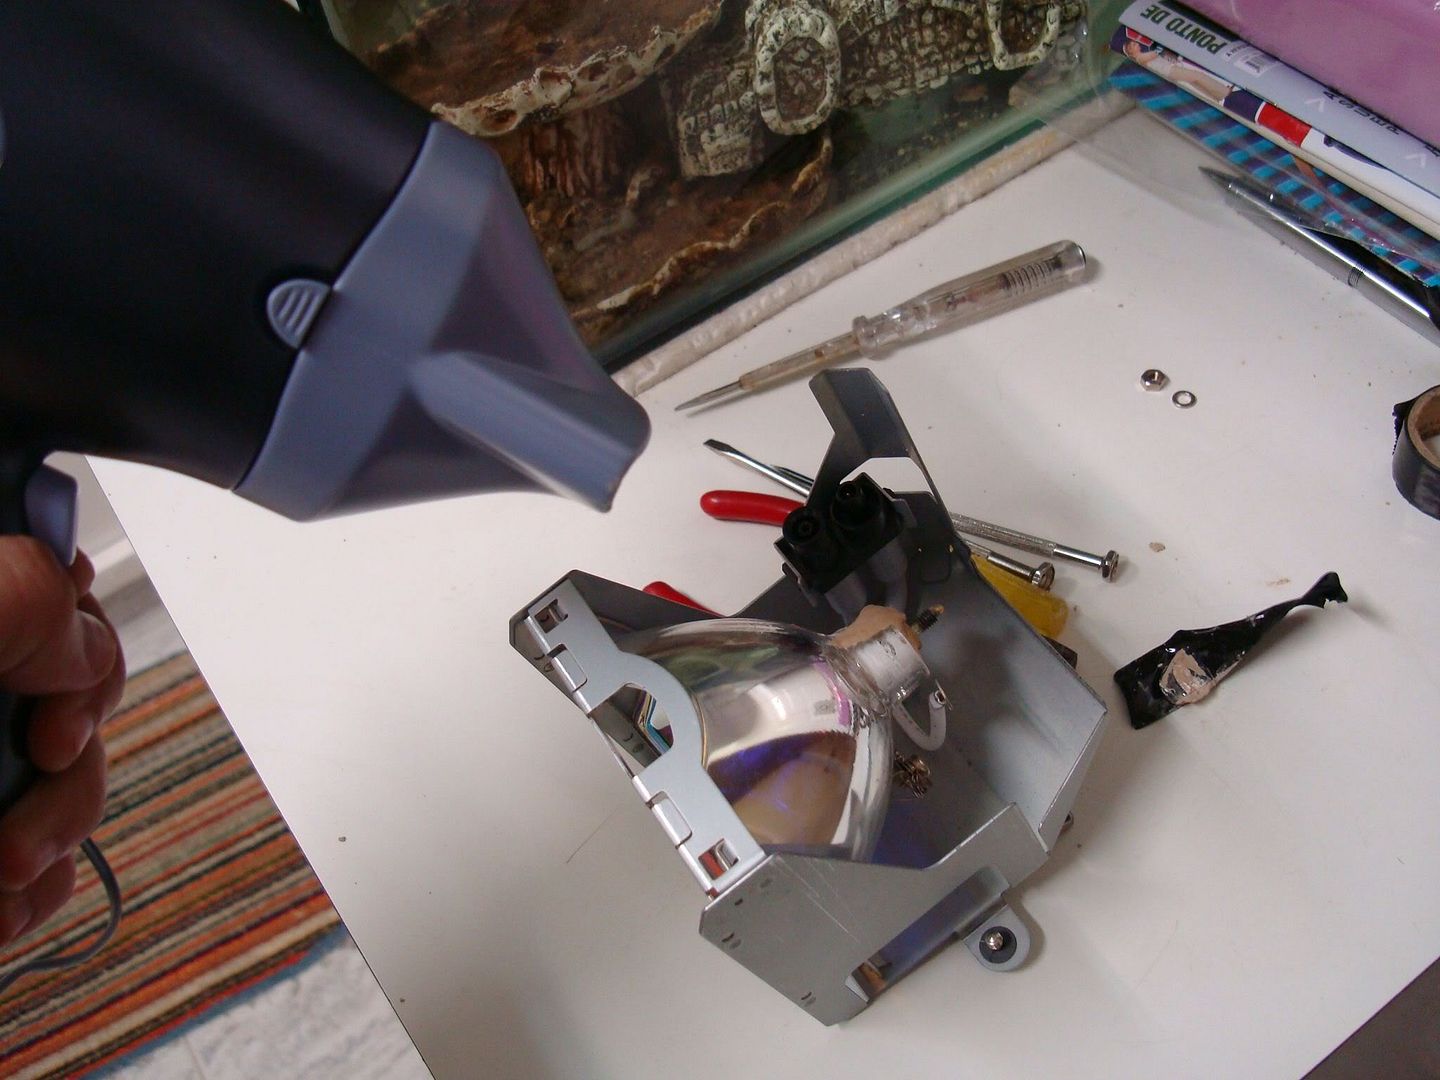
My workbench:
And the final result:
Thanks everybody for the help in the process and special thanks to ywh who made all this possible!
Hugs
Ri7
As I promessed yesterday, here comes the pictures of the final process!
I'd started putting some cement in the lamp side:
Then I covered the reflector with insulation tape and start to fill up all spaces between reflector and lamp:
That's the place where I made the cement with a little water:
Then, I've made a "fine" adjust in the cement by the side of the lamp:
After that, I removed the black tape and fill the broken part of the reflector with cement:
I've used a hair dryer to accelerate the drying process:
My workbench:
And the final result:
Thanks everybody for the help in the process and special thanks to ywh who made all this possible!
Hugs
Ri7
- Status
- This old topic is closed. If you want to reopen this topic, contact a moderator using the "Report Post" button.
- Home
- General Interest
- Everything Else
- The Moving Image
- DIY Projectors
- I got my new lamp. It is for commercial projection use. people use it to replace the