No.Here is a rough layout of the Mosfet's and mur3020's, Mosfet's on bottom. The sinks are 5" tall so planning on tapping for the mounting screw 2" up from the bottoms and center side to side of each sink.
For best cooling a sink with 1 row of devices locates the devices approximately 40% up from the bottom.
For best cooling a sink with 2 rows of devices locates the lower devices approximately 25% up from the bottom and the upper devices approximately 60% up from the bottom.
Some manufacturers publish guidelines on locating devices.
There are some free simulation programmes that allow to to determine best location.
No.
For best cooling a sink with 1 row of devices locates the devices approximately 40% up from the bottom.
For best cooling a sink with 2 rows of devices locates the lower devices approximately 25% up from the bottom and the upper devices approximately 60% up from the bottom.
Some manufacturers publish guidelines on locating devices.
There are some free simulation programmes that allow to to determine best location.
Andrew T
Can You share the thermal simulation software You use, I try one or two trial version of the thermal simulation but nothing workable for me.
Andrew thanks for sharing. I think I'm somewhere between the two examples you gave. Basically my upper and lower sinks are thermally disconnected from each other. I understand that the heat from the lower sink will impact the upper sink. But with the discharge of air from the fan being between the 2 sinks this should be minimized.No.
For best cooling a sink with 1 row of devices locates the devices approximately 40% up from the bottom.
For best cooling a sink with 2 rows of devices locates the lower devices approximately 25% up from the bottom and the upper devices approximately 60% up from the bottom.
Some manufacturers publish guidelines on locating devices.
There are some free simulation programmes that allow to to determine best location.
Since my heat sink/fan design is unproven, might require some trial and error. But I'm hoping that by splitting the sinks and adding a fan with the discharge between them, that the efficiency as a whole will be high enough that exact placement of the devices will not not be paramount.
or put another way.
If you have a 1C/W sink dissipating 20W you would expect the Sink temperature to be ~30Cdegrees above ambient.
The same sink when fan cooled could probably dissipate approaching 200W and the sink would still be @ ~30Cdegrees above ambient.
BUT !!!
the fan must be effectively coupled so that it actually passes a lot of cooling air over the very small fins.
Fan cooled sinks look very different from ambient cooled sinks to achieve that cooling air flow.
What is the recommended device for controlling the fan by temperature? It seems bi-metal disks are the simplest way and cheap. But they are all kinda big and seem like low tech. I'm also worried if you will here them click on and off.
Suggestions?
You can get fan with thermal controller built in ....
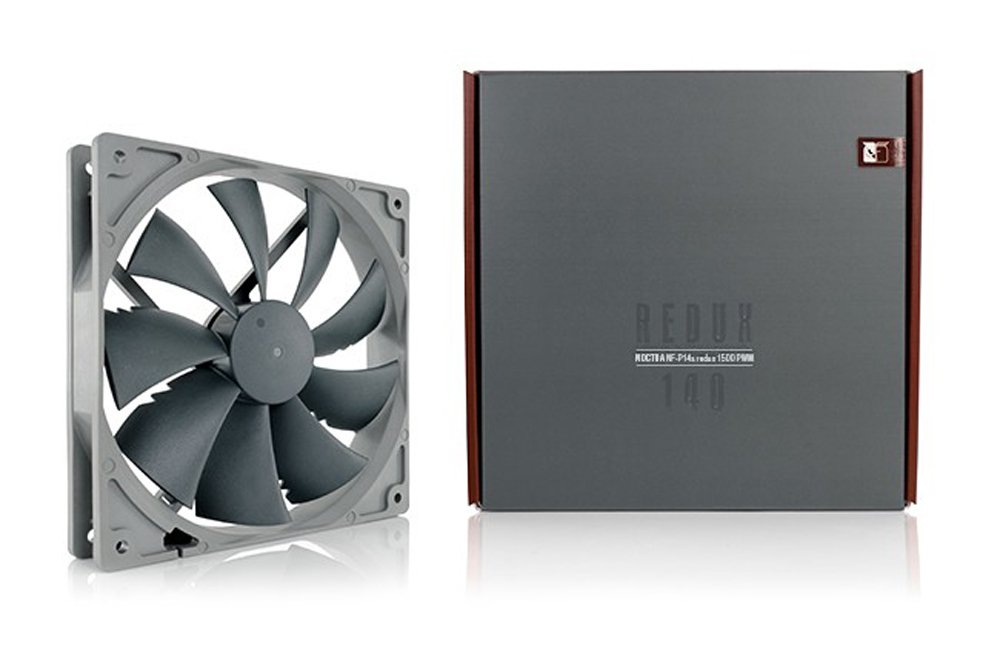
If i can suggest, get a "Noctua" fan .. is a pricey, but working well and really quiet ...
An externally hosted image should be here but it was not working when we last tested it.
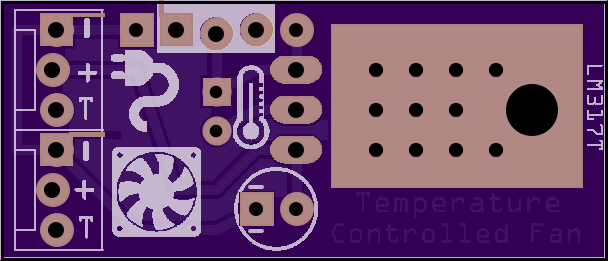
For thermal controller, you can use this:
Temperature Controlled PC FAN
An externally hosted image should be here but it was not working when we last tested it.
You can download Gerber files and make PCBs on OshPark ... easy to build ...
Download PCB Gerber files
•
That's pretty cool! Have you used this before? No one has the boards ready to sell?You can get fan with thermal controller built in ....
If i can suggest, get a "Noctua" fan .. is a pricey, but working well and really quiet ...
For thermal controller, you can use this:
Temperature Controlled PC FAN
An externally hosted image should be here but it was not working when we last tested it.
You can download Gerber files and make PCBs on OshPark ... easy to build ...
Download PCB Gerber files
•
I've already bought the fans, I'll post info later.
Thanks
Last edited:
That's pretty cool! Have you used this before? No one has the boards ready to sell?
I've already bought the fans, I'll post info later.
Thanks
No, i dont have fans in my builds, but this looks decent, and you can order as little as 3 pieces on oshpark, and gonna cost you maybe 15 bucks max ...
I upload gerber files for you, and price is $4.95 for three boards ...
Here is a link where you can order ...
OSHPARK shared projects - Fan Controller
•
Here is a link where you can order ...
OSHPARK shared projects - Fan Controller
•
Very interesting. I think this would solve my dissipation issues completely, though fans will make some noise.
You could run them at a lower voltage. For example I have two 12V fans cooling my heavily biased Hafler 9505 running at 5V and they run very quiet and bring down the temperature of each heatsink by over 25F. This enables me to increase bias by 50%.
Nash
You could run them at a lower voltage. For example I have two 12V fans cooling my heavily biased Hafler 9505 running at 5V and they run very quiet and bring down the temperature of each heatsink by over 25F. This enables me to increase bias by 50%.
Nash[/QUOTE
Noise ? what Noise, its noctua.
Thanks for uploading the files! I will order once they confirm my account.I upload gerber files for you, and price is $4.95 for three boards ...
Here is a link where you can order ...
OSHPARK shared projects - Fan Controller
•
This is the fan that I bought. Almost as quiet as the Noctua, and black, not the goofy colors of the Noctua.

I finally finished building the chassis, at least the aluminum part of it. 99% of the drilling and tapping is complete. Brought them home and now time to start stuffing the boards.
I have on hand about 90% of the components to finish. Still waiting on the transformers and the Mundorf caps to arrive.
Organizing the 12vdc control circuit, heat overload, fan control, push button on/off control, soft start, slow charge, etc is almost as involved and the amp itself!
I was looking for bare aluminum finishes, and found this on eBay:
MOELLER Zinc Chromate Primer Aluminum & MERCRUISER Black Paint 2 can kit
0E9s37HkZ7BR7+40WQtw~~60_35.JPG)
Looks like decent finish, and is made for Boat engines etc ...
Also i look reviews on Amazon, people like it ...
MOELLER Zinc Chromate Primer Aluminum & MERCRUISER Black Paint 2 can kit
Looks like decent finish, and is made for Boat engines etc ...
Also i look reviews on Amazon, people like it ...
The fan is going to be noisy at that speed.
You want 1000 rpm or less.
Turn on voltage is usually around 7 volts and will not turn on any lower.
You can use some In400x diodes in series to reduce speed even more when you get close to the speed you need for noise reduction.
You have little surface area inside compared to the outside sinks that need the air, so don,t expect big temp reductions. Better than no air however.
I would use the biggest fan at the lowest speed.
I have even considered the 200mm ones for a new project running low rpms.
Many fans have switched 3 speed control right on the cord
The Zinc chromate shown is dangerous to breath and looks terrible. This is only for bad weather conditions basically to protect the aluminum.
In home temps will take forever to corrode the surface of alum BTW. A clear lacquer coat works well if you are satisfied with your final look of the surface.
Regards
David
The fan is going to be noisy at that speed.
You want 1000 rpm or less.
Turn on voltage is usually around 7 volts and will not turn on any lower.
You can use some In400x diodes in series to reduce speed even more when you get close to the speed you need for noise reduction.
You have little surface area inside compared to the outside sinks that need the air, so don,t expect big temp reductions. Better than no air however.
I would use the biggest fan at the lowest speed.
I have even considered the 200mm ones for a new project running low rpms.
Many fans have switched 3 speed control right on the cord
The Zinc chromate shown is dangerous to breath and looks terrible. This is only for bad weather conditions basically to protect the aluminum.
In home temps will take forever to corrode the surface of alum BTW. A clear lacquer coat works well if you are satisfied with your final look of the surface.
Regards
David
He have cutout for fan already ... he can maybe use small fan controller like this too ...

Zinc chromate in this link is primer only, come in kit with JetBlack finish .... Who cares about time to cure if etch aluminum and make good primer for final surface finish in black, if is done right - gonna look awesome, specially is he decide to go for high gloss clear coat over black ...
I think he should go for slow but right done build ...
Talking about Noctua quiet fans, there is no better for quiet enviroment then that one ... BTW, it comes in black color too ...
Noctua SSO Bearing Fan Retail Cooling NF-P14s redux-1500 PWM
The performance-oriented top speed of the 1500rpm PWM version is ideal for high efficiency case
- Status
- This old topic is closed. If you want to reopen this topic, contact a moderator using the "Report Post" button.
- Home
- Amplifiers
- Pass Labs
- Aloha F5 v3 Monoblock build