Following your build with interest, looking good !
I hope I won't disappoint!
To quote some random guy I stumbled across on the internet, “the only person who needs to like the sound of your audio system is you”. I’ll add; until you don’t.

xrk971 : Thanks! The woodworking portion of it is a huge part of the fun for me!
Okay here goes. After a LOT of sanding (my gluing was not very tight at some areas) and a couple touchups here and there, they are ready to oil. I sanded them with grit 60 first, then 80 and 120. I then wet the wood lightly to raise the grain and did a final 220 light sanding.
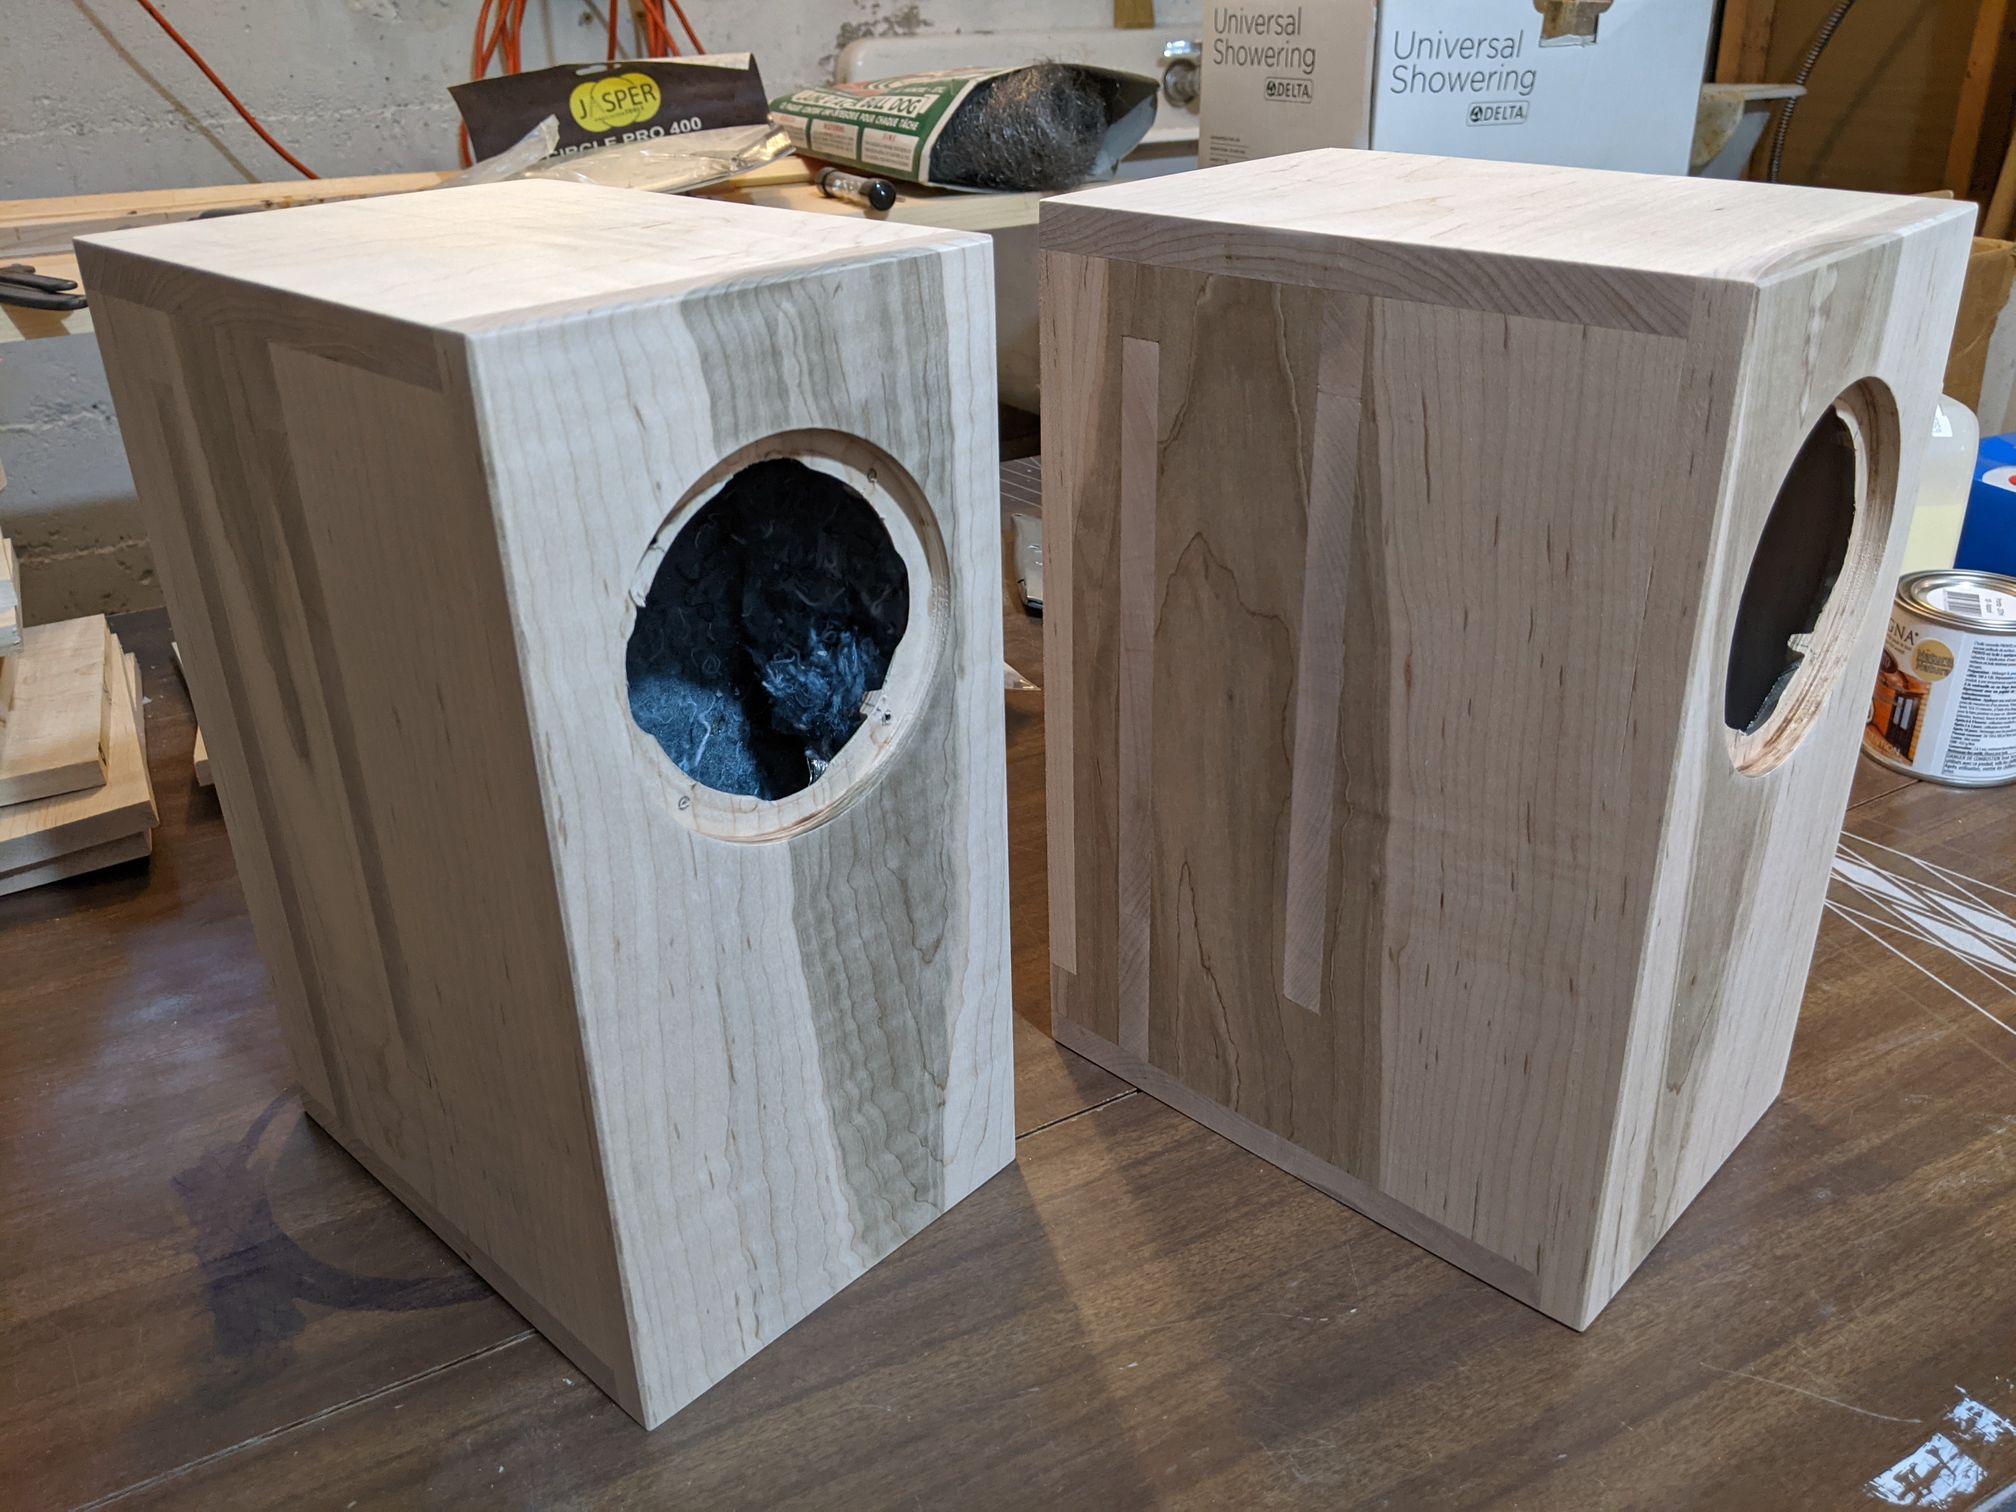
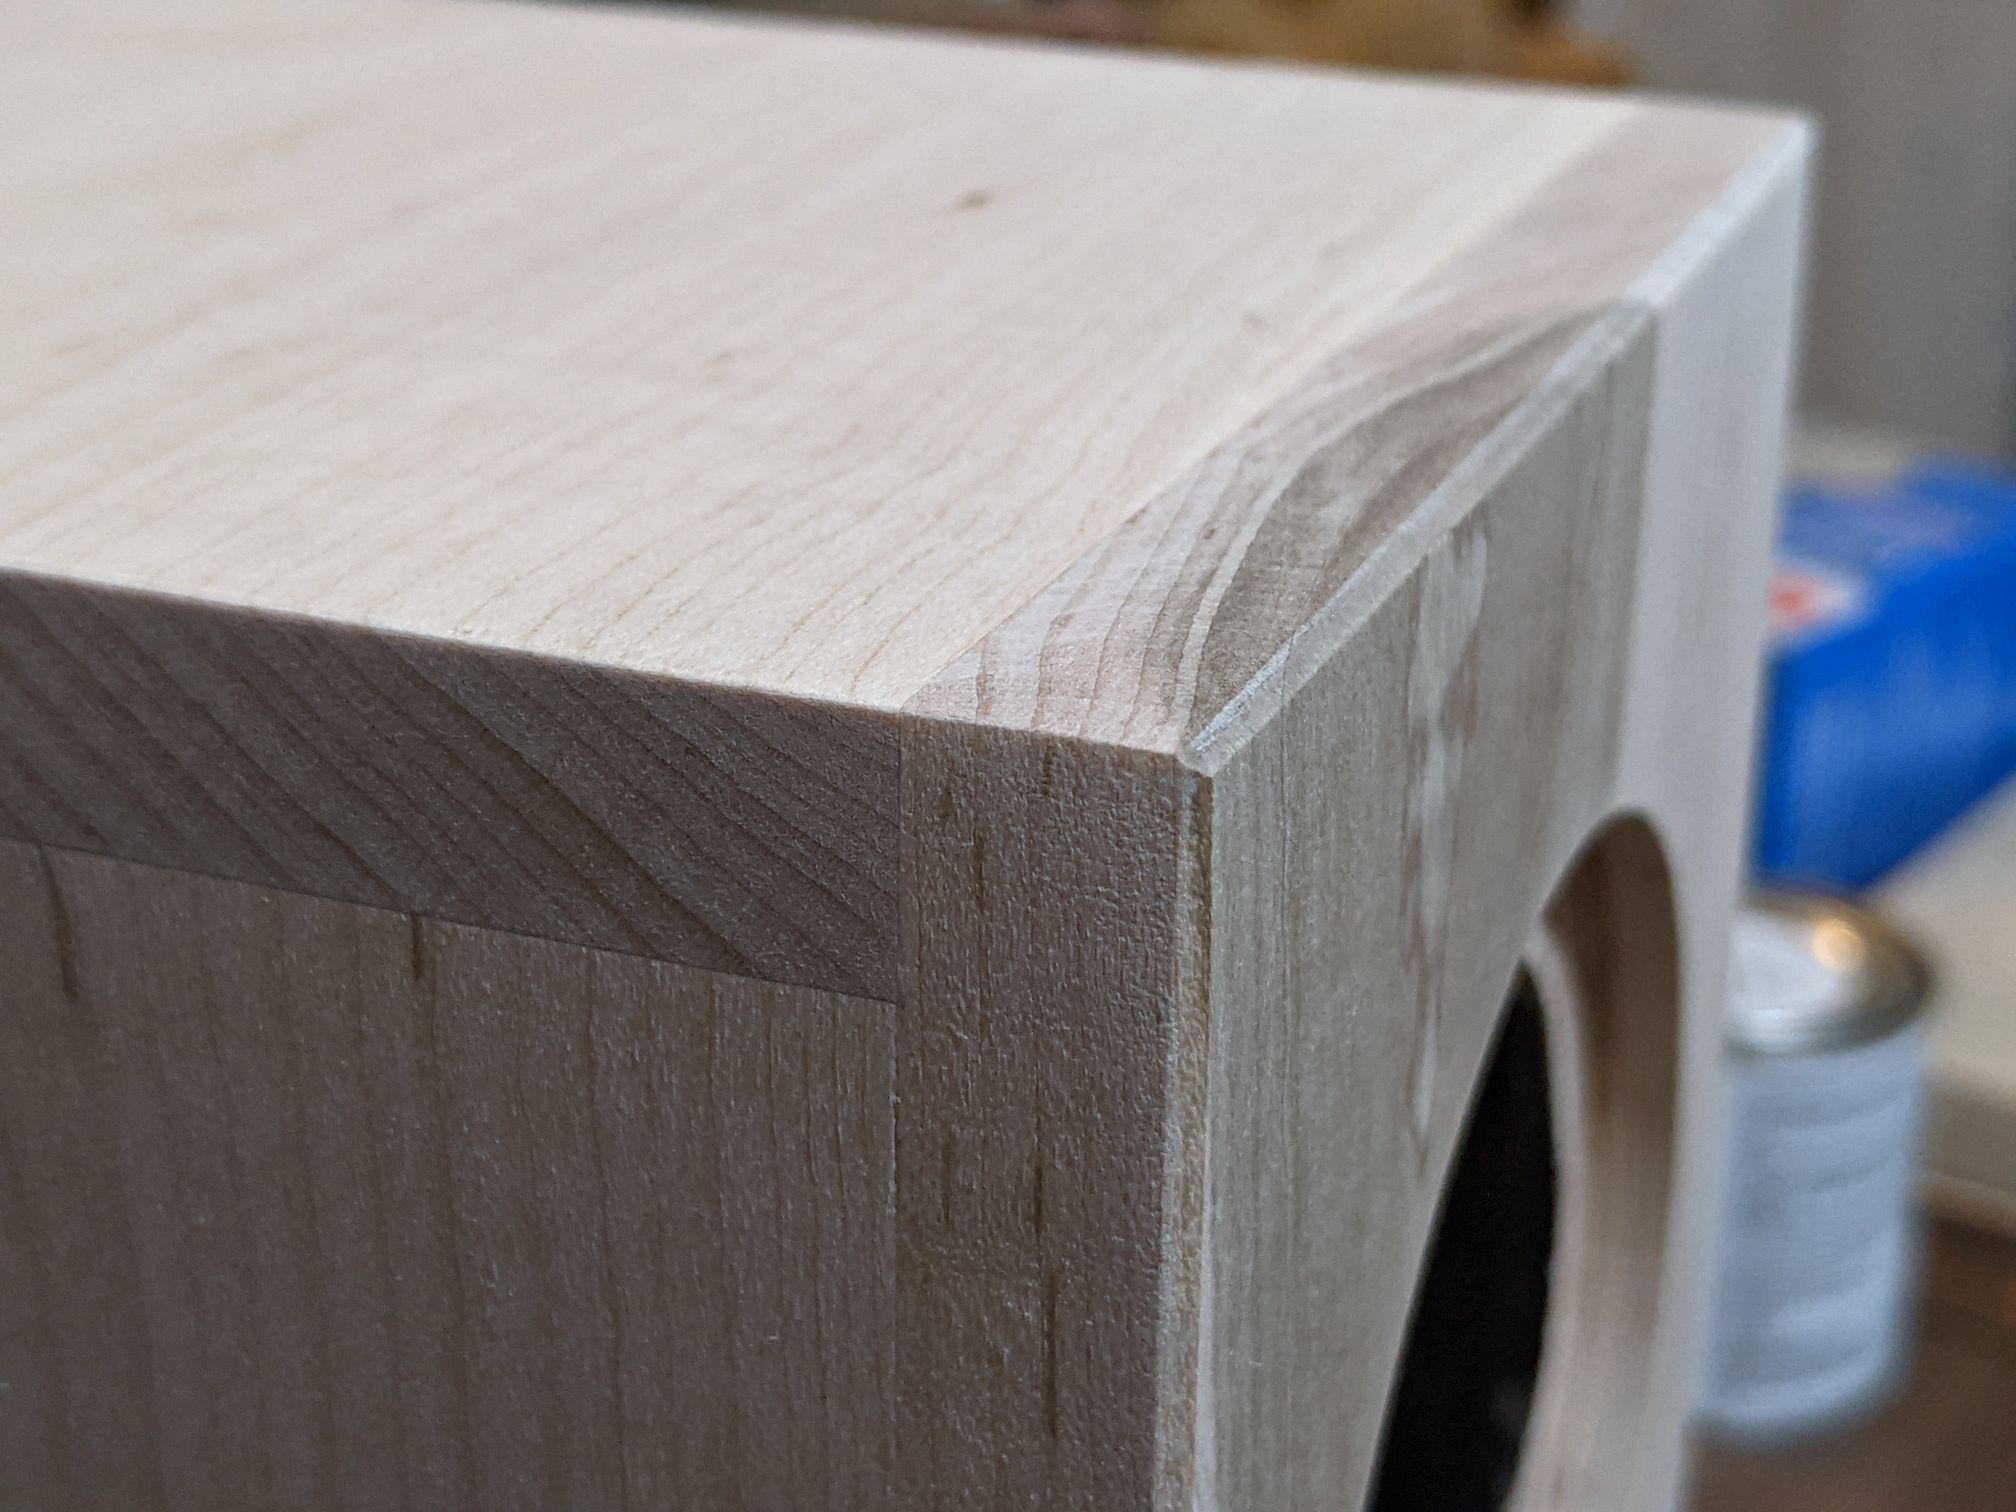
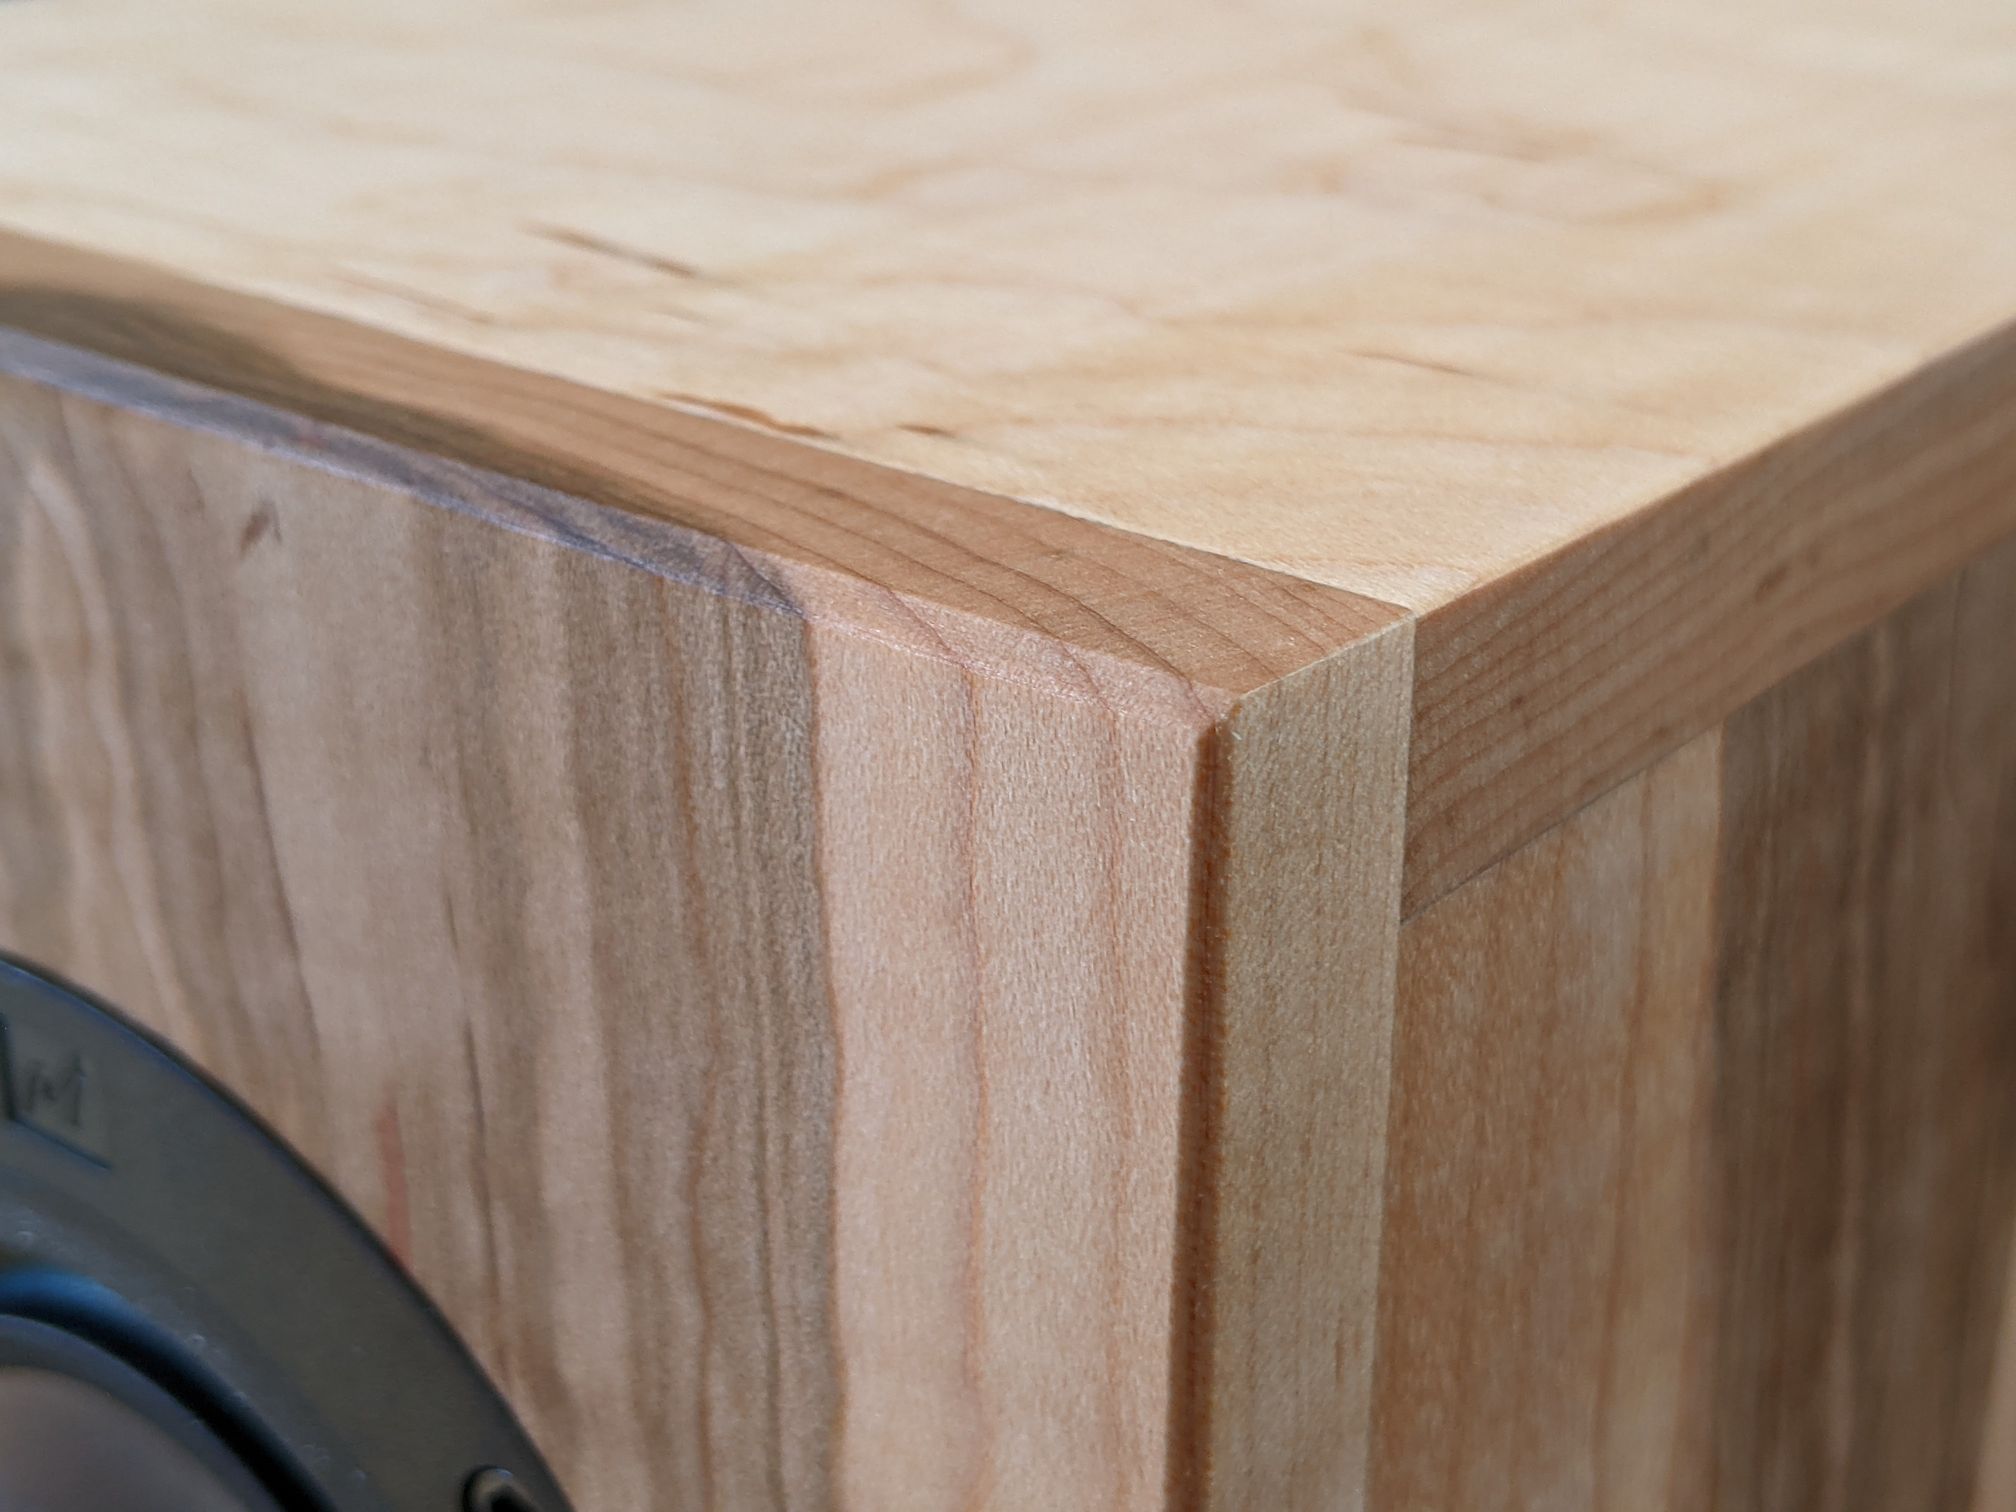
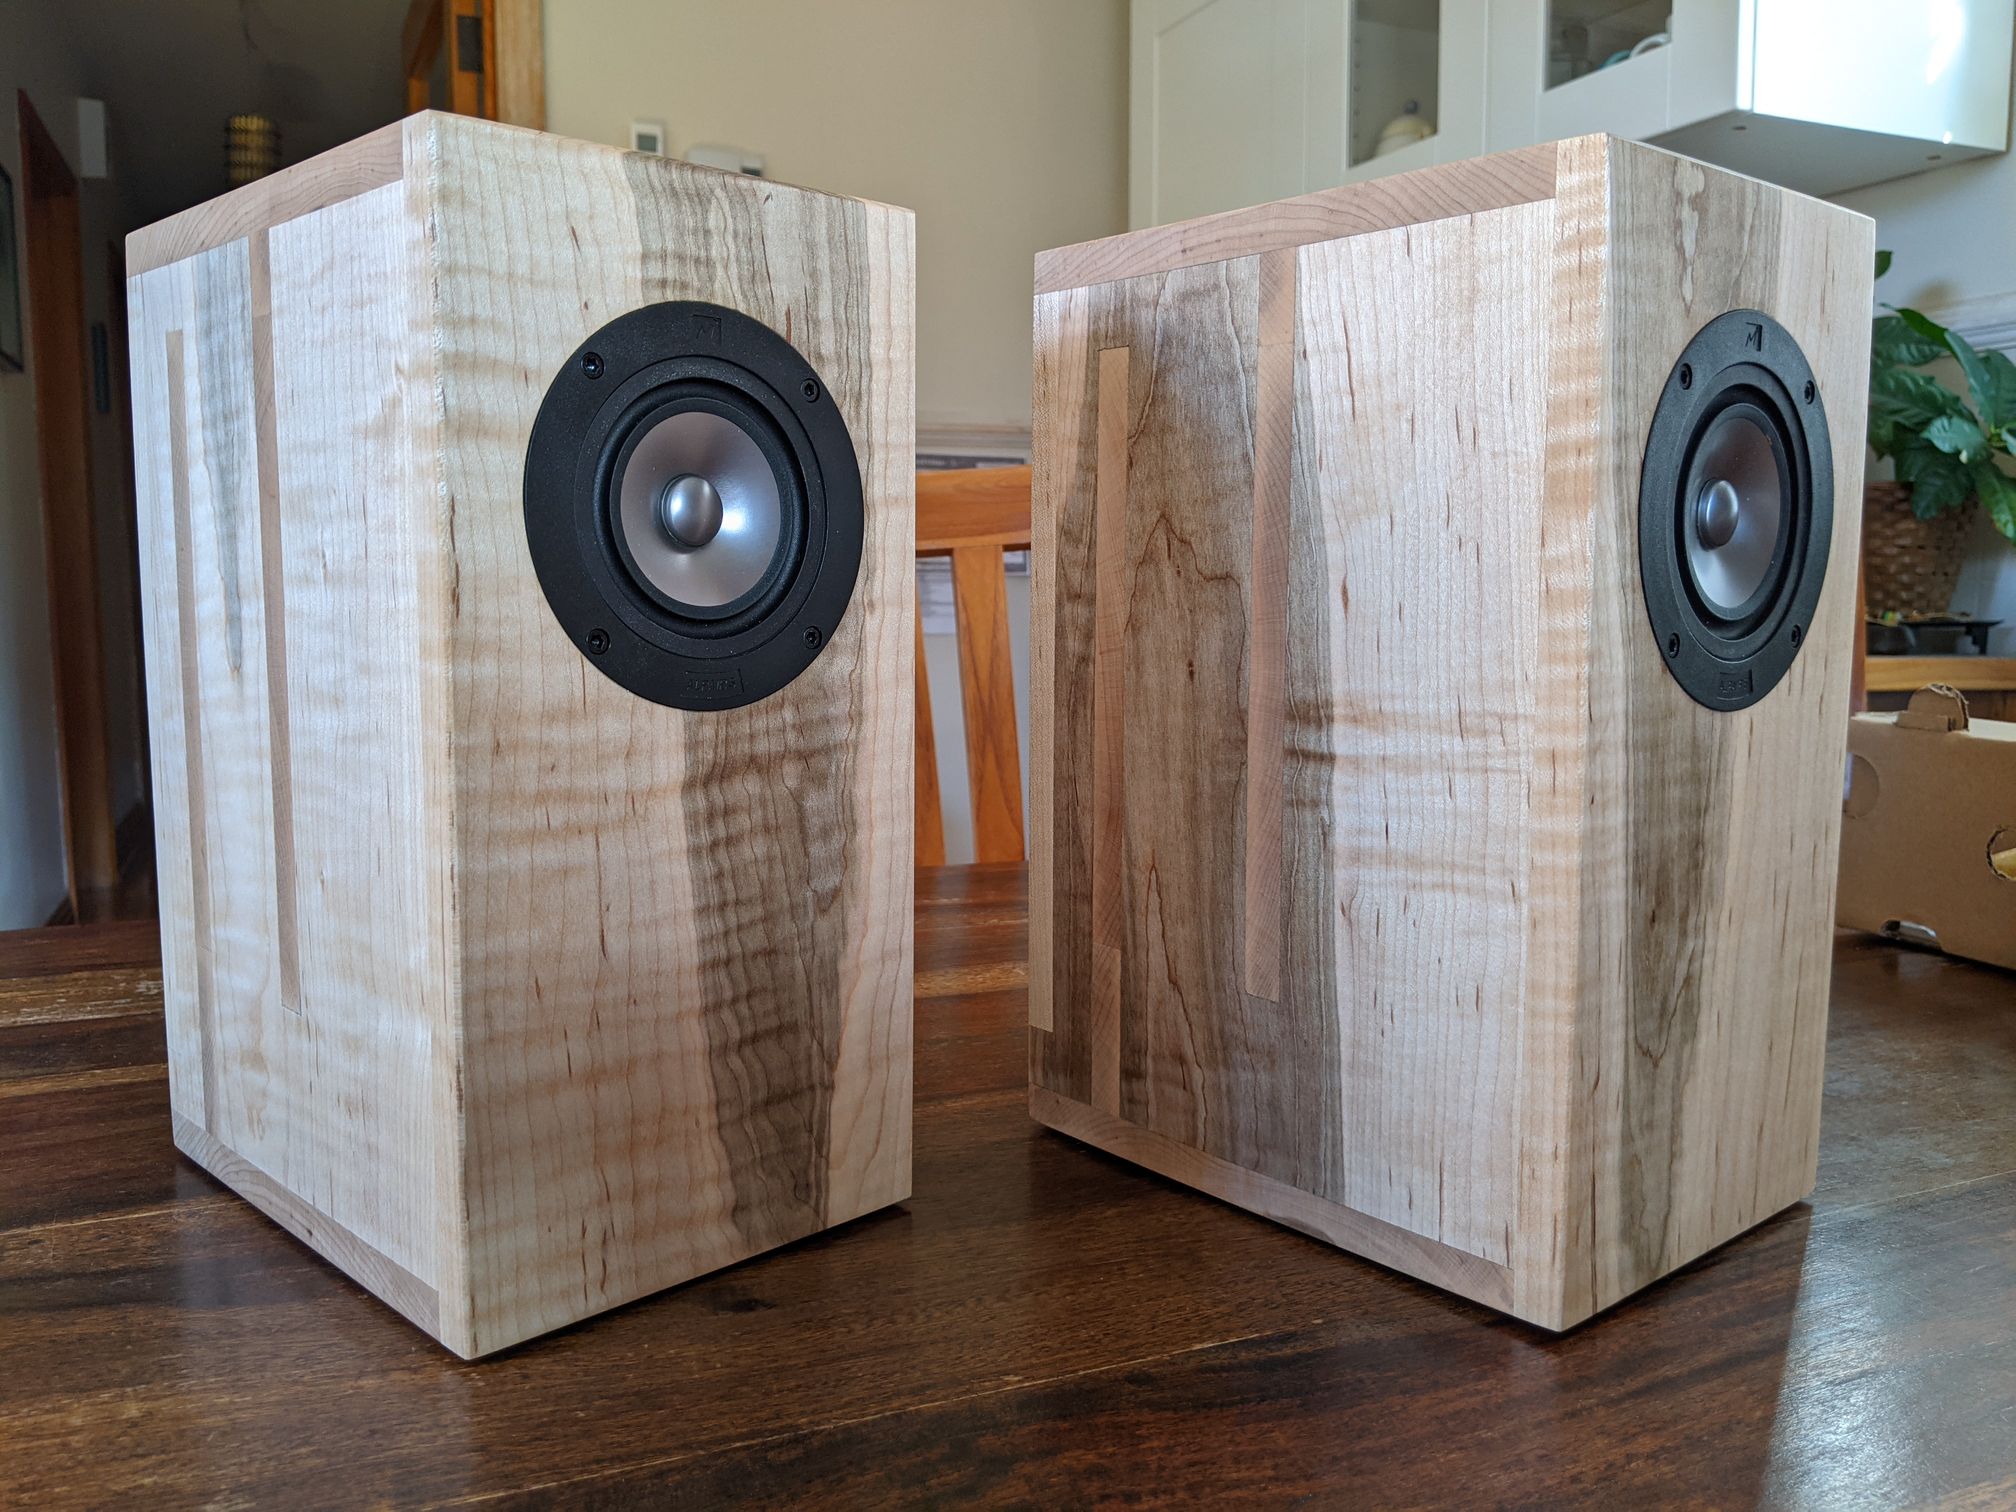
And here they are once the oil is applied. I got used to seeing them very light and almost grey so it is surprising to see the color go so warm.

Tomorrow, let's put the cones in there and call it quit!
Okay here goes. After a LOT of sanding (my gluing was not very tight at some areas) and a couple touchups here and there, they are ready to oil. I sanded them with grit 60 first, then 80 and 120. I then wet the wood lightly to raise the grain and did a final 220 light sanding.
And here they are once the oil is applied. I got used to seeing them very light and almost grey so it is surprising to see the color go so warm.
Tomorrow, let's put the cones in there and call it quit!
The way the pattern is coming out is fantastic!
Yes it is impressive how the details popped up with the oil!
Very nice, I just finished mine up, their on the bench breaking in as I type.
Oh nice! Are you happy with the result? Do you have any pictures to share?
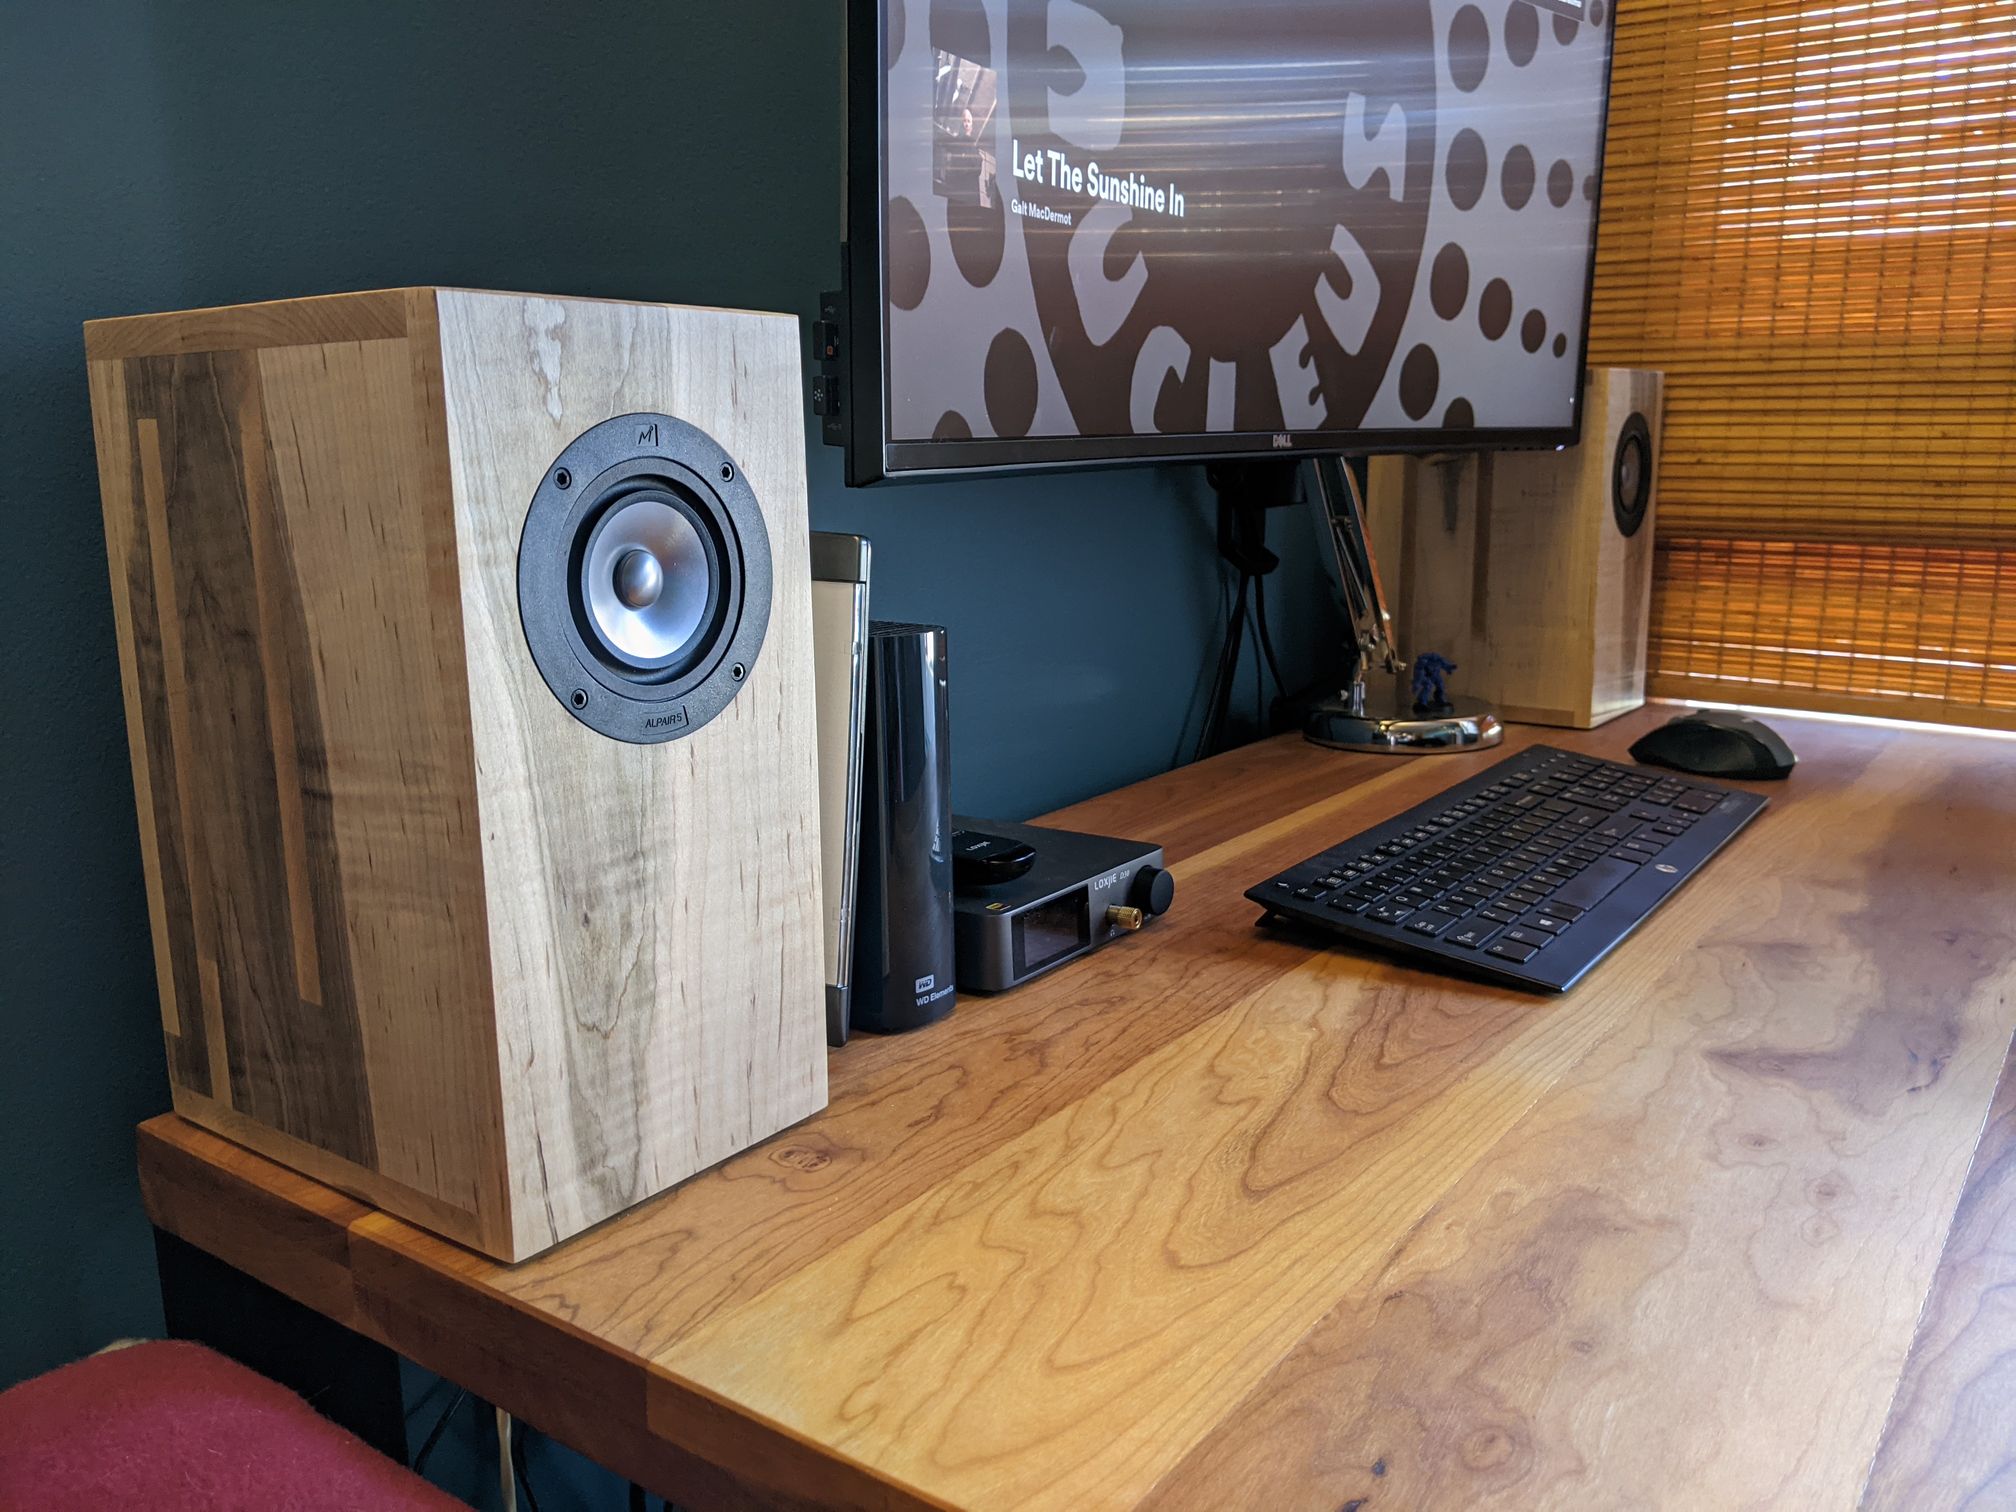
Finally done!
Took me waaay longer than I expected. The warped wood made everything more complicated, and my "internal walls poking through" did not help hehe.
So I let them dry for a night and then "sanded" them using brown paperbag, it works surprisingly well! A little bit of soldering and voilà!
Here are some pictures with better light than my basement workshop.
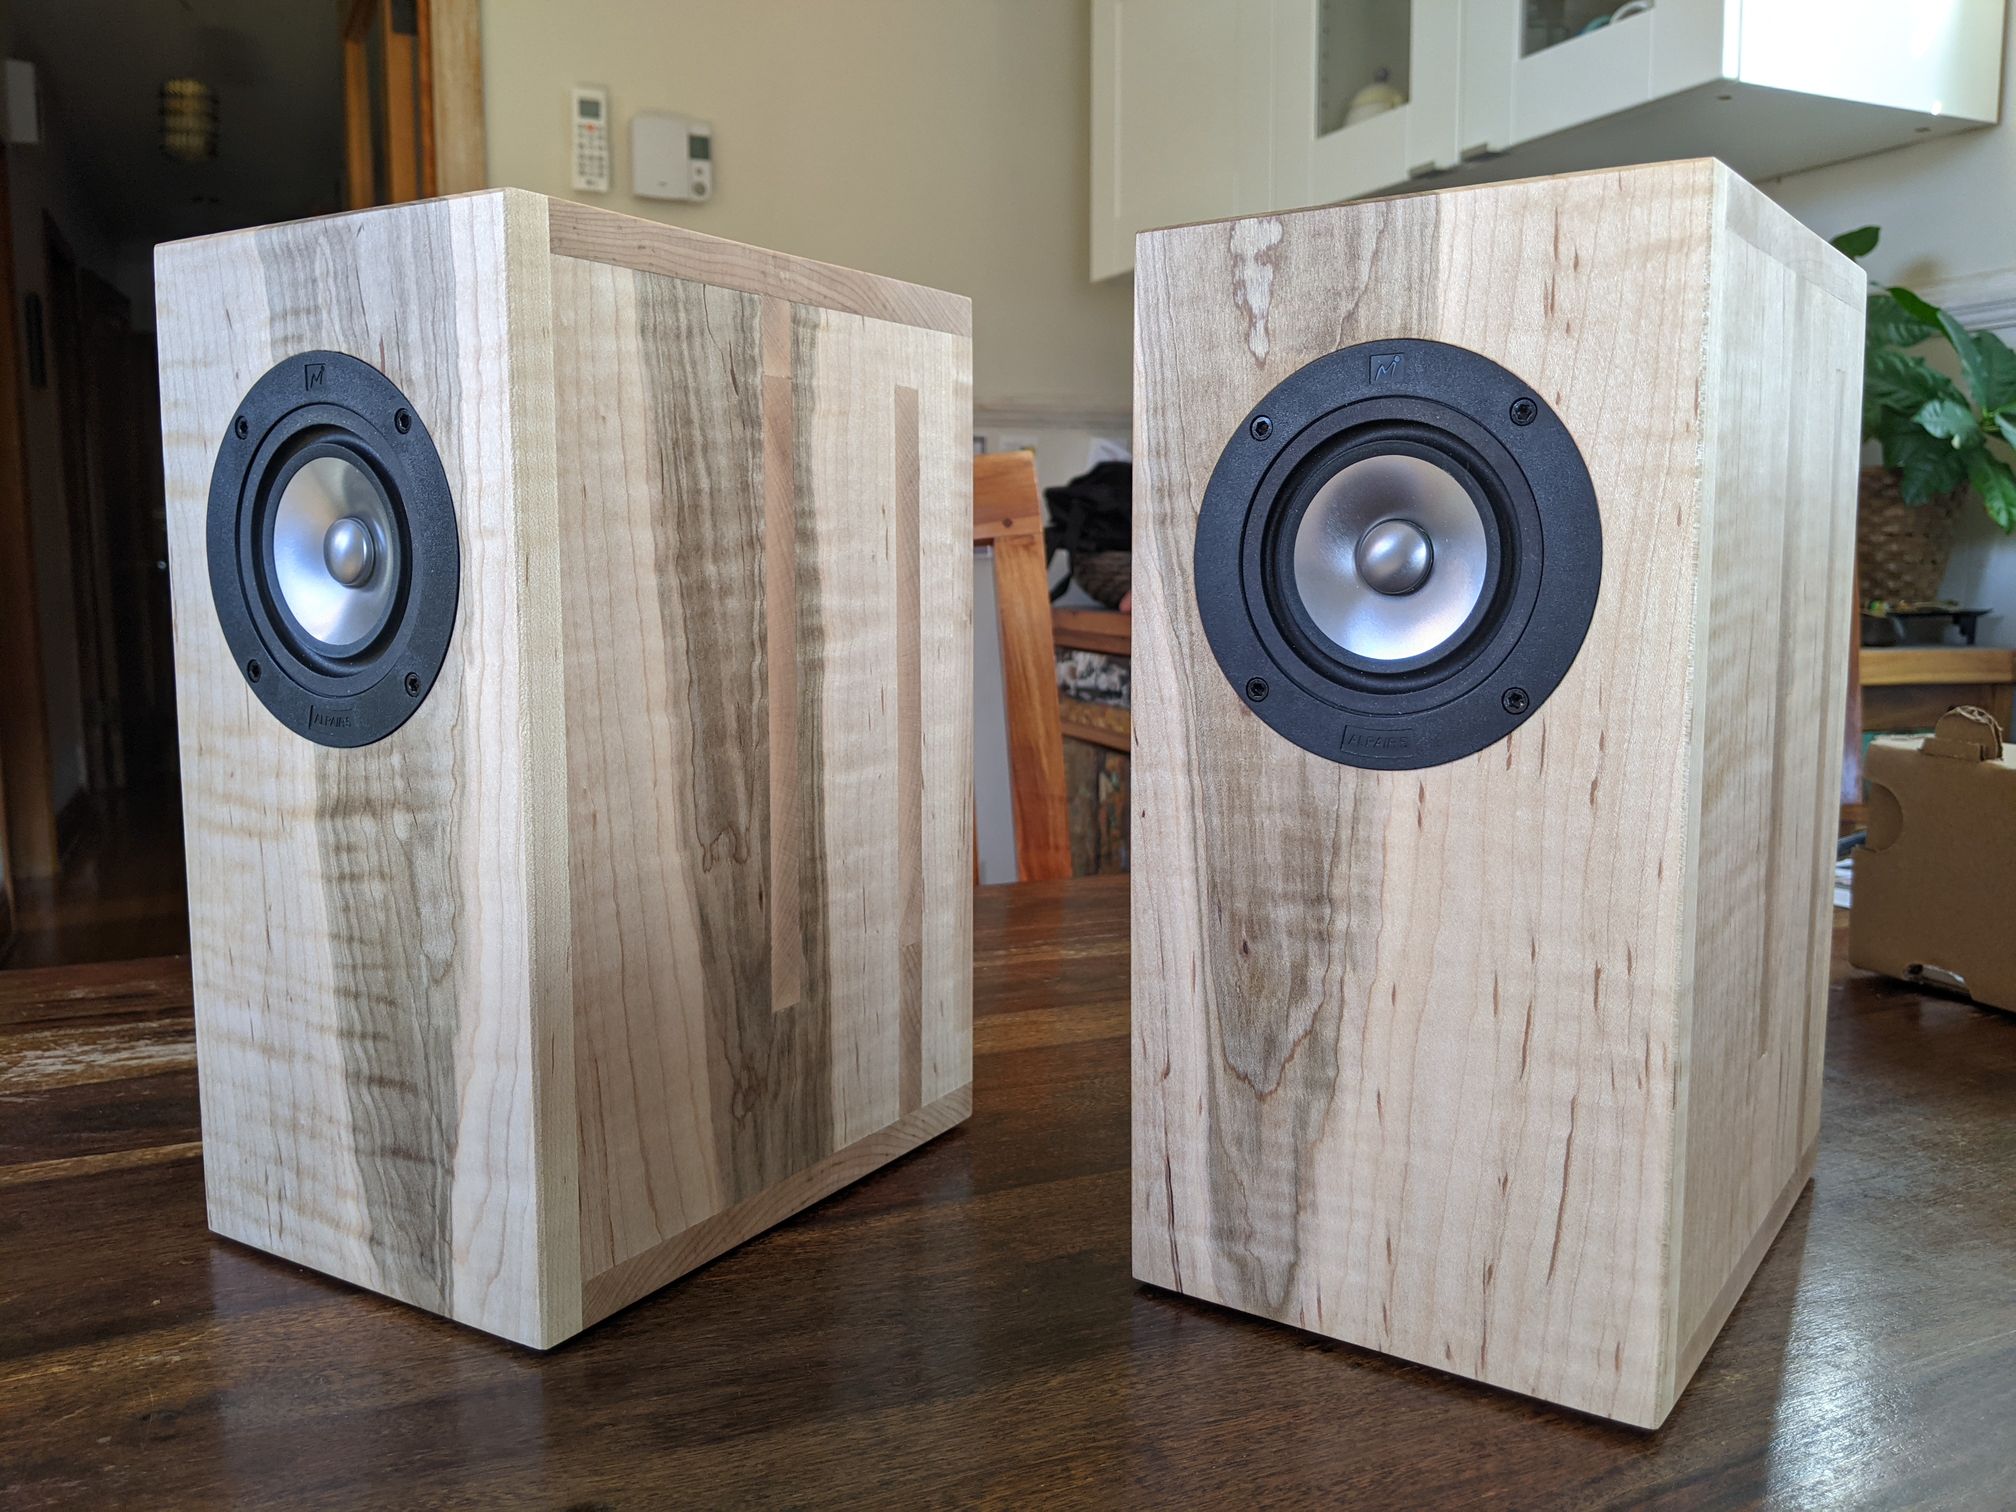

And on my desk where they belong.

Thanks to everyone that gave me tips on this build. I hope I can help someone else better understand how to construct speakers.
Now to my next project 🙂
Took me waaay longer than I expected. The warped wood made everything more complicated, and my "internal walls poking through" did not help hehe.
So I let them dry for a night and then "sanded" them using brown paperbag, it works surprisingly well! A little bit of soldering and voilà!
Here are some pictures with better light than my basement workshop.
And on my desk where they belong.
Thanks to everyone that gave me tips on this build. I hope I can help someone else better understand how to construct speakers.
Now to my next project 🙂
Stellar!
I have a fascination with highly figured maple. I always try to avoid the dark patches and mineral streaks, but I like how you just went ahead and embraced them and let them be part of the whole.
I have a fascination with highly figured maple. I always try to avoid the dark patches and mineral streaks, but I like how you just went ahead and embraced them and let them be part of the whole.
Hehe I hand picked those specific boards because of the patches. I wanted to have unique hardwood speakers and stay away from the plywood or veneer look. It does add a lot of complexity to the build though.
Oh nice! Are you happy with the result? Do you have any pictures to share?
They actually sound pretty good, tomorrow night I'll have 100 hours on them.
I'll be able add a little more volume and bass.
I'll upload some pic's tonight.

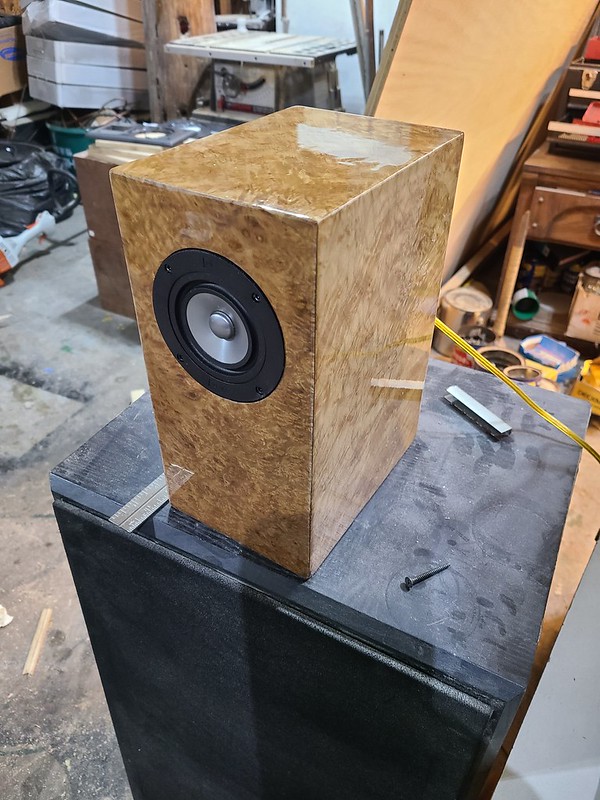


They were built with 1/2 baltic birch plywood and myrtle burl wood veneer, then sprayed with high gloss enamel clear coat.
Speaking of Bloodhound, is it a good idea to raise them to ear level?
I don't have much place on my desk unfortunately.
I angled them toward me and I have a feeling they sound better.
Also, are there any comparable speakers in the commercial world in terms of overall quality?
I don't have much place on my desk unfortunately.
I angled them toward me and I have a feeling they sound better.
Also, are there any comparable speakers in the commercial world in terms of overall quality?
Foam yoga blocks make perfect desk speaker stands. For example:
https://www.amazon.com/dp/B07YGWQ5H2/ref=cm_sw_r_cp_api_glt_fabc_29V7A8J3A1TQ1E9F6KQE
https://www.amazon.com/dp/B07YGWQ5H2/ref=cm_sw_r_cp_api_glt_fabc_29V7A8J3A1TQ1E9F6KQE
- Home
- Loudspeakers
- Full Range
- Woden Baby Labs Bloodhound build