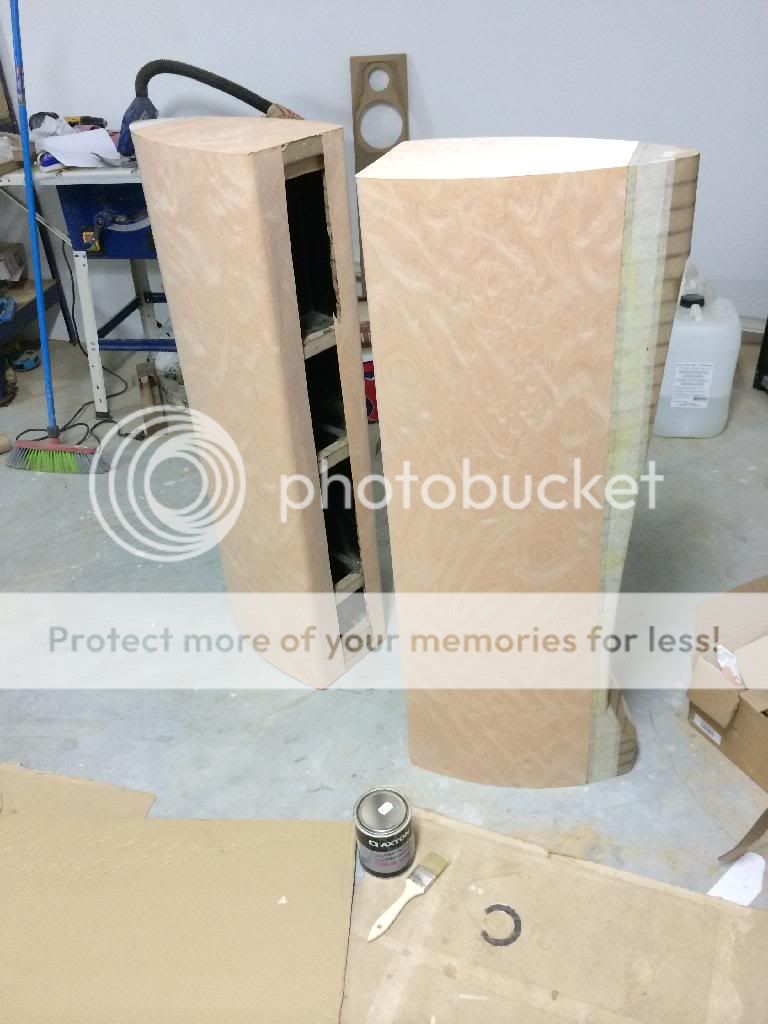
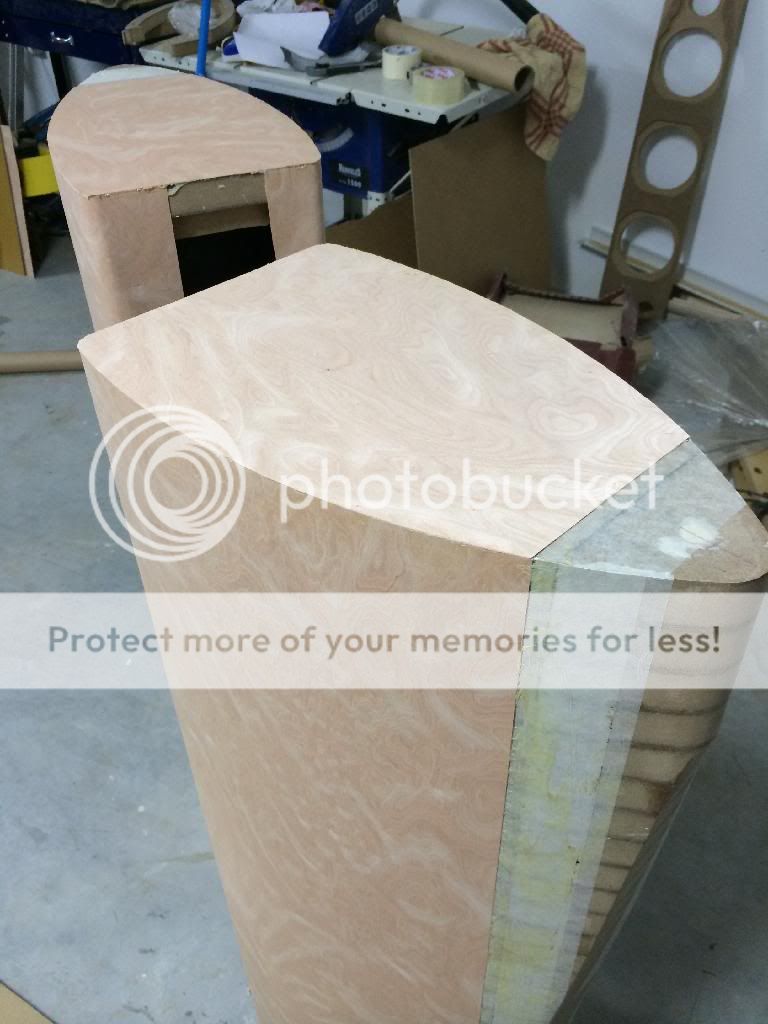
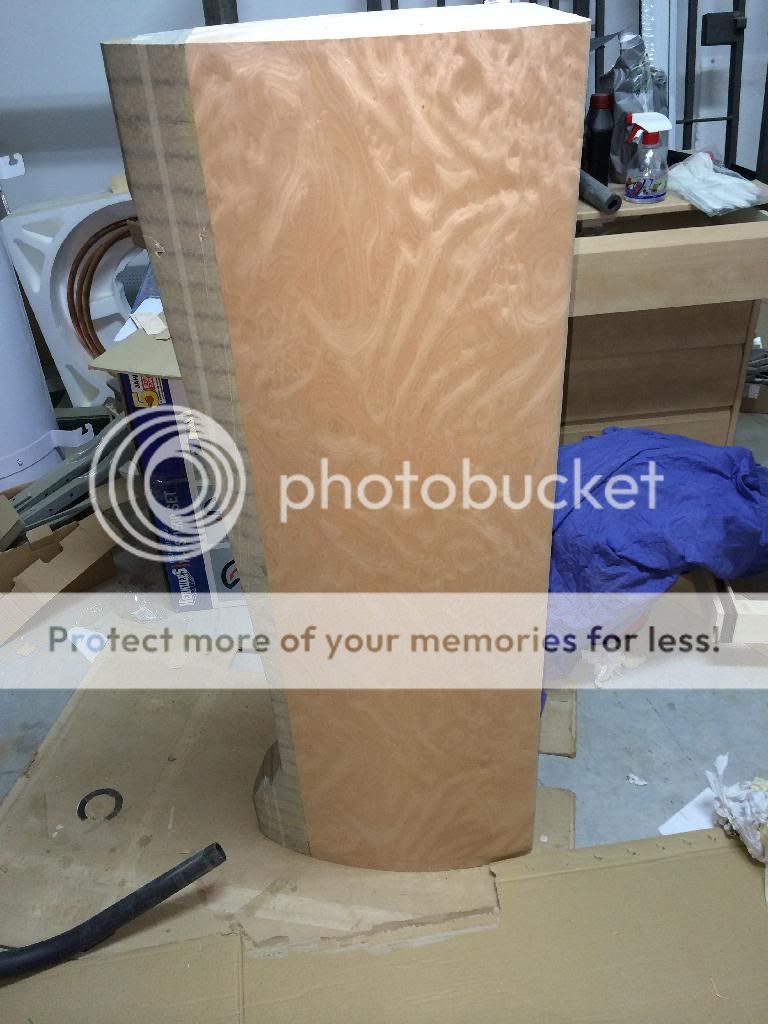
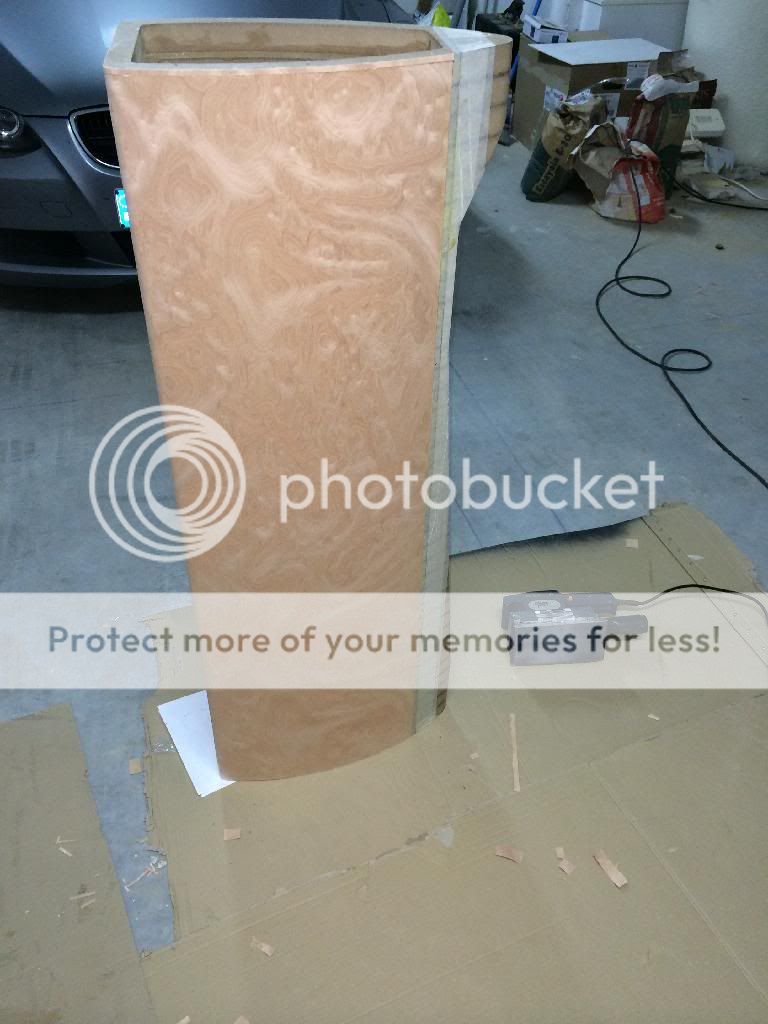
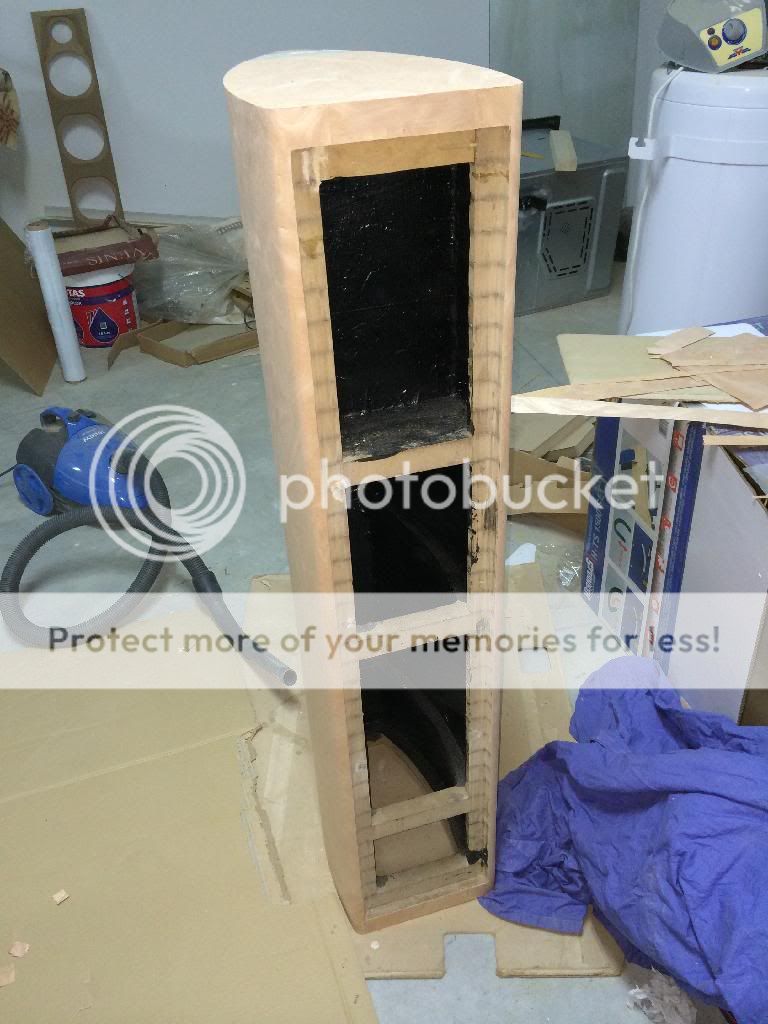
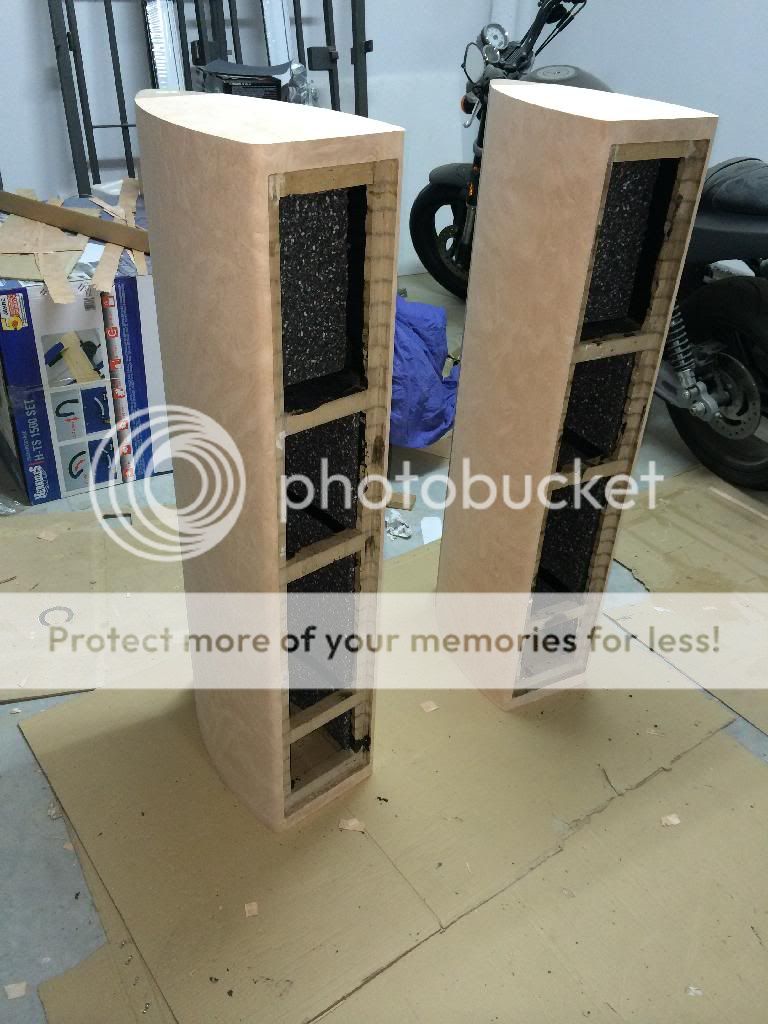
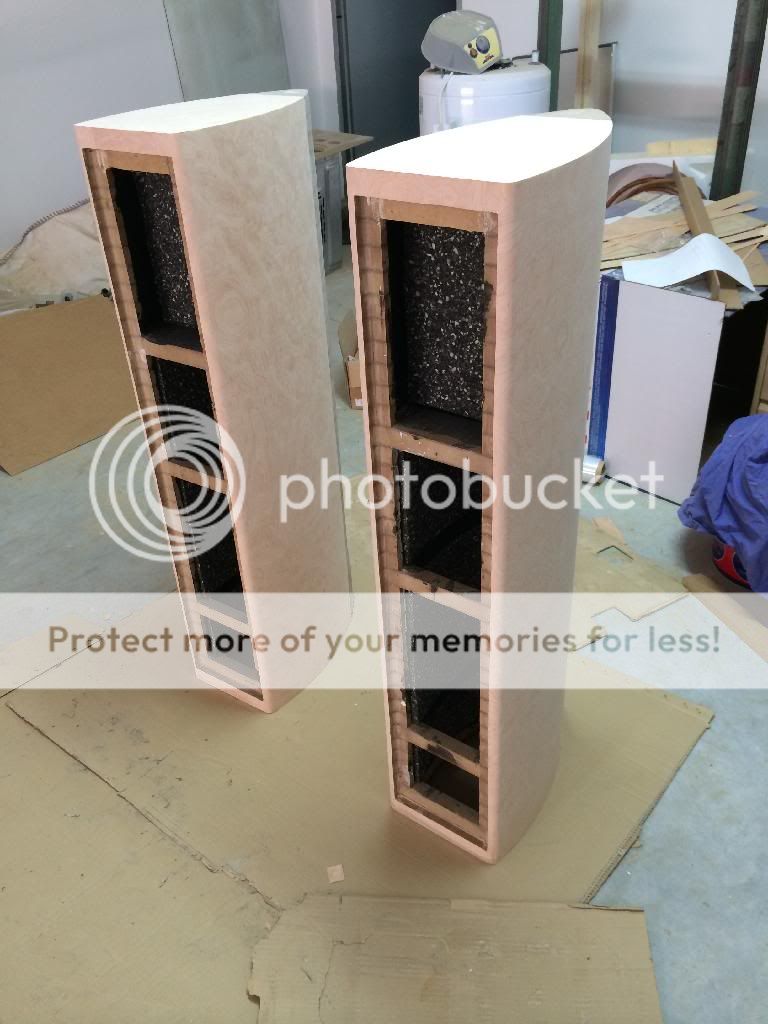
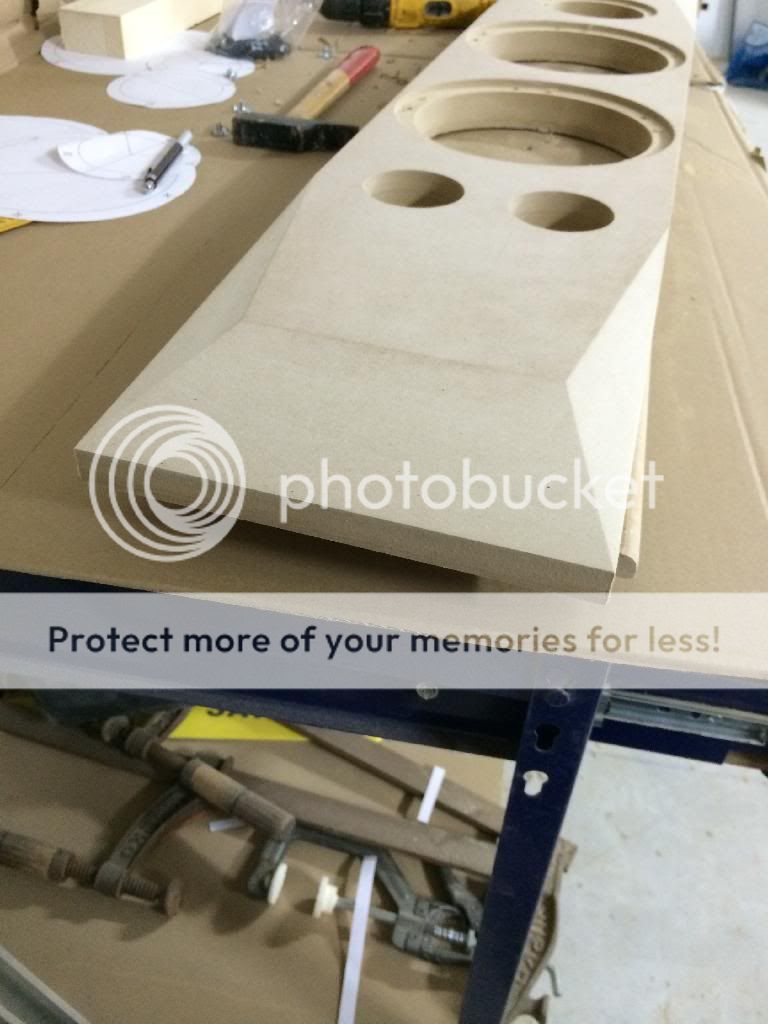
The final assemble:
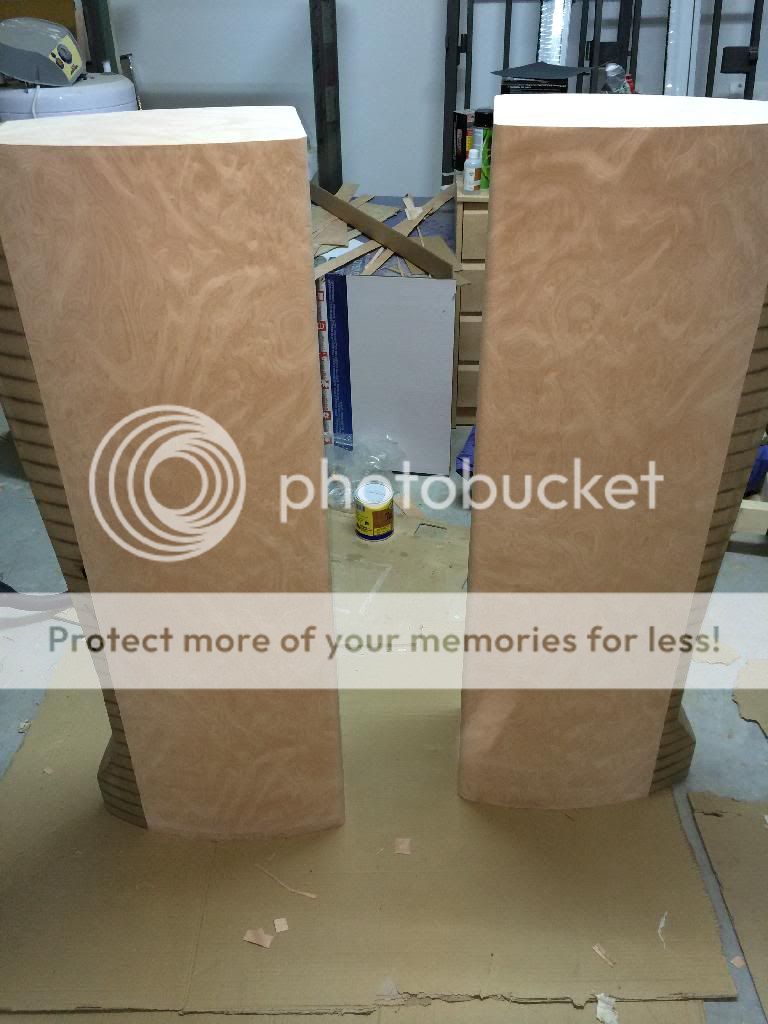
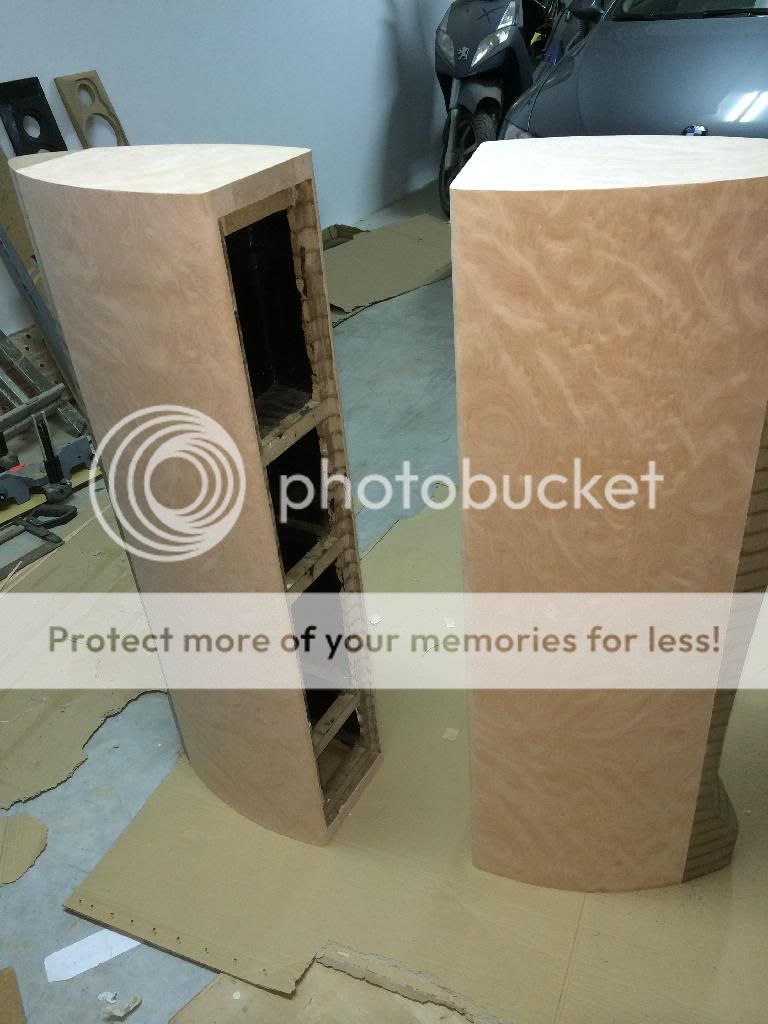
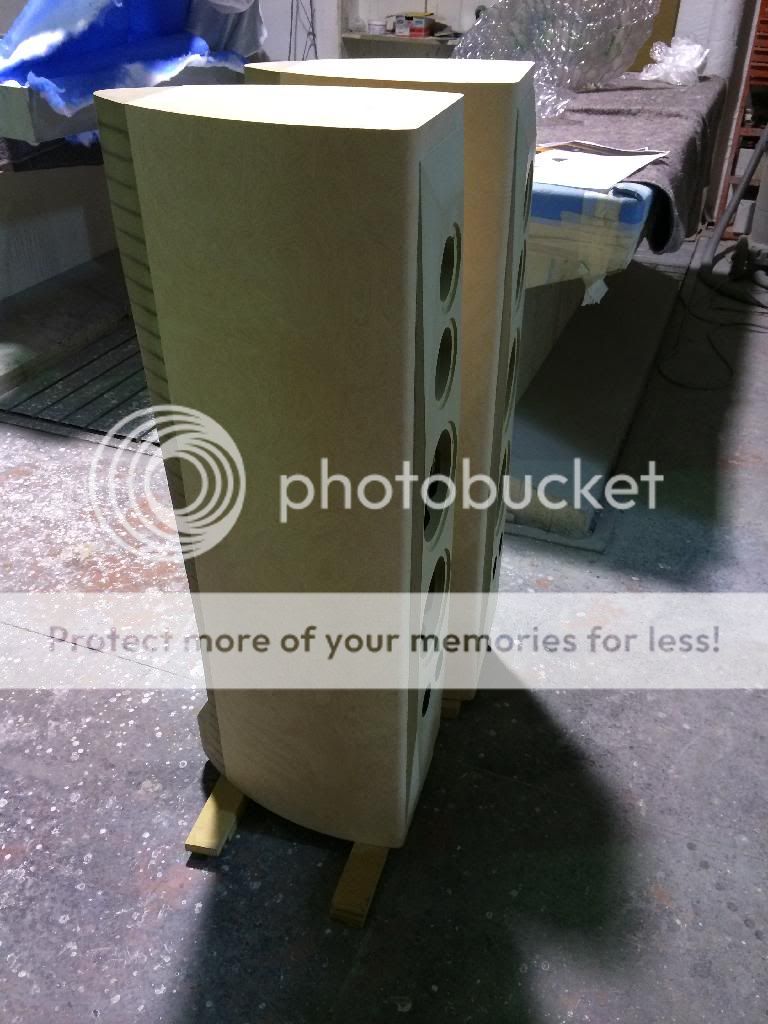
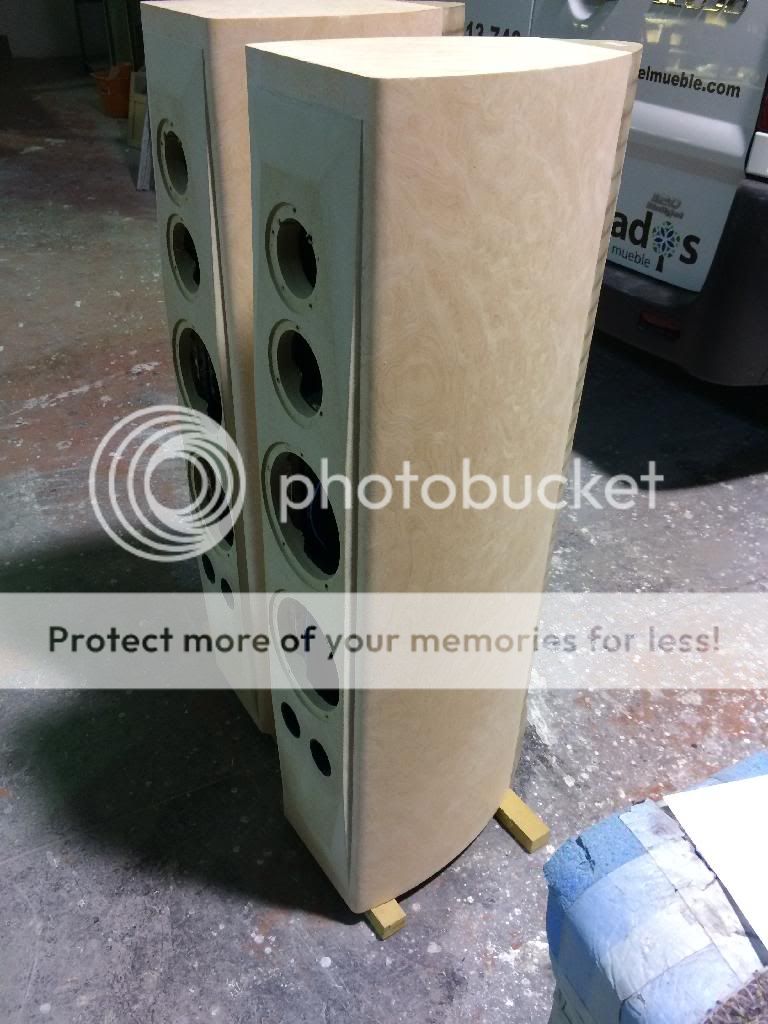
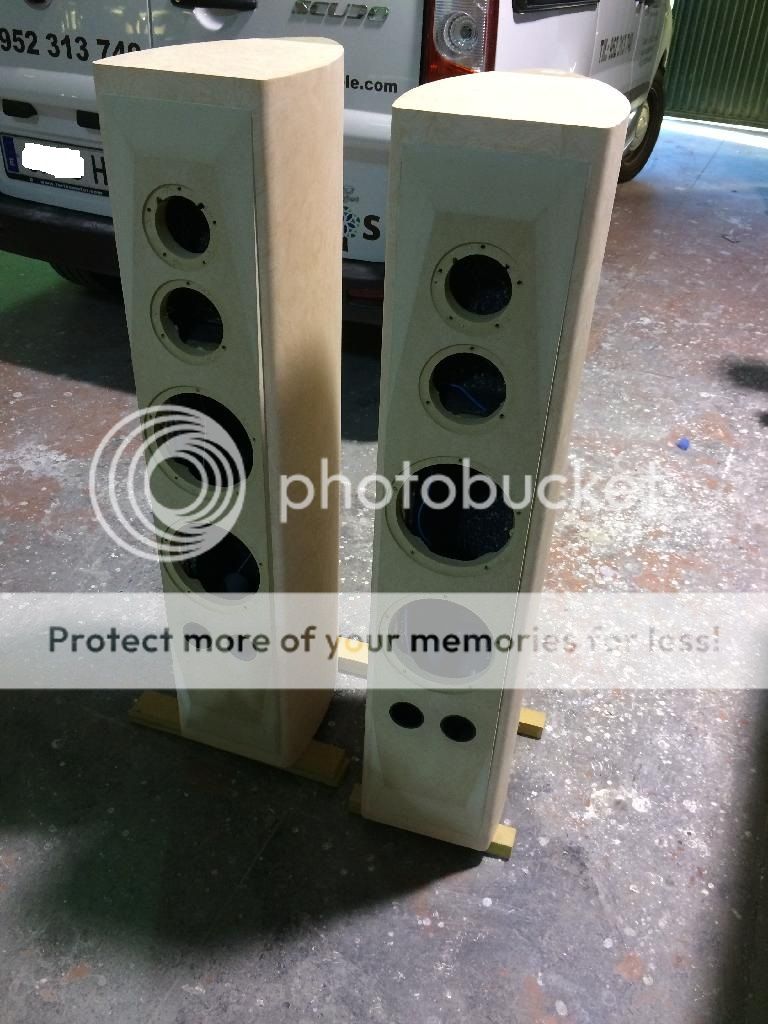
And the final result:
The weight is 26,6kg each without veneering, painting and the inner sealing and coating.
Until now, the speakers assembly took me 12 hours for the rib gluing. Total time to the final assembly was 10 days including 24 hours for glue drying between each part assembly.
I guess I can upload more work next week.
An externally hosted image should be here but it was not working when we last tested it.
And the final result:
An externally hosted image should be here but it was not working when we last tested it.
The weight is 26,6kg each without veneering, painting and the inner sealing and coating.
An externally hosted image should be here but it was not working when we last tested it.
Until now, the speakers assembly took me 12 hours for the rib gluing. Total time to the final assembly was 10 days including 24 hours for glue drying between each part assembly.
I guess I can upload more work next week.
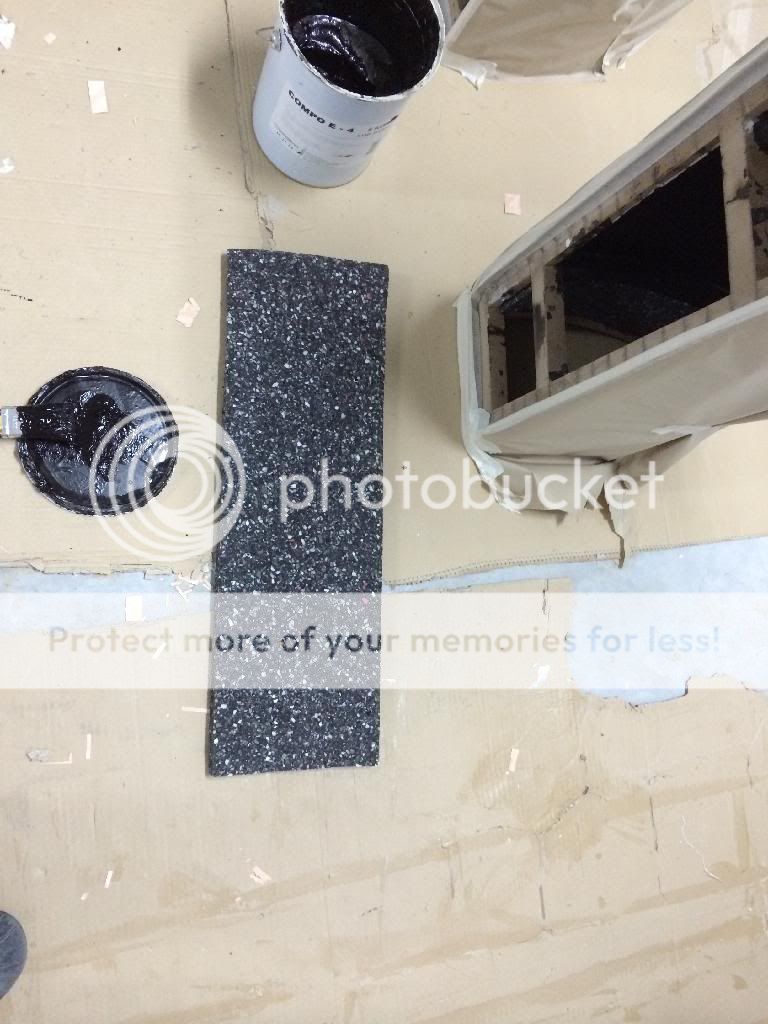
I am going to apply several coats of bituminous paint INSIDE THE CABINETS to proceed to sealing:
I chose this painting for being available at my closer store and being cheap.
The application is pretty disgusting because it smells really bad and I think it would have been better to have used a bitumen solvent based painting rather than water based which is what I used. Drying of this painting is very slow.
After four coats applied with a 48h drying between each layer and applying each layer in contrast to previous one sense, this is the result:
I left everything drying for a week before veneering work.
An externally hosted image should be here but it was not working when we last tested it.
I chose this painting for being available at my closer store and being cheap.
The application is pretty disgusting because it smells really bad and I think it would have been better to have used a bitumen solvent based painting rather than water based which is what I used. Drying of this painting is very slow.
After four coats applied with a 48h drying between each layer and applying each layer in contrast to previous one sense, this is the result:
An externally hosted image should be here but it was not working when we last tested it.
An externally hosted image should be here but it was not working when we last tested it.
I left everything drying for a week before veneering work.
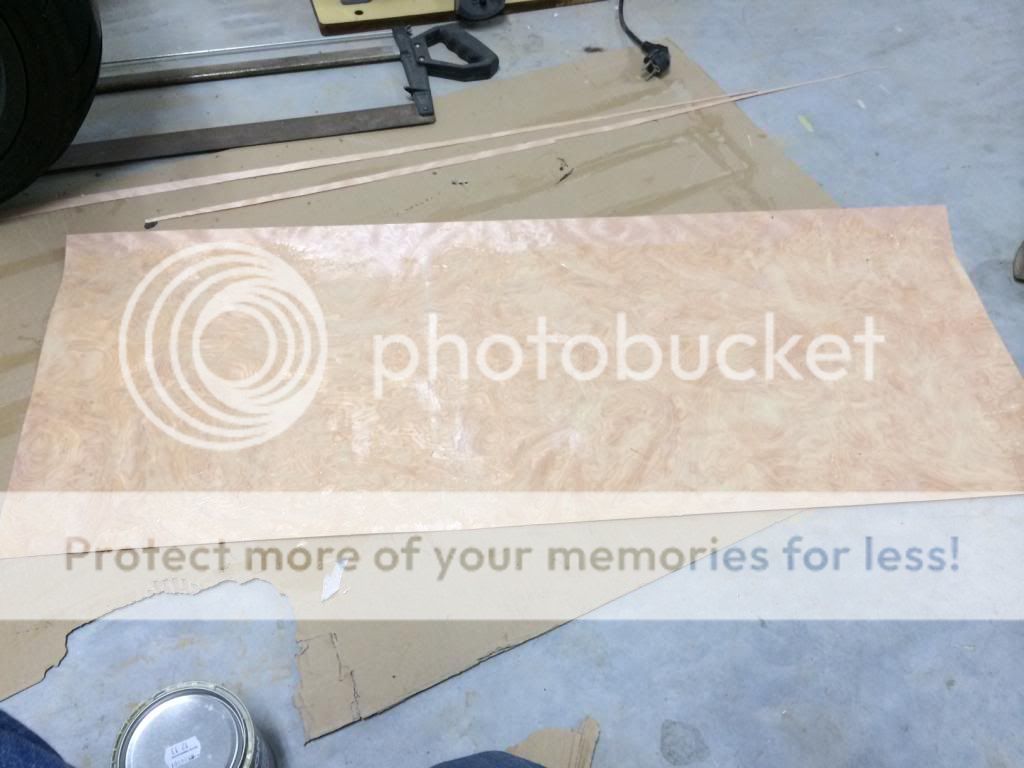
I'll try to veneer the cabinets in one piece each side. First of all I’m checking the veneer Maple sheets in their final place.
I fixed the sheets with masking tape to the cabinets and applied home made veneer softener taking care of the direction of the grain of the sheet.


After softening and bending the sheets I Hill leave the to dry for 48 hours.
Will see you soon.
I fixed the sheets with masking tape to the cabinets and applied home made veneer softener taking care of the direction of the grain of the sheet.
After softening and bending the sheets I Hill leave the to dry for 48 hours.
Will see you soon.
What type of glue was used board to board? Do you think epoxy resin or any industrial type glue would be better than regular wood glue? Can the black glue be used between pieces?
I have Glued rib to rib using standard white wood glue.
It works very well and it's easy to use. I don't think any other chance will be better or cheaper, but maybe there's something better that i dont know.
For veneering I'm using standard contact adhesive applied in both sides and then pressing after 10 minutes drying.
The worst is you have to be very accurate placing the veneer sheet because once is placed you can't correct the position.
I have started from the line at the bottom of the cabinet to the front and then pressing with a rolling tube.
In a few days I will post that work.
Let’s go veneering!!!
First of all is to extend a thin layer of contact adhesive to the cabinet and then to the maple veneer sheet.
It’s important to follow one direction once you are extending the adhesive to avoid bubbles.
As it dries very fast (5 minutes was the time for drying for me), and I was doing all this work alone, I couldn’t take good pictures for this process.

Once both pieces, cabinet and sheet are ready, I put the sheet very carefuly at the bottom of the cabinet, taking care to match it with the marked line.
Then I used a plastic pipe to push regularly and to extend the sheet over the cabinet pushing strongly to be sure both sides were getting contact.
If I have had another two arms or another person helping me, pictures would have been good, but that’s the way I did it.

First of all is to extend a thin layer of contact adhesive to the cabinet and then to the maple veneer sheet.
It’s important to follow one direction once you are extending the adhesive to avoid bubbles.
As it dries very fast (5 minutes was the time for drying for me), and I was doing all this work alone, I couldn’t take good pictures for this process.
Once both pieces, cabinet and sheet are ready, I put the sheet very carefuly at the bottom of the cabinet, taking care to match it with the marked line.
Then I used a plastic pipe to push regularly and to extend the sheet over the cabinet pushing strongly to be sure both sides were getting contact.
If I have had another two arms or another person helping me, pictures would have been good, but that’s the way I did it.
Using the pipe to push very hard the sheet against the cabinet, I finally started to bend the front side curve.
To be sure everything was going to be sticked in good condition, I used a transparent film for packaging and covered all the cabinet pulling, pressing and tightening that film against the cabinets.
Then I used sticky tape to cover again the cabinet, tightening again as much as I could.
It’s been a hard work doing everything alone, but ance again, I have tos ay it seems its well finished:

Lets see if it works
To be sure everything was going to be sticked in good condition, I used a transparent film for packaging and covered all the cabinet pulling, pressing and tightening that film against the cabinets.
Then I used sticky tape to cover again the cabinet, tightening again as much as I could.
It’s been a hard work doing everything alone, but ance again, I have tos ay it seems its well finished:
Lets see if it works
I was in doubt to see if my invention had worked as intended because there was no breathing for the cabinets as they were fully covered in plastic, but once I pulled out all the plastics 48 hours after veneering, I could gladly see everything was in perfect condition and fully sticked the sheet against the cabinets. So it works!
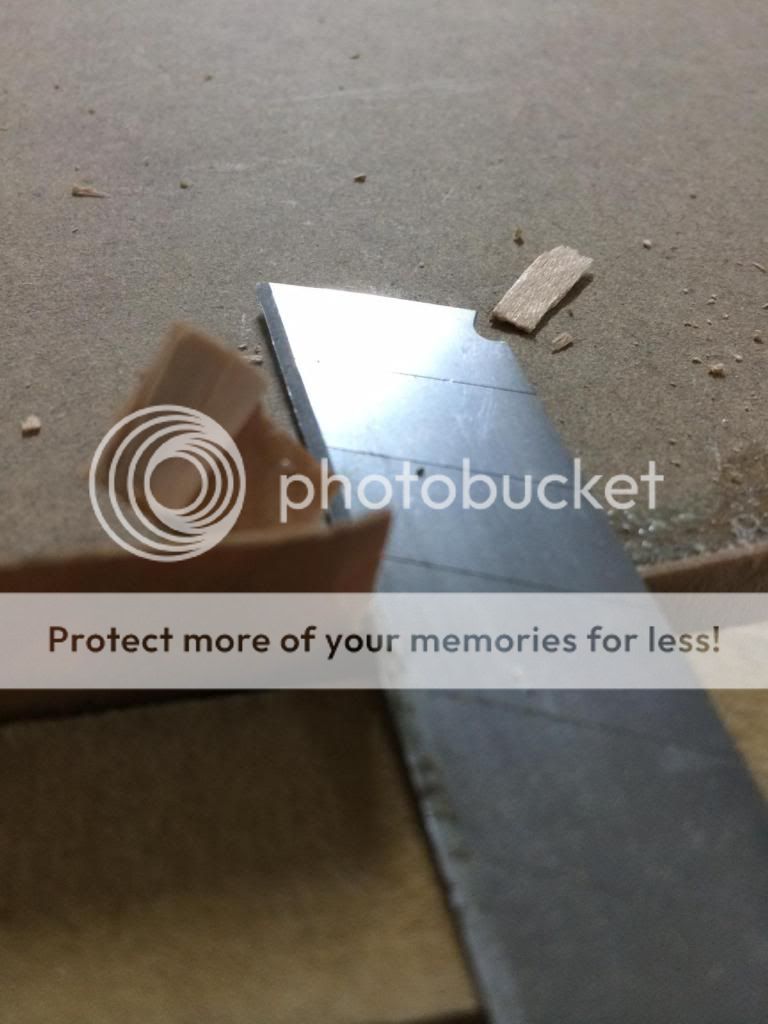
I did that procedure in one side of each cabinet to avoid damaging the first sheet while veneering the second side, so I used a cutter to cut the sheet remains and start once again veneering the second side of each cabinet.
I will upload pictures with the final result once everything has dried
I did that procedure in one side of each cabinet to avoid damaging the first sheet while veneering the second side, so I used a cutter to cut the sheet remains and start once again veneering the second side of each cabinet.
I will upload pictures with the final result once everything has dried
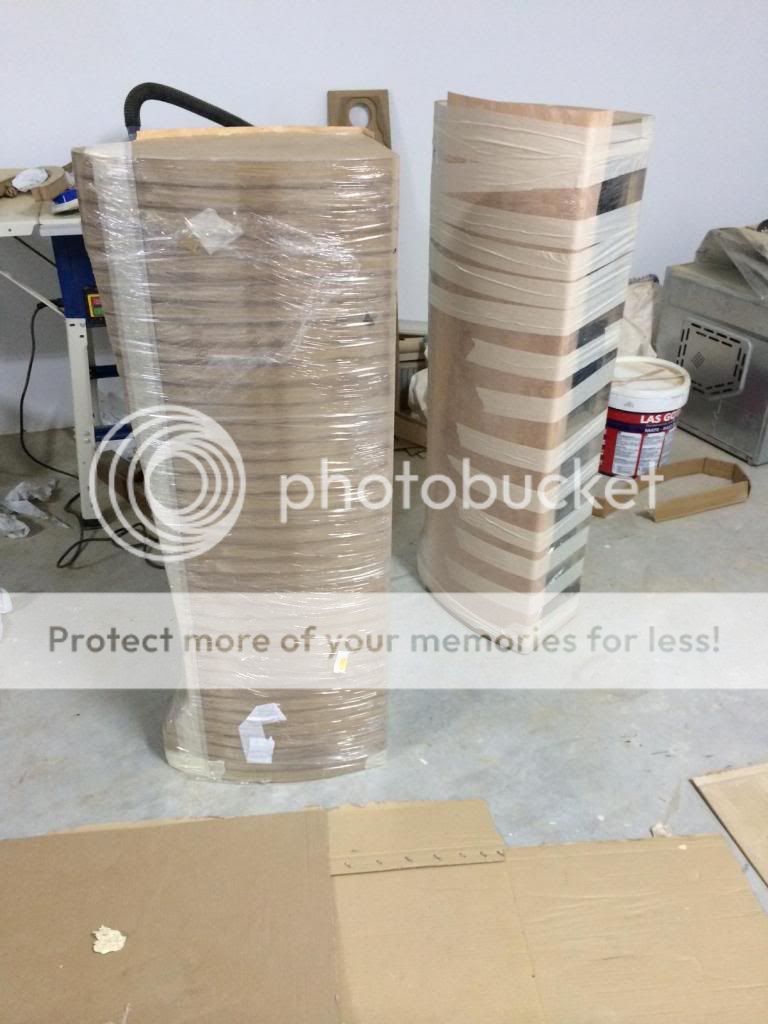
Here I am again!
Things are going faster now because all the stuff I needed to finish the cabinets has already arrived and everyday there are a few less things to do.
Once I have unwrapped the cabinets, this is what I have:
Things are going faster now because all the stuff I needed to finish the cabinets has already arrived and everyday there are a few less things to do.
Once I have unwrapped the cabinets, this is what I have:
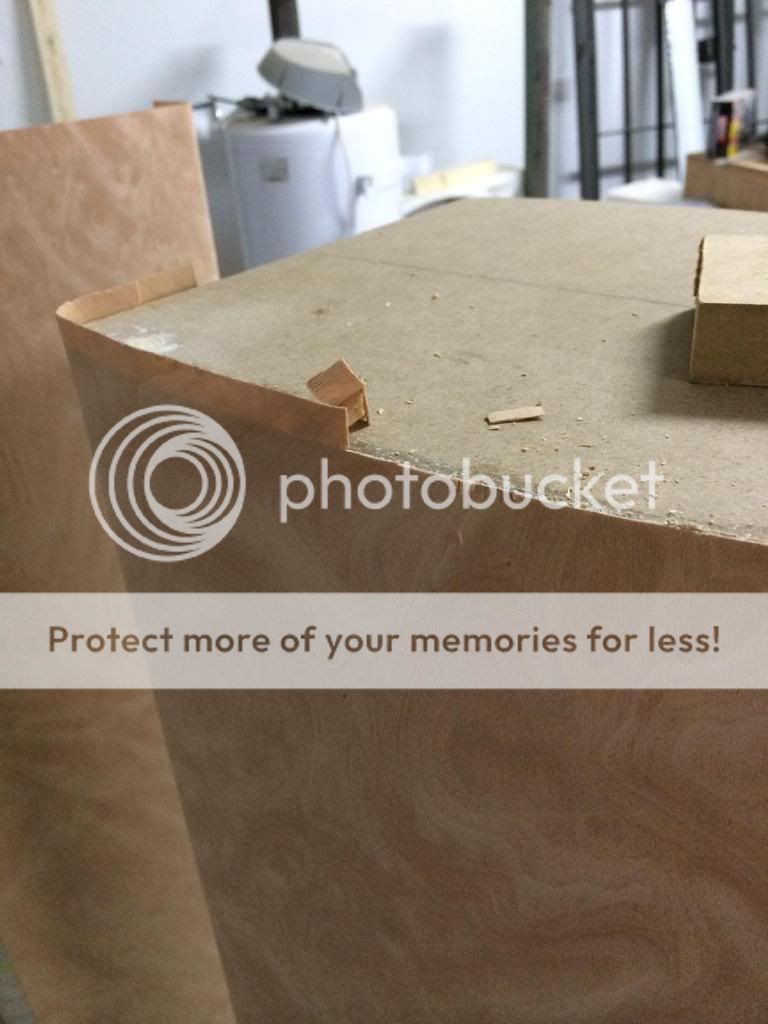
I have veneered the front small pieces in the upper and lower side and I have sanded everything with water sand P500.
I think the final result is very good:
I think the final result is very good:
Next step is installing the acoustic damping consisting of a mixture of polyurethane, polyester and polyether based, compacted and compressed in a plate with 30mm depth and 150 Kg/m3 density.
I have cutted strips with the inner measures leaving space for the binding posts

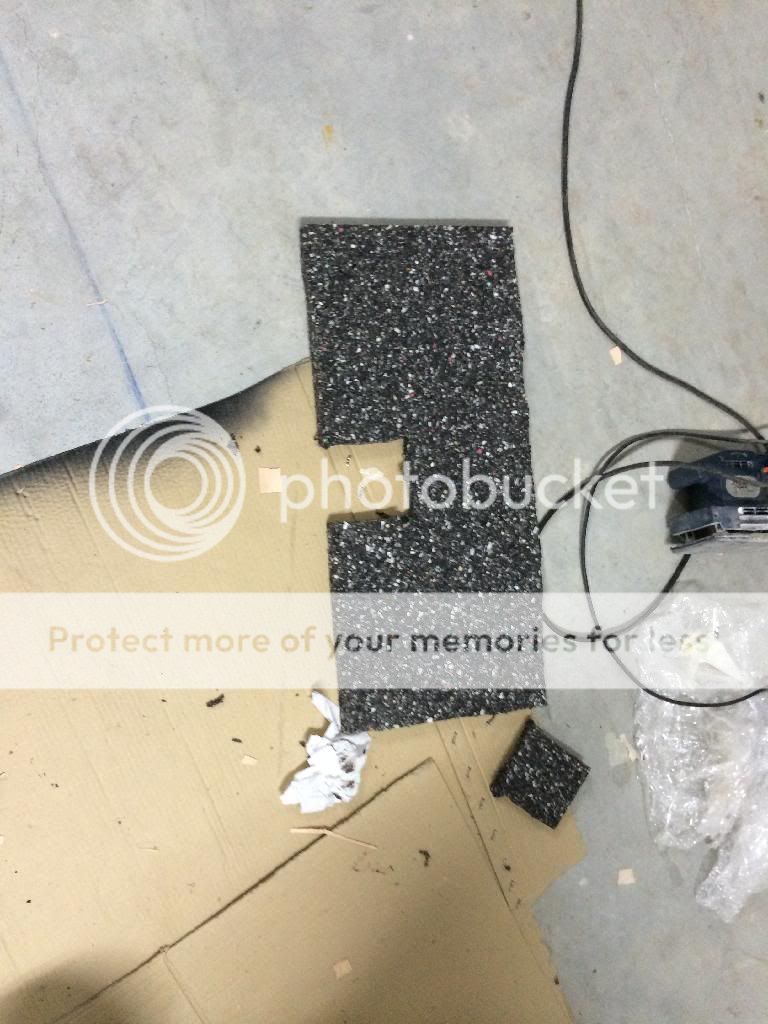
I have cutted strips with the inner measures leaving space for the binding posts
And then installing the stripes. I have used the same bitumen painting to paste the pieces to the cabinets, but I have to say tha it would have been better to use contact adhesive.
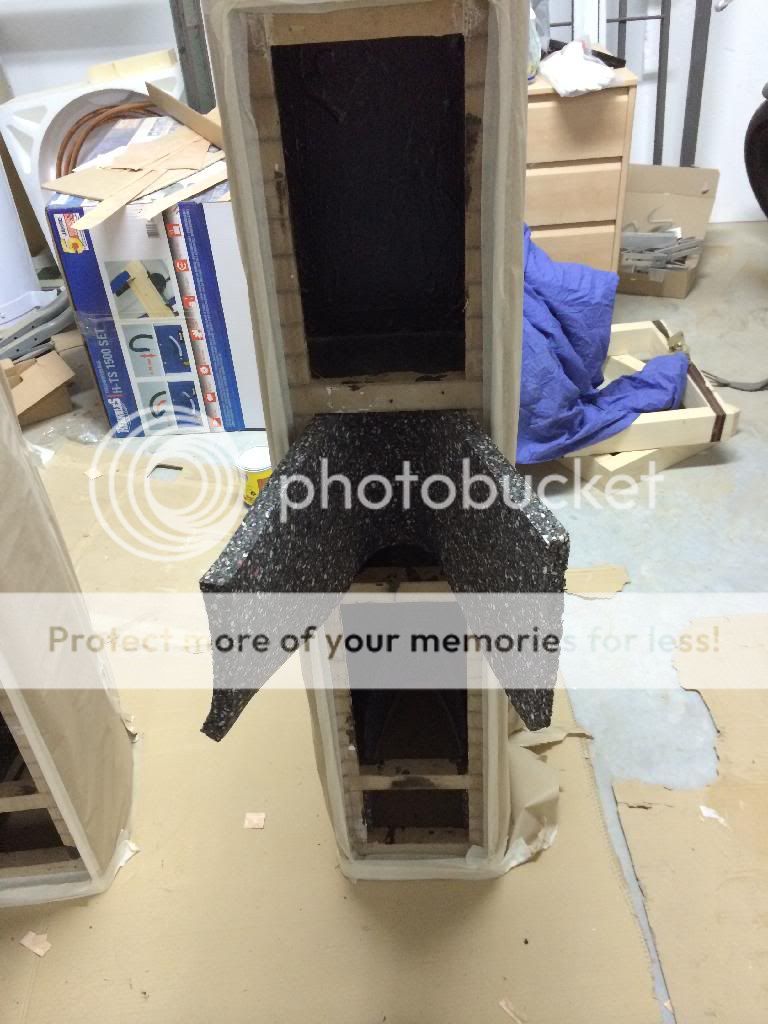
And this is the finished work:
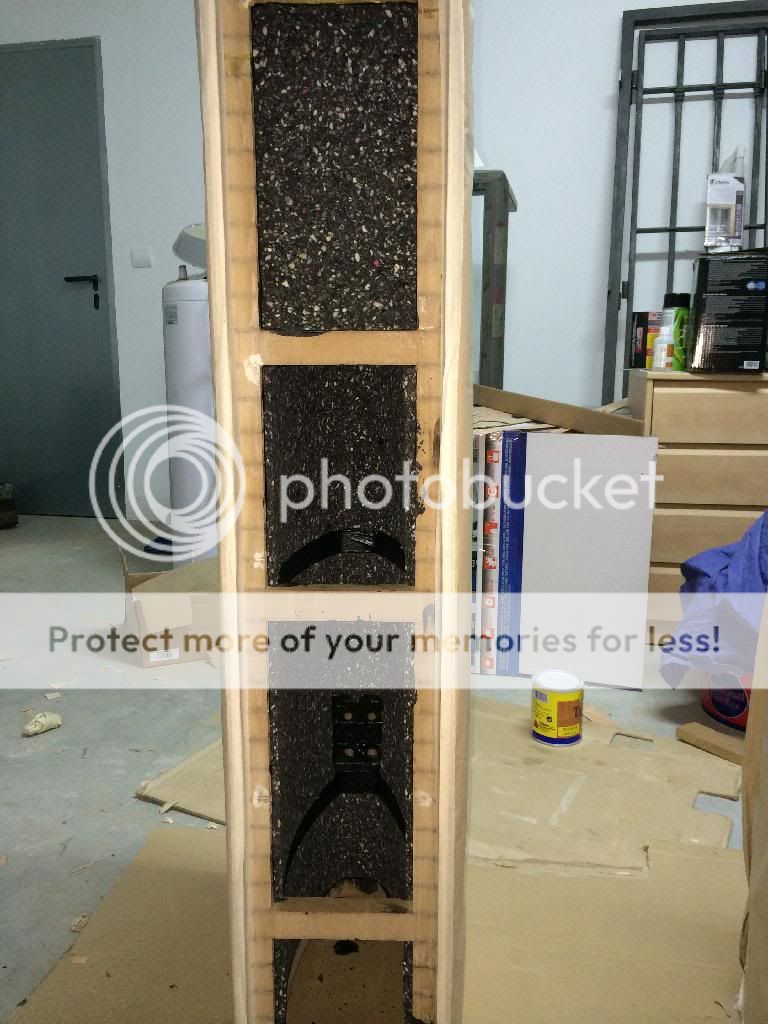
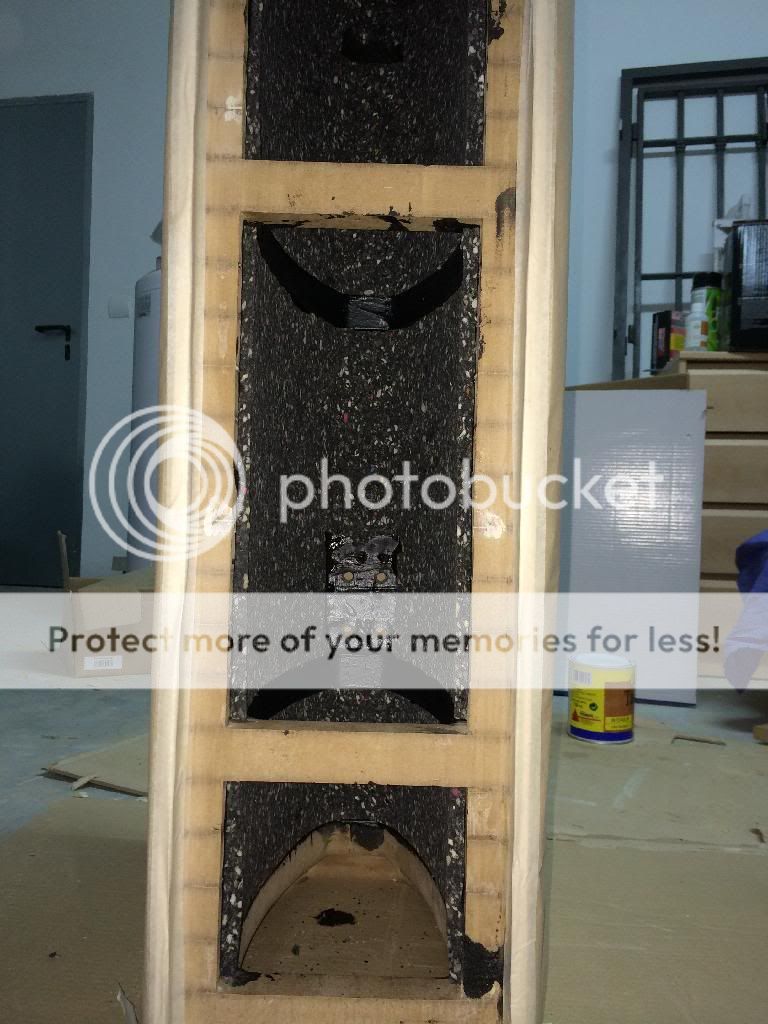
And this is the finished work:
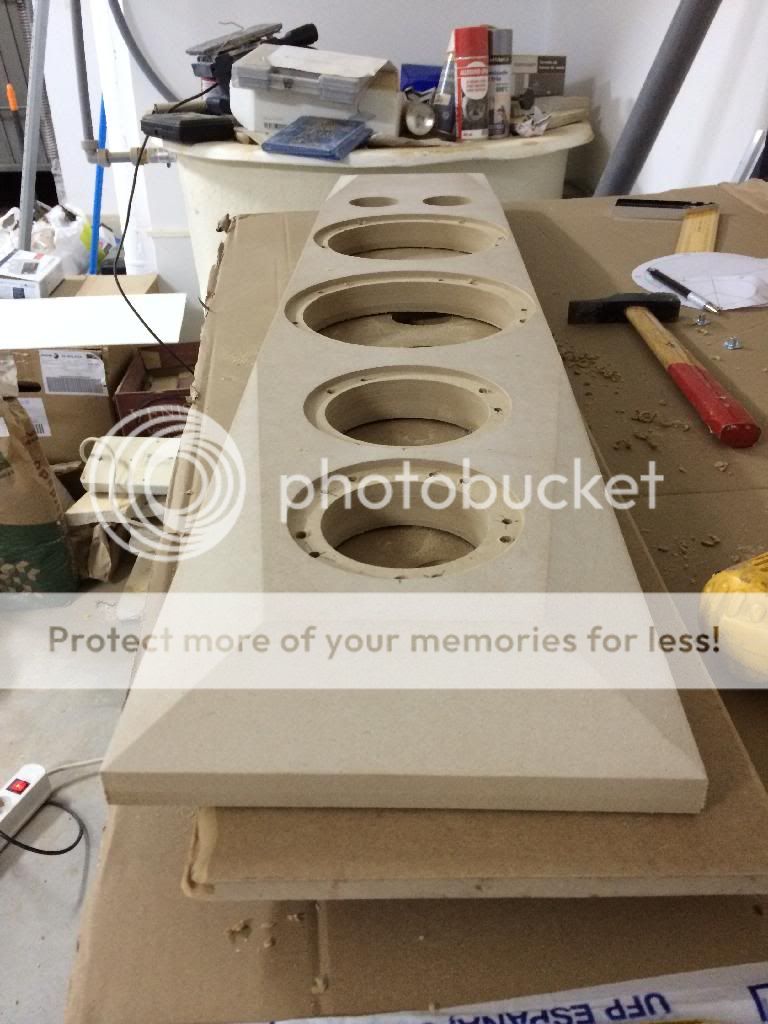
The cabinets are almost finished. The only thing left is to make a full sanding with P800 and P1200 sand, and then I will install the front panels:
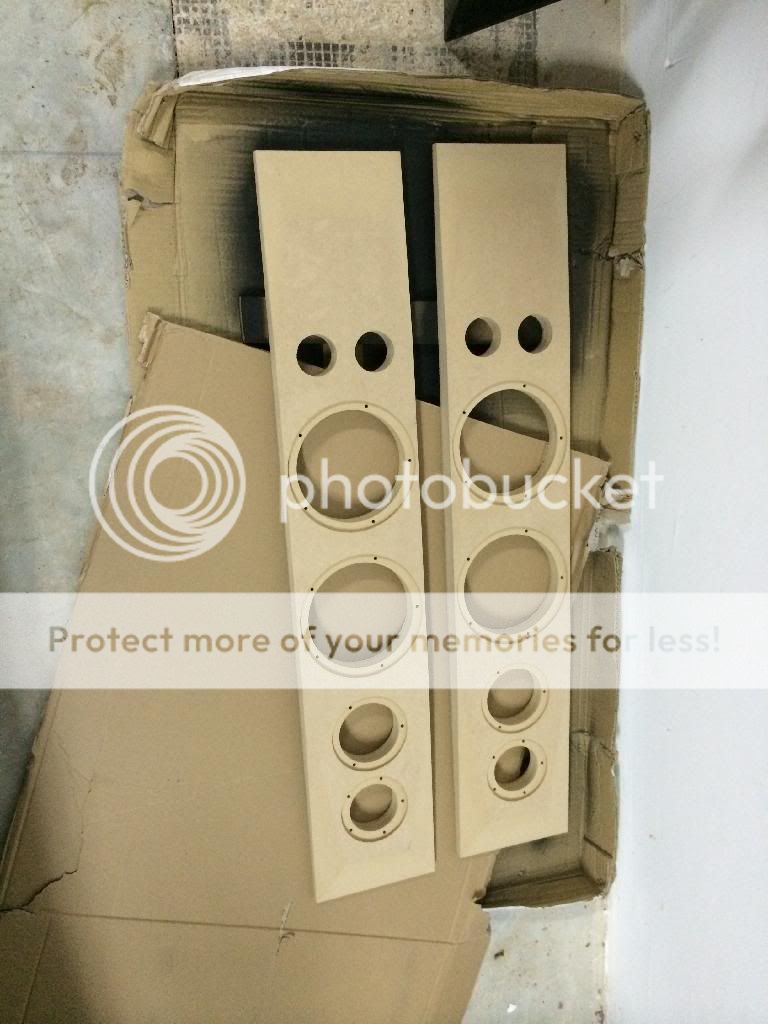
As you can see, drilled holes have not been positioned in the right direction so I will drill them again before installing the front panel.
I guess I can send the cabinets to the painting company next week, so I will be very nervous waiting for their job.
Meanwhile I will solder the Xover and wires and pray for everything will be well done.
After a fully working weekend, the cabinets are finished and ready to be painted.
The boxes and front panel has been sanded twice with P500, twice wit P800 and twice with P1200 water sand. Now it seems they are very soft.
The boxes and front panel has been sanded twice with P500, twice wit P800 and twice with P1200 water sand. Now it seems they are very soft.
I have installed 2xbass reflex pipes home made from PVC with a lenght of 145mm to tune the box to @32 Hz approx
Then I glued the front baffle and installed to the cabinets, filling the gaps between the enclosure and the baffle and sanding again with P500-P800-P1200
Finally, here we have the final result before painting:
It took me about 80 hours building, veneering and sanding the cabinets, but I’m really satisfied with the finished cabinets.
Now I have to wait about two weeks for painting, and I will use that time to weld the Xover and buy the foot stands.
I’m really happy with the work I have done, because this has been my first DIY big project and, for sure, my first DIY speakers… but still there’s a lot of job to do until they can play my favourite music.
Then I glued the front baffle and installed to the cabinets, filling the gaps between the enclosure and the baffle and sanding again with P500-P800-P1200
Finally, here we have the final result before painting:
An externally hosted image should be here but it was not working when we last tested it.
An externally hosted image should be here but it was not working when we last tested it.
An externally hosted image should be here but it was not working when we last tested it.
It took me about 80 hours building, veneering and sanding the cabinets, but I’m really satisfied with the finished cabinets.
Now I have to wait about two weeks for painting, and I will use that time to weld the Xover and buy the foot stands.
I’m really happy with the work I have done, because this has been my first DIY big project and, for sure, my first DIY speakers… but still there’s a lot of job to do until they can play my favourite music.
These are the first samples for the final result
It seems to me this is gonna get better!!!
An externally hosted image should be here but it was not working when we last tested it.
An externally hosted image should be here but it was not working when we last tested it.
It seems to me this is gonna get better!!!
- Home
- Loudspeakers
- Multi-Way
- Sonus Faber Cremona HYBRID Clone