Attachments
-
 IMG_5883.JPG310.9 KB · Views: 304
 -
 IMG_5885.JPG243.7 KB · Views: 322
 -
 IMG_5886.JPG195.7 KB · Views: 289
 -
 IMG_5890.JPG184.2 KB · Views: 287
 -
 IMG_5894.JPG312 KB · Views: 293
 -
 IMG_5896.JPG217.6 KB · Views: 288
 -
 IMG_5897.JPG265.4 KB · Views: 298
 -
 IMG_5898.JPG304.8 KB · Views: 277
 -
 IMG_5900.JPG249.3 KB · Views: 287
Last edited:
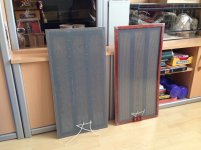
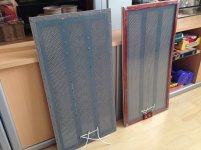
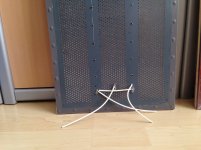
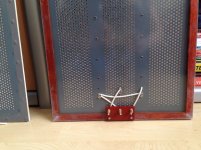
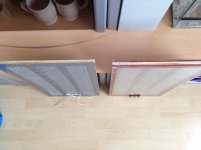
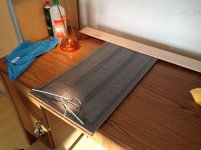
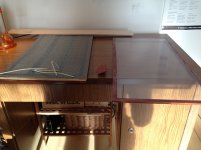
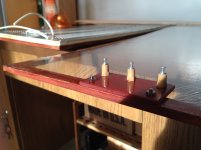
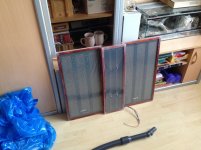
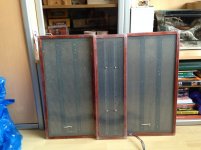
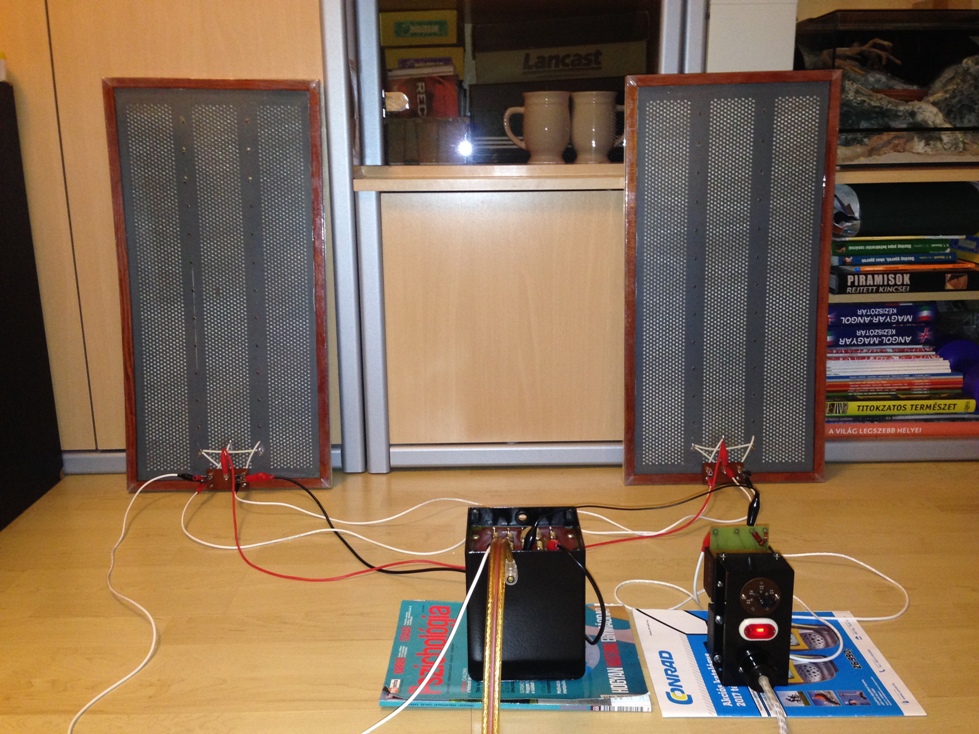
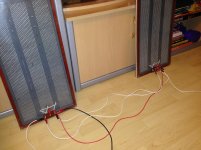
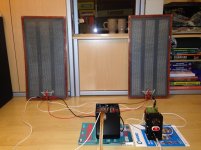
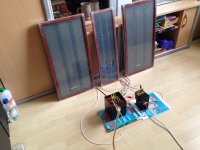
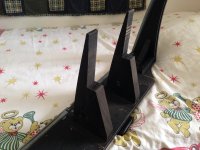
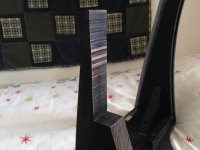
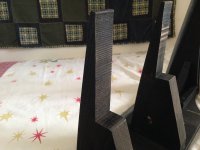
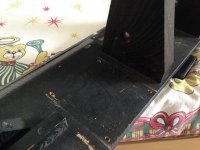
The initial test sounded O.K. without any pop or crack, but next time I have to listen to them very carefully. I am afraid that the conductive aquadag (?) on the stators must be even and the thickness should be permanently the same all the surface of one stator. I redoed it with this silver defogger, but I am sure that the repaired fields are not the same thickness as the factory standard, so it may interfere with the even magnetic field and cause distortion, I am not sure, who knows?

Attachments
NOTE
I was informed by the admin about my humongous linked-in pictures those are inconvenient to have a look at, and about my old images those are dissapearing from time to time due to the picture hosting website.
If my time will allows me, I am going to reinsert all the pictures from this thread and from the other one in a more convenient size and they will be stored here at the forum, so they won't disappear again. (oc. if anyone interested, lol)
I would love to hear them. I do not know if the small imperfection in the difference in thickness will be detremental to the soundfield quality and it may be difficult to reproduce the exact manufacturer specifications even with knowing what they were.
Once you are satisfied with the repairs, I would seriously concider small pieces of curved wood and clamps to listen to the vertical alignment before you do your final instalation. You never know what will happen.
Once you are satisfied with the repairs, I would seriously concider small pieces of curved wood and clamps to listen to the vertical alignment before you do your final instalation. You never know what will happen.
I would love to hear them. I do not know if the small imperfection in the difference in thickness will be detremental to the soundfield quality and it may be difficult to reproduce the exact manufacturer specifications even with knowing what they were.
Once you are satisfied with the repairs, I would seriously concider small pieces of curved wood and clamps to listen to the vertical alignment before you do your final instalation. You never know what will happen.
I will see ... But simply, I do not have the proper room acoustic for such a great speaker🙁
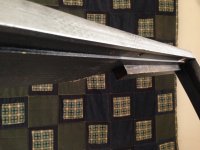
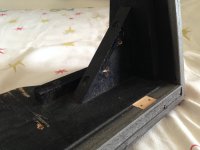
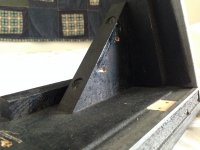
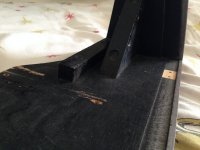
Frame
Messing with the frame
Messing with the frame
Attachments
-
 IMG_5323.JPG968.2 KB · Views: 93
 -
 IMG_5324.JPG621.2 KB · Views: 69
 -
 IMG_5326.JPG631 KB · Views: 56
 -
 IMG_5328.JPG649 KB · Views: 64
 -
 IMG_5329.JPG562.8 KB · Views: 60
 -
 IMG_5330.JPG975.8 KB · Views: 82
 -
 IMG_5331.JPG528.5 KB · Views: 56
 -
 IMG_5333.JPG400.1 KB · Views: 63
 -
 IMG_5334.JPG534.7 KB · Views: 60
 -
 IMG_5336.JPG722 KB · Views: 60
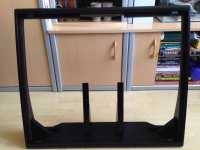
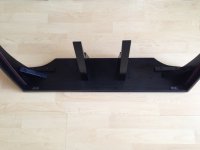
Frame
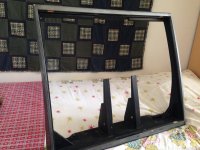
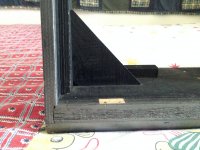
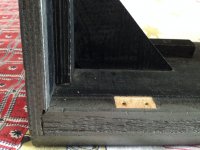
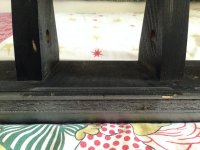
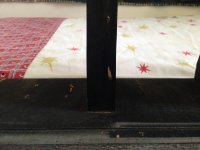
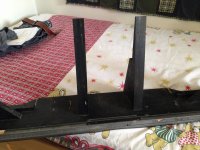
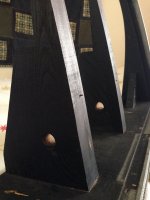
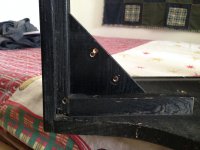
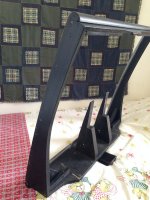
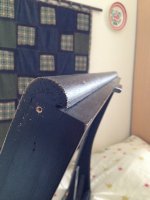
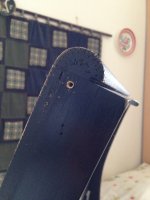
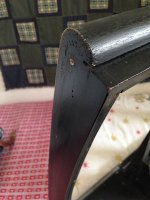
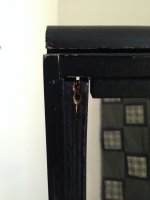
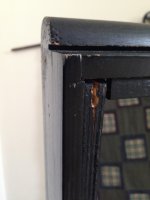
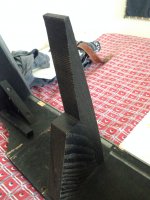
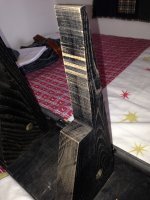
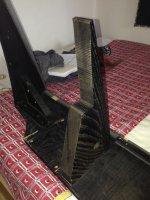
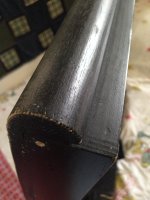
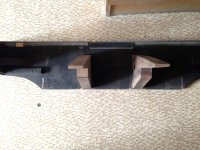
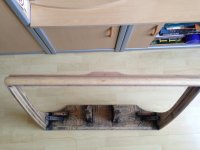
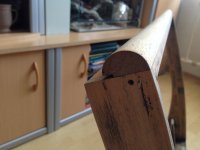
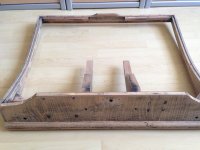
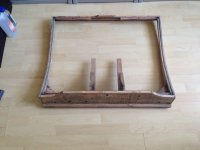
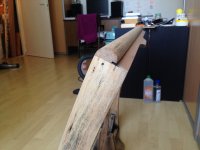
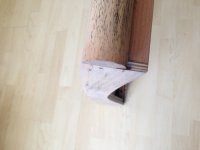
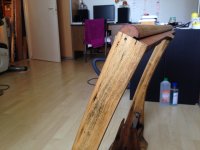
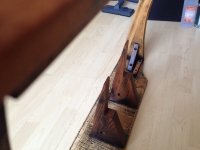
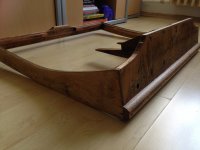
I've found out that the frames bases are made out of different wood until some time when that swapped with MFD. The latter version also has narrower handle at the top.
My speakers' serials are 20721 and 20728, at least, they are some way identical cosmetically, but I am not sure if they are really from 1968 or it's just the back grilles those are 'matched' by the previous owner(s)
Attachments
-
 IMG_5337.JPG828.9 KB · Views: 54
 -
 IMG_5339.JPG763.2 KB · Views: 67
 -
 IMG_5341.JPG789.6 KB · Views: 58
 -
 IMG_5342.JPG519.3 KB · Views: 56
 -
 IMG_5343.JPG531.2 KB · Views: 57
 -
 IMG_5344.JPG848.8 KB · Views: 59
 -
 IMG_5345.JPG732.5 KB · Views: 84
 -
 IMG_5346.JPG766.6 KB · Views: 69
 -
 IMG_5347.JPG585.3 KB · Views: 64
 -
 IMG_5348.jpg298.4 KB · Views: 63
Last edited:
Frame
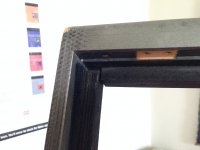
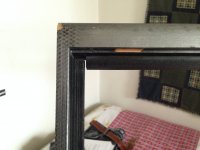
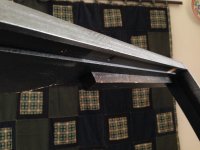
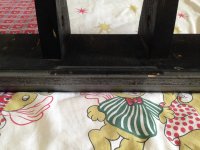
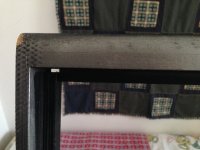
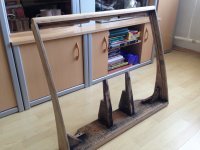
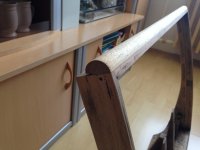
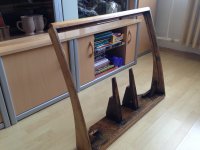
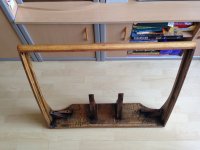
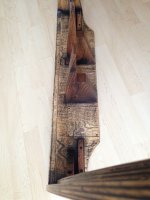
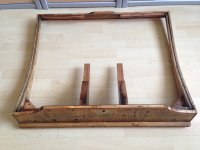
More pics of the untouched frames
More pics of the untouched frames
Attachments
-
 IMG_5350.JPG609.1 KB · Views: 62
 -
 IMG_5351.JPG961.9 KB · Views: 70
 -
 IMG_5352.JPG679.5 KB · Views: 67
 -
 IMG_5353.JPG578.1 KB · Views: 58
 -
 IMG_5356.JPG563.8 KB · Views: 69
 -
 IMG_5358.JPG610.5 KB · Views: 65
 -
 IMG_5360.JPG536.4 KB · Views: 62
 -
 IMG_5362.JPG606.1 KB · Views: 67
 -
 IMG_5363.JPG734 KB · Views: 69
 -
 IMG_5364.JPG597.9 KB · Views: 57
Frames
Pictures
Pictures
Attachments


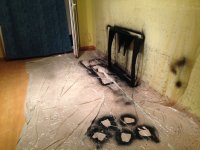
Frame
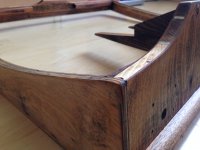
This was after 2 days of sanding without any e-tool. I am not planning to do it again in the close future...
This was after 2 days of sanding without any e-tool. I am not planning to do it again in the close future...
Attachments
-
 IMG_5937.JPG820.6 KB · Views: 97
 -
 IMG_5938.JPG792.3 KB · Views: 90
 -
 IMG_5939.JPG676.8 KB · Views: 82
 -
 IMG_5940.JPG863 KB · Views: 91
 -
 IMG_5941.JPG747.8 KB · Views: 89
 -
 IMG_5942.JPG762.3 KB · Views: 101
 -
 IMG_5943.JPG840.5 KB · Views: 87
 -
 IMG_5945.JPG654 KB · Views: 78
 -
 IMG_5946.JPG695.9 KB · Views: 87
 -
 IMG_5947.JPG686 KB · Views: 80
Last edited:
Frame
I used a very little amount of linseed oil this time, not to mess up the acrylic finish at the end
I used a very little amount of linseed oil this time, not to mess up the acrylic finish at the end
Attachments
-
 IMG_5948.JPG752.1 KB · Views: 88
 -
 IMG_5950.JPG765.1 KB · Views: 93
 -
 IMG_5951.JPG691.5 KB · Views: 84
 -
 IMG_5953.JPG765.6 KB · Views: 89
 -
 IMG_5954.JPG876.9 KB · Views: 92
 -
 IMG_5956.JPG812.2 KB · Views: 95
 -
 IMG_5958.JPG787.3 KB · Views: 83
 -
 IMG_5959.JPG652.1 KB · Views: 88
 -
 IMG_5960.JPG768 KB · Views: 83
Last edited:
Painted frame
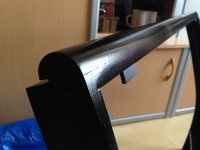
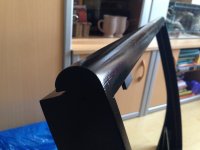
Managed to paint the frame. This time, I did not have any problem with too much oil, it worked well.
Managed to paint the frame. This time, I did not have any problem with too much oil, it worked well.
Attachments


Last edited:
Wiring
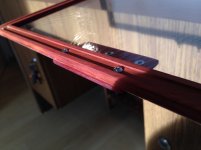
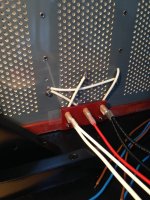
I made a mistake while I was heat-shrinking the connections; unfortunately burned a little hole next to the tagboard. Now, I know the purpose of the missed out extra tape at the bottom of the bass panels...
I made a mistake while I was heat-shrinking the connections; unfortunately burned a little hole next to the tagboard. Now, I know the purpose of the missed out extra tape at the bottom of the bass panels...
Attachments


I will later post images of the final 'product'.
Now, my "impressions", if I can say:
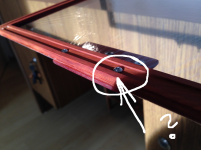
I am not happy. Unfortunately, the right bass panel (viewed from the back) is leaking at the bottom. This is only an assumption, but I think I punctured the insulating tape with the wooden dustcover frame that pressed hard against a rivet while I was assembling the panel into the frame. I assume this as I remember, the dustcover frame's alignment weren't that precise so the edges touched the rivets.I found out that there is a permanent faint clicking noise (about 3-4 per sec.) from the bottom of the panel when my ear is next to the grille. However, the unit charges up, but the treble get up slower than before.
I will do additional tests in the future, like the neon-bulb flasher test for leak, but I do not want to bug the speaker for now, I fed up with the task for a while.
Now, my "impressions", if I can say:
I am not happy. Unfortunately, the right bass panel (viewed from the back) is leaking at the bottom. This is only an assumption, but I think I punctured the insulating tape with the wooden dustcover frame that pressed hard against a rivet while I was assembling the panel into the frame. I assume this as I remember, the dustcover frame's alignment weren't that precise so the edges touched the rivets.I found out that there is a permanent faint clicking noise (about 3-4 per sec.) from the bottom of the panel when my ear is next to the grille. However, the unit charges up, but the treble get up slower than before.
I will do additional tests in the future, like the neon-bulb flasher test for leak, but I do not want to bug the speaker for now, I fed up with the task for a while.
Last edited:
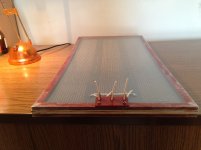
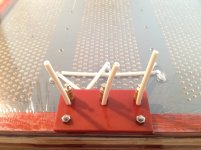
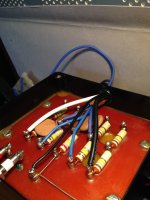
I've checked the faint clicking more closely today, and I assume that it may be come from the tagboard rather than the front. So, I assume that one or two of the rivet or rivets and these tagboard srews touches each other, hence the 'leak'.
Maybe I could try to fasten more these nuts from the outside to see if I enlarge the distance between the rivets and these Ti srews would help me to solve this matter?
Maybe I could try to fasten more these nuts from the outside to see if I enlarge the distance between the rivets and these Ti srews would help me to solve this matter?
Attachments
I can happily say that after tightening these screws solved the discharging (leaking) problem (permanent popping sound disappeared completely) so I didn't have to take the speaker apart completely again, thank God...
Nonetheless I made some panels for that purpose, I haven't done any neon-bulb tests yet. I think that there isn't any intensive discharge path anywhere as the units get up very fast from zero and they play almost at the same level after 30-45 minutes of being plugged out of the mains. I do not know if my analogy is good.
The treble from the last side is still a bit shy, as the bass at the other side but that could be that It had been discharged for the period of works for 2 and a half months, so time will help, or that could be the unevenness of the coating I saw when the panel was 'naked' compared to the coating evenness of the other panel in the other speaker. Maybe it's just a placebo as the difference in sound (at higher frequencies) is barely noticable between the two speakers for human ears. (I mean when I play mono rec, the sound is almost coming from the origo between the two speakers).
Anyway, I am satisfied with the results. Repainting (paint-patching) the bass panels hasn't made any difference, it plays great as before. The speaker sounds the same that is not a bad thing at all. 🙂
So, maybe the whole project wasn't neccessary at all, but was a great journey. I am aware that swapping the diaphragms to new and tightening, coating, heat-conditioning them with the correct factory solutions in all the panels would make a big difference but I think I do not have the proper knowledge and tools for a project of this altitude. That part would be better done by the professionals those have the know-how and materials, etc.
Who knows, maybe later when I have the coverage?
These speakers are so far ahead of other speakers for reproduction of music that I would not worry myself over any minor details so just forget they are there, enjoy the sound, and have the satisfaction of knowing that you have a job well done. Smile really big to yourself everytime you have a listening session. Good luck in the future.
These speakers are so far ahead of other speakers for reproduction of music that I would not worry myself over any minor details so just forget they are there, enjoy the sound, and have the satisfaction of knowing that you have a job well done. Smile really big to yourself everytime you have a listening session. Good luck in the future.
Thank you!
I haven't forgotten the special set up you'd told me. If I am ready to purchase an another pair (that is completely untouched) I will check that arrangement, but there are too many 'projects' running in paralell, and I do not have the financial cover momentary.
Regards,
Ambrus
- Status
- Not open for further replies.
- Home
- Loudspeakers
- Planars & Exotics
- QUAD ESL 57 A little work on the loudspeaker "B"