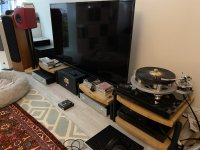
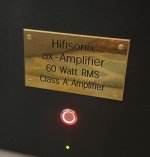
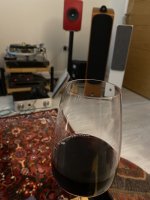
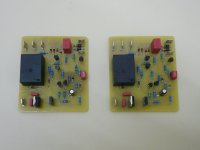
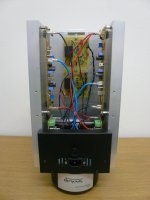
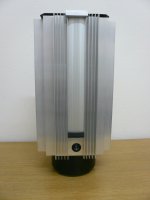
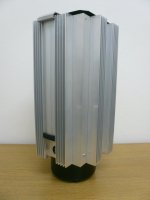
In heavy rotation tonight Debussy’s Nocturne on the new ax-Amp (Part 1 published 15 March, Part 2 15 April in audioXpress) through the X-Altra Mini II and the X-Altra MC/MM phono pre. I’m playing through the Dali Oberon’s - fantastic imaging and very weighty bottom end. I’d describe the sound and lush and mellifluous. The Druro is also good 😊
The Oberons’ have a very big, grown up sound.

The Oberons’ have a very big, grown up sound.
Attachments
Last edited:
Love that SME arm!
Worth a lot of money but not a great arm… i owned at leastna dozen (3009/3012)
dave
Heretic!Worth a lot of money but not a great arm… i owned at leastna dozen (3009/3012)
dave

Truth teller.
The best one I've tried was the 3009 Series II non-detachable.
The best one I've tried was the 3009 Series II non-detachable.
Last edited:
Dave,Worth a lot of money but not a great arm…
dave
Were your SME arms the Series II (lightweight) types or the much later far more solid Series 5 etc. version with tapered arm tubes? If the former with perforated headshells I would agree with you; if the later tapered tube versions I would disagree strongly. The early arms were good with very high compliance MM cartridges such as ADC 25/26 etc. but not great with lower compliance or heavy cartridges such as (worse case) an Ortofon SPUG/TE. Yet with the original shell and transformer removed the cartridge for that time worked well enough with appropriate MC stepup.
On the other hand the Mk5 SME arms were light years ahead of the Series II and could deal very well with most modern cartridges. I have no experience of the SIII arms.
1974->1979 or so. Plus one i made a killing on eBay in the 2ks.
dave
dave
Last edited:
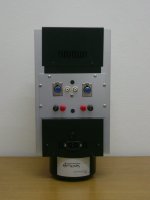
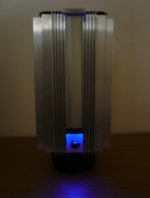
Been a while since an upload;
Lateral MOSFET amp, all-in-one, Raspberry Pi streaming Spotify, TI DAC, hardware volume, DC protection SSR.
~150w @8 and prolly around 200w @4
Youtube link...


Lateral MOSFET amp, all-in-one, Raspberry Pi streaming Spotify, TI DAC, hardware volume, DC protection SSR.
~150w @8 and prolly around 200w @4
Youtube link...
May I ask how do you attach led diode to the front panel? What kind of LED diode are you using?Been a while since an upload;
Lateral MOSFET amp, all-in-one, Raspberry Pi streaming Spotify, TI DAC, hardware volume, DC protection SSR.
~150w @8 and prolly around 200w @4
Youtube link...
View attachment 1299882View attachment 1299883
Back drill faceplate nearly all the way, stopping short for 5mm RGB 4 lead LED, and through drill 2mm hole the rest of the way. It's best to do the smaller drill from the front of the plate in order to get it centered right. I designed PCB for attachment to the face that gives both a connection and a relief. You'll see a rivet that is also backdrilled into the face part way. There are actually 2 pieces to the PCB that attaches it with one being used as a spacer from the faceplate, and another being used for the connection. The wire is connected to the PCB with a SMD connector 4 pin JST_SH_SM04B-SRSS-TB from amazon. The male side comes with wire already attached which makes it easy, and the female side comes in the package as well. I've got it programmed to give information as to the on/off state of the amplifier, and also the network status and fault condition. Upon boot up, it will solid red until the code is run. Once the code is run, it wil display the status as blinking (no network), pulsing (configuring network), solid (network configured and connected correctly). Each mode will be in a color of either blue or green indicating amp power status. If it is blinking red, then it's got a problem. The raspberri Pi can be configured to do whatever a computer can do, like send the status or whatever you dream up for it. Whats nice is that as it is, if there is a problem, it cuts the power as well. All the soft-start is controlled by the Pi as well and fully configurable. Not to get too deep, but with the SSR ouput relay, as it is, when the player ends a track, the output is disconnected even if the amp is on. I may make a unit if there is a demand for it that enables others to connect their amp to a version of this unit so that this does all the power switching, soft start, DC protection/muting etc, and DAC. Something that basically does what nearly every DIY amp builder needs. It wouldnt be entirely selfless for sure. Users/builders would have a platform to build more sophisticated DAC's for it, and I would most likely use other DAC's that would be contributed. It would most likely be in a 3u case but half as deep, have all the power and structure needed for nothing but a DAC to be inserted, can be stacked easily for clockers etc... Simply be the everything needed for an DIY amp builder.
Scott


Scott
Many thanks for your comprehensive reply. Your work is outstanding. I like attention to the detail.
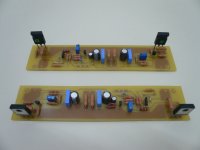
If it's going to heat the space, so it should look like! 🙂 An AlephJ with Rod Elliott's cap multiplier P15 and speaker protection P33 in a diy chassis built mostly from leftovers.
Attachments
Greek patent!!!😉If it's going to heat the space, so it should look like! 🙂 An AlephJ with Rod Elliott's cap multiplier P15 and speaker protection P33 in a diy chassis built mostly from leftovers.
Very nice.
- Home
- Amplifiers
- Solid State
- Post your Solid State pics here
