See here for woofer break in: Open Source Monkey Box
I used a signal generator --> power amplifier --> woofer
If you don't have a signal generator, maybe you can use your computer playing a low-frequency test tone, set to "repeat forever".
I try to do the same Matthias, I've downloaded REW an would use the generator to play the testtone. What parameter should I use?
Sine Wave 15 hz output L+R?
I'm just connecting my Laptop with pre and amp and the directly to the woofer on left and right? Sounds a bit strange to me to connect the woofer directly... 😱
Thank you,
Martin
There are no strict rules for the woofer break in. Just do it as long and as hard as possible. I ran mine at 20 Vrms / 15 Hz (sine) for 24 hours, but that was just me. If you have a DVM you can use this to check the drive voltage. Even cheap DVMs will give good AC-rms readings as long as the frequency is lower than a few kHz.
(I like the bench. What amplifier board is this?)
11.5V! Very cool. Thanks.
They do seem to be visually changing in terms of what I perceive as the range of movement. Initially one moved more than the other—it was quite clear—now they appear more balanced.
Amp in the picture on bench top? Newest version of Salas's Folded Simplistic phono stage (I made the first version—best phono pre I've heard):
https://www.diyaudio.com/forums/analogue-source/129126-simplistic-njfet-riaa-1780.html#post6213240
Okay—just added a preamp in the mix—suffice it to say, learning some basics here—now getting 18V with more volume—more movement too obviously....will let them go for the day...
I try to do the same Matthias, I've downloaded REW an would use the generator to play the testtone. What parameter should I use?
Sine Wave 15 hz output L+R?
I'm just connecting my Laptop with pre and amp and the directly to the woofer on left and right? Sounds a bit strange to me to connect the woofer directly... 😱
Thank you,
Martin
Assuming you are building these speakers???
If yes—pics please!!!!
Sure, just connect the woofers directly to the amp for break-in, no need for a xover to do this.I try to do the same Matthias, I've downloaded REW an would use the generator to play the testtone. What parameter should I use?
Sine Wave 15 hz output L+R?
I'm just connecting my Laptop with pre and amp and the directly to the woofer on left and right? Sounds a bit strange to me to connect the woofer directly... 😱
Thank you,
Martin
Thanks, woofers were on now for nearly 24 hrs, I found a good combination of two test tones, each of them around 2 min. I was playing them in our living room, don't ask any further what my gf was thinking about it... 😉
I'm building Troels' Faital 3WC, I already bought the kit and so it was too late for the these speakers here. But I'll post my progress in the other thread...
Thx again!
I'm building Troels' Faital 3WC, I already bought the kit and so it was too late for the these speakers here. But I'll post my progress in the other thread...
Thx again!
Oh man... I wish... Getting there... Let's say that I'm now even more prepared to appreciate the speakers once they are ready (Aikido preamp in front of M2X/Norwood monos has a massive amount of what I've been looking for/like, and another whole new world since I finally put a MC cartridge in my system and blew my own mind. Haha—both of which I can "feel" are probably being held back now by the dual single driver speaks I have currently)... Besides "work", the hangup has really been coming up with a finishing plan, which I have now... also I do need to cut some test holes. Baffle layout is triple checked and accurate to actual drivers, just need to jump in a start cutting...Think about it everyday! (Thanks for the nudge—)
How is it going? All you need to to is to put drivers, damping and ports in... then its time for music!
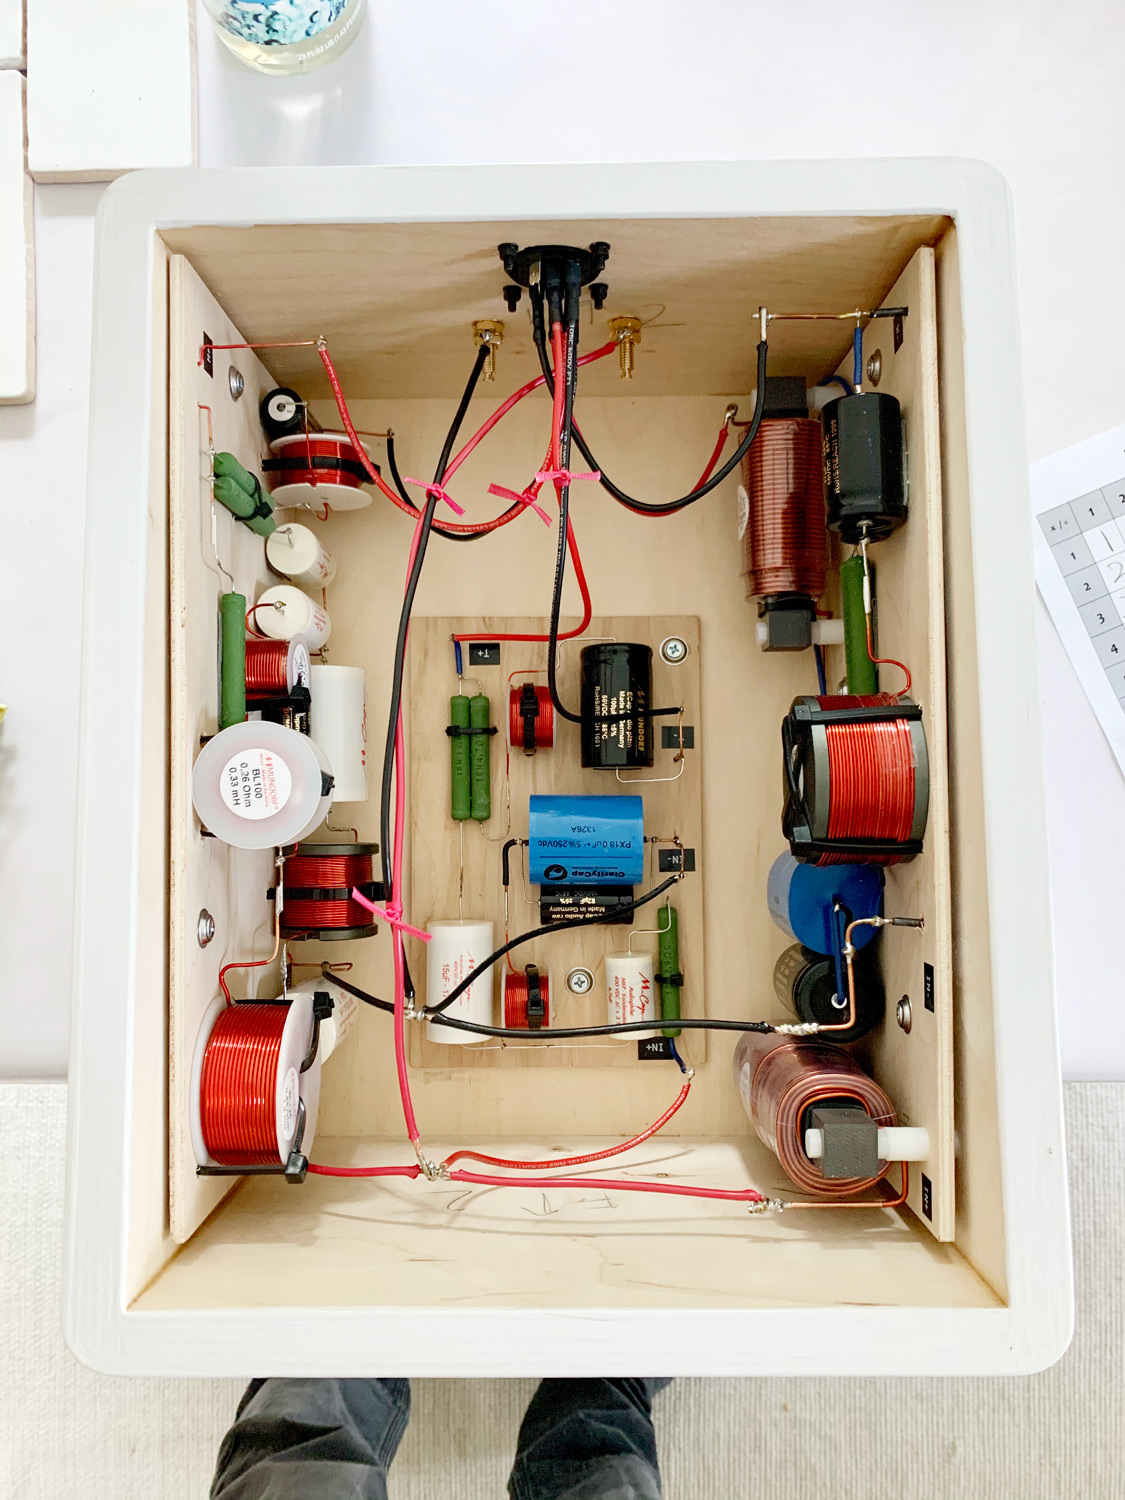
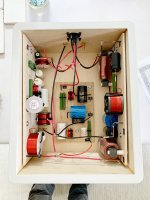
Well... progress at least. 😀 (SpeakON is sooo cool.) I didn't get a second pair of Input jacks. Not ready to bi-amp yet—so that would be a future experiment/upgrade(?). I did kinda keep the wiring locations prepped in that direction. (Still HIGHLY motivated to get these playing!)
Attachments

Thanks Mattias!
How far off the ground are your stands? It was suggested to me that raising the speaks off the ground will change the voicing. I don't have the real estate for another option hence the combined x-over box/speaker plinth. From this thread it looked like you did some testing with the speaks way off the ground... So just wanted your impressions/thoughts. It never occurred to me to put them on the floor in our space.
(and crosspost—THANKS! Itsallinmyhead/P. Anderson)
Last edited:
My "stands" are not very tall, about 20 or 25 cm. Taller stands will not change the "voicing". Just use what works and looks right to you.
The taller stands (or the "tower") were used to obtain a longer anechoic range in the impulse response measurements. This was useful for measurements to analyse the design, but was not done to "improve the sound".
The taller stands (or the "tower") were used to obtain a longer anechoic range in the impulse response measurements. This was useful for measurements to analyse the design, but was not done to "improve the sound".
Yes. What I thought—my x-over plinths are 18cm at the front, 16cm at the back....Thanks for the explanation.
Finally!!!!!!
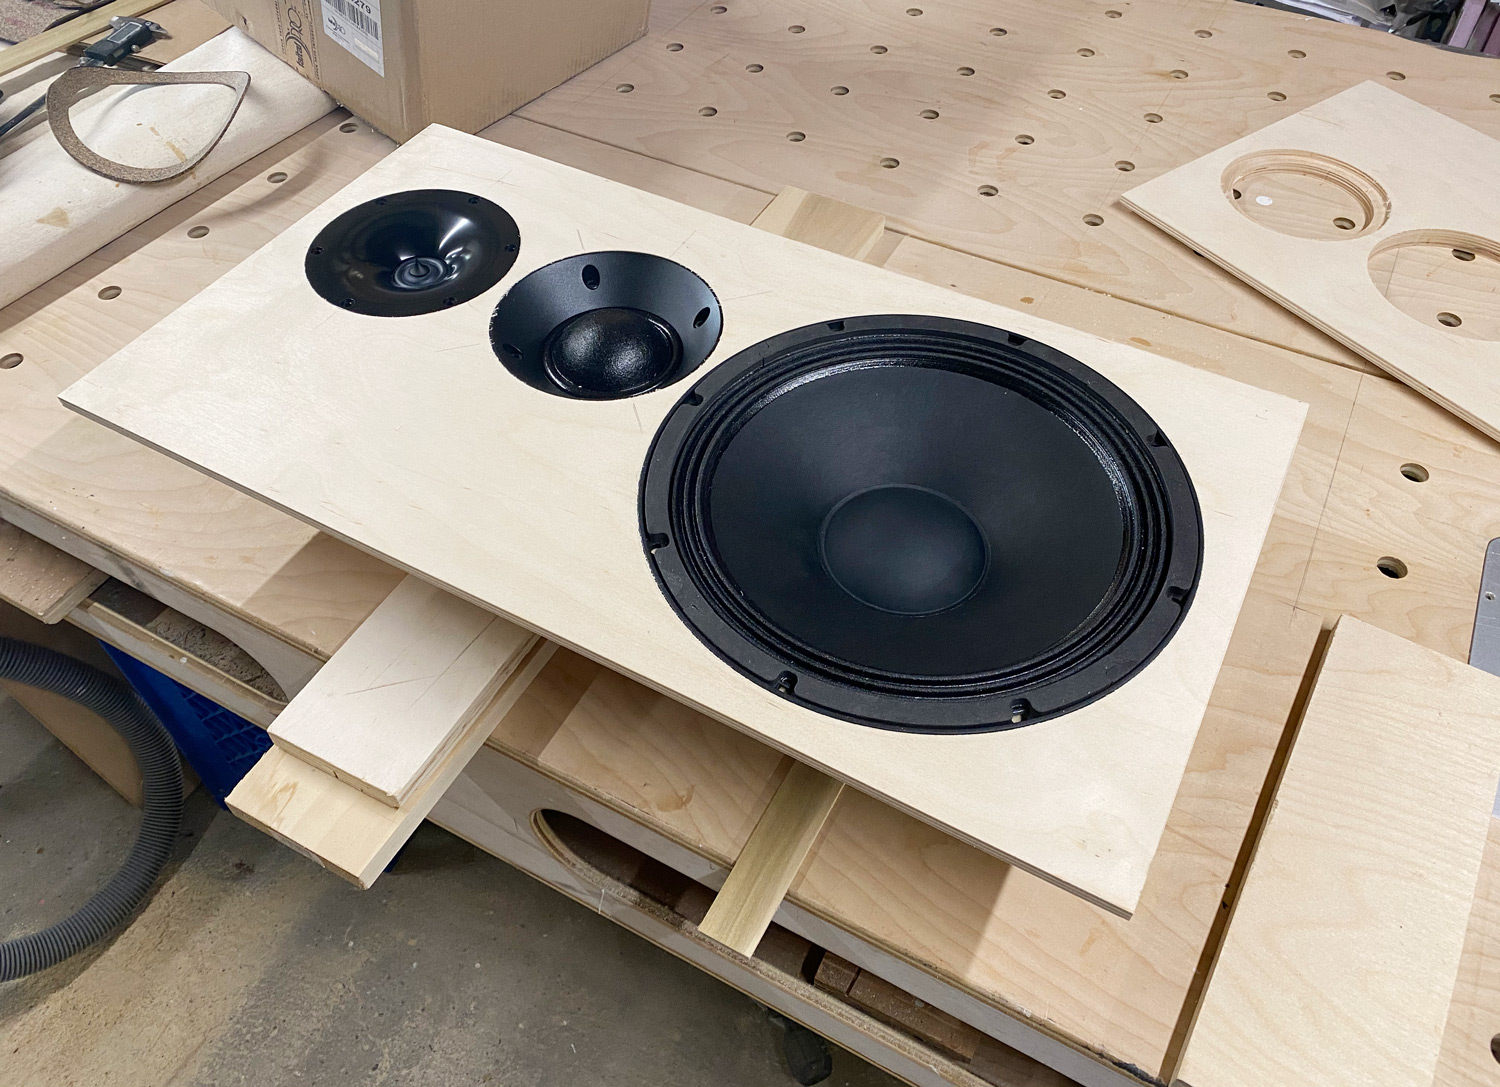
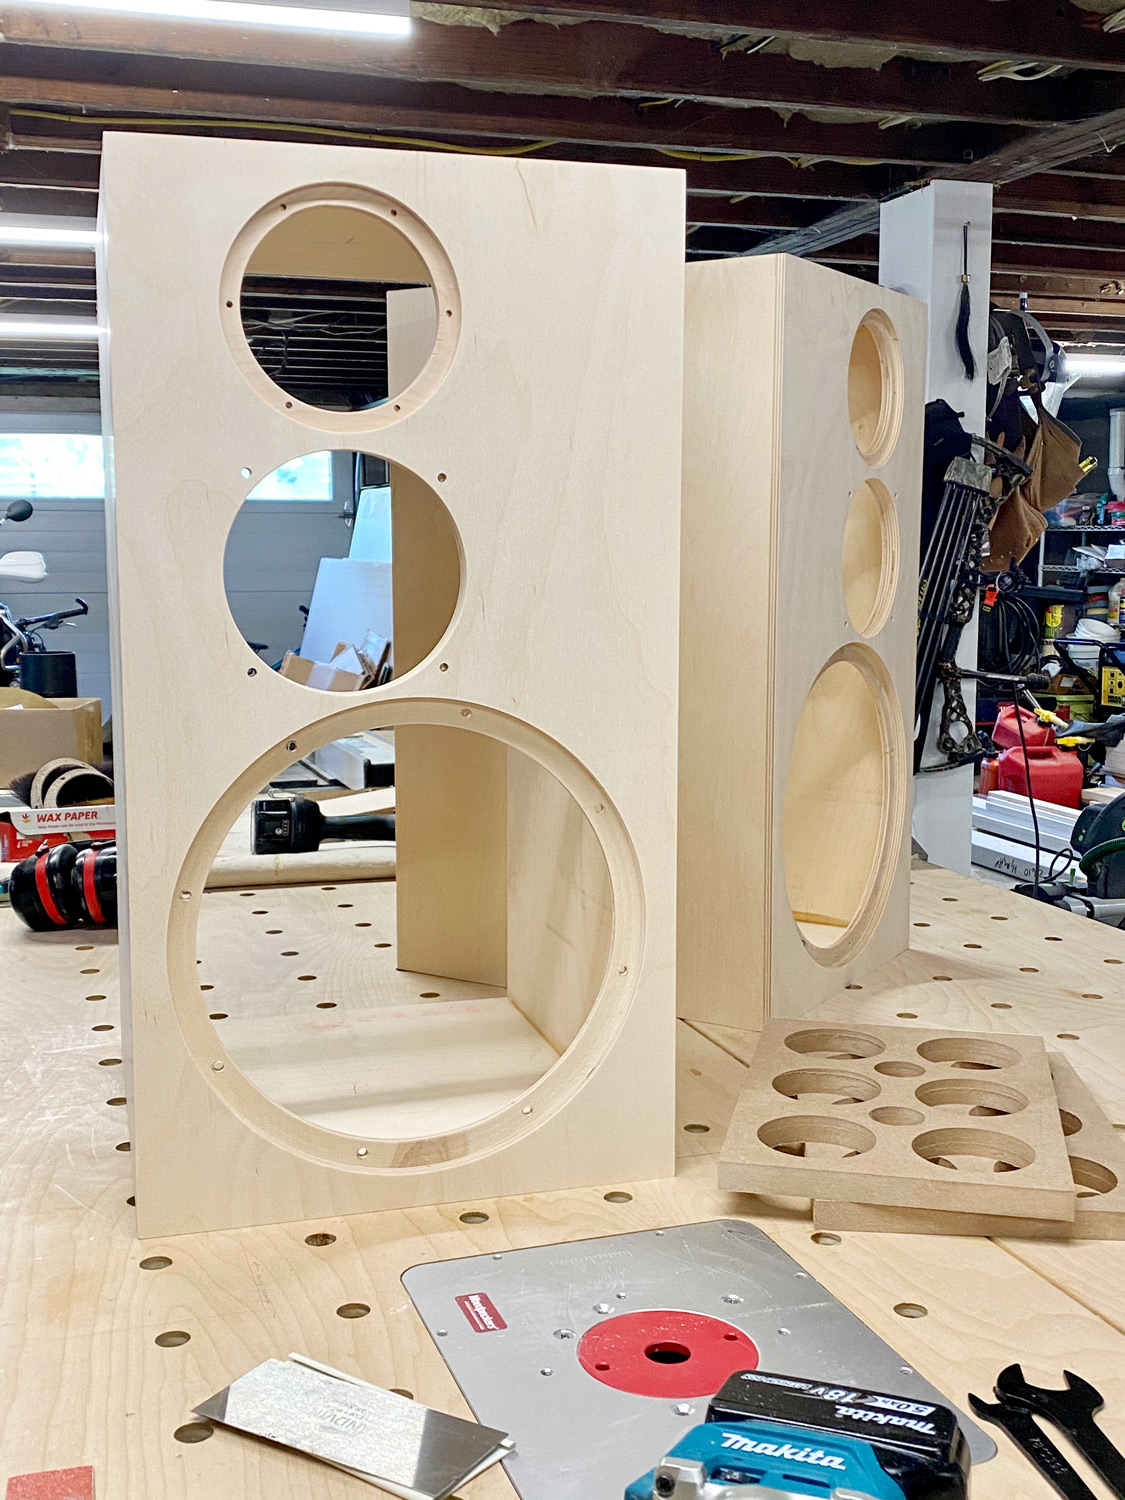
Baffles cut—drilling all the holes on the drill press before I attach them to the cabinets. I don't think I'm going to use a countersunk head/bolt for the Volts, not that fun to drill a clean no tearout countersink in ply—really needs a router—and I don't have that bit on hand. Going to use a cap head bolt. Won't be flush... but I think it will still look great. Speakers will be white... So it will all pop.
Also, magnets for grills.
Attachments


Having seriously sharp, and correct tools for all the processes to hand is difficult for many of us. I have a reasonably well-equipped tool selection available but have only a little over two square metres of workspace and no workbench so my projects have to be done outside using folding portable worktables. The weather is a big variable that tends to make projects much longer than expected. I have just finished a pair of Paul Carmody's Tarkus design and to avoid problems with veneering I decided to paint them instead. I had some Ford Diamond White left over from a van repair. They have turned out better than I expected even after battling with too much heat and high winds while spraying.
Pics? I have a lot of spraying experience—automotive finishes—but it's over a decade old at this point.... These will be more of a hand application, thinned, multiple sandings to keep the finish flat, probably a bit of grain/mulitply edge showing through... matte... "lived in" vibe.
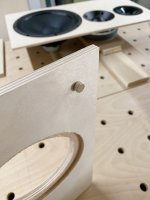
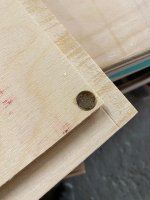
I ended up drilling the bolt holes for the woofers off-axis from the cabinets—it seemed like due to the absolutely impressive massiveness of the Volt mid that it would be in the way of woofer attachment at the top when I mocked it all up, it looks like from Matthias's pics though that it would have fit "aligned"... hmmm... oh well. Call it a little wabi-sabi moment. In truth the woofers look to be designed for rear or front mount, or at least to have some sort of bezzle. They don't have the most "finished" appearance—only in contrast to the complete awesomeness of the tweeter waveguide....
I ended up drilling the bolt holes for the woofers off-axis from the cabinets—it seemed like due to the absolutely impressive massiveness of the Volt mid that it would be in the way of woofer attachment at the top when I mocked it all up, it looks like from Matthias's pics though that it would have fit "aligned"... hmmm... oh well. Call it a little wabi-sabi moment. In truth the woofers look to be designed for rear or front mount, or at least to have some sort of bezzle. They don't have the most "finished" appearance—only in contrast to the complete awesomeness of the tweeter waveguide....
Attachments

Last edited:
Ahhh, this looks good! Great work so far!
Yes, the woofer holes can be aligned to the axis as shown on my drawings and photos. However, your way of alignment makes life a bit easier to install the drivers / screws.
Regarding the cardboard ring of the woofer, I was thinking of replacing it with something that looks better. Black anodized aluminium maybe? Shouldn't be a big deal to remove the cardboard ring. But then I got used to it as it is...
I ended up drilling the bolt holes for the woofers off-axis from the cabinets—it seemed like due to the absolutely impressive massiveness of the Volt mid that it would be in the way of woofer attachment at the top when I mocked it all up, it looks like from Matthias's pics though that it would have fit "aligned"... hmmm... oh well. Call it a little wabi-sabi moment. In truth the woofers look to be designed for rear or front mount, or at least to have some sort of bezzle. They don't have the most "finished" appearance—only in contrast to the complete awesomeness of the tweeter waveguide....
Yes, the woofer holes can be aligned to the axis as shown on my drawings and photos. However, your way of alignment makes life a bit easier to install the drivers / screws.
Regarding the cardboard ring of the woofer, I was thinking of replacing it with something that looks better. Black anodized aluminium maybe? Shouldn't be a big deal to remove the cardboard ring. But then I got used to it as it is...
- Home
- Loudspeakers
- Multi-Way
- Open Source Monkey Box