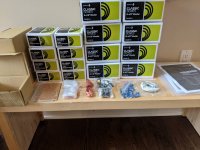
I hope this is the right place to post, I'm an amateur woodworker but no experience of diy audio. I ordered 4 of the Dayton Audio BR-1 component kits and the components for a TriTrix MTM to act as a centre. I'll probably build a par of subs next year. I also plan to make stands for all the bookshelf speakers.
Progress will be slow as I am also renovating the room to be used as a home cinema, but I thought there might be some interest in the speaker build progress here.
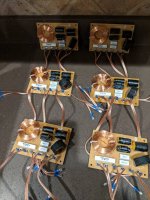
Last night I managed to assemble three pairs of the crossovers. My soldering was acceptable after I found my iron that has been gathering dust for years. The hot glue work was messy but effective I think, as everything feels nice and secure.


I made a start on the woodworking having finished making all the cross overs. I'm going with a zebra wood board that I've had for years to make the front and back of the cabinets.
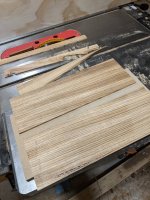
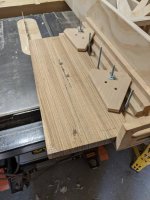
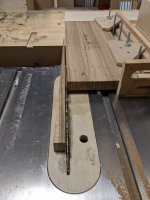
I started off cutting a piece to rough length then trimming it to width using a home made tapering jig on the table saw. This allowed my to get the grain running straight across, this is the centre MTM speaker.
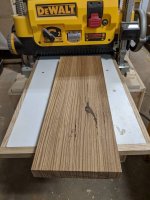
I used a hand plane to knock down the high corners and take out any twist, then ran the board through the planer to get it flat.
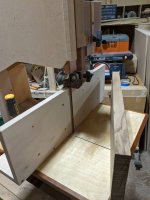
I used a high square fence on the homemade band saw to resaw the board down to about 3/16" thickness. In between each slice I put the stock back through the planer to clean up the face. All the panels were thicknessed again to a little over 1/8".
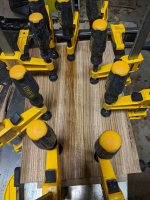
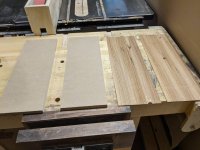
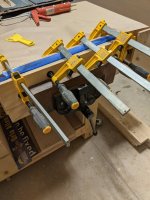
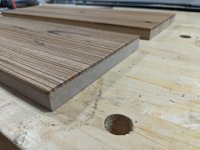
Finally I glued the veneers to the 5/8" MDF substrate so I should end up with panels just over 3/4" thickness.
I used polyurethane construction adhesive, spread thin, because I'm hoping this will be less likely to cup than water based glues. If it does cup, then I'll make these two panels again and put veneer on both sides.


Last edited:
Not sure why i never thought to laminate a relatively thick veneer of wood to MDF to make a baffle. Looking forward to seeing the finished product!
Good work solarfish. I think this hobby can be a perfect match for someone like yourself with all the woodworking skills and well set up shop.
I think the only risk is if it's too thick the it will still move with the seasons. From what I've read anything up to 3/16" should be fine. The bigger problem will be any cupping due to me only veneering one side. I plan to do the same with all the other panels for the cabinets, bit they will be cherry veneer.Not sure why i never thought to laminate a relatively thick veneer of wood to MDF to make a baffle. Looking forward to seeing the finished product!
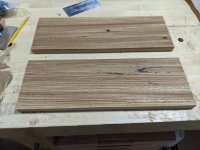
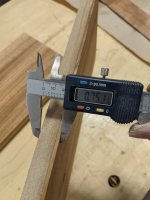
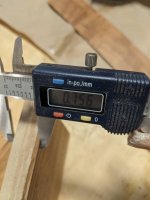
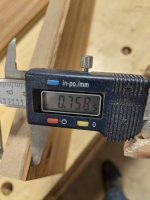
Looks like I got away with it, no bowing or cupping after taking the panels out of clamps. I trimmed them square, about 1/8" bigger than I need so I can finesse for final fit into the cabinets. Sanded to 240 grit and put Ona couple of coats of clear shellac to get an idea of the finish. Measuring with callipers I am between 0.750 and 0.765 all the round both panels so very happy with that.


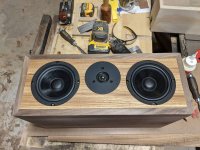
Small update, I cut the holes in the baffle using a router and circle cutting jig then fitted the three drivers. I used antique bronze screws to add a subtle bit of colour, I have an idea to continue this later in the build.
I'm pleased with the look so far, I'll make up the back panel while I have the circle jig out and then go back to milling lumber and cutting veneers for the sides. I did find a few boards of walnut so I'm thinking now about walnut instead of cherry veneer for the cabinets. This would give more of a contrast.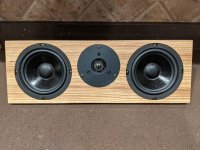
I'm pleased with the look so far, I'll make up the back panel while I have the circle jig out and then go back to milling lumber and cutting veneers for the sides. I did find a few boards of walnut so I'm thinking now about walnut instead of cherry veneer for the cabinets. This would give more of a contrast.

Looks great Solarfish
I like the idea of walnut with the zebra wood better than the cherry. Kept looking at some cherry veneered cabinets I have wondering what the zebra wood baffles would look like. Just couldn't make it work, but then I am not in your league with woodworking skill.
I like the idea of walnut with the zebra wood better than the cherry. Kept looking at some cherry veneered cabinets I have wondering what the zebra wood baffles would look like. Just couldn't make it work, but then I am not in your league with woodworking skill.
Thought I'd throw on the picture of the back panel. I didn't get a chance to mill any walnut as I spent the rest of the day doing ceiling panels and lighting on the home cinema room. I should be able to get the veneers cut tomorrow and with luck can get the sides, top and bottom veneered. Then later in the week I can get this first speaker finished.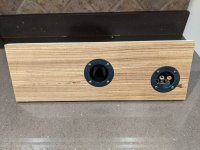

Well I was slowed down a bit yesterday because my band saw blade decided to go off on a scenic route. Unfortunately I didn't have another wide blade and so that stopped me making the walnut veneer. I did manage to pick up a new blade later in the day and glued up a pair of walnut veneer panels over night.
Today I milled some more solid walnut to create a thick edge band along the panels. I used polyurethane construction adhesive again as a glue, it is much more effective than PVA glue on MDF, I also added some biscuits for alignment and a little extra strength.
Tomorrow when the glue is dry I should be able to finally cut the pa else to size and mitre the edges so I can finish assembling the first speaker.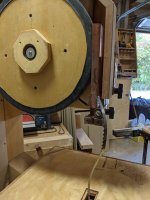
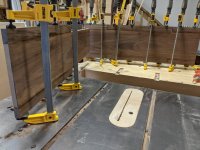


I wasn't quite getting a perfect long mitre on my table saw, not sure if it was the blade flexing a little or some problem with the setup. So I made a 45° ramp for my shooting board and used a hand plane to true them up.
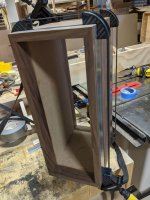
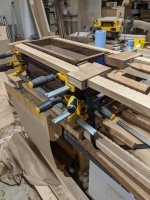
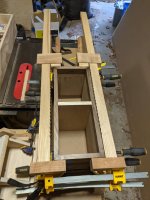
Dry fit looked good so I put polyurethane construction adhesive on every surface, taped and then clamped the cabinet up. There was a tiny amount of bowing on the long sides so I added a temporary brace to keep them parallel.
All the mitres look good and tight and the angles all seem to be a perfect 90°. I'll let it dry overnight and then fit the front and back panels to finally finish my first speaker.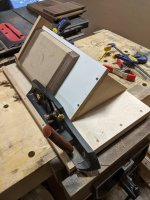


Last edited:
I'm always impressed watching good woodworking skills in action! Bravo! I like those corner clamps. Who makes them?
Thanks, it's taking me a bit longer than expected, but once I have this one finished I should be a bit quicker with the next ones. The clamps are called frame clamps, typically used when putting picture frames together. Lots of companies make them, these particular ones are from Canadian Tire Mastercraft Frame Clamp Canadian TireI'm always impressed watching good woodworking skills in action! Bravo! I like those corner clamps. Who makes them?
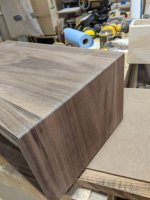
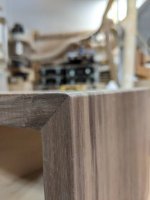
The glue up went well, the mitres were tight and because I used thick veneer I was able to put a nice roundover on the corners.
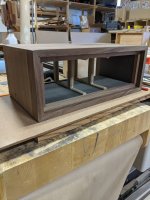
I put in some braces to provide vertical strength and added some cleats to support the front and back panels. I'm not glueing the panels in yet, they are a good tight friction fit and I still have some aesthetic detail I want to add to them.
I did put in the foam and then fitted the drivers, crossover, terminal cup and port just so I could confirm that the speaker actually works.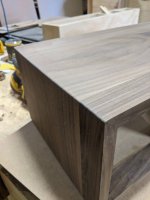
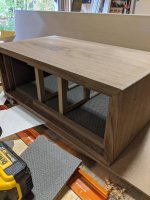


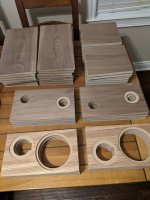
A little more progress, eight boards veneered for the eight BR-1 bookshelf speakers. Same process as before, zebra wood milled and resawn to about 3/8" thick then glued with polyurethane construction adhesive to 5/8" MDF. Boards then brought down to a total 3/4" thickness and cut to just over the final length and width. I was unable to avoid the discolouration defect in one piece, but that can be one of the rears. I do have some spare damaged veneers so I may glue a couple of those onto on other board and process the same way to see if it comes out any better.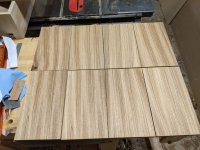

Gotta ask - where is the discoloration that you mentioned? The originals look pretty nice to me!
Bottom left corner of the top left panel, it looks like a knot but it is solid, just very dark and all the others have nice clean grain. Certainly not a disaster, but as I had the scraps anyway I thought I might as well make another panel up.Gotta ask - where is the discoloration that you mentioned? The originals look pretty nice to me!
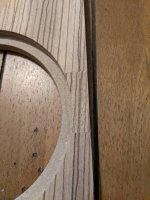
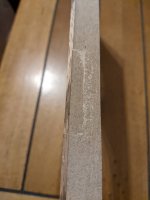
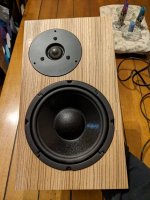
I cut all the front panels today, lots of dust but pretty successful. I did have one problem when the router slipped a little cutting one of the large recesses. I decided to cut out a rectangle and then use a scrap, cut from one of the circles from another panel, to patch it. With this grain pattern I think it will be hardly noticeable.
Tomorrow I need to resaw loads more walnut to make veneer for all the other panels.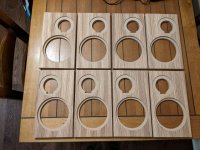
Tomorrow I need to resaw loads more walnut to make veneer for all the other panels.


- Home
- Loudspeakers
- Multi-Way
- Novice build of a 9.2 system
