Enclosure and crossover will be ready by next week. I really should have used a bigger box to put the crossover parts into...
Also have a nifty concept for the driver screws. Pics will come soon.
Also have a nifty concept for the driver screws. Pics will come soon.
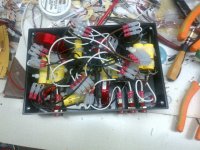
No, but seriously. Is it safe to just run it at very low volume when first starting it up? Any easy way to check for a short?
Awesome man. I think this design is going to work great, moving the Z axis around a great deal for the mid and tweeter doesn't really effect things much at all, so this should work very well. The only potential issue I see is that the woofers arent as sensitive as the manufacturer shows, which if that is the case you can try putting a 1.5 ohm resistor in between the mid terminal, and C16, and you can change R11 on the tweeter to a 5 ohm resistor. That will bring the mid/tweet level down a couple db. You can also play with those values as needed to change the balance as you desire.
Jay,
Don't forget that when we switched to the 18AWG iron core inductor, the woofer level rose by about 1 dB anyway. It should balance out. In any case, I will measure the on-axis and make changes as necessary. I don't think I'll have to as long as it's mostly +/- 2 dB.
Don't forget that when we switched to the 18AWG iron core inductor, the woofer level rose by about 1 dB anyway. It should balance out. In any case, I will measure the on-axis and make changes as necessary. I don't think I'll have to as long as it's mostly +/- 2 dB.
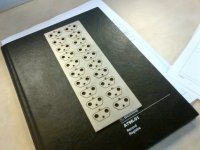
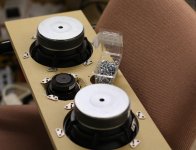
My buddy at a local fabrication shop lasered them out for me. There are 3 holes in each tab as you can see. The two large holes are for back-mounting with #10 x 1/2" wood screws, while the third hole is cut undersize for a #4-40 socket head cap screw. I then drilled out the small holes with the appropriate tap drill and then tapped them by hand (which I should have done in a drill press to guarantee straightness).Interesting method, how did you have those made?
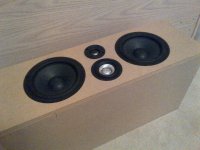
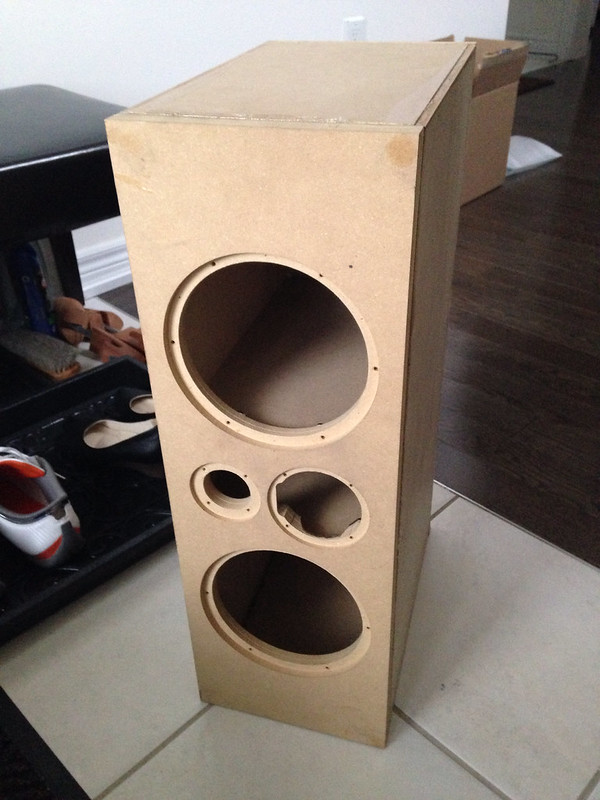
Nice job on the mid chamfer.
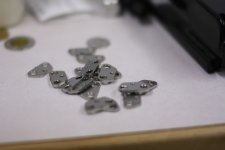
Anyway, with three screws each pulling on the tabs, they should be very secure.
They are 14 ga 304 SS with black oxide screws so galling should not be a concern.
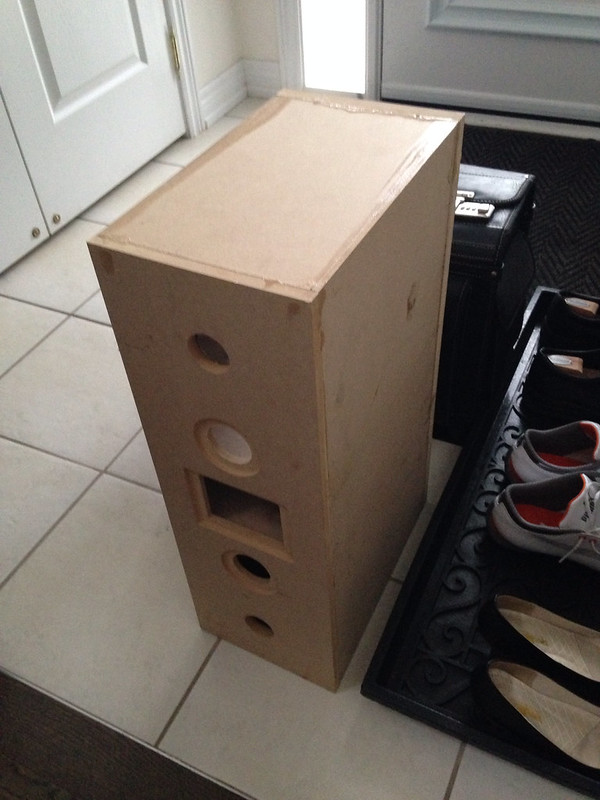
Progress has been very slow. I finally got around to gluing together the middle of the enclosure (everything except the front and back). The epoxy is hardening for the ports, too.
I'm going to do a little bit of squaring up before I put the other panels on so I'm taking it into work to flatten the faces on a Bridgeport. Embarassingly, I split the wood putting it together so I'm going to have to put on some big-donkey blocks on the butt joints.
I'm going to do a little bit of squaring up before I put the other panels on so I'm taking it into work to flatten the faces on a Bridgeport. Embarassingly, I split the wood putting it together so I'm going to have to put on some big-donkey blocks on the butt joints.
Glued. Have a problem though. My FR88EX has a dented dust cap and I don't know what to do. Tape doesn't work, nor does sucking through a straw (wet tissue gasket). What if I white-glue a toothpick to the center of the dent and then try pulling it? Could I remove the glue later without damage?
The alternative is to put on a grille, but the speaker isn't designed for it; there is minimal space between the baffle edges and the drivers themselves.
The alternative is to put on a grille, but the speaker isn't designed for it; there is minimal space between the baffle edges and the drivers themselves.
- Status
- Not open for further replies.
- Home
- Loudspeakers
- Multi-Way
- Design me a crossover and I'll build it