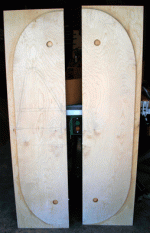
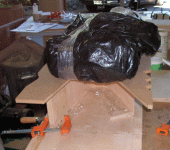
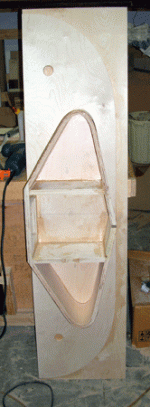
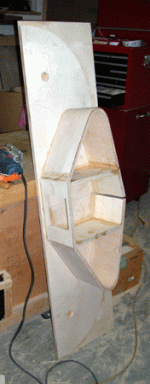
I then used the full size template to cut sides out of 1/2" baltic birch. To these sides I then glued rectangular pieces of 1/4" BB. These will be walls to constrain the back pieces when I laminate them in place. The photo shows one pair of completed sides. The large diameter holes towards the ends are for the aluminum tubing braces.
Attachments
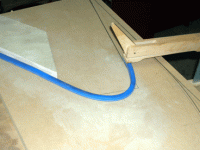
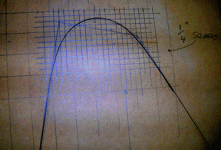
The inner curve was drawn the same way as the outer curve - full size layout of the original shape, then make a fair curve that conforms as best as possible to it. Instead of a batten, I used drafting flexible curve - it's hard to hold a flexible batten and trace it in such a tight curve when working alone. The drafting curve is harder to get fair, though.
Attachments
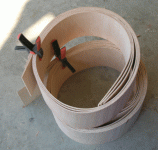
The inner curves, and the backs, were laminated out of rubber-ply. I hadn't known about this material until Chrisb mentioned it, but it's great for this kind of application. A little under 1/4" in thickness, it comes in 4'x8' sheets in two formats: bendable along the 4' dimension, or along the 8' dimension. It seems to be made of two veneers of something like luaun (spelling?) which have been scored to allow bending, sandwiching an inner piece of rubbery material. So you're getting constrained layer damping automatically. 😀
I found that pre-conditioning it by bending and letting it sit for a while was helpful.
I found that pre-conditioning it by bending and letting it sit for a while was helpful.
Attachments
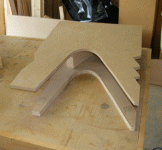
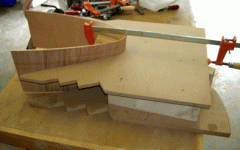
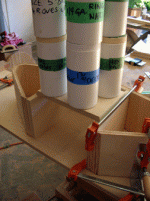
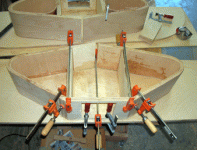
To ensure that the pieces conformed to the shape of the curve, I made another curved form with cutoffs (from the waste where I had cut the bending form) and used that as a clamping caul. The sawtooth edges on the form, BTW, are there to provide landing ledges for clamps.
Attachments
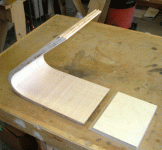
I didn't know how stiff the three layers of rubber-ply would be, so planned to make only the curved portions of the inner walls of rubber-ply. To these I would scarf baltic birch straight panels. If I were doing it again, I would do the entire inner wall in one continuous piece running from the back slot up (and down) over the curve and forming the front panel as well. This would leave only the top and bottom of the chamber to be fitted in. However, I didn't do this, so the next step was to scarf on the straight panels. Since they were going to be held in place by the sides, I figured I could get away with a 45 degree cut for the scarf.
Attachments
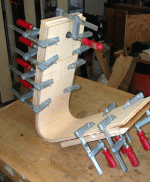
Once the other ends had been trimmed ready to accept a front panel, it was time to glue the inner walls to the sides. A couple of clamping blocks were temporarily nailed to the side walls. I wasn't worried about holes in the side walls, because these bits were going to be either hidden inside or cut away later (I hadn't quite decided which at this stage). The clamping blocks are wrapped in plastic wrap so that excess glue doesn't turn them into a design feature. 😀
Attachments
- Status
- Not open for further replies.
- Home
- Loudspeakers
- Full Range
- Curved Harveys
