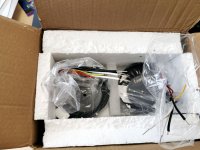
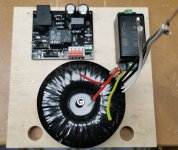
New transformators arrived from TOROIDY : 250Va 2x30Vac audio grade. Package and building suffer any negativ comment. I am very pleased how this compagny take care of customers
Attachments


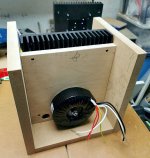

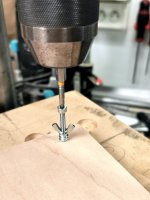
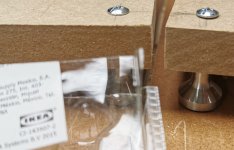
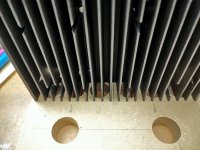
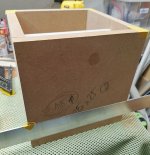
Putting some holes in bottom plate to provide good airflow through the heatsink fines and in the case itself. The feets are simple drawer knobs from Yelow and blue compagny. Transfo localation will isolated from the rear with a metal sheet connected to ground between transfo and vertical plywood piece that support transfo
Attachments

Thanks.....it's just about milling and assembling wood pieces for moment. It will look different when come the time to apply finishing : 2 coats epoxy resin, automotive primer round with sanding between them, coats of 2K white glossy automotive paint, and finaly high grade wet sanding and polishing with cut polish and finish polish. I will apply too a coat of a good automotive wax
Good see progress happening Idefixes.
Chassis work takes time, but has to be done. 🙂
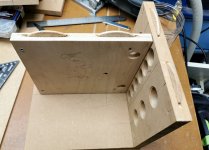
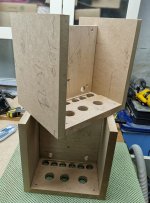
Yes it takes a huge amount of time.....even when it is a wood chassis through all steps to have a acceptable final finish. Tomorrow evening chassis should be glued, and aluminium plate cuted and drilled. Next step will be sanding and apply two coat of 2 parts epoxy resin
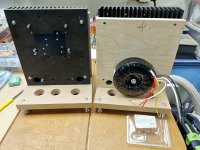
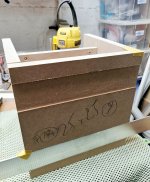
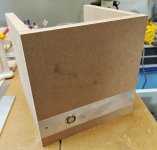
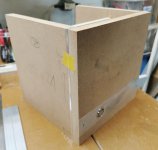
Some more progress : first chassis is glued all aluminium plate are cuted I want to mill a 3mm wide 45° rabet on each vertical visible edge from rear and front face
Attachments

Last edited:
I've got a couple of Phunk Borg style I can send over for postage cost if you don't mind waiting for air mail from Oz?
https://www.diyaudio.com/forums/sol...mentary-mosfet-amplifier-163.html#post4884803
https://www.diyaudio.com/forums/sol...mentary-mosfet-amplifier-163.html#post4884803
I have boards I could send for postage. They are dacz layout and I’ve built them up so I know they work.
The boards I have are very compact. If you look back in the thread you’ll find dacz layout and the build I did with home etched boards. The ones I have now were professionally manufactured.
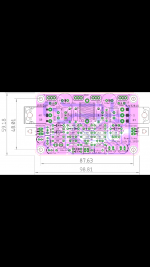
This link below takes you to a post with an image of the Dacz PCB:
https://www.diyaudio.com/forums/sol...mentary-mosfet-amplifier-216.html#post5440903
Maybe Evan can confirm if this is the same PCB that he has. The marking on the PCB mentions dimensions of 76mm x 69mm.
https://www.diyaudio.com/forums/sol...mentary-mosfet-amplifier-216.html#post5440903
Maybe Evan can confirm if this is the same PCB that he has. The marking on the PCB mentions dimensions of 76mm x 69mm.
Last edited:
- Home
- Amplifiers
- Solid State
- Very simple quasi complimentary MOSFET amplifier