Oh no!
My 15+ years old refurbished Klipsch Promedia GMX A-2.1 speakers finally died!
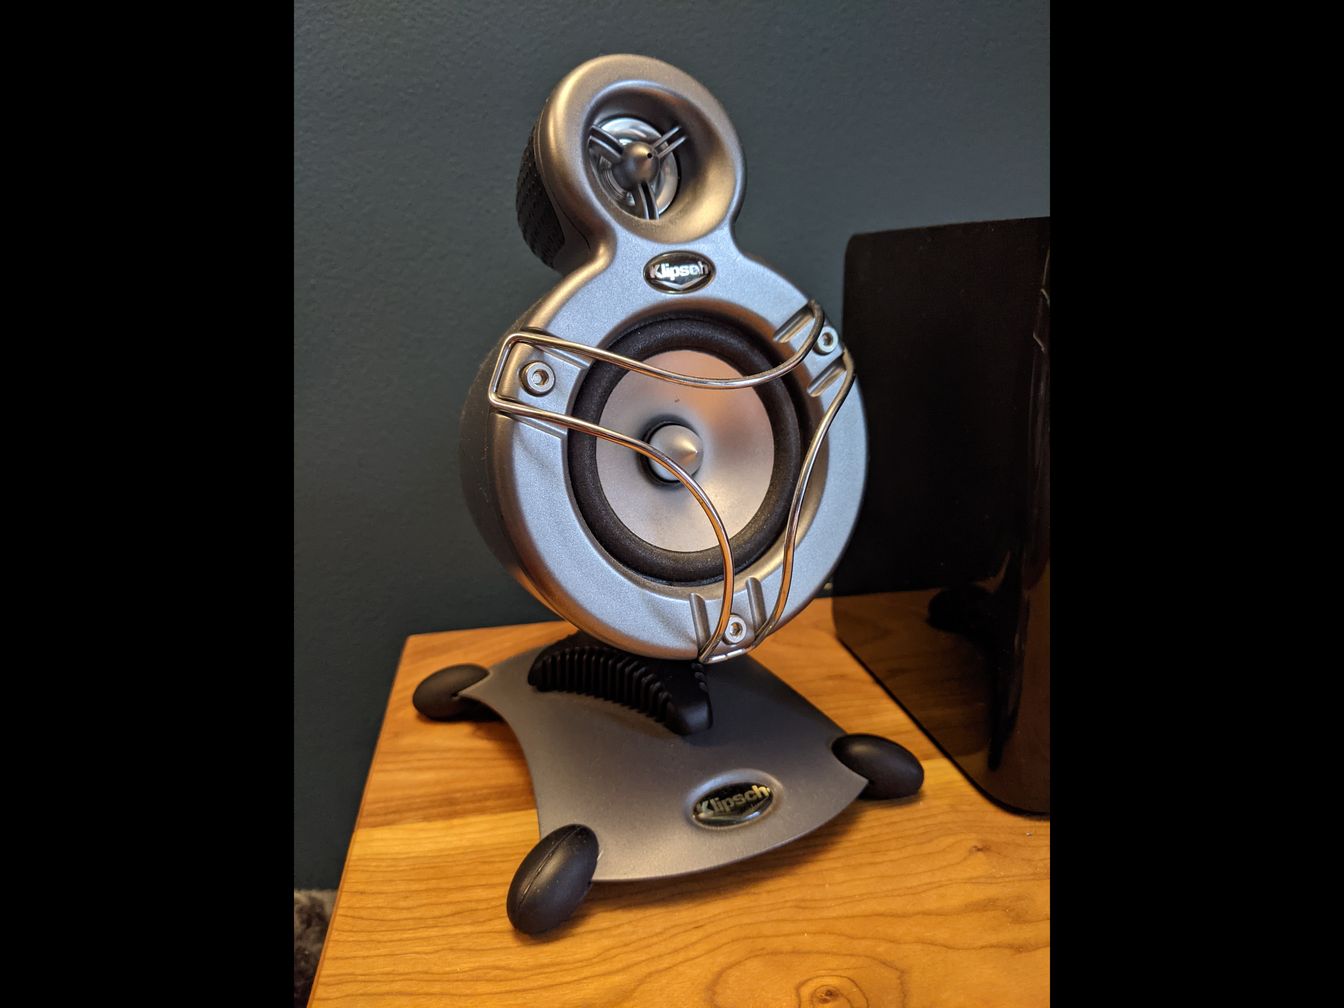
What a great opportunity to build my own set of desktop speakers. In fact, the sub died more than a year ago and I've been listening to those little cans ever since. Life always finds a way to gobble up all your free time.
In the past I built 2 pairs of ZaphAudio Hi-Vi B3S for my daughters which are great but I wanted to try something different. It took a while to figure out what to build. I have very limited space on my working desk so form factor was a huge element to consider. With the help of many forum members I decided to build the
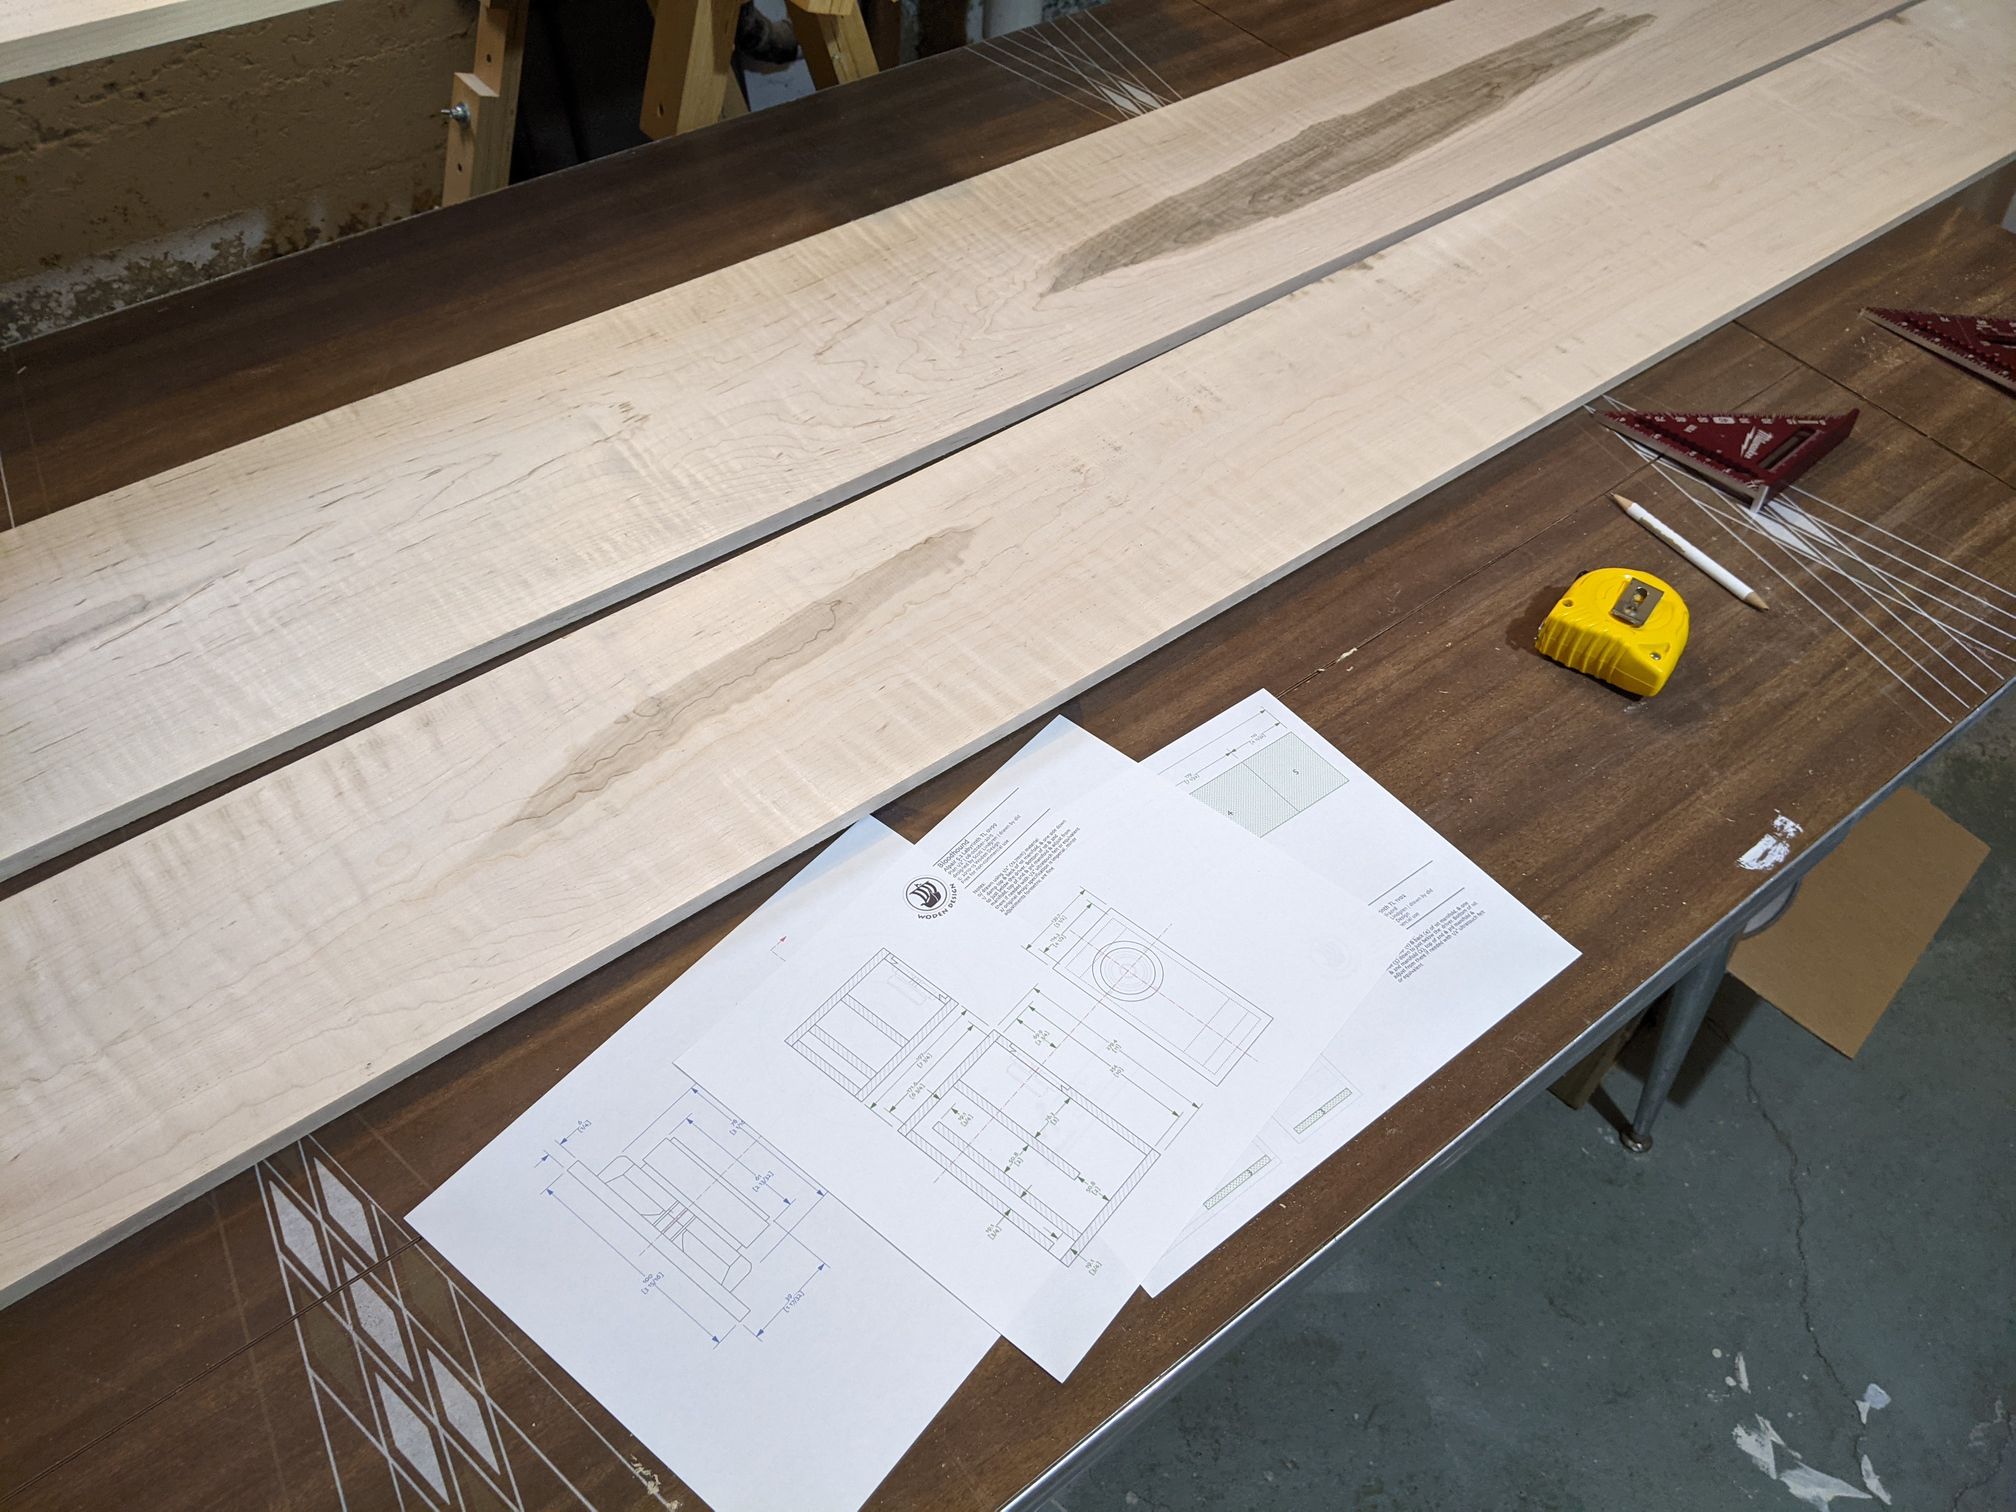
Woden Design Baby Labs Bloodhound
https://wodendesign.com/downloads/Woden-BabyLabs-241018.pdf.
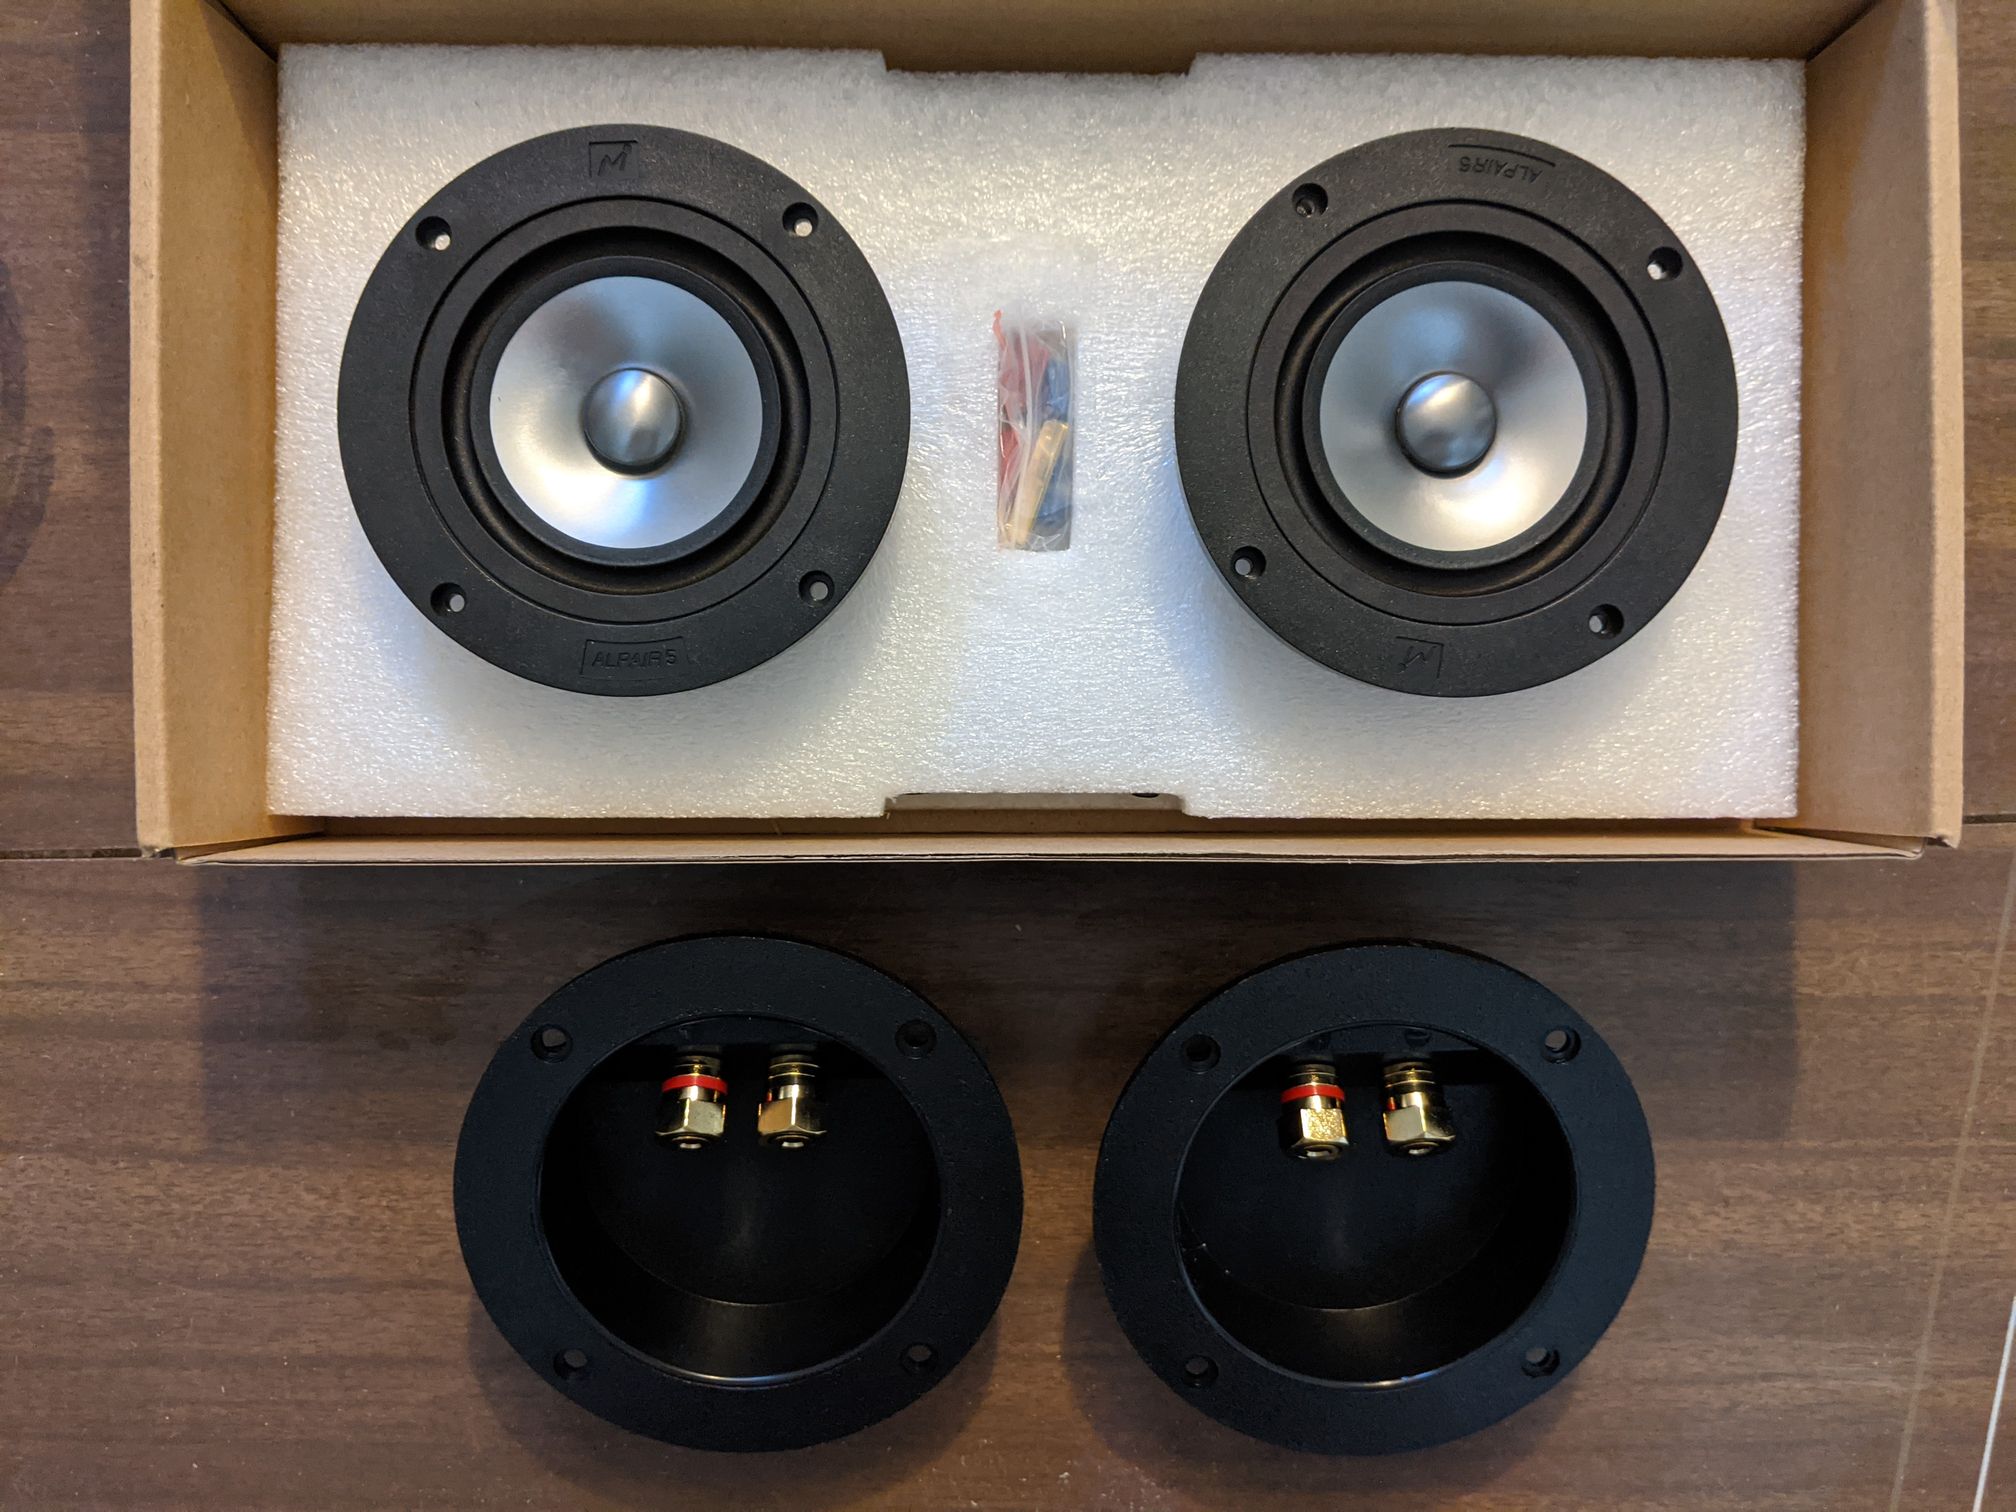
Got my cones and terminals ready (thanks planet10)!
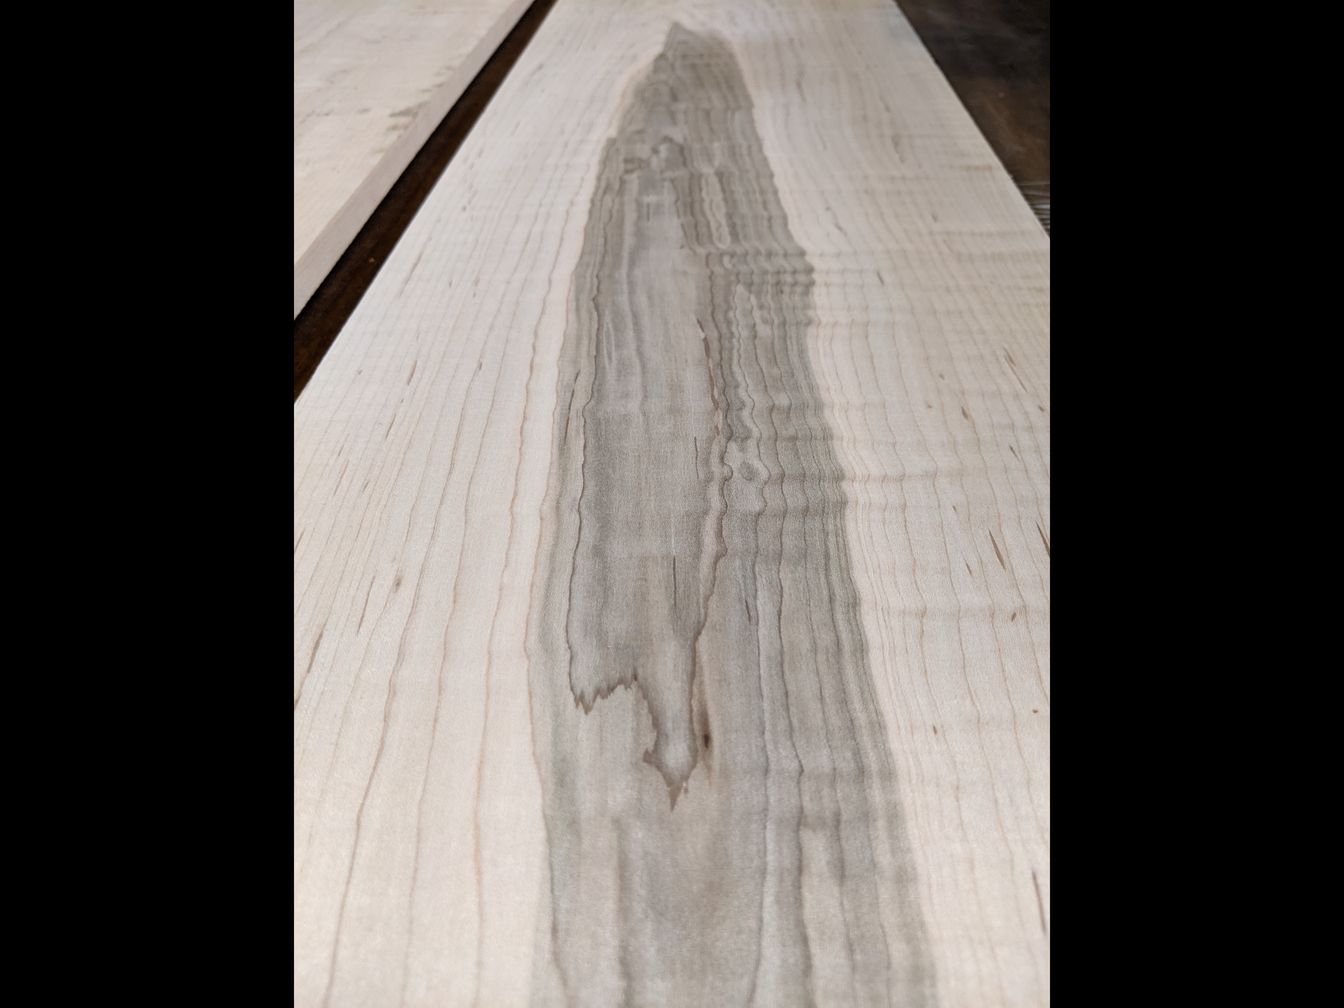
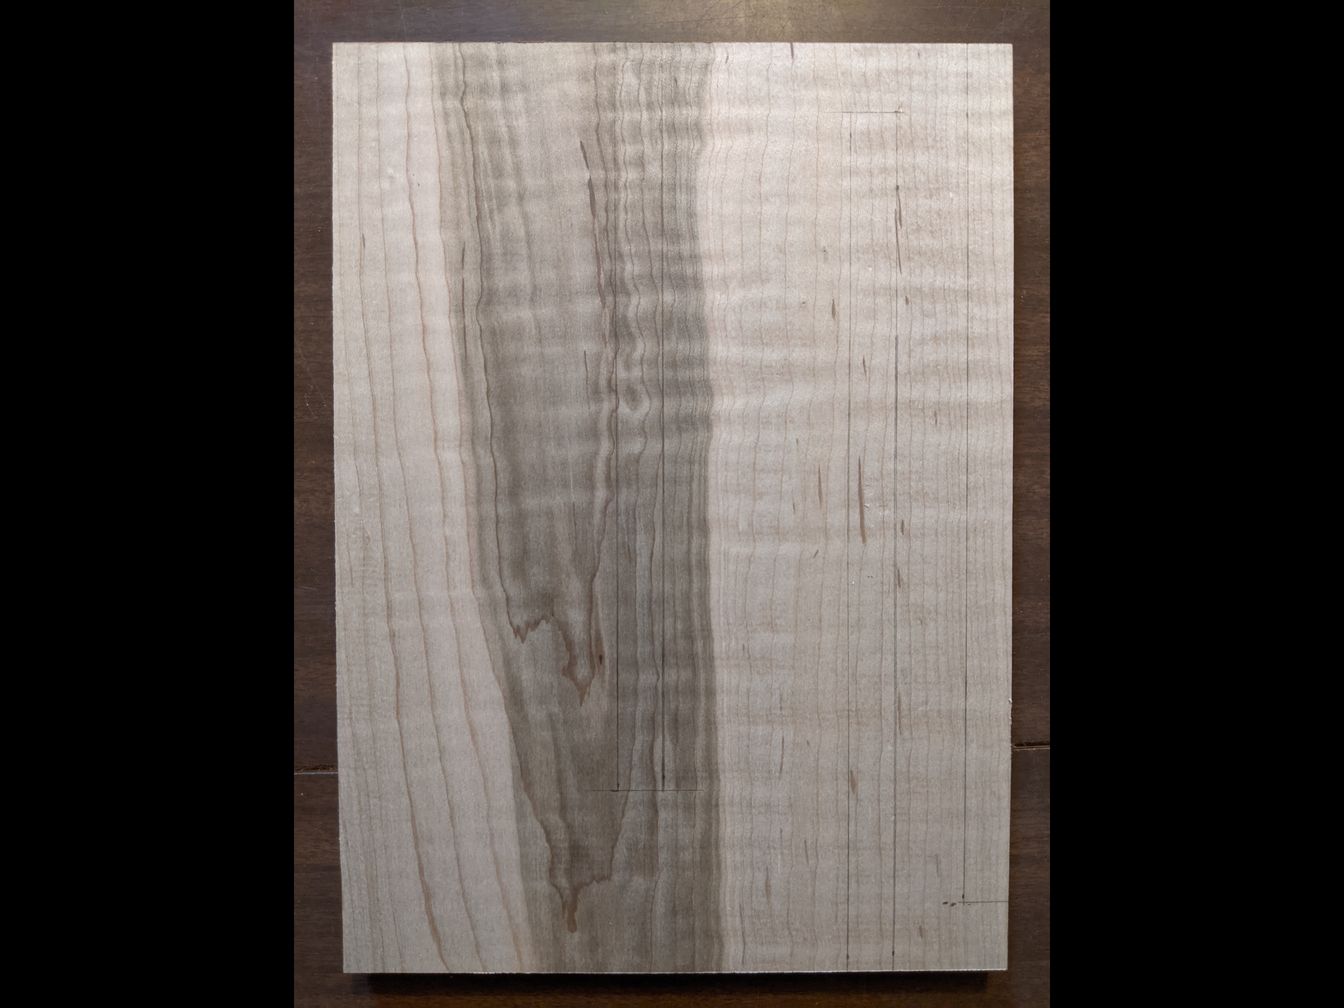
To make things more complicated, I decided to go with hardwood, Curly Ambrosia Maple. I was careful not to pick planks with holes in them as it often happens for this type of wood.

I'll post my progress here and any question I might have! Hope this helps someone else in any way, the other build threads helped my a lot in the past.
My 15+ years old refurbished Klipsch Promedia GMX A-2.1 speakers finally died!
What a great opportunity to build my own set of desktop speakers. In fact, the sub died more than a year ago and I've been listening to those little cans ever since. Life always finds a way to gobble up all your free time.
In the past I built 2 pairs of ZaphAudio Hi-Vi B3S for my daughters which are great but I wanted to try something different. It took a while to figure out what to build. I have very limited space on my working desk so form factor was a huge element to consider. With the help of many forum members I decided to build the
Woden Design Baby Labs Bloodhound
https://wodendesign.com/downloads/Woden-BabyLabs-241018.pdf.
Got my cones and terminals ready (thanks planet10)!
To make things more complicated, I decided to go with hardwood, Curly Ambrosia Maple. I was careful not to pick planks with holes in them as it often happens for this type of wood.
I'll post my progress here and any question I might have! Hope this helps someone else in any way, the other build threads helped my a lot in the past.
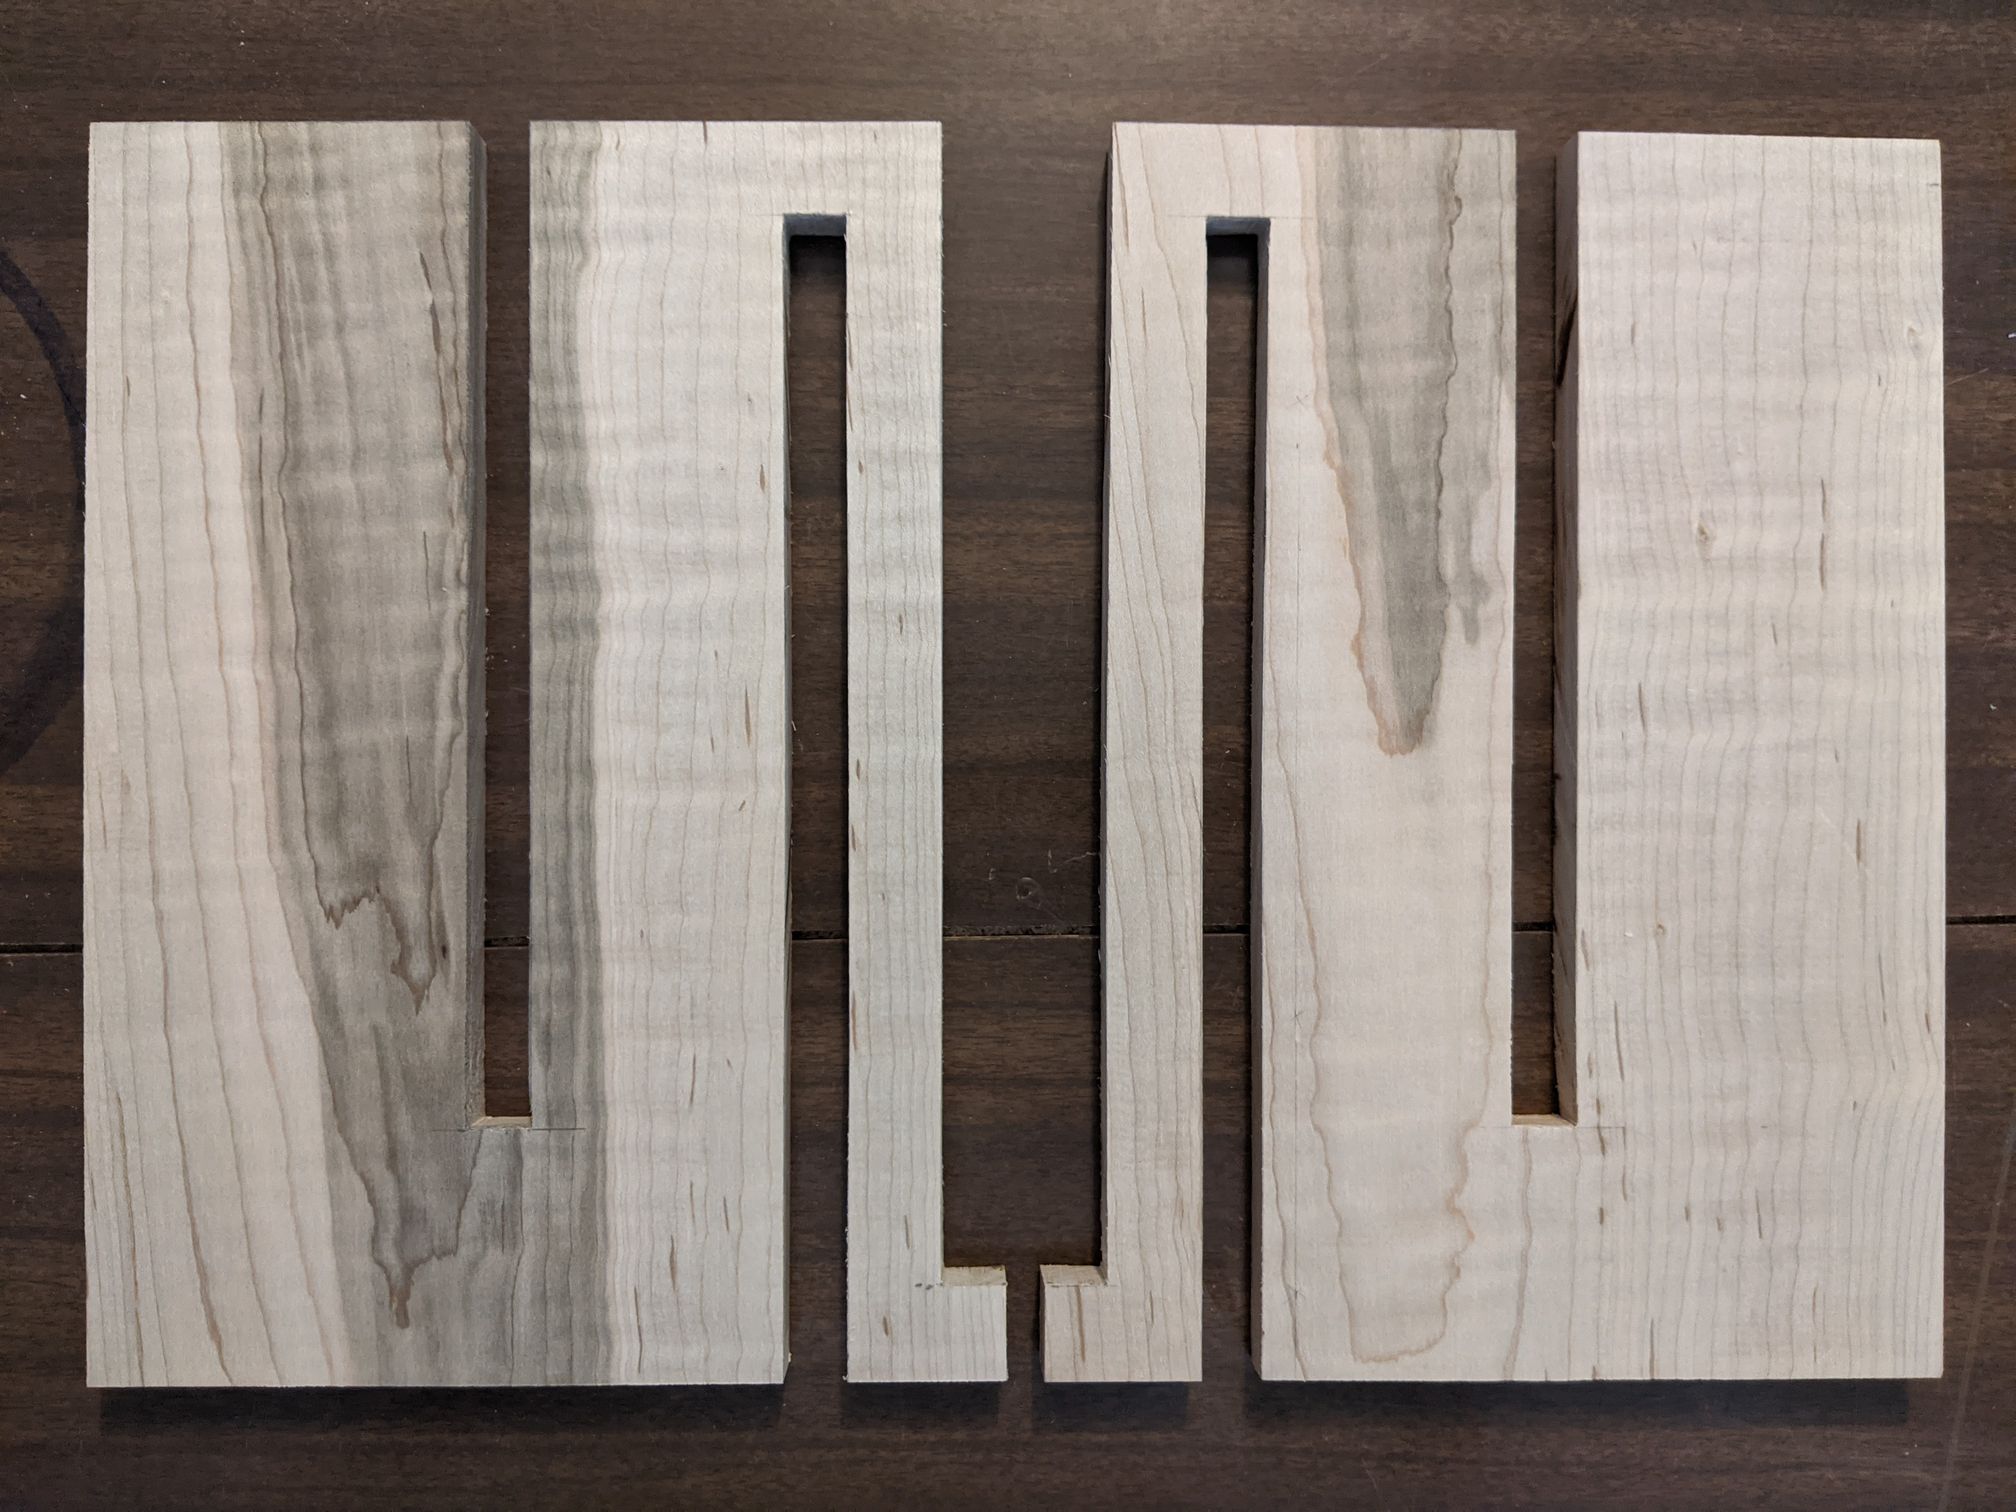
Okay I took the time to cut my side pieces to sizes. I decided to do and experiment and have the internal walls peak through the sides to show what's going on inside. Is it a good idea? Not sure, I'll see once it is done!
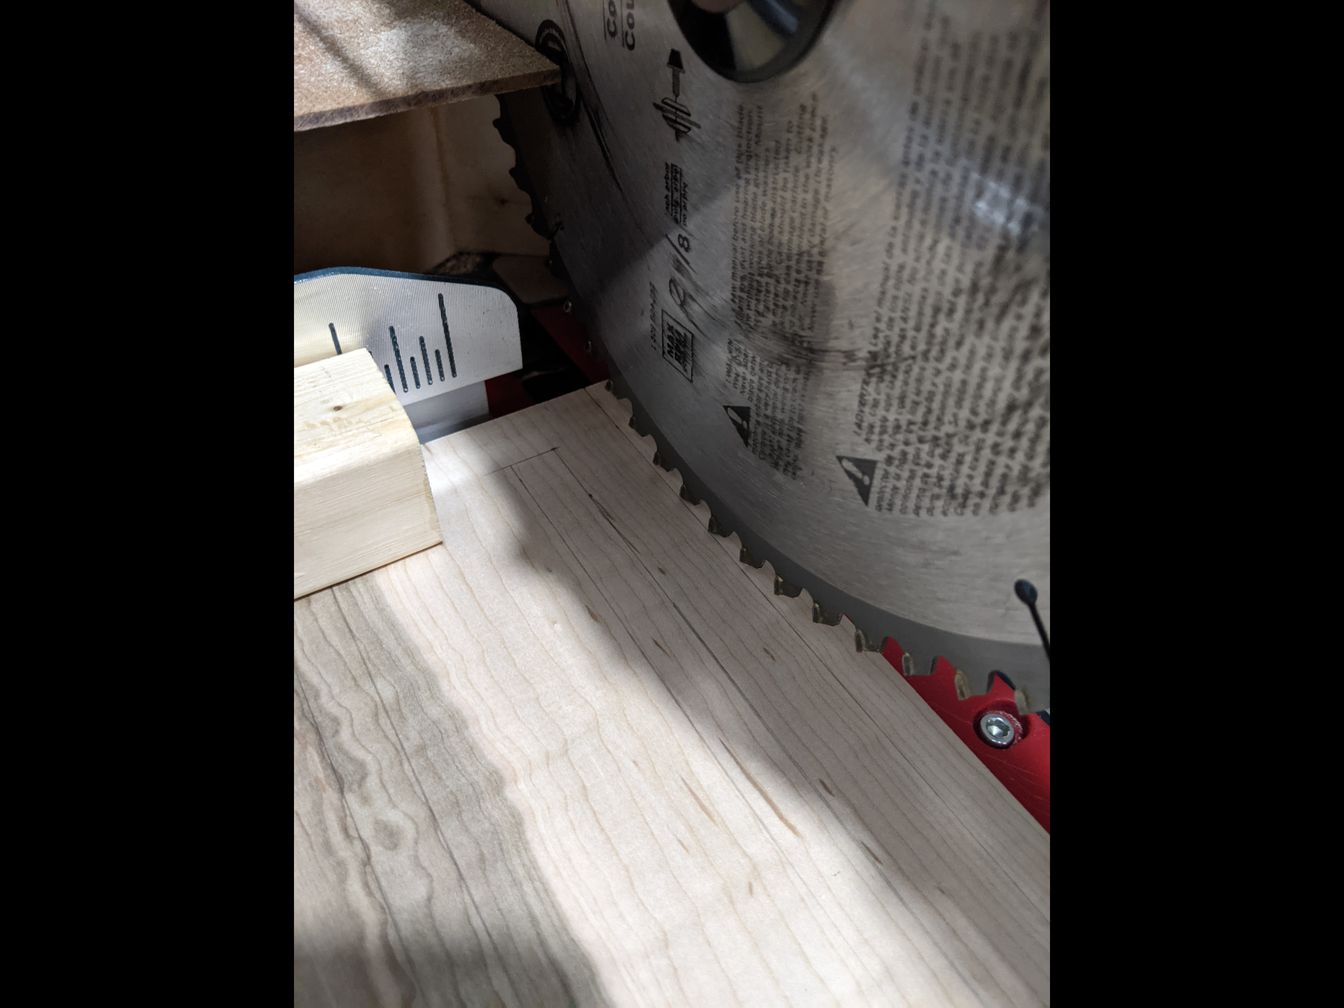
I hesitated between using my router or my mitre saw. Since my pieces are relatively small, using the router is a challenge mainly for clamping stuff down. So I went with the mitre saw. I took the time to calibrate it properly and it went surprisingly well!
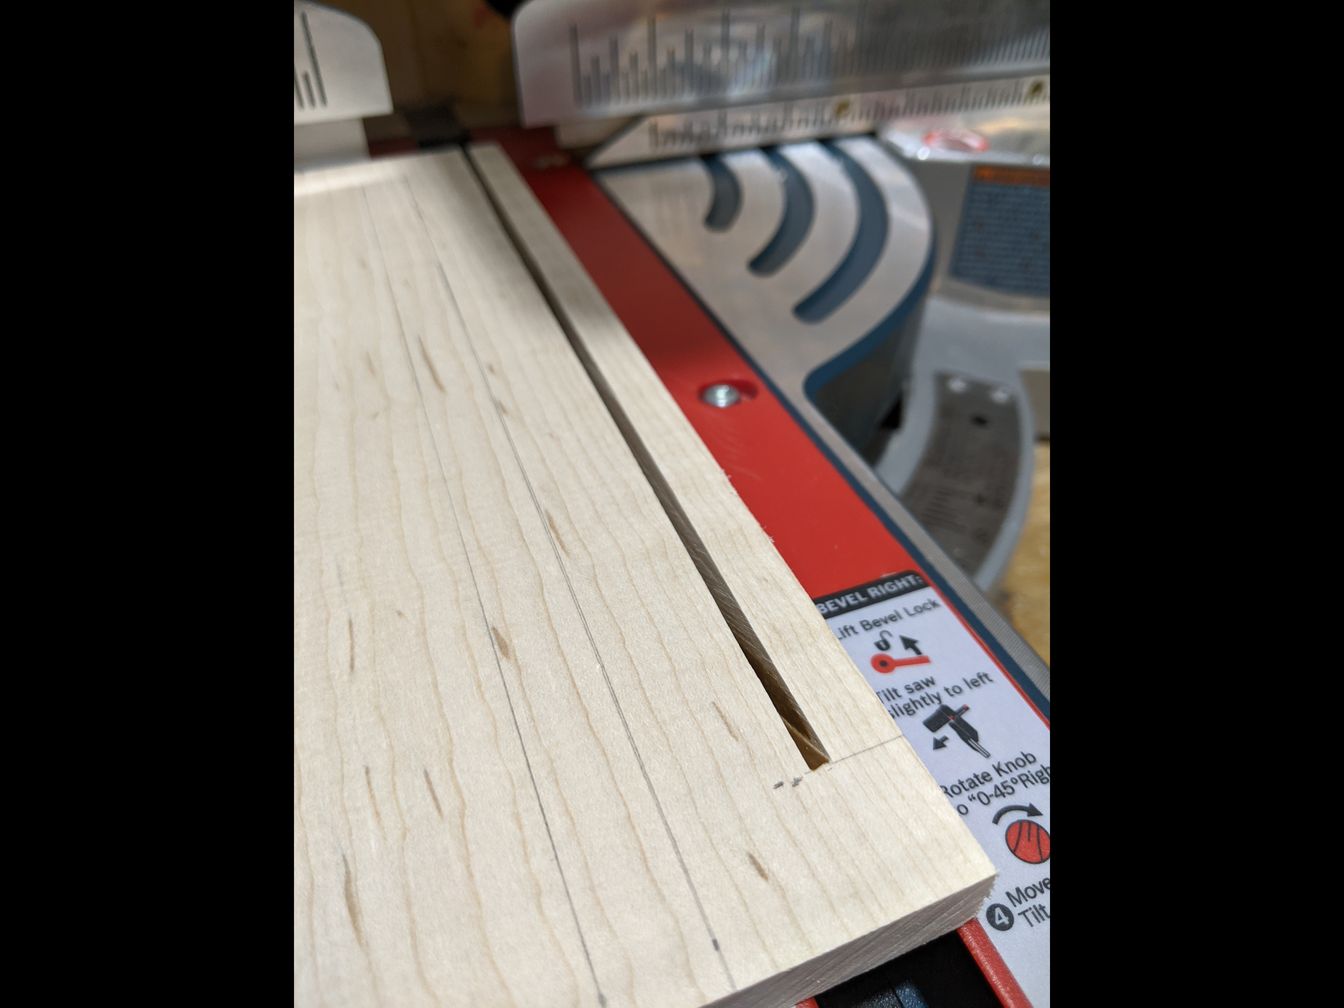
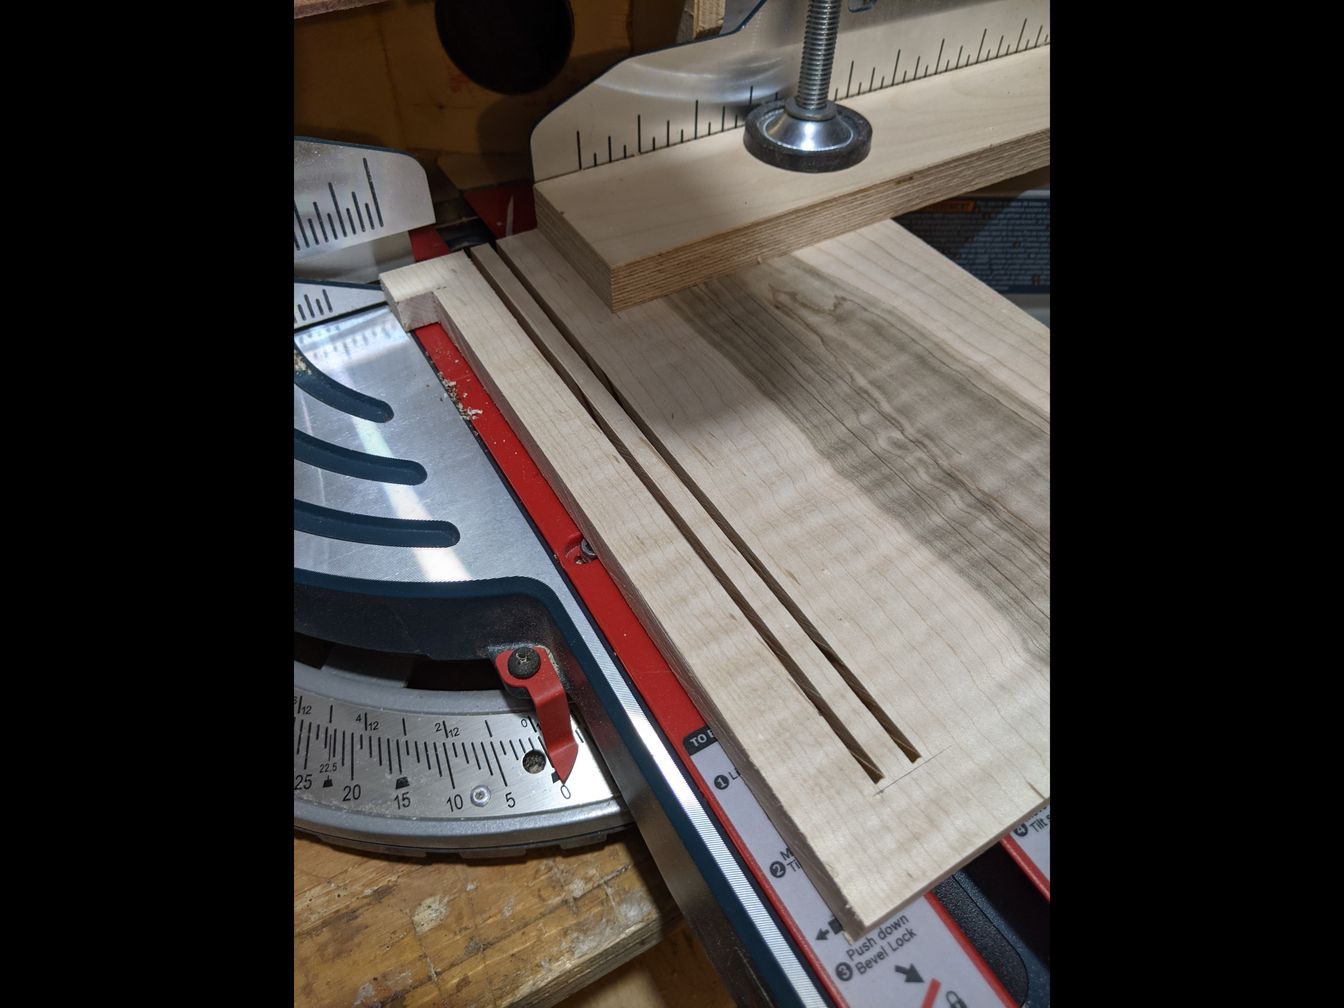
I had to clean the inside edges using a small chisel. It is difficult but rewarding when well done!
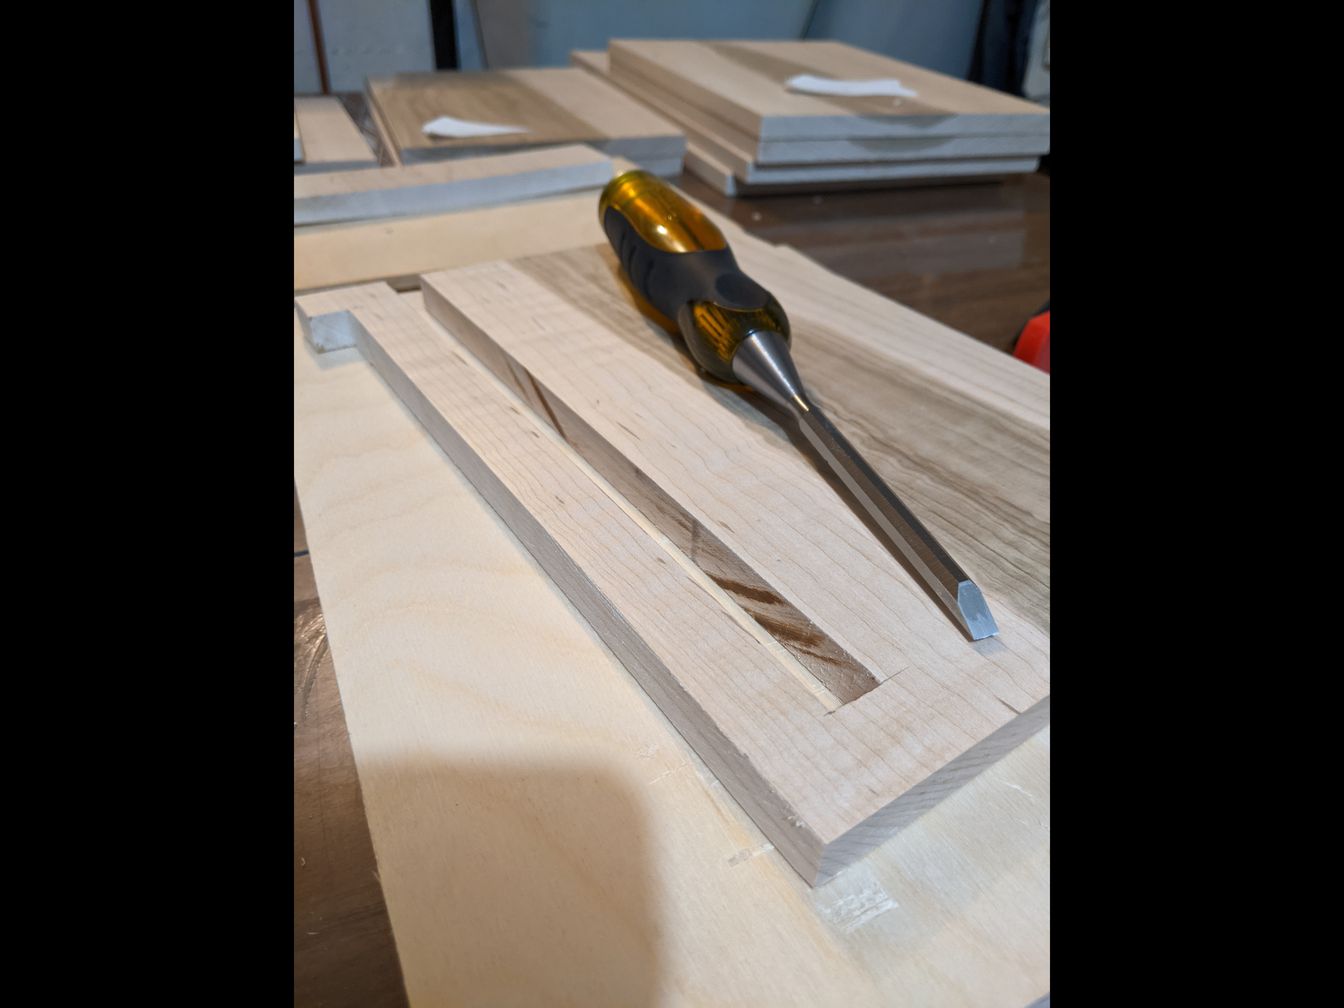
A couple more to go!
Btw, anybody knows how to have vertical images show properly in the posts?
I hesitated between using my router or my mitre saw. Since my pieces are relatively small, using the router is a challenge mainly for clamping stuff down. So I went with the mitre saw. I took the time to calibrate it properly and it went surprisingly well!
I had to clean the inside edges using a small chisel. It is difficult but rewarding when well done!
A couple more to go!
Btw, anybody knows how to have vertical images show properly in the posts?
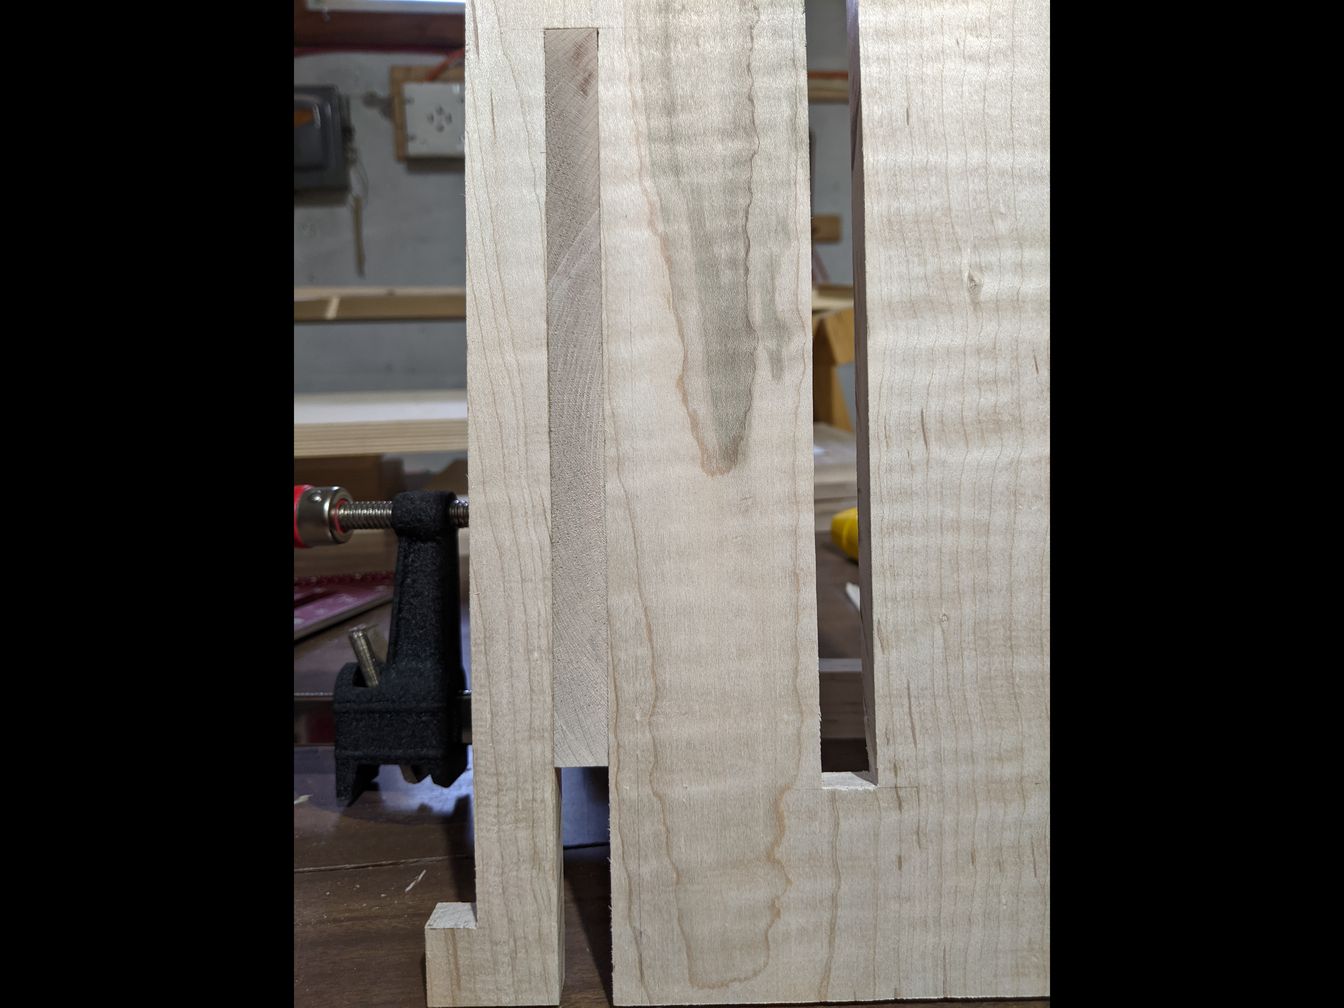
2 first sides done!
Let's try a dry fit.

Not so bad! Unfortunately though, one of my 2 maple planks decided to warp in the center, which makes everything much more complicated. Because of that I had to cut my internal walls shorter and will join 2 pieces together to form each wall properly.
Not my best scenario but I did not want to waste that wood and get more.
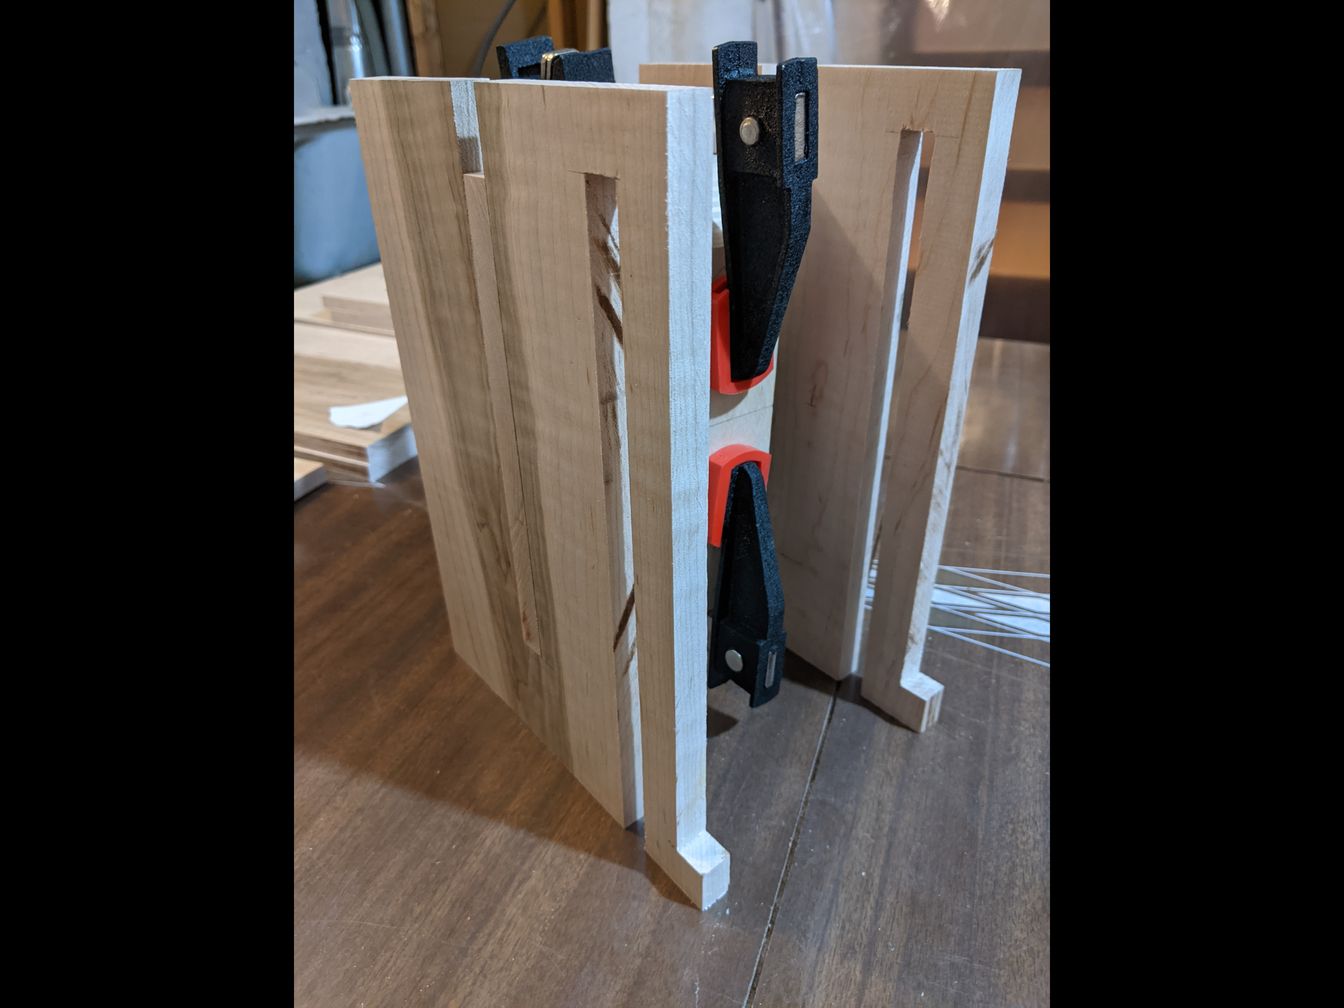
Let's glue this first piece!
The joints are better than I expected!
We'll see once the additional pieces are glued how it looks.
For now I'll glue the internal walls and keep the rest open before placing stuffing.
I bought some of that stuff.
CLIMALOC Multi Purpose Insulation R8 - 2" x 16" x 48" CF21648 | RONA
I will slice it to proper thickness and glue it following the guide on the Woden Plans.
Any advice on this step?
Let's try a dry fit.
Not so bad! Unfortunately though, one of my 2 maple planks decided to warp in the center, which makes everything much more complicated. Because of that I had to cut my internal walls shorter and will join 2 pieces together to form each wall properly.
Not my best scenario but I did not want to waste that wood and get more.
Let's glue this first piece!
The joints are better than I expected!
We'll see once the additional pieces are glued how it looks.
For now I'll glue the internal walls and keep the rest open before placing stuffing.
I bought some of that stuff.
CLIMALOC Multi Purpose Insulation R8 - 2" x 16" x 48" CF21648 | RONA
I will slice it to proper thickness and glue it following the guide on the Woden Plans.
Any advice on this step?
Modified the front baffle. Made it 1" instead 1/2". Internal dimensions were per plan. I used leftovers to build the speakers. 1/2" MDF for most of it. Scrap cherry veneer plywood for the front baffle.
I’m building mine atm too.. I am struggling to find time to really get going though.
I’m using really crappy ply though and covering with veneer.
Matt
I’m using really crappy ply though and covering with veneer.
Matt
Modified the front baffle. Made it 1" instead 1/2". Internal dimensions were per plan. I used leftovers to build the speakers. 1/2" MDF for most of it. Scrap cherry veneer plywood for the front baffle.
Thanks for the details!
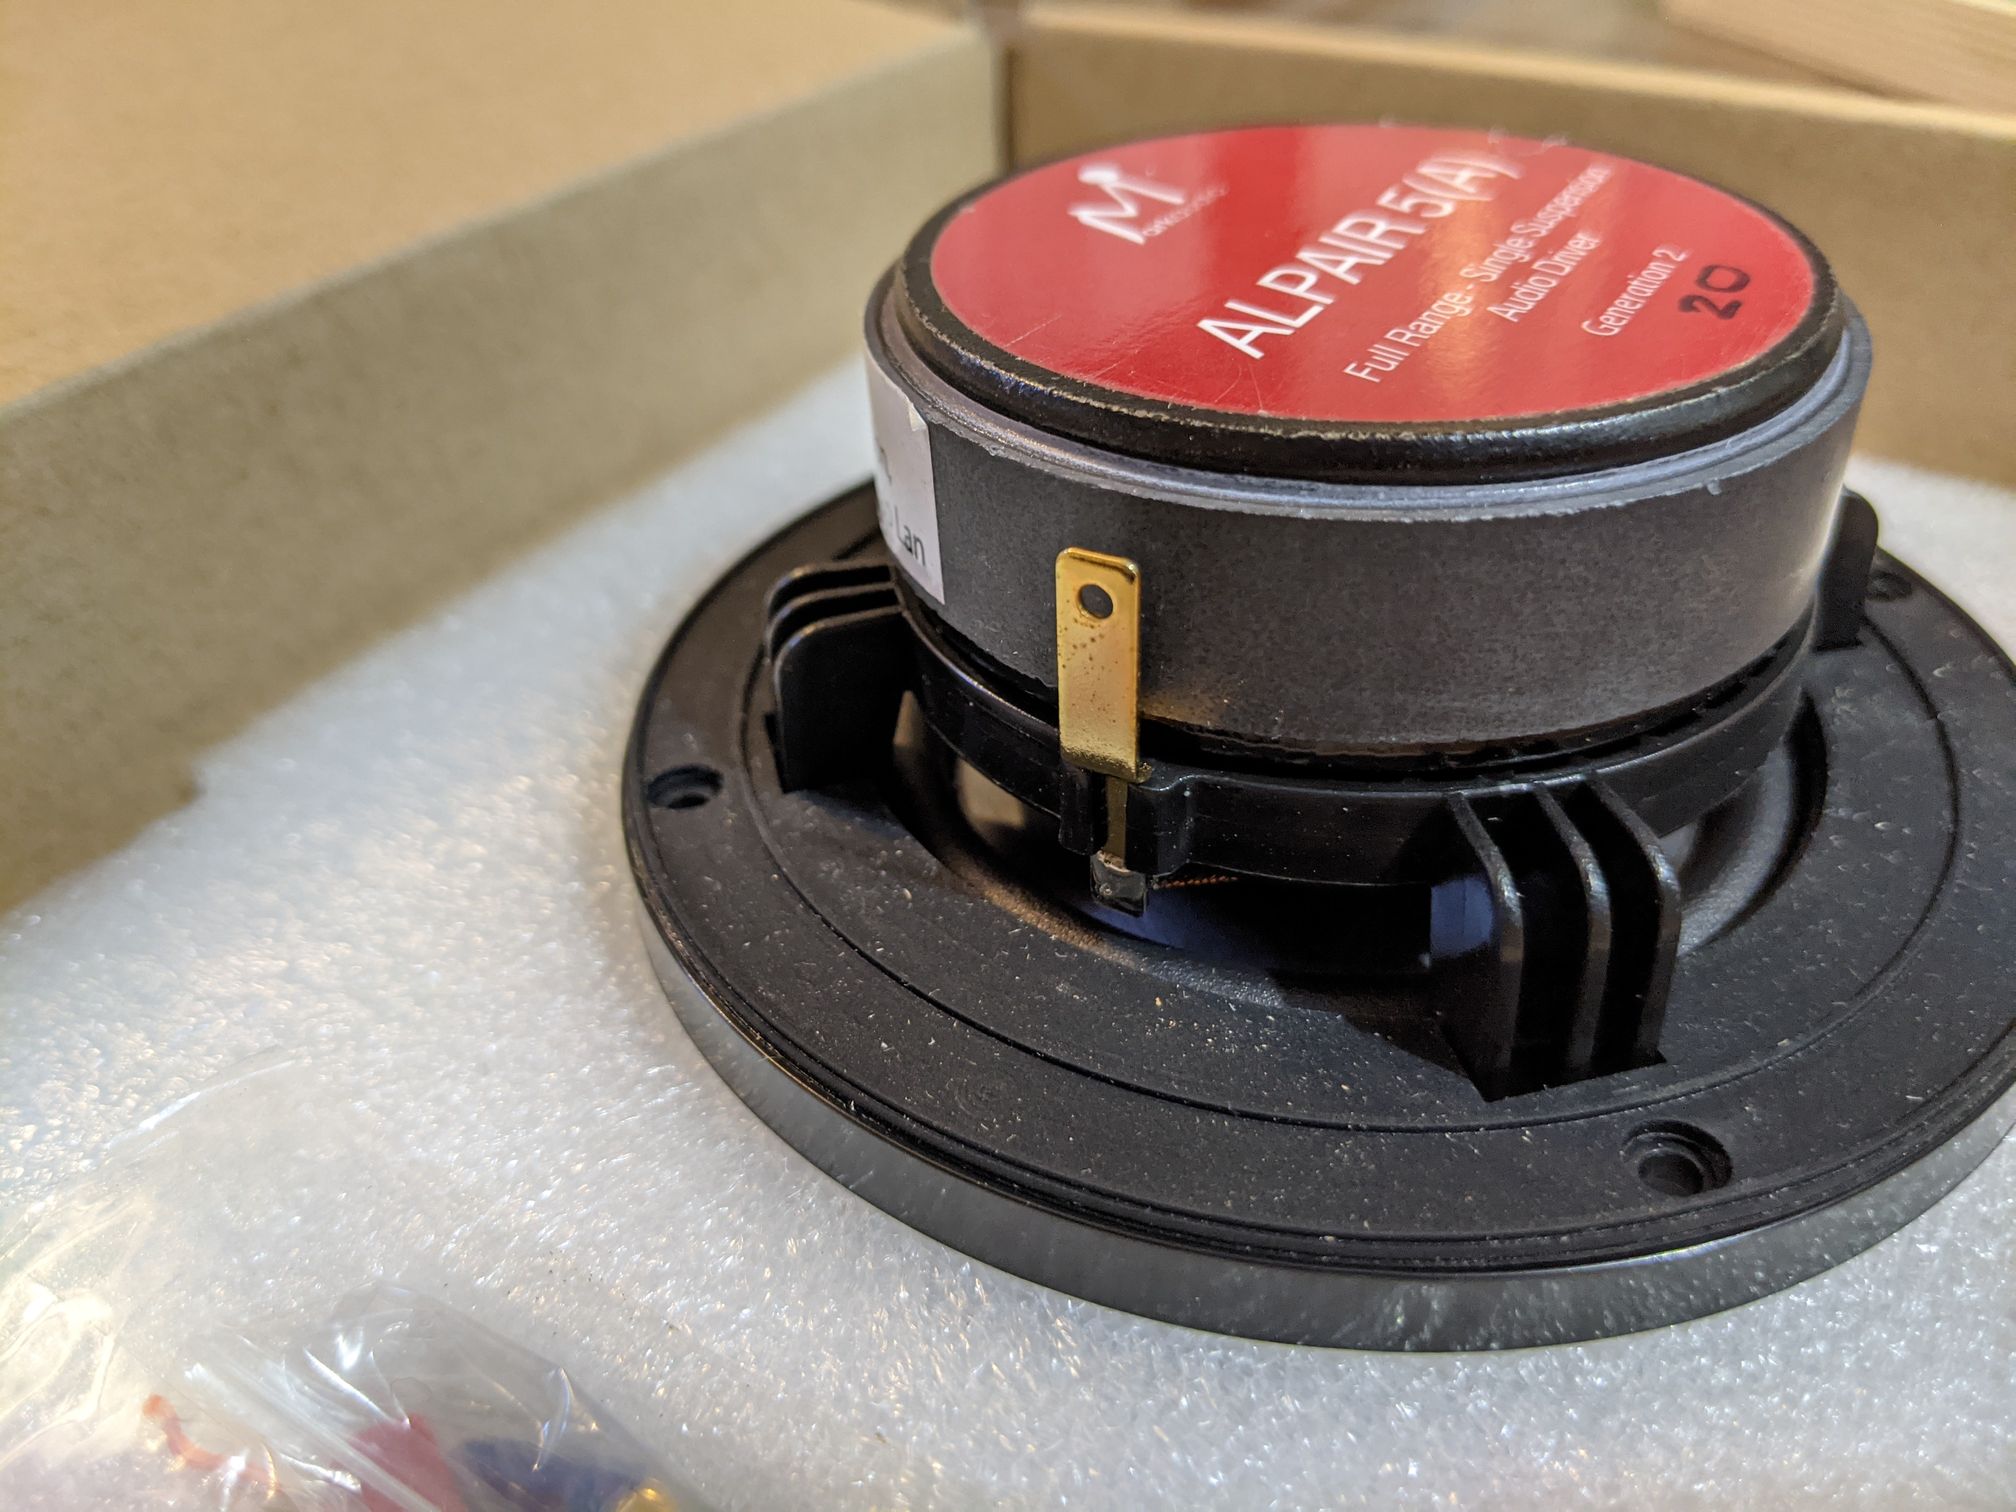
Since you have dealt with the Alpair 5.x before, can you shed some light on something that has been bothering me. There are no polarity markings on the units, does it means I can plug the wire any way I want?
Thanks!
I’m building mine atm too.. I am struggling to find time to really get going though.
I’m using really crappy ply though and covering with veneer.
Matt
Hehe, time! The most precious thing we possess!
Let me know how it goes!
For the A5.3 the polarity is indicated on the plastic frame. Beneath the rubber gasket. Not sure about your 5.2.
I just checked, you are right, I never thought of looking under the self adhesive rubber gasket hehe.
Thanks for the tip.
Thanks for the tip.
IIRC A5.2 is lacking on marking the terminals. Just make sure they are wired the same.
If you want to be anal you can put a battery to the terminals. If the + of the battery goes to the + terminal then the cone should move out as you connect the battery.
I’ll have to check out the gasket thing.
dave
If you want to be anal you can put a battery to the terminals. If the + of the battery goes to the + terminal then the cone should move out as you connect the battery.
I’ll have to check out the gasket thing.
dave
Just solder directly to the post. The MA quick connects ar eto be used with thick wire, something i do not recommend. I use 24g solid.
dave
dave
If you want to be anal you can put a battery to the terminals. If the + of the battery goes to the + terminal then the cone should move out as you connect the battery.
I won't comment about the anal part but I sure am curious to try this one out hehe.
Very pretty work so far. 🙂
Thanks Scott 🙂
I'm still working on the side panels, can't wait to try them out!
I think it's a great idea. No more explaining, it's right there in front of them.and have the internal walls peak through the sides to show what's going on inside. Is it a good idea? Not sure, I'll see once it is done!
Cheers, you have given me an idea going forward.

Glad I inspire someone!!!I think it's a great idea. No more explaining, it's right there in front of them.
Cheers, you have given me an idea going forward.
- Home
- Loudspeakers
- Full Range
- Woden Baby Labs Bloodhound build