Update: fitting these powerful N52 magnets into the MDF is a very bad idea. I've abandoned that idea and instead pursue 2 magnets between 2 plates of steel. This halves the magnetic force, but using 2 magnets instead of one makes up for the loss, so the speakers can still be aimed.
I did initial tests with the original 11lb boxes, and magnets were free to move around during placement, which is not a good thing, but I just wanted to test sheer strength. I would call this an initial success. A foundation to build upon.
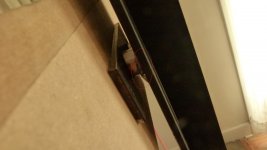
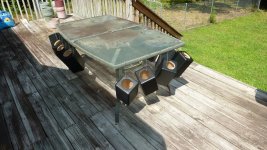
Today I cut 2 pieces of 6"x2"x1/4" A36 steel and screw mounted them to the original boxes. Here's a few pics.
I did initial tests with the original 11lb boxes, and magnets were free to move around during placement, which is not a good thing, but I just wanted to test sheer strength. I would call this an initial success. A foundation to build upon.
Today I cut 2 pieces of 6"x2"x1/4" A36 steel and screw mounted them to the original boxes. Here's a few pics.
Attachments
How does the setup sound?
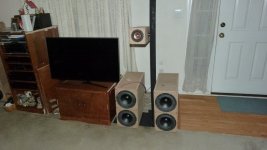
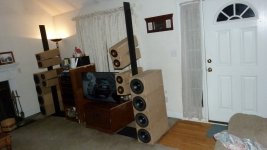
You plan to stack the woofers in symmetrical fashion later? I see 4 woofers in a vertical stack on the left and 2+2 on the right.
What do you guys think? Stacked? or 2x2? If it were to be stacked, would be on the other side of the monolith so the pluvia 7's can be mounted lower
Well, I'm not really going for sound at this point. I mean in earlier development I had 4 Pluvia boxes stacked per side with a AMT Tweeter in between and thought that setup sounded awesome. This was with only 2 subs per side too and 1 sub amp...
Many details to work out. I know I have to make a wooden jig to keep these magnets from moving. Also, already I can see the .014" polyurethane adhesive backed plastic is not going to work here with magnets of this strength.
Attachments
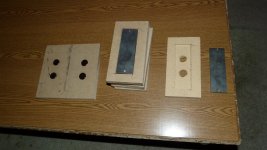
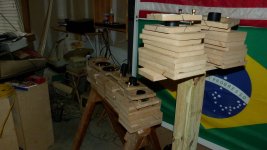
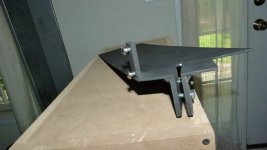
So here's the jig I made out of 3/4" MDF and 1/4" A36 steel in order to hold the magnets securely to each box. I made 8 of them today. With each magnet 1/2" thick, they sit flush to the surface. I wound up grinding abit off of the edges of the 1" spade bit, so I had to use a C-clamp to press fit the magnets into the wood.
Now I am finally ready to resize all 8 of the current boxes, glue them, round the edges and paint them black. Finally I'll add nice thick coats of polyurethane.
Now I am finally ready to resize all 8 of the current boxes, glue them, round the edges and paint them black. Finally I'll add nice thick coats of polyurethane.
Attachments
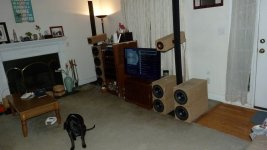
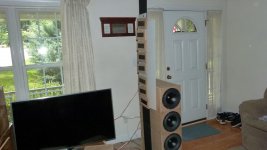
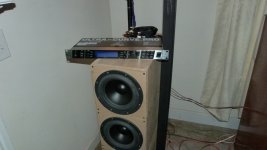
I'm going with this setup. Cheers
DEQ2496 very soon to tame the MA drivers <150Hz
It might be awkward in your room but you are likely to get a more even spread in the lowest frequencies by putting one or two (or more) of the sub boxes in other areas. Plenty of information on multi subs and a few calculators to give positional ideas.
Use your mic at the listening position and see which arrangement gives you the best response.
Hopefully I'l be able to post graphs as to what I'm hearing.It might be awkward in your room but you are likely to get a more even spread in the lowest frequencies by putting one or two (or more) of the sub boxes in other areas. Plenty of information on multi subs and a few calculators to give positional ideas.
Use your mic at the listening position and see which arrangement gives you the best response.
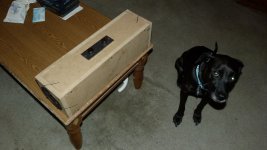
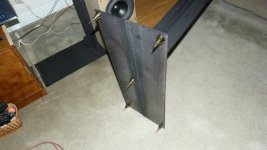
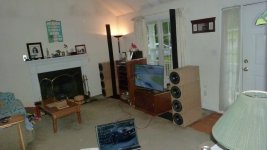
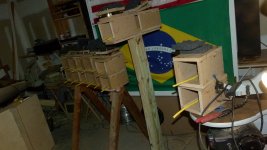
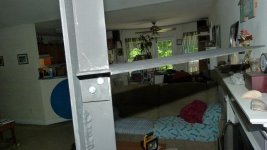
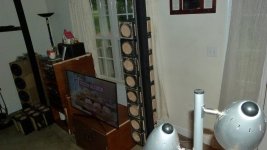
I finally made it back to stage 1. In the beginning I just had the speakers stacked. Not very safe.
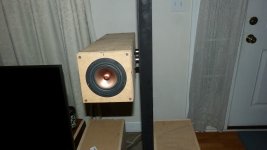
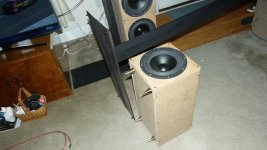
I'm sticking with these original .3 cu.ft. enclosures, but will eliminate the vented back end. Each speaker box is very solid with magnets direct on the 1/4" A36 steel... Need to make 8 more, also include the AMT tweeter. in the middle.
Only the bottom left & right speakers are connected at this point.
Attachments
So back and forth I go. I apologize. I am indeed going with 16x .15 cu.ft. enclosures. It was very difficult to arrange them with the magnets directly on the steel.
I have a sheet of .070" thick teflon which I plan to attach a piece on each of the enclosures. It's much easier to position these things!
8 magnetic jigs are complete. Need to make 8 more.
I have a sheet of .070" thick teflon which I plan to attach a piece on each of the enclosures. It's much easier to position these things!
8 magnetic jigs are complete. Need to make 8 more.
Attachments

Back to the enclosures. Better half? is starting to show some resistance at this point... OFW. I push forward!
Last 2 days spent sanding and routing edges. Few pics of first application of high gloss enamel. I'm about to head in the garage and sand them for the first time after painting. 2:39am, got a problem with that? This shows dedication, not obssession!
BTW I wear a full face respirator! I highly recommend..
A couple pics of UV bake.
Attachments

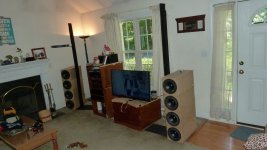
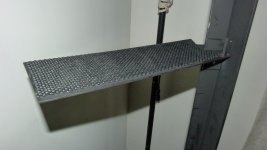
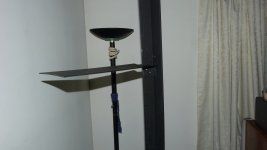
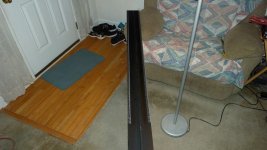
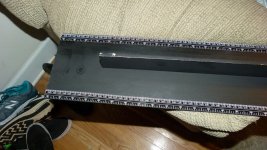
60inches of adhesive vinyl tape applied to the front and rear of the speaker stands. This is so I can have a reasonably 'proper' vertical placement of speakers left compared to right.
Although the zero mark is about 2 feet off the floor, since the stand are 7ft tall, the markings are still useful.
Although the zero mark is about 2 feet off the floor, since the stand are 7ft tall, the markings are still useful.
Attachments
- Status
- This old topic is closed. If you want to reopen this topic, contact a moderator using the "Report Post" button.
- Home
- Loudspeakers
- Full Range
- Mini Tower Line Array using Pluvia 7's