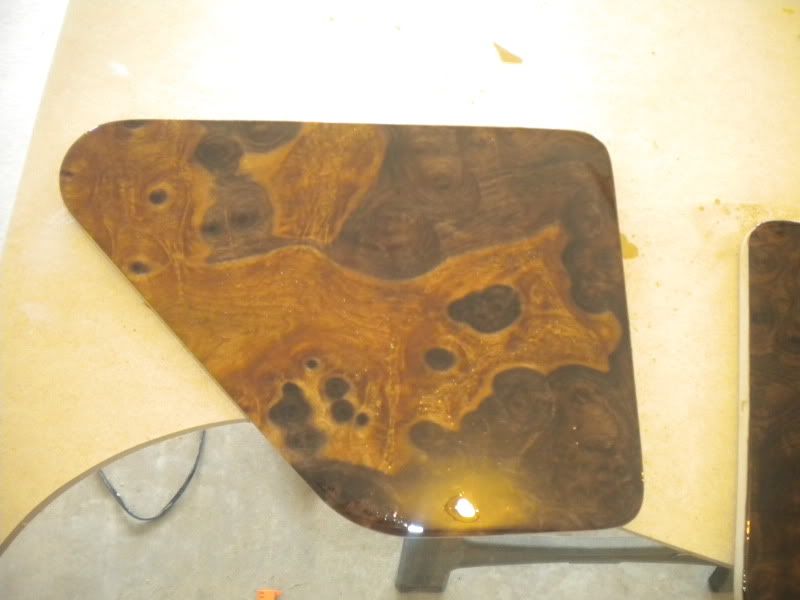
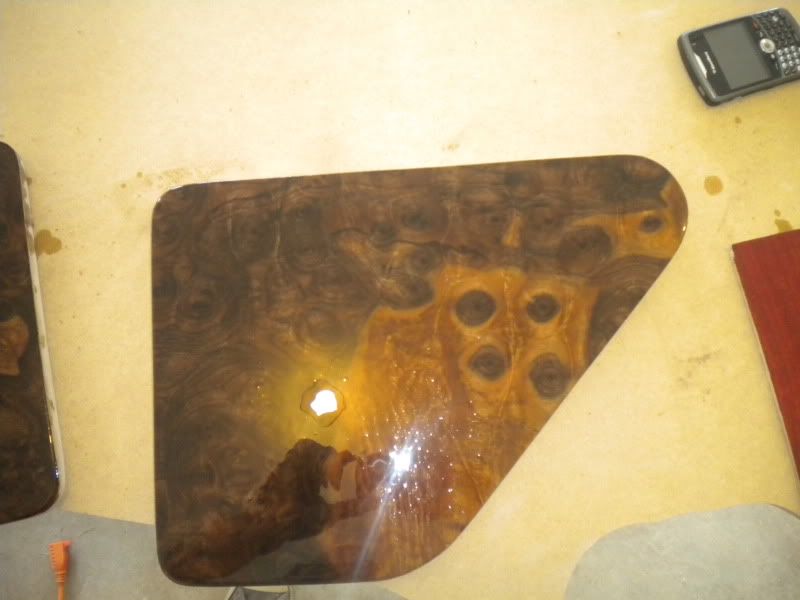
That's very special! I like your creativity.
I also would like to know more about the way you made the outer shape...
I also would like to know more about the way you made the outer shape...
Thanks all for the comments!!!! Much appreciated..
On the question of shapes, baffle shape is what I care about most.. having large swooping radius and great smooth transitions between the drivers since they are mechanically aligned.
Most everything else is pure visual impact, though I find that having a tapered or organic back does leave less artifacts with playback ... I am an artist and my medium just happens to be loudspeakers... so I am constantly pushing design..
On the base question, it is the madbass enclosure... With all my pieces I go to great lengths to minimize enclosure coloration.. this approach IMO really helps lessen that and gives such a great presentation..
Serious WOW!! there.
Are the shapes for acoustic reasons, or just visual impact? (specifically the crests)
And what are the bases doing? BR ports or TLs? And why the funny interior shapes?
( You guys make me feel like Rip van Winkle (minus the beard, of course.) 30 years ago I was pretty much on the cutting edge, and now it seems people don't use knives anymore. 😉 )
A few of you asked on who I make these shapes...
The most important thing is to have the enclosure 90% out of wood IMO and only use this technique for baffle smoothing and less square shapes and of course aesthetics..
My technique really allows an almost limitless variation of shape and couture.. basically think of the spine shown above as nothing more then what I want as shape.. you could also frame out various shapes basically making a skeleton out of wood as well..
Once your desired shape is made.. I will run the edges of the enclosure with a rabit bit on my router table.. this gives a channel to pull my material to and staple.. I then will purchase either fleece from a fabric store even Walmart, just making sure that it has a 4way stretch, I will also use grill cloth.. The material is used to create the shape, the most important thing is to keep it tight and minimize any creases or sags or bunches with the material..
Next soak the material with a layer of fiberglass resin.. it is very important that you thoroughly soak it, if you don't, you will have very weak areas.. Then, after that cures, add 3 to 4 layers of fiberglass mat and resin.. and once that dries, dur-a-glass.... tons of block sanding and then spray some slicksand adn block again and you are ready for paint..
Hope this makes since and hope it helps!!
If your old man complains about any aspect of these speakers, show him the pictures and tell him to shut up. Good job.
A few of you asked on who I make these shapes...
The most important thing is to have the enclosure 90% out of wood IMO and only use this technique for baffle smoothing and less square shapes and of course aesthetics..
My technique really allows an almost limitless variation of shape and couture.. basically think of the spine shown above as nothing more then what I want as shape.. you could also frame out various shapes basically making a skeleton out of wood as well..
Once your desired shape is made.. I will run the edges of the enclosure with a rabit bit on my router table.. this gives a channel to pull my material to and staple.. I then will purchase either fleece from a fabric store even Walmart, just making sure that it has a 4way stretch, I will also use grill cloth.. The material is used to create the shape, the most important thing is to keep it tight and minimize any creases or sags or bunches with the material..
Next soak the material with a layer of fiberglass resin.. it is very important that you thoroughly soak it, if you don't, you will have very weak areas.. Then, after that cures, add 3 to 4 layers of fiberglass mat and resin.. and once that dries, dur-a-glass.... tons of block sanding and then spray some slicksand adn block again and you are ready for paint..
Hope this makes since and hope it helps!!
I really appreciate the details (page linked to favoirtes!)...I will have to try this on a future build!!
My pleasure... feel free to PM if you ever need anything....
I really appreciate the details (page linked to favoirtes!)...I will have to try this on a future build!!
- Status
- Not open for further replies.
- Home
- Loudspeakers
- Multi-Way
- Wild 2way design for my old man

