The wood you refer to as filmed birch plywood is called "støbeplader" in danish, right?
I'm just asking to make sure, because it looks pretty much the same with the dark brown color.
Also: Darkwithin, in your DIY boominater album in your signature, you have uploaded a picture where you put a grey substance on the magnet of the speakers - is this because of the previously mentioned problem where the new HP-10W design doesn't fit in the cabinet?
thanks 🙂
@ rubennn
No that is plastic padding for metal, strongest **** on earth, for the "new design" problem I found some hard rubber tubes that was 10mm thick and glued it in a ring on top of the grill and then jammed the speakers down into the box and fastened my elements with "self-drilling-screws"(I guess) from the outside. witch seams to have worked pretty well. I'll have to see the results when the amp comes along this week.
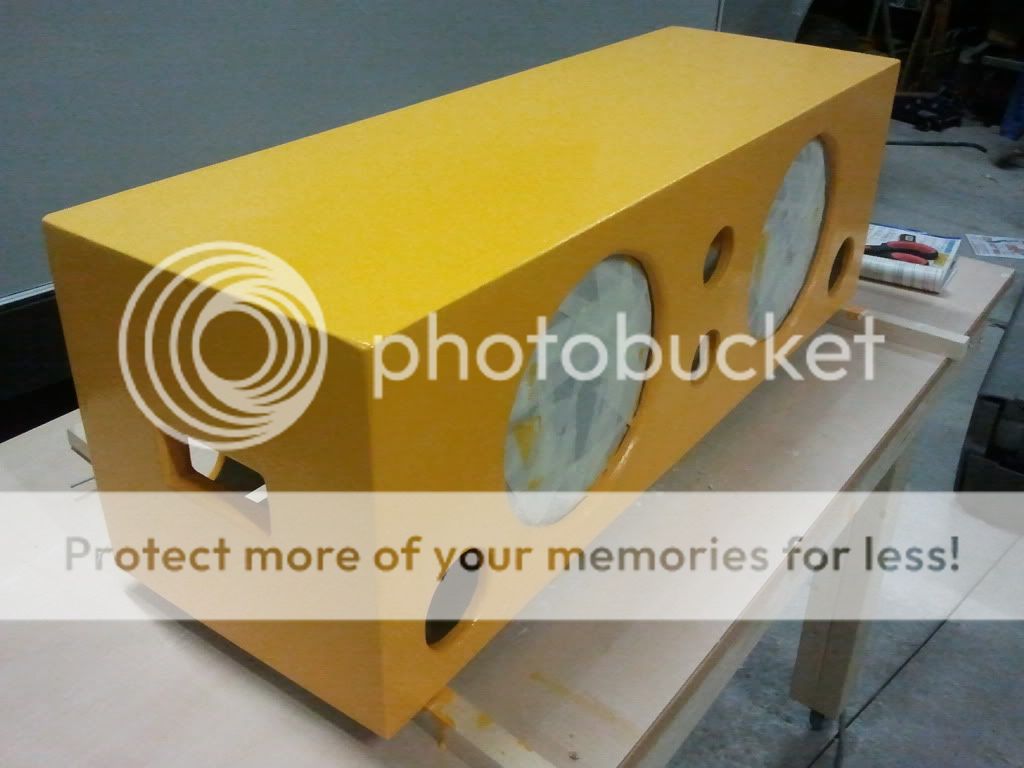
New pics up. Some color, and what a color it is. 🙂
it really is a handsome design. thank you Mr Saturnus. lol
No that is plastic padding for metal, strongest **** on earth, for the "new design" problem I found some hard rubber tubes that was 10mm thick and glued it in a ring on top of the grill and then jammed the speakers down into the box and fastened my elements with "self-drilling-screws"(I guess) from the outside. witch seams to have worked pretty well. I'll have to see the results when the amp comes along this week.
New pics up. Some color, and what a color it is. 🙂
it really is a handsome design. thank you Mr Saturnus. lol
Last edited:
You're very welcome. It's really looking good. Just wait though. Once you hear how it plays outside (and after play-in time) then you'll know why it took me a very long time to get the design just right. And you'll also find out just how incredible solid it is. It's basically indestructable.
Last edited:
I was just wondering one thing. I've never played with resistors before. should the resistor be wired in before or after the tweeter. like on + or -?
I was just wondering one thing. I've never played with resistors before. should the resistor be wired in before or after the tweeter. like on + or -?
It doesn't matter in any way.
now that you say it. but doesn't the choke affect the hp10w as well then?
This is the diagram as it should be:
Amp + --------- Woofer + --------- Resistor ------- Piezo +
Amp - --------- Woofer - -------------------------- Piezo -
That's it really. If you use the version with low-pass coil it's:
Amp + --------- Piezo + ---------- Coil ------------ Woofer +
Amp - --------- Woofer - ------- Resistor ---------- Piezo -
Nice looking box Darkwithin 🙂 - i really like the rubber finish of your box! Can i ask what kind of paint you used? 🙂 and did you clear coat it? Did you paint directly onto the plywood or did you stain the wood first (or fill it with polyfilla?)
I am still trying to figure out how to paint the box properly so any help would be appreciated 🙂 but again.. Great job Darkwithin
I am still trying to figure out how to paint the box properly so any help would be appreciated 🙂 but again.. Great job Darkwithin
I just sandpapered the plywood to get the first layer of color to grip dunno what you call it in english "alkylolje grundfärg", and then I used a water based color. I'm gonna start clear coating it tomorrow, sandpaper and clear coat till I am satisfied 😉
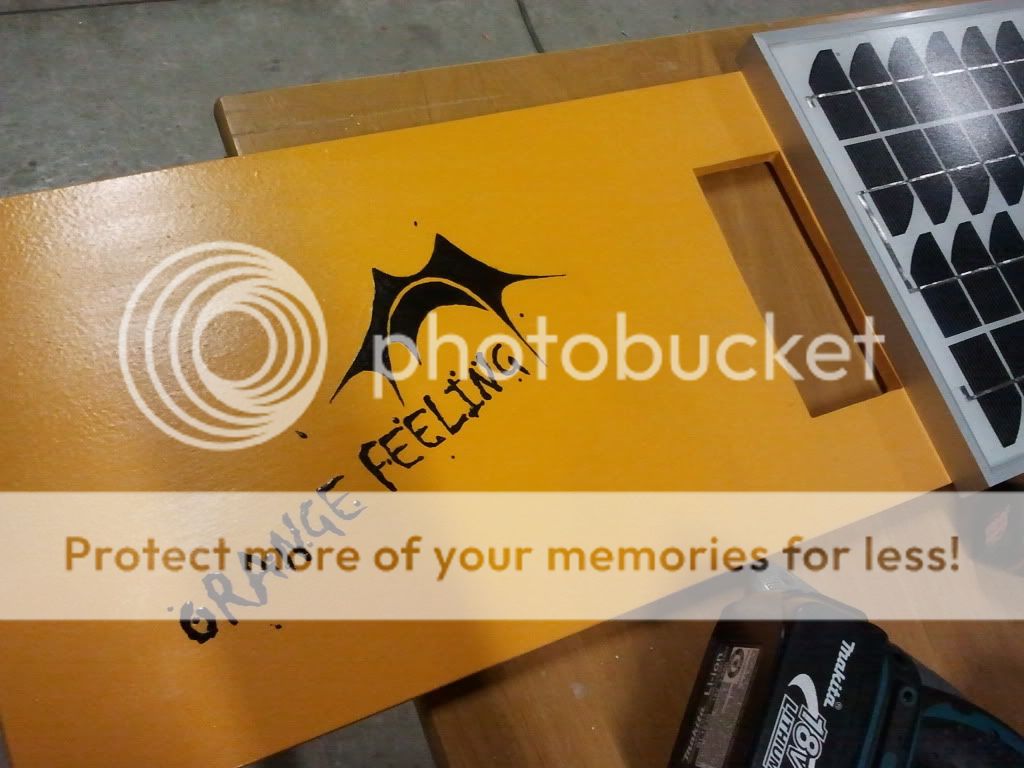
I may do the roskilde logo in black on the box lid but well see. some kind of led light will also be implemented.
and thanks. 🙂
I may do the roskilde logo in black on the box lid but well see. some kind of led light will also be implemented.
and thanks. 🙂
I roll and then afterbrush to get it more even.
I'm experimenting myself but well see, maybe itll go well and maybe itll look like **** 😛
I'm experimenting myself but well see, maybe itll go well and maybe itll look like **** 😛
The looks of your box so far is some of the best i have seen in this thread 🙂 great work and very inspiring
@ someone!
I've received my amp6-basic today and it arrived with the fuse unmounted, should I solder this in or is it unnecessary?
I recommend using a PTC instead of a fuse. It's much safer and you dont have to change it ever.
Yeah nevermind, a ptc was fitted.
In the joy and excitment of it all I missed it. 🙂
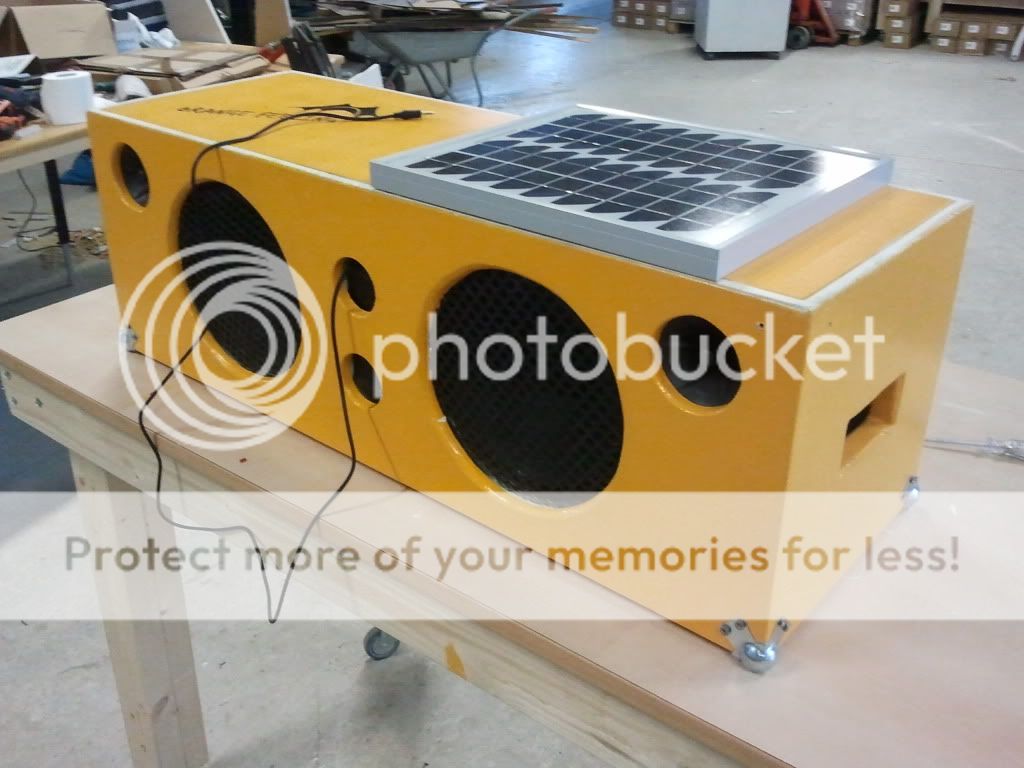
Plays like a (something that plays very loud) 😀
heres a pic, not finished yet but its finally after 120h of frustration playing!
In the joy and excitment of it all I missed it. 🙂
Plays like a (something that plays very loud) 😀
heres a pic, not finished yet but its finally after 120h of frustration playing!
Last edited:
Very cool looking. I envy you and your new friend (the boominater) 🙂
Is the soundquality satisfying as well (even though it plays loud)?
Great work and great finish.
Is the soundquality satisfying as well (even though it plays loud)?
Great work and great finish.
Very cool looking. I envy you and your new friend (the boominater) 🙂
Is the soundquality satisfying as well (even though it plays loud)?
Great work and great finish.
Thank you! the envy is easely satisfied by building on of your own 🙂
sound quality is very satisfying when on grass outside. very mush so in fact!
when I play at max on my mp3 though sound gets distorted, but I will probably not play it that loud. don't know why it does that, maybe someone have an idea?
putting the finishing touches on today and all that's left after I finish painting the top edges is to fasten my potentiometer and an on/off button.
will put up some more images later today probably.
- Home
- Amplifiers
- Class D
- The Boominator - another stab at the ultimate party machine