I would ground that central pin on 12AX7 socket. Also, repairability means your wiring may not look so pretty, to open access to components that may need to be replaced.
Small Push-Pull stereo amp 5/10W (triode/pentode switch; 4x50FE5+2x6201/12AT7 tubes)) with real (No tags, turets, strip PC board, add. contacts, etc.) "Point to Point" wireing:
Attachments
Last edited:


I've had good luck doing P2P wiring, though my initial projects weren't always the prettiest looking.
Best starting point is to think of how you will do the ground(s). I like to use a 12ga copper wire as a buss. It runs the length of the unit, with possible branching too. Then you have to think of where the tube sockets lay and the best layout for caps and resistors. It's a mental '3-D' process that gets better with practice.
These days I would rather make a double-sided PCB and populate it!
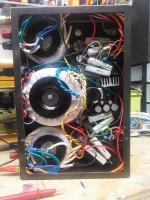
This may be an example of "not so good".
This is a purchased Amp, PP KT88 with a good reputation and hefty price tag. I got it broken (so cheap) and replaced a couple of resistors and now it works fine and does sound quite good. But clearly there is room for improvement, even just with the wiring. And what is with the floating and unconnected bits? 😱
I look forward to it as a project of rewiring, upgrading and improving, but it is my current most functional listening tube amp and, oh, project number 3,753,234 in line
I like all you folks with the super anal organized look to your wiring. i mean that in a good way, I hope I can keep my visuospatial thought together enough to get to that look in this amp. Seems hard for us more disorganized brain types🙄.
Attachments

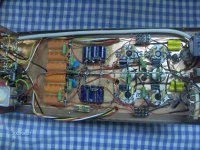
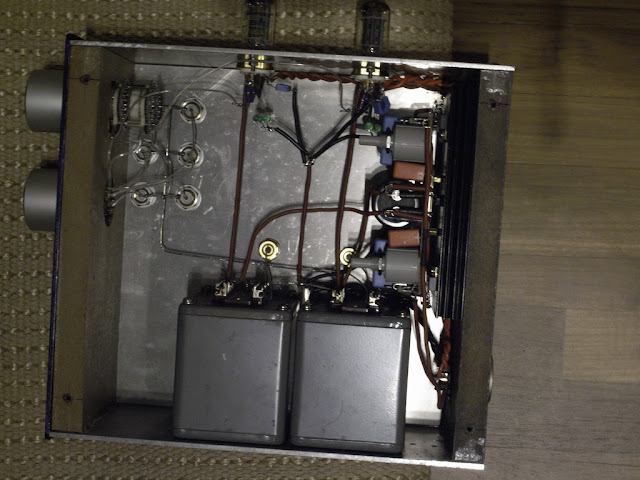
6n6p-46-300B push pull, all transformer coupled. Monoblocks with separate power supply. Lots of iron.
I try to accomplish layout that follows the signal, and pay little attention to the final look of lead dress. Twist where needed, provide clearance where stray capacitance is an issue, and wire in 3 dimensions.
I try to accomplish layout that follows the signal, and pay little attention to the final look of lead dress. Twist where needed, provide clearance where stray capacitance is an issue, and wire in 3 dimensions.
Attachments

I would be entirely to embarrassed to share my point to point work. Horrible and quite similar to Gary Pimms handywork.
However they all turn out remarkably quiet and fairly reliable. The only real issues I have had is with valve sockets losing their pin grip. I think P2P is much more forgiving than Circuit board.
The secret is to do a staged drawing and approach the build systematically having thought through all potential problems before you begin. Single point star grounding looks ugly but is much less problematic than the lovely looking bus bar approach.
Shoog
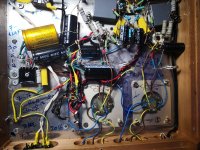
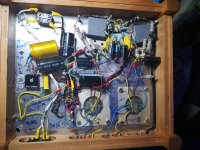
This is my second attempt to do p2p neatly. I think it's a matter of just doing it a lot. I made a drawing of the driver section, but starting with the grounds as I read here is probably better. Here they were added last, not very happy with it. Oh well, it will be better in my next amp 😛
An externally hosted image should be here but it was not working when we last tested it.
P2P of John Broskie's PS2 solo
used in my preamplifier after the power supply box.
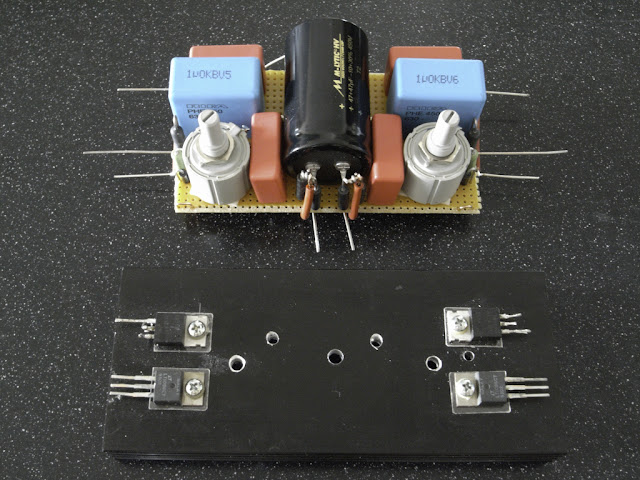
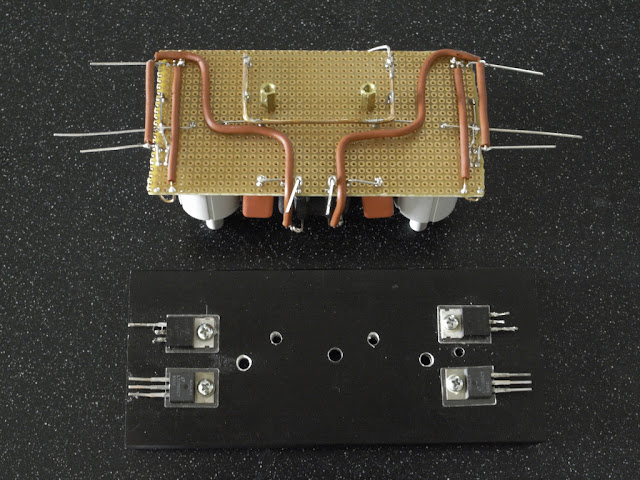
Wired to the heatsink

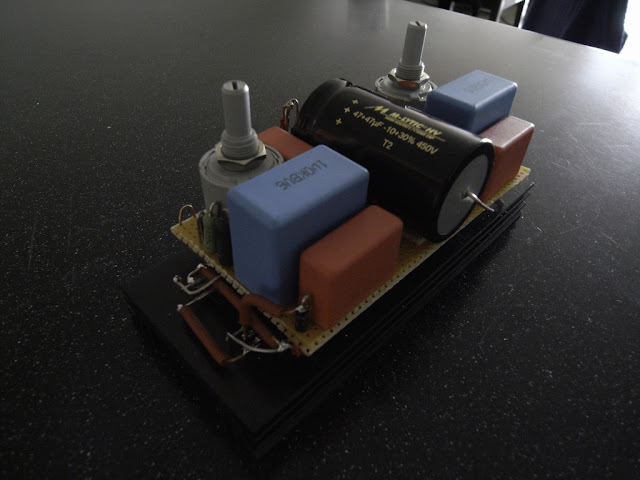
In the preamplifier.
used in my preamplifier after the power supply box.
Wired to the heatsink
In the preamplifier.
Last edited:
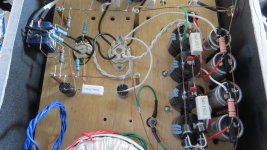
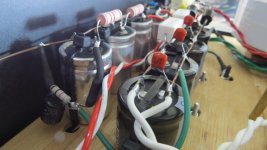
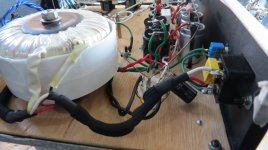
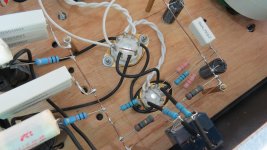

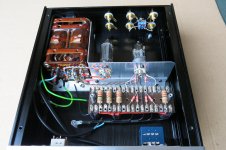
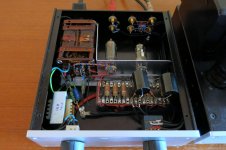
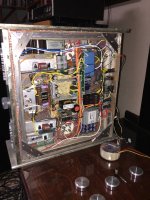
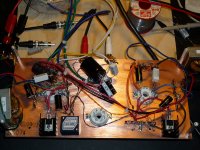
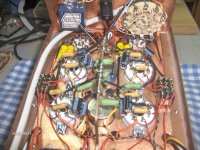
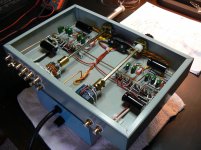
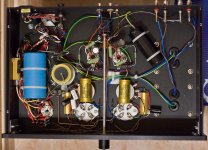
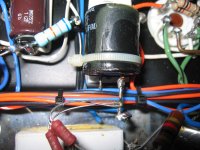
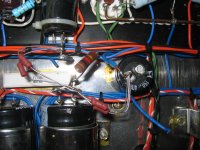
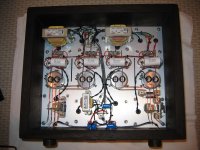
EL34 amp, Allen Wright PP1C
driver stage subchassis:

output stage subchassis:

main chassis, detail:

full view of amp, bottom side:

driver stage subchassis:
output stage subchassis:
main chassis, detail:
full view of amp, bottom side:
Last edited:

- Status
- Not open for further replies.
- Home
- Amplifiers
- Tubes / Valves
- Show off your P2P wiring.