Hi
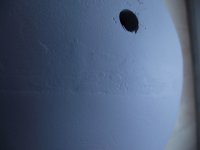
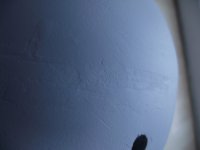
Are there any products that can be painted on and sort of self level or just is thick enough to fill the really annoying little pits? This is where I just can't quite get the filler to smooth off between the two Blanda bowls. A picture tells a thousand words, although not as bad at a distance that the camera makes out. Also will these imperfections start to disappear when the proper paint is applied?
Thanks
Edited to resize images even smaller.
Attachments
Last edited:
Self leveling on a sphere wont work very well. The only thing iI can sugest is the old fashioin sand paper and many coats of paint. Maybe someone else has abetter idea.
I was thinking of the Polycell Smoothover, but it appears you roller it on and then use a large paddle to smooth it off, which wouldn't work with a sphere.
They also do a 3in1 Problem Wall Primer, which could be like a 'thick' paint. I'm hoping a 'thick' paint could help reduce the imperfections.
I was trying to keep away from stuff like putty as I've been doing similar stuff with filler. However I do have some Milliput I could try on some areas, but still would like some paint style stuff.
I see some random scratch marks on there which seems to show that the surface is on the soft side. I have used multiple layers of kills and wood putty, but was frustrated with the delicacy of the surface. So frustrating!
If you can stand the fast working time, and general messiness of fiberglassing epoxy/Bondo automotive body filler, they are way easier to work. Their rigidity makes them really easy to shape and smooth.
Having a paintable solution would be nice, but paints tend to be way too thin to do any serious filling. Even with thick coats of epoxy I had to fill with bondo to fill many imperfections. I think getting a beautifully smooth surface just takes a lot of work :/
Just to keep up to how I'm getting on for people that have similar problems. I got a tub of Polycell Base coat. The first coat is on, so I'll report a bit later to how it's dried and if it's solved my problems. First impressions are quite good, although that probably has sealed it that it won't work...
I was looking at another High build primer and it was for metal only. Can you get that stuff in a aerosol can, as I don't have a proper sprayer?
A quick update. here's some images of the basecoat applied. This is after about 5 coats(lost count) and it seems to have done as I wanted. Not perfect, but better than before. Although I will have to go over with fine sandpaper and get rid of the orange peel left by this type of paint and the roller before the primer goes on.
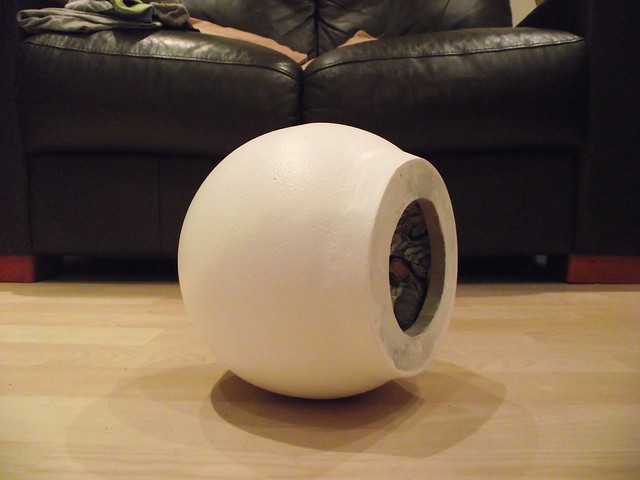
Overview of new basecoat by Simply_Ginniff, on Flickr

Getting there by Simply_Ginniff, on Flickr

Getting there by Simply_Ginniff, on Flickr
Another overview of the new basecoat by Simply_Ginniff, on Flickr
Overview of new basecoat by Simply_Ginniff, on Flickr
Getting there by Simply_Ginniff, on Flickr
Getting there by Simply_Ginniff, on Flickr
Another overview of the new basecoat by Simply_Ginniff, on Flickr
Looking good. You can spray brush or roll the primer on, but there is no substitute for careful sanding. Your top coat will not look better then the base coat under it. On a curved surface the hard part is finding the right backer for the sandpaper. Your hand will follow the imperfections in the surface. Maybe a sponge to back up the sandpaper......Also the less shiny the finished surface the less imperfections will show. Most of my work is top coated with satin finish....
Haha yes it does. 🙂
So this is as far as I will take the thread, as I have satisfied my original question. So for people asking this question and finding this thread in the future I will do this quick simple guide:
Originally it was brought to roughly a 75% stage with filler and general standing and then primed revealing the the imperfections (see original images)
Next I applied about 5/6 coats of Polycell Basecoat Complete(5 in 1 stuff) using a good quality roller.
Finally I worked my way down the sandpaper grades. I believe I started at 60 and then to 150 and finally 220. Rough estimates, but just the 3 grades. I also used a small dish sponge and wrapped the sandpaper around that, thanks to the suggestion by Evanc. Just to add this sanding for this one sphere only took 2 hours or so. So not alot of time at all and you shouldn't be put off if you think it would take a while. Stick the tv etc on and relax.
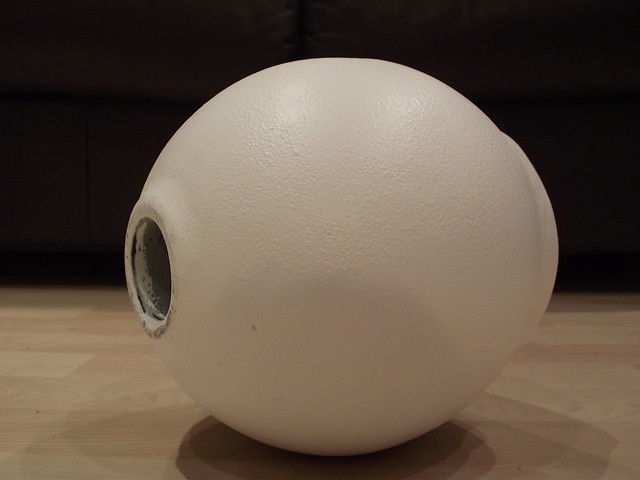
And here's some images of the pretty much final result. Primer will go on tomorrow and we'll see if anything crops up. They will then be sorted accordingly and if they are totally necessary.
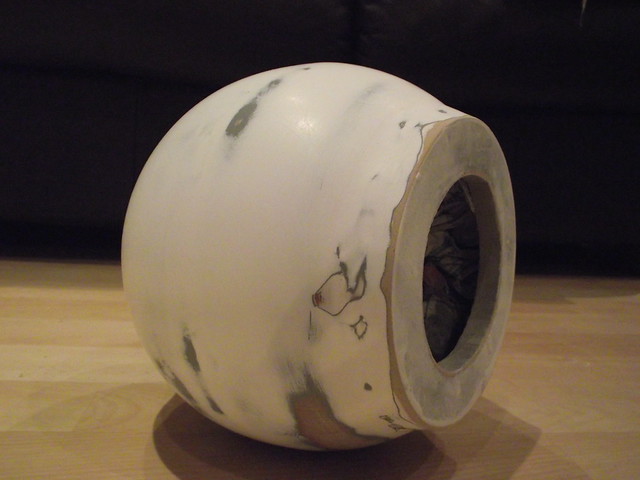
Finished sanding to get my smooth surface. by Simply_Ginniff, on Flickr
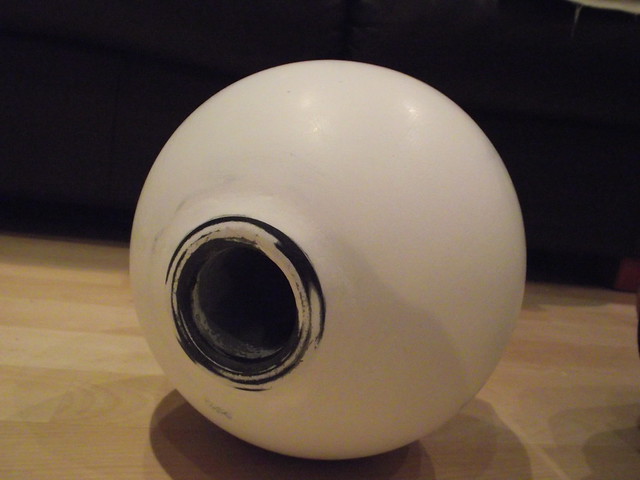
Rear after sanding by Simply_Ginniff, on Flickr
The build thread for this is here.
So this is as far as I will take the thread, as I have satisfied my original question. So for people asking this question and finding this thread in the future I will do this quick simple guide:
Originally it was brought to roughly a 75% stage with filler and general standing and then primed revealing the the imperfections (see original images)
Next I applied about 5/6 coats of Polycell Basecoat Complete(5 in 1 stuff) using a good quality roller.
Finally I worked my way down the sandpaper grades. I believe I started at 60 and then to 150 and finally 220. Rough estimates, but just the 3 grades. I also used a small dish sponge and wrapped the sandpaper around that, thanks to the suggestion by Evanc. Just to add this sanding for this one sphere only took 2 hours or so. So not alot of time at all and you shouldn't be put off if you think it would take a while. Stick the tv etc on and relax.
And here's some images of the pretty much final result. Primer will go on tomorrow and we'll see if anything crops up. They will then be sorted accordingly and if they are totally necessary.
Finished sanding to get my smooth surface. by Simply_Ginniff, on Flickr
Rear after sanding by Simply_Ginniff, on Flickr
The build thread for this is here.
Last edited:
- Status
- Not open for further replies.
- Home
- Design & Build
- Construction Tips
- Help getting a nice smooth surface