Here are pix of the rack. I should have it done by the end of the week.
Here is the stack of wood I got from a machine shop some time ago

These are the bottom two shelves

These are the top two shelves.

These are the legs for the bottom shelve. They are 3" waterpipe that will be painted bronze texture.

These are two of the next set of legs. I am turning them out of Poplar. These are my first peices turned on a lathe. I am really a metal guy.


This is just one of the next set of legs. I still have to make the other one. These will be painted Comilian Blue. P.S., for some reason the pictures on this are stretched. Click on them and they will come up normal.


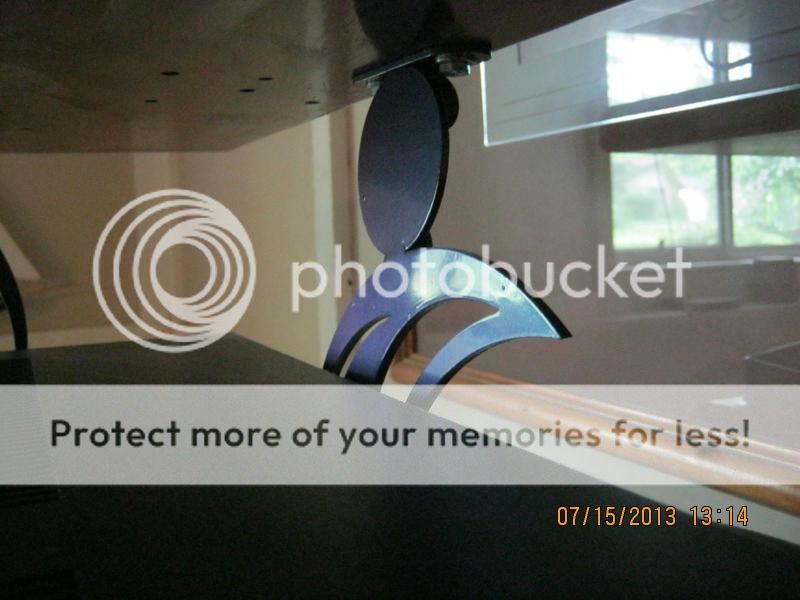
These are the last set of legs. I welded them up from scrap from a laser cutter I know. They will be painted Comilian Green.


Here is the stack of wood I got from a machine shop some time ago
These are the bottom two shelves
These are the top two shelves.
These are the legs for the bottom shelve. They are 3" waterpipe that will be painted bronze texture.
These are two of the next set of legs. I am turning them out of Poplar. These are my first peices turned on a lathe. I am really a metal guy.
This is just one of the next set of legs. I still have to make the other one. These will be painted Comilian Blue. P.S., for some reason the pictures on this are stretched. Click on them and they will come up normal.
These are the last set of legs. I welded them up from scrap from a laser cutter I know. They will be painted Comilian Green.
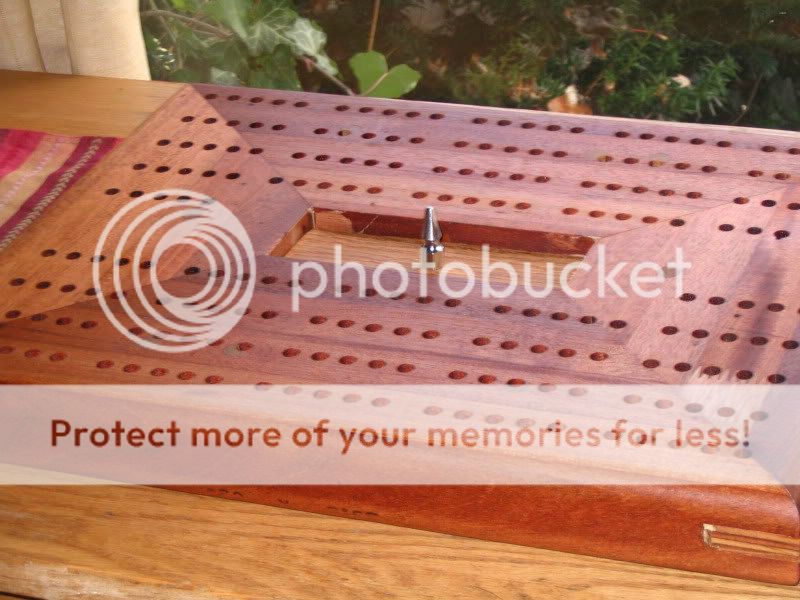
This is what the shelves will look like after I urethane them. This is a cribbage board I made from the same wood. I made this for a friend last summer.
.
.
I applied the first coat of Spar Varnish on the underside of all the shelves today. This is beautiful wood!!!


Hi Berndt. If you go to my Art site in my sig line, then look under vehicle art, there are more pix and an explanation. I built it a number of years ago.
I NEED YOUR OPINION!!!
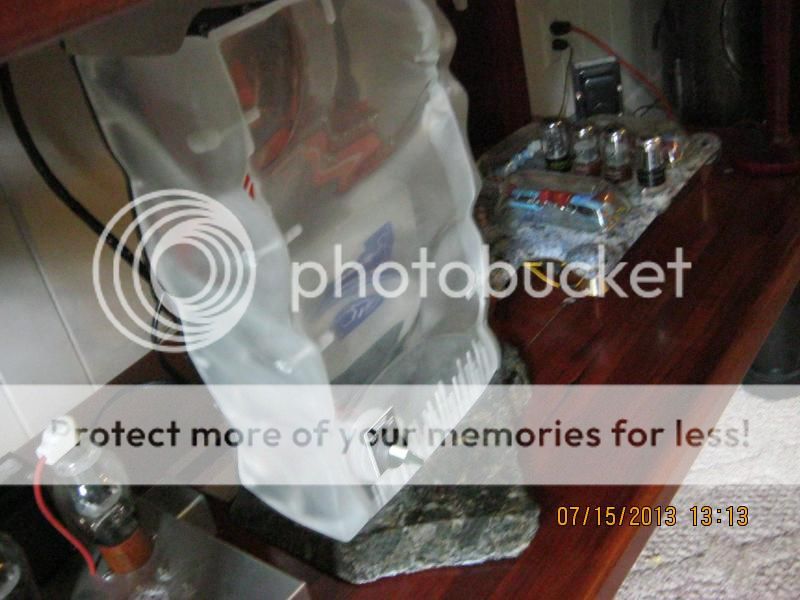
I was planning today's activities and put one of the red legs on the newly varnished table tops and noticed a big color difference between the two. That got me thinking that maybe the spar varnish is not the right color (although I love the color) for this project.
In the pix below I put the red leg in the middle with the spar varnish above it and a clear urethane below it. These two projects used the same wood. When seen together it is clearly a big difference in color between the two finishes.
Which one do you like better???

.
I was planning today's activities and put one of the red legs on the newly varnished table tops and noticed a big color difference between the two. That got me thinking that maybe the spar varnish is not the right color (although I love the color) for this project.
In the pix below I put the red leg in the middle with the spar varnish above it and a clear urethane below it. These two projects used the same wood. When seen together it is clearly a big difference in color between the two finishes.
Which one do you like better???
.
It is more work than I antisipated but I'm having fun. If you click on my website link at the bottom of my post you'll find more about the motor bike there. I built it from the ground up and THAT was a lot of work.
minor update: All the metal parts went to the sand blaster today. I won't get them back until Tuesday at the earliest. One day to paint them, then I can assemble this thing.
Hi from Lansing.
Amazing job. The limit of my skills is cinderblocks with planks on them.
Cinderblocks!?
Luxury.
My stereo's just stacked one thing on top of the other. The amplifier that needs ventilation has a couple of packs of post-it notes on top to seperate it from the crossover above.
djn - phwoar. Nice work.
Thanks Guys. In my last house the original owner built in audio racks and internal speaker wiring so I never needed a rack until we moved here. I am looking forward to finishing this as I have all my gear strune across the floor.
ENZO: you have an open invitation to stop by when ever you want.
ENZO: you have an open invitation to stop by when ever you want.
UP-DATE:
I heard from the sand blaster the other day. He said he could not get to my parts for a couple weeks. That got me thinking that this is not an outdoor rack and it won't move after I set it up so I think I will just use a good Rust-o-lium primer and call it good.
I will finish varnishing the boards soon and will move them out of the garage so I can paint the metal parts.
I got one more coat of varnish to put on, then I can move the boards out of the shop and start painting the metal bits. Making progress, slow but sure.
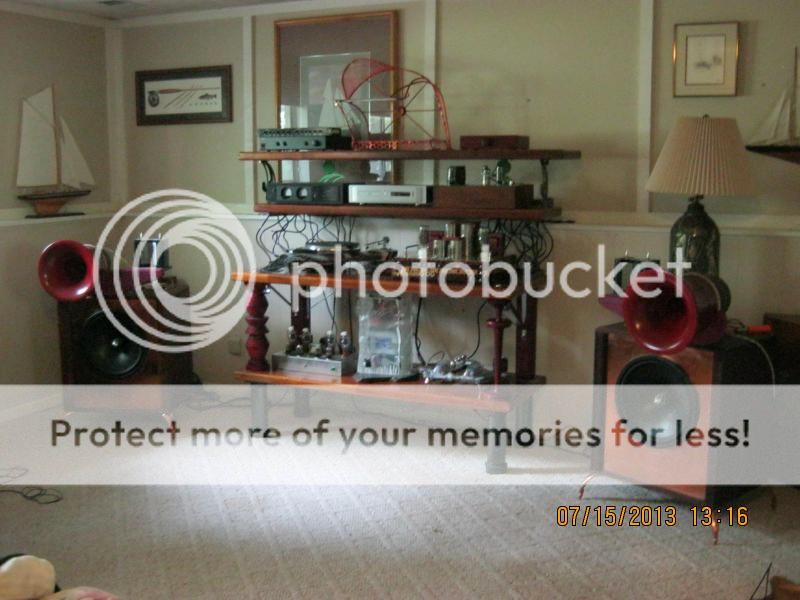
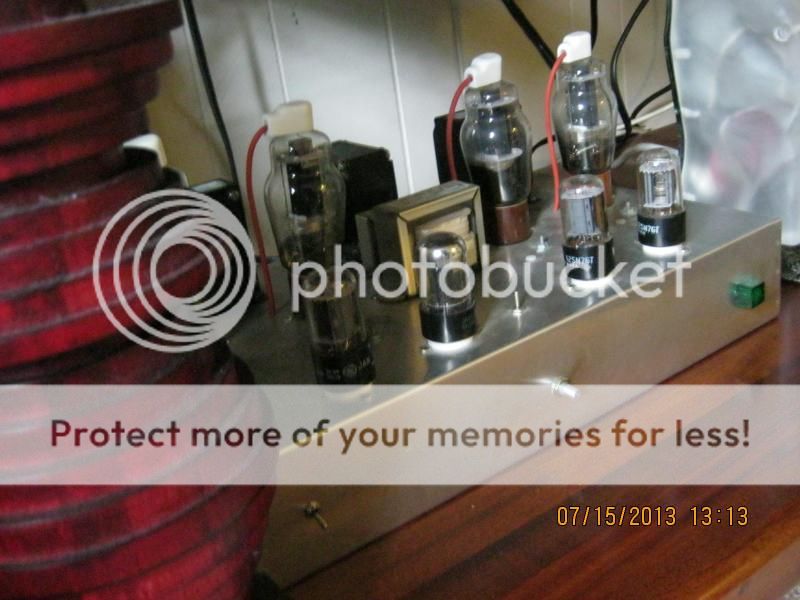
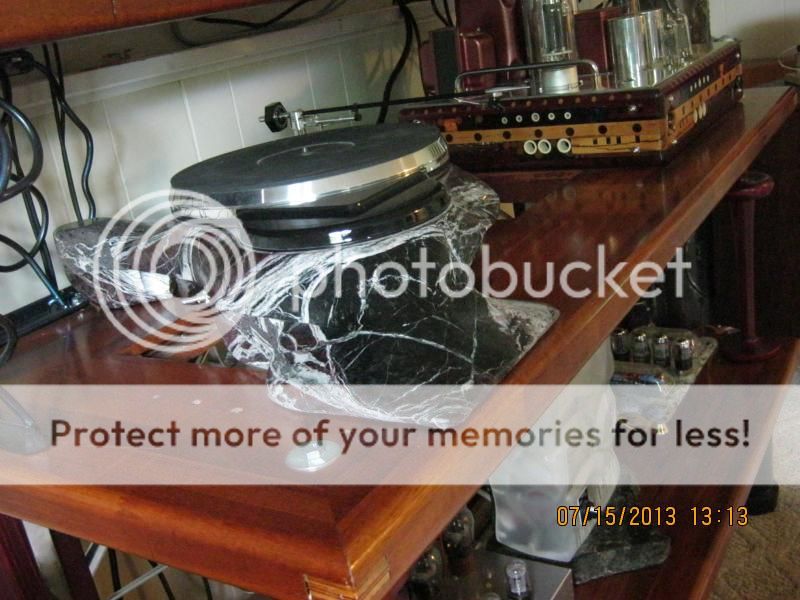
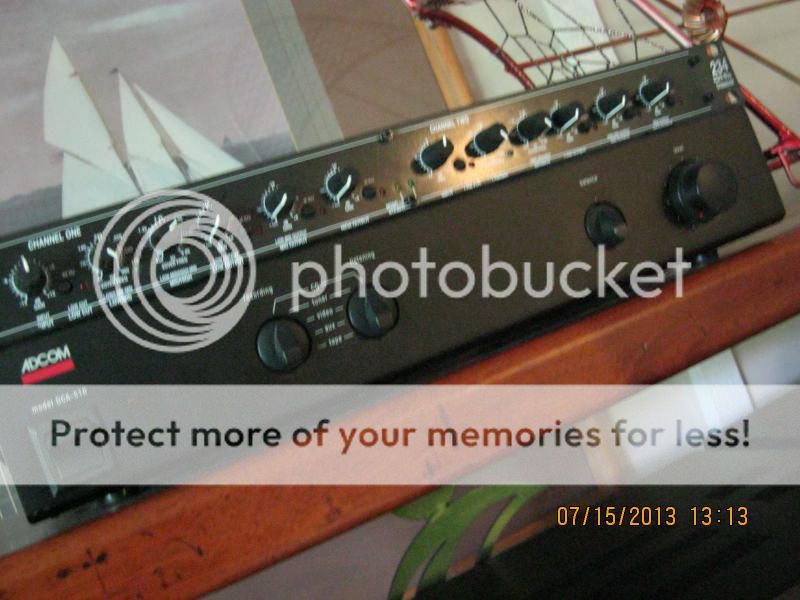
I finished the rack a while ago and am just now getting to posting these pix.
Overall shot with new rack.
 [/URL]
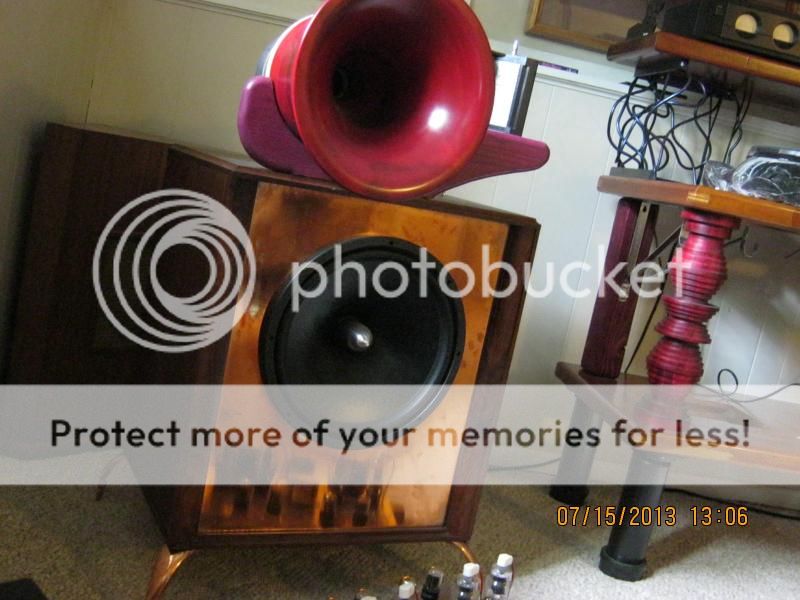
The speakers now have the Lamda TD-15X and new copper feet I made


Overall shot with new rack.
The speakers now have the Lamda TD-15X and new copper feet I made


Last edited:
- Status
- Not open for further replies.
- Home
- General Interest
- Everything Else
- Finishing my Audio Rack. Many Pix