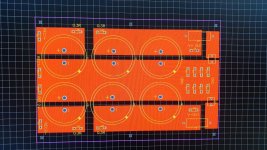
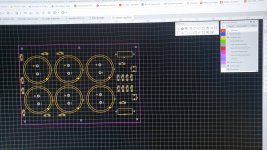
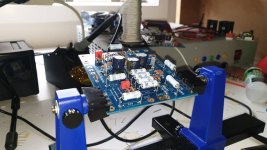
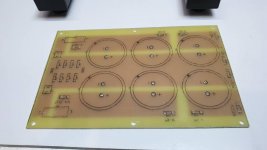
I made my own PSU board from double sided copper clad.
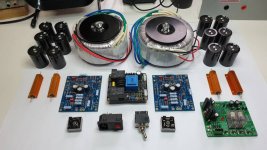
The PSU board is a CRC with compensation circuit. And I will have two PSUs - one for each channel along with a toroidal transformer each.
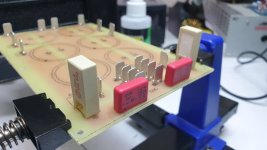
Also dual case mounted 50a rectifiers per PSU Board. The resistor is 0.3R 100w and mounted on aluminum heatsinks. Both the rectifiers and 100w resistors attach to the PSU boards via 6.4mm spade terminals. In a future version I want to positively secure them with solder m4 mounts and lugs.
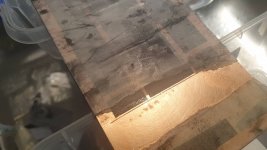
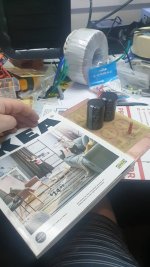
I designed the board with EasyEDA and saved the design and flipped the images in Photoshop and printed onto Ikea catalogue pages.
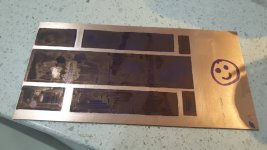
I etched the boards with 1/6th acetone and 5/6 nail polish remover w/o acetone in it. Applied pressure to the board with fingers and left to dry after washed it under cold water and paper desolved.
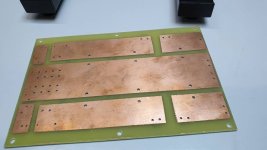
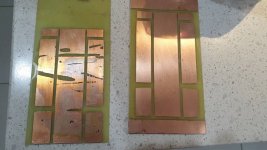
Etched in hydrogen peroxide 6% and hydrochloric acid 35%. 1:2 ratio.
Then placed in water and brushed with a brush to clean off the toxic mixture residue.
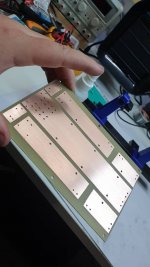
Printed out the mirrored silkscreen and etched that to the top of the board.
Cleaned board with lactic acid.
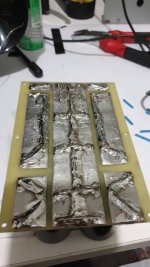
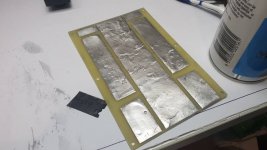
Tinned the copper left with solder.
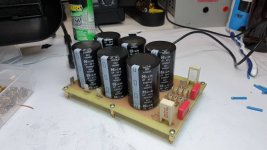
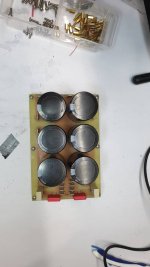
Soldered components in their position, caps resistors and spades.
Flipped board over and soldered sold copper wire that I got from striping house wire.
I run the wire strategically point to point to the components.
I'm yet to test the board yet but I still have to solder 100uf and 0.1uf caps in parallel to the big 22kuf caps.
I also have to make a 2nd board, because I'm having 1 PSU & Transformer for each channel.


