Continuation from Part I
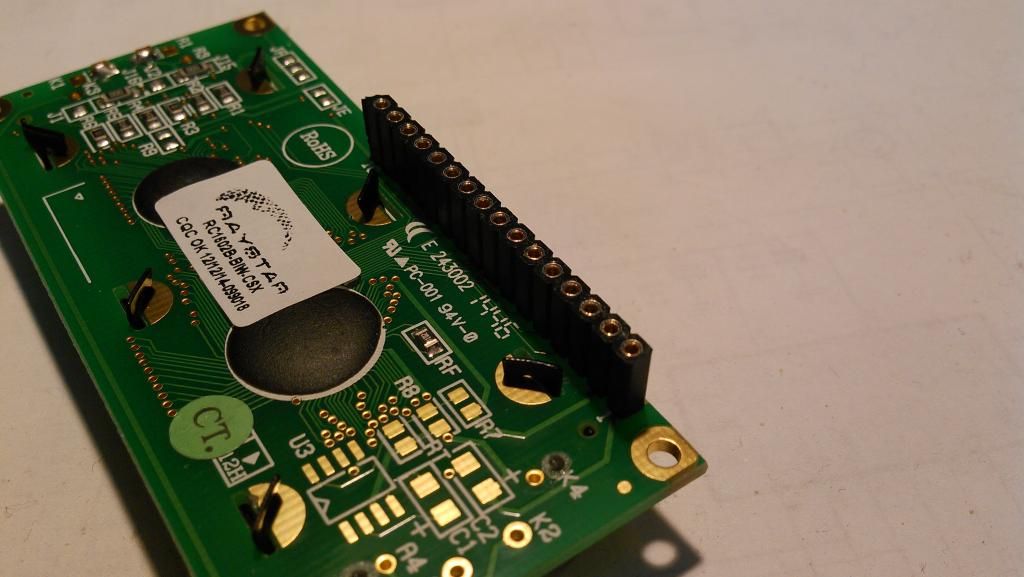
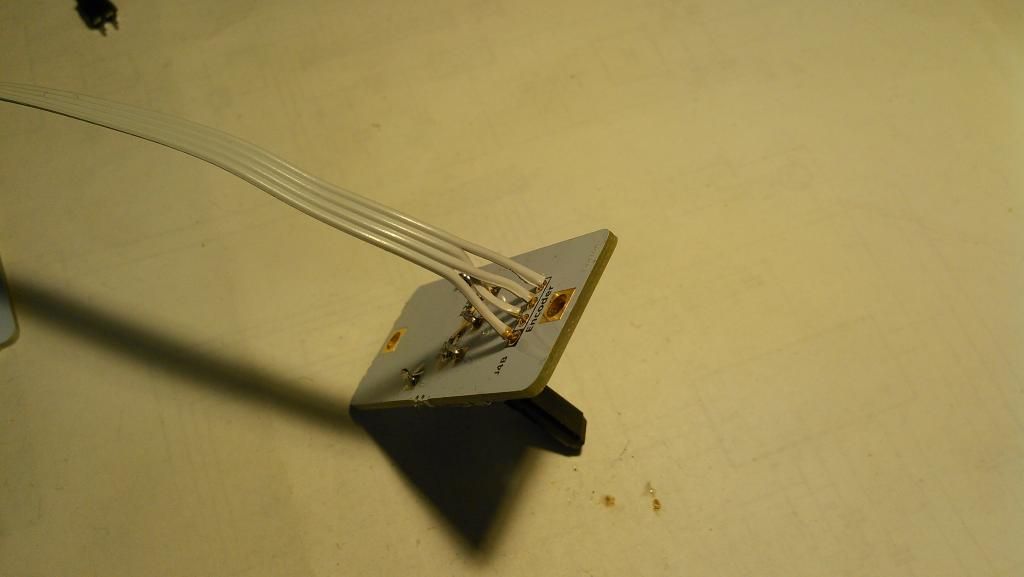
You may now solder LCD connector or solder LCD directly.
I prefer to use a connector in case I want later to replace LCD.
Following displays have been confirmed to work with this project:
OLED - WEH001602A
VFD - Noritake CU16025 UW
LCD - RC1602B-BIW-ESX
LCD - RC1602B-GHW-CSX
LCD - RC1602B-GHW-ESX
LCD - RC1602B2-BIW-CSX
LCD - RC1602B2-GHW-CSX
LCD - RC1602B-BIW-CSX
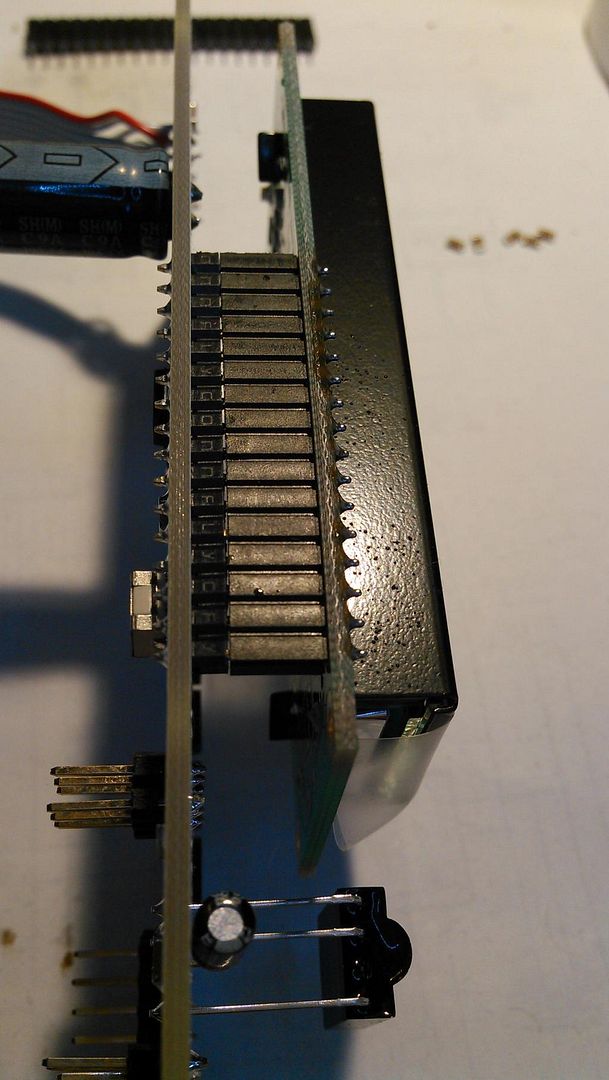
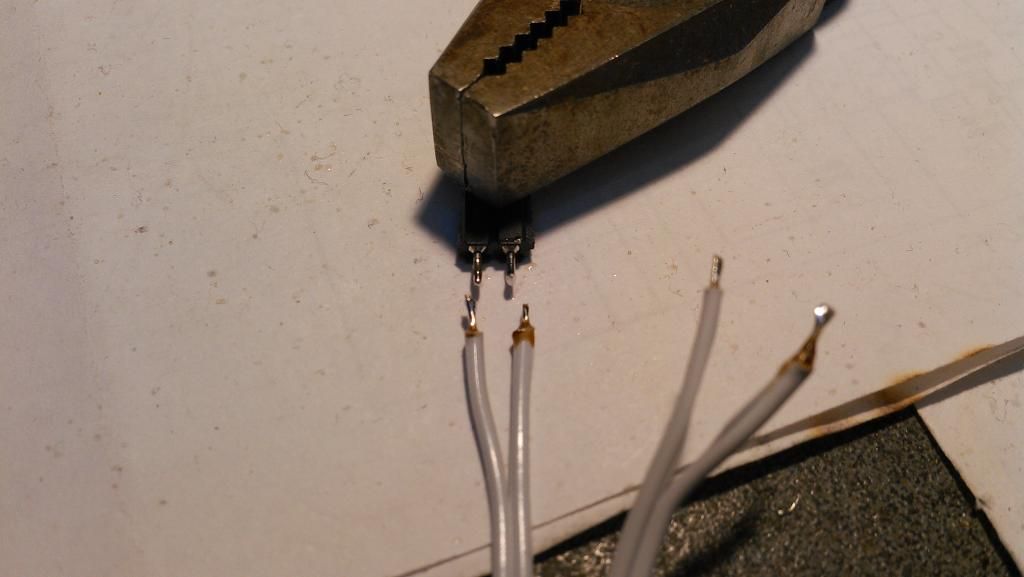
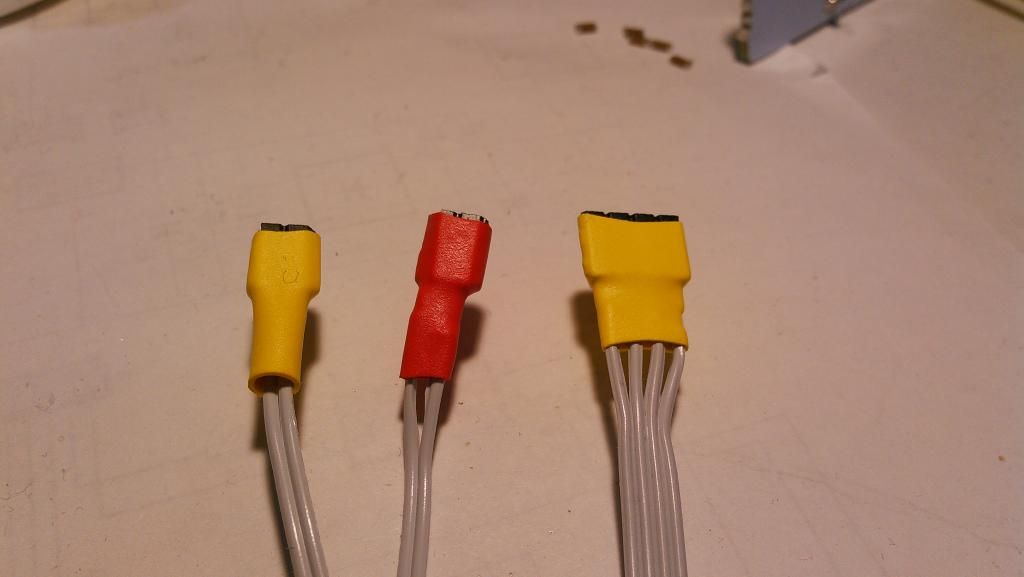
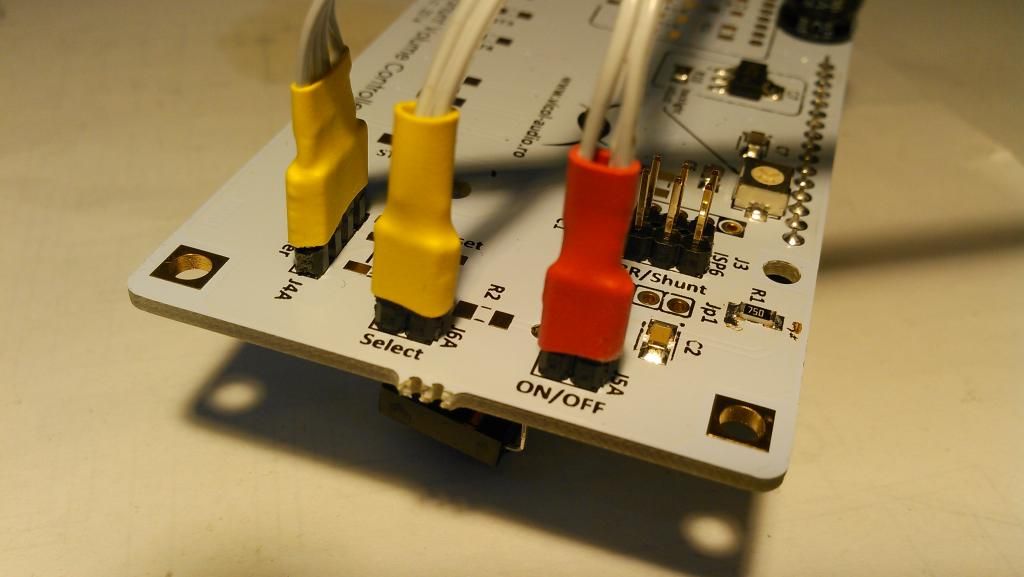
Prepare wiring and connectors for rotary encoder.
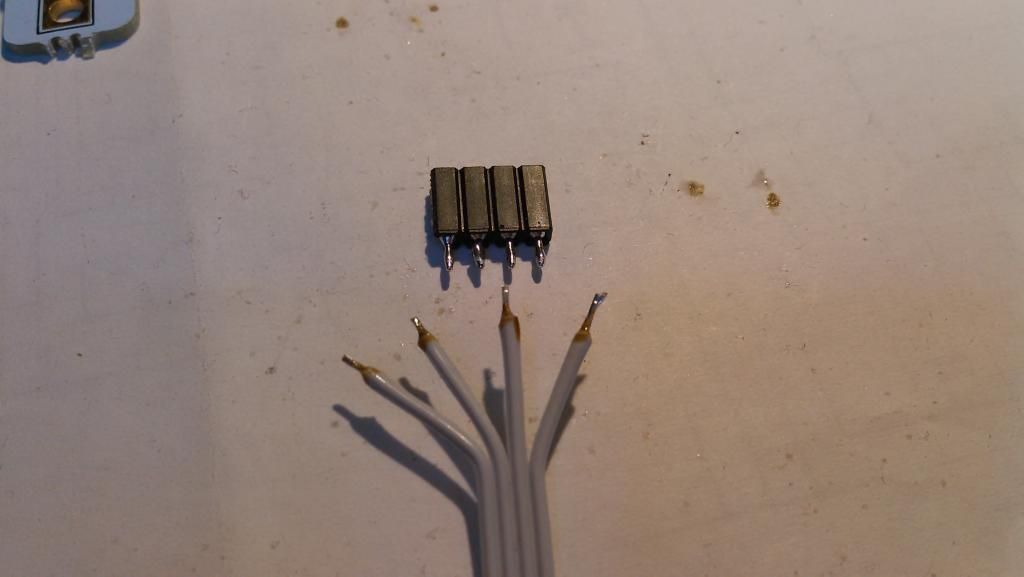
Due some differences between manufacturers you may need to twist middle wires on rotary encoder side. Please note on some encoders you may need to go straight.
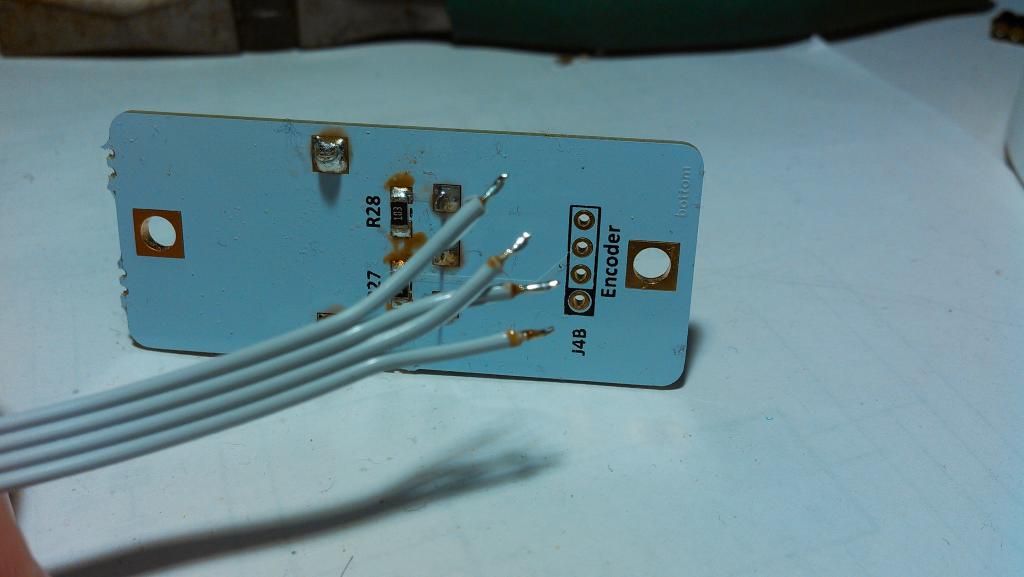
Solder wires for push-buttons.
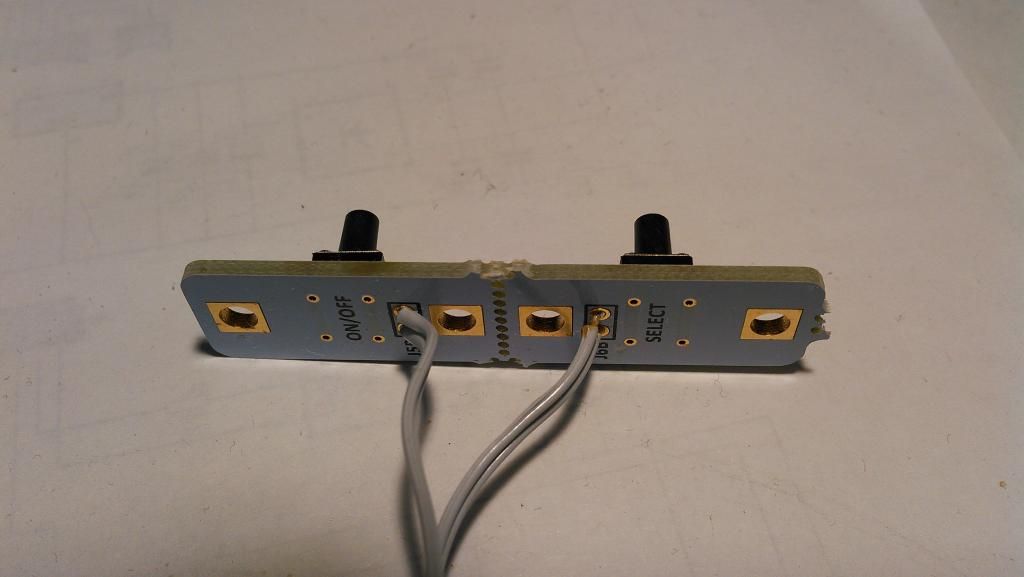
Add heatshrink for isolation and we are ready to go.
[h=Flashing firmware]%1[/h]
Vicol Audio provide two firmware files for flashing. One is without driven transistors and one is with driven transistors.
Both are providing same level of functionality. In our case we will use with transistors.
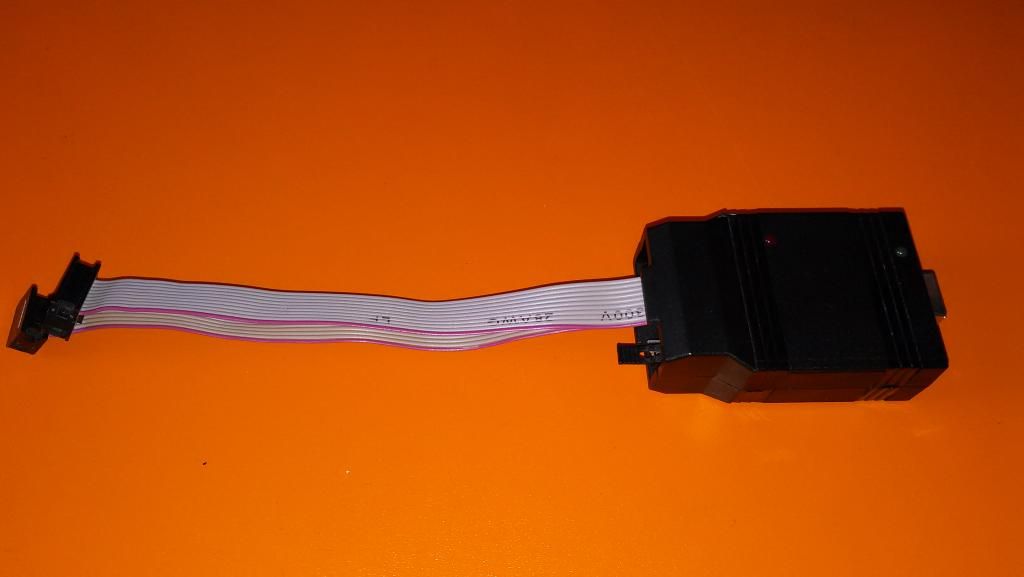
For AVR programming over SPI interface we are using to use USBtiny.
This can be purchased from Adafruit ready made or in KIT form.
Because ISP need often disconnect/connect from usb, it may be a problem on Windows as this will not detect properly the ISP.
I recommend you to use any linux distro, but on bare metal not VM. There is no need to install any drivers and the detection is
bazing fast due these are residing in kernel.
Follow these steps:
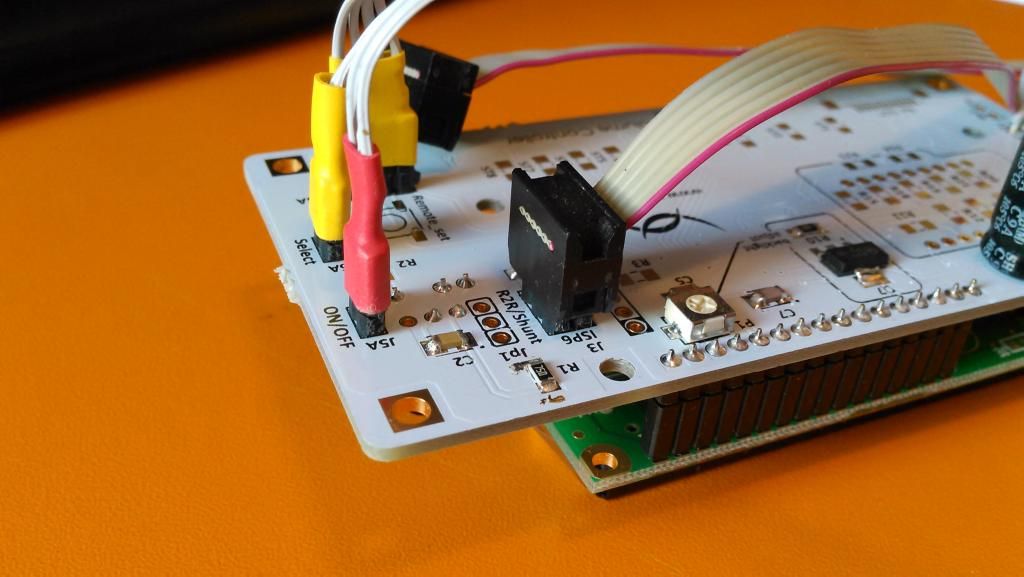
- connect volume-controller to ISP. Please note how ISP is connected.
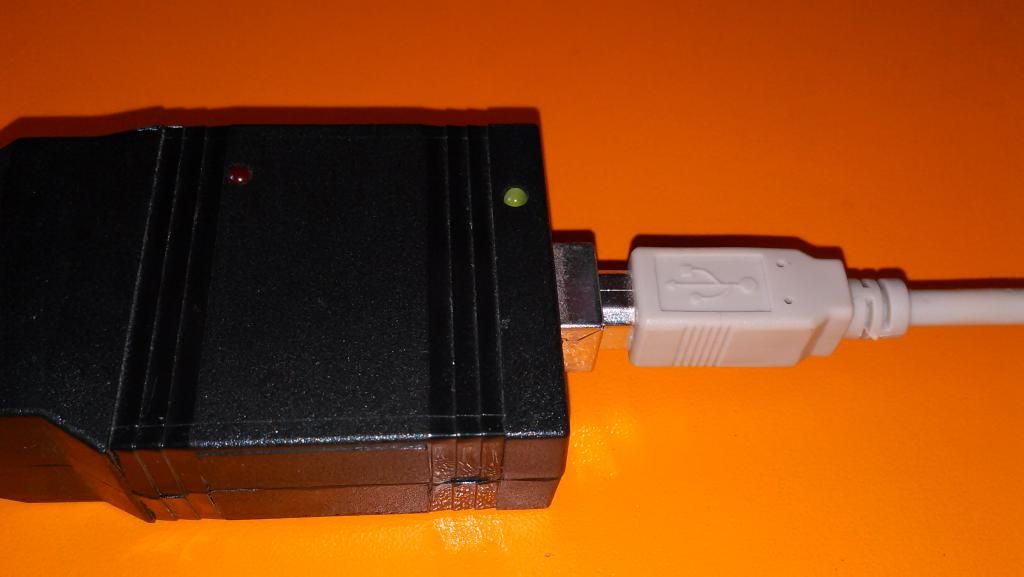
- connect ISP to PC usb. Green led should be ON.
- check if USBtiny is properly detected by OS.
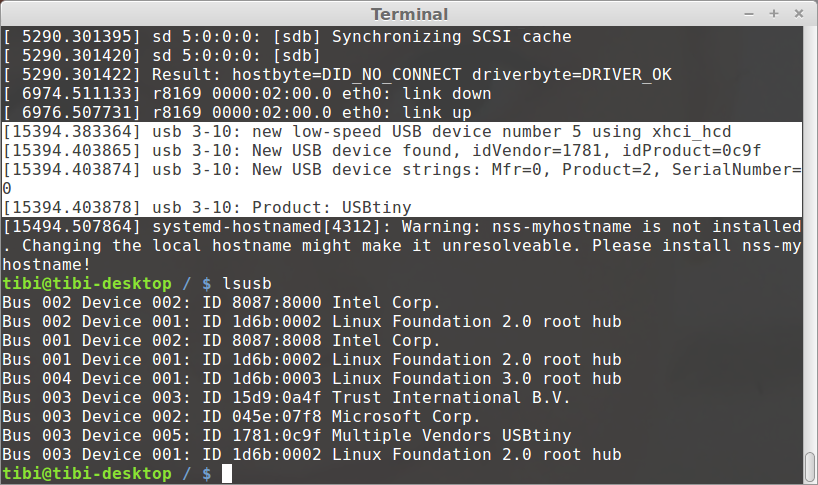
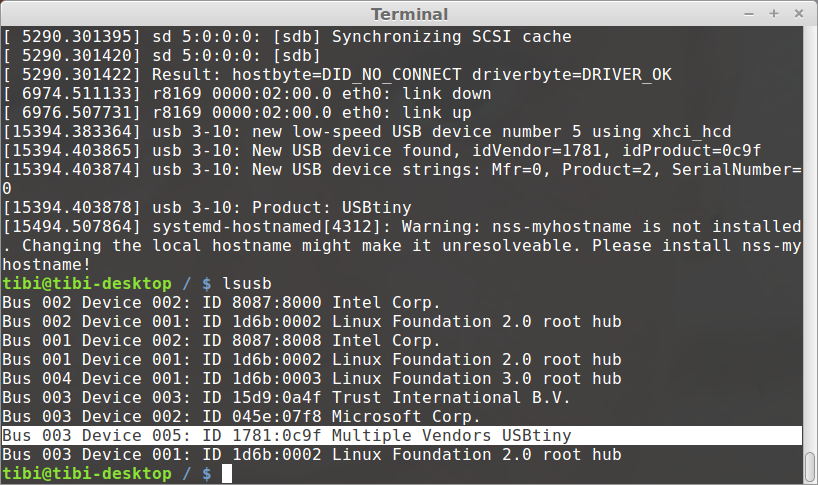
Type "dmesg" and press enter
Type "lsusb" and press enter
You should see output as per below images.
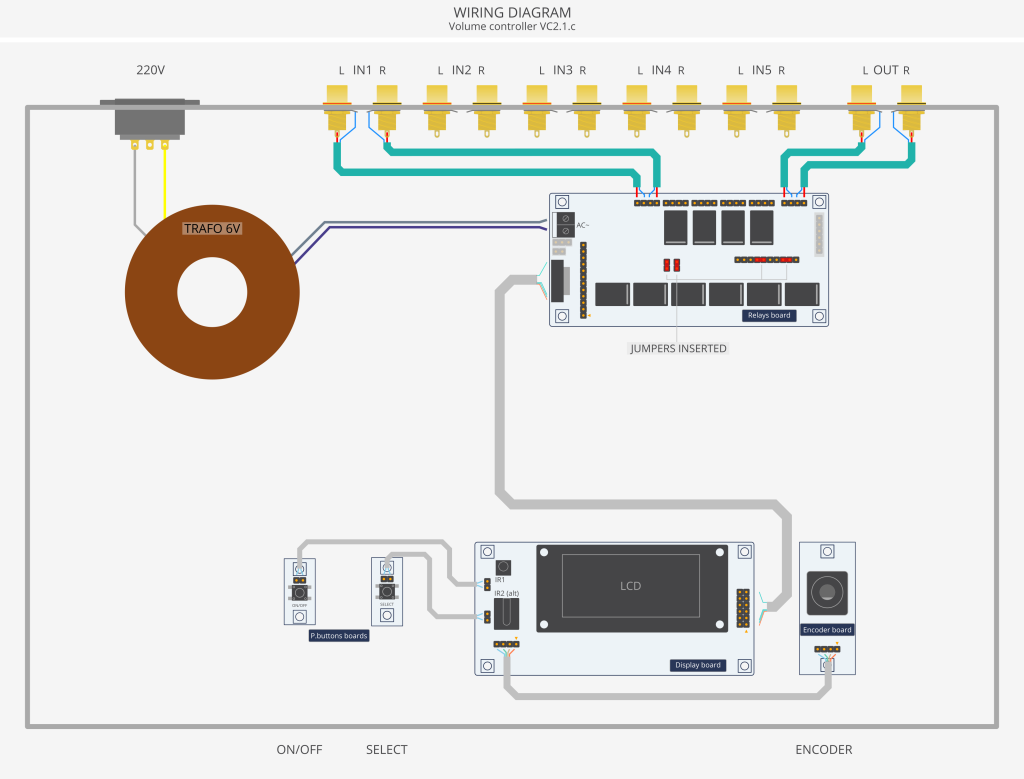
- power up your volume-controller from a 6V ac trafo or 9Vdc source and follow steps detailed in the document.
http://vicol-audio.ro/img/volume-controller/VA_r-2r_volume-controller_firmware.pdf
Ready to enjoy your volume-controller ?
Here is how to put all stuff together.
You may now solder LCD connector or solder LCD directly.
I prefer to use a connector in case I want later to replace LCD.
Following displays have been confirmed to work with this project:
OLED - WEH001602A
VFD - Noritake CU16025 UW
LCD - RC1602B-BIW-ESX
LCD - RC1602B-GHW-CSX
LCD - RC1602B-GHW-ESX
LCD - RC1602B2-BIW-CSX
LCD - RC1602B2-GHW-CSX
LCD - RC1602B-BIW-CSX
Prepare wiring and connectors for rotary encoder.
Due some differences between manufacturers you may need to twist middle wires on rotary encoder side. Please note on some encoders you may need to go straight.
Solder wires for push-buttons.
Add heatshrink for isolation and we are ready to go.
[h=Flashing firmware]%1[/h]
Vicol Audio provide two firmware files for flashing. One is without driven transistors and one is with driven transistors.
Both are providing same level of functionality. In our case we will use with transistors.
For AVR programming over SPI interface we are using to use USBtiny.
This can be purchased from Adafruit ready made or in KIT form.
Because ISP need often disconnect/connect from usb, it may be a problem on Windows as this will not detect properly the ISP.
I recommend you to use any linux distro, but on bare metal not VM. There is no need to install any drivers and the detection is
bazing fast due these are residing in kernel.
Follow these steps:
- connect volume-controller to ISP. Please note how ISP is connected.
- connect ISP to PC usb. Green led should be ON.
- check if USBtiny is properly detected by OS.
Type "dmesg" and press enter
Type "lsusb" and press enter
You should see output as per below images.
- power up your volume-controller from a 6V ac trafo or 9Vdc source and follow steps detailed in the document.
http://vicol-audio.ro/img/volume-controller/VA_r-2r_volume-controller_firmware.pdf
Ready to enjoy your volume-controller ?
Here is how to put all stuff together.