I wonder if anyone has used screws instead of clamps to keeps the brackets in place for gluing? Then once the glue dried out, I can remove all the scres. I don't have a lot of clamps so I guess I am trying to speed up the gluing process. Also, my cabinets have a lot of curved brackets so using screws may be easier as well.
Also do you need to remove the screws once the glue dried out? Are any disadvantage of leaving the screws in there?
I plan to use wood fills to cover the holes and veneer over the panels.
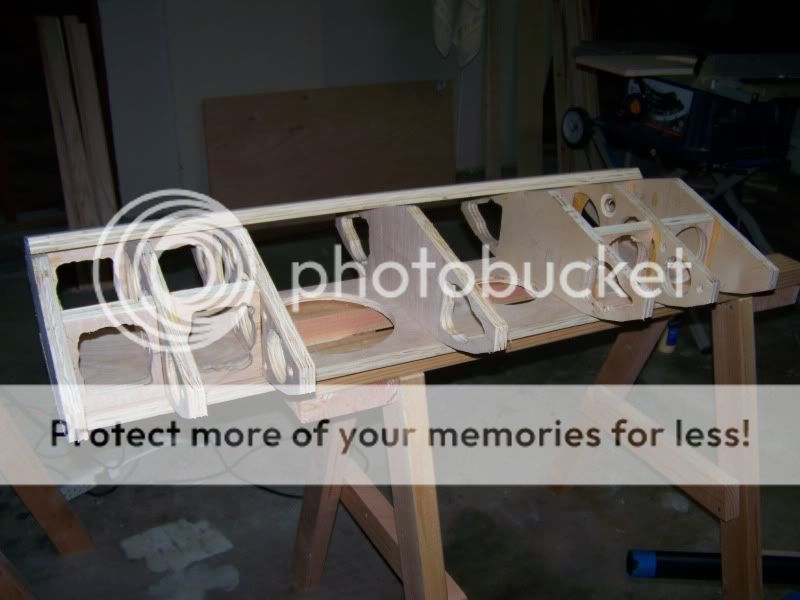
Pic of cabinet under construction:
Also do you need to remove the screws once the glue dried out? Are any disadvantage of leaving the screws in there?
I plan to use wood fills to cover the holes and veneer over the panels.
Pic of cabinet under construction:
Last edited:
Gosh Andy, is that a speaker cab or are you building a wing for your new airplane?
It's a wide baffle speaker that sort of like the Sonus Faber Stradivari. It's a design by Troels. I just try to copy his design.
Poor Man'
The cabinet is a pain, but the sound will be quite good as many have said.
")
They say: "the nail is a shame for the carpenter" not to mention screws... But I am not a carpenter
Especially when the contact faces don't align together well the screws are a painkiller.
Neither am I.
I like it when I have to do less work.Andy,
You are encourarged to screw without shame and there is no need to pull out (the screws) when finished!
ou are encourarged to screw without shame and there is no need to pull out (the screws) when finished!
Before Chris took over building, this was my technique. I owned no clamps (and never put a finish on the boxes).
dave
My cousin helped me with my first speaker cabinets. He used an air nailer. Then we tapped the finishing nails just a little below the surface for sanding. Used a little tool that you hit with a hammer to push the nail in a little. Finishing nails have very small heads, but still work great while glue dries. It was very fast and easy to do! Then I put glue mixed with wood dust in the little indentations that were left. Sanded, and looked like I didn't use anything
Rattle can'd it black and they still looked well made.
Rattle can'd it black and they still looked well made.
Gosh Andy, is that a speaker cab or are you building a wing for your new airplane?
I built a few (flying model) airplanes. More than a few, particularly if you count rebuilds.
One of the tricks I learned is to use superglue (fast) in conjunction with acrylic (tough and cheap and gap-filling) wood glue. You can use the superglue to tack hold parts in place while the acrylic goes off.
w
He used an air nailer. Then we tapped the finishing nails just a little below the surface for sanding.
If you use cleats, all the nails are on the inside except for the rear panel.
...a little tool that you hit with a hammer to push the nail in a little.
It's a "nail set".
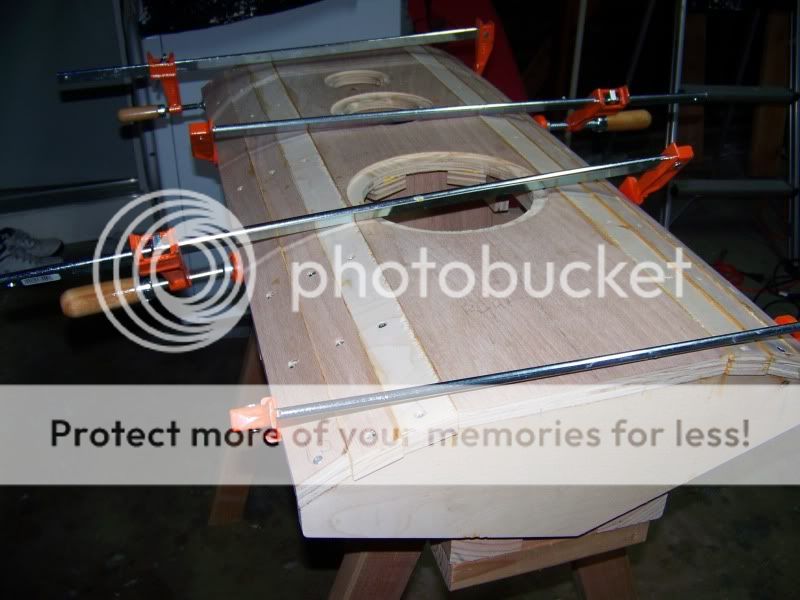
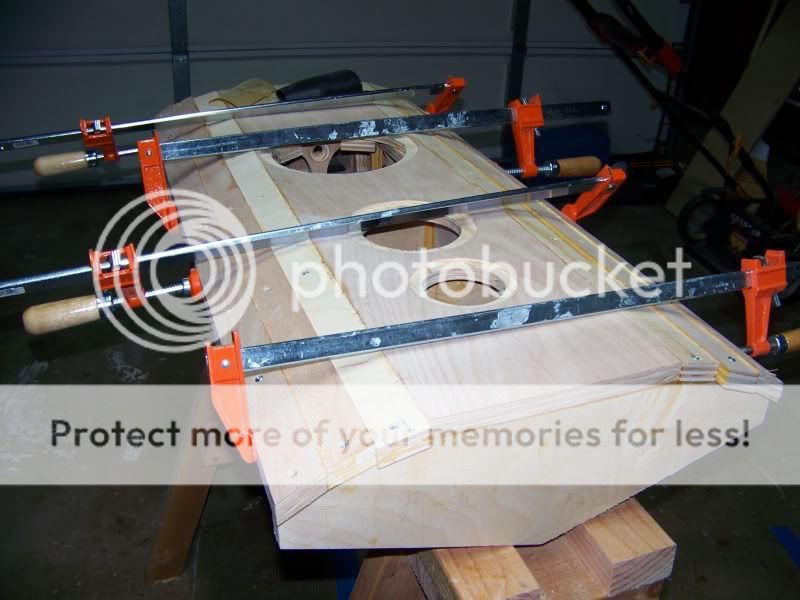
Just finished screwing the fronts together. I'll screw the backs tomorrow. Damn, all the works I put into these they better sound good.
There are quite a few uneven gaps on the outside but I think I'll use some type of wood fill to cover them up then sand them down flat. It's almost impossible to get all the panels aligned by themselves.
Any suggestion to smooth out the fronts?
Damn, all the works I put into these they better sound good. There are quite a few uneven gaps on the outside but I think I'll use some type of wood fill to cover them up then sand them down flat. It's almost impossible to get all the panels aligned by themselves.
Any suggestion to smooth out the fronts?
Last edited:
Love the look of that cabinets! Now I know that I am not the only ex air plane modelist who has had enough "Egyptian slave" nail less sanding and gluing
I used clear epoxy (100:1 epoxy to hardener) for the wing to body joint and only a drop per rib for the wing profiles. After that I relied to the fabric upholstery to keep the things together after its impregnated with low viscosity adhesive glue.
The same works very well with cabinets epoxy for the joints and then adhesive glue 1 inch in all directions from the joint. Henkel professional gets very hard in the end (grey colour) and can substitute the epoxy.
I assume you plan to go painted for the finish - if so I would deploy auto body filler or a fiberglas fairing compound to fill the voids with lots of sanding until smooth & flush. It looks like you were shooting for curves in the panels rather than flat. If that is your aim I would have used 1/4" ply for the panels and built up 3 layers over your framework with glue (epoxy) between the layers and a brad nailer to attach to frame and previous layers. It's much easier to get the thin material to follow the curves,
It's much easier to get the thin material to follow the curves,
Or use the thicker plywood but kerf cut it. For what it's worth now, I'd have made the front from one continuous piece, kerf cutting only at the curves of the ribs. This would have been seamless.
- Status
- This old topic is closed. If you want to reopen this topic, contact a moderator using the "Report Post" button.
- Home
- Loudspeakers
- Multi-Way
- Using screws instead of clamps to glue cabinets