I built the Aikido years ago and still use it. My board was maybe the second version, stereo 9 pin, and Broskie had suggested, but hadn't actually tried, to build it using a single 24v power supply by using 6GM8 tubes and then wiring the 4 filaments in series off the same 24v. I tried this and it worked, and still works to this day. The 24v supply I bought from InternationalPower.com. I stuffed the board, attached the supply, put in the tubes, and got music the first time I powered it up. I added a remote controlled attenuator/selector, and still use it with a wood box for the open frame PS and a sheet of steel bent in a U shape from HD for the electronics. Ugly as hell but it works well and I never have to get up from the couch.
Hi, my previous post is solved now.
Sven
Cathode of lower triode is at 0V, cathode of upper triode is on 150V. If heater is biased to 75V it has a delta of 75V to each cathode.Now the first part i am struggling with: i only have one heater per tube, but two triodes. In the Aikido there are connected in series, so as i understand lower triode sees 0-150V B+ and the upper triode 150-300V. Isn't there a violation of heater to cathode voltage for the upper triode?
Seems to be a mistake in the manual.Second part: In the Aikido manual are also some recommended values for the components (page 14). Against the recommendation described before (page 5), here the recommended values for the heater-to-cathode voltage divider is 300k/300k...
Sven
BUILD THIS PREAMP!!
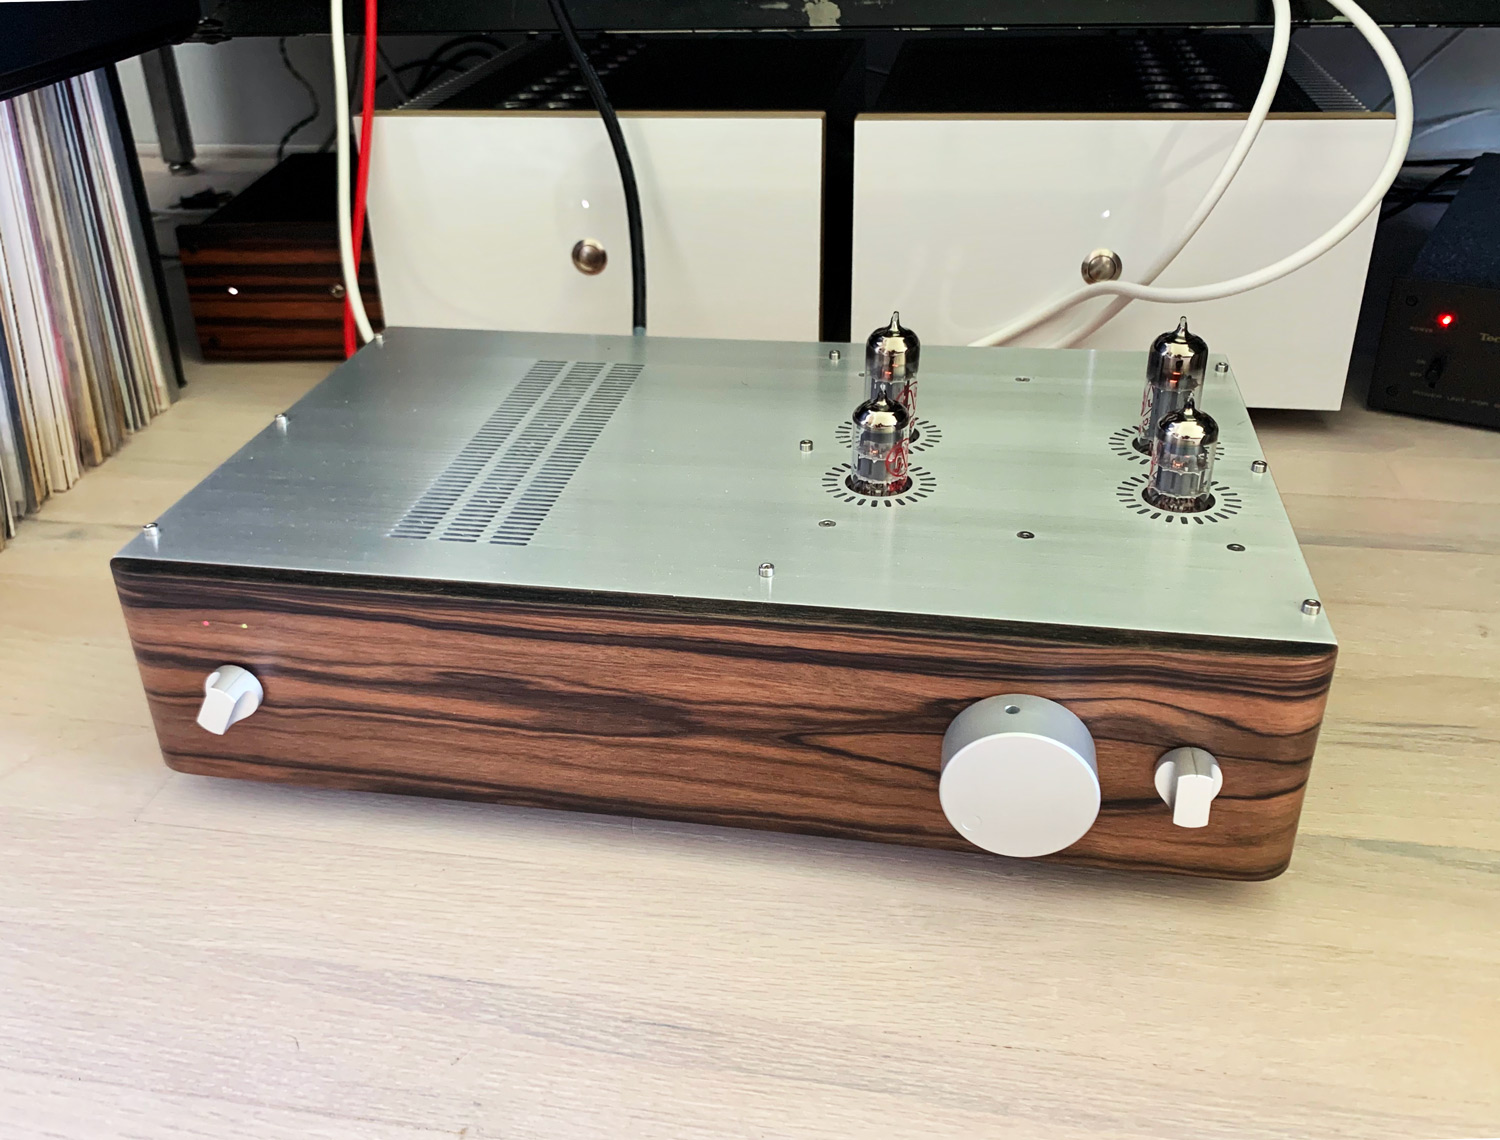
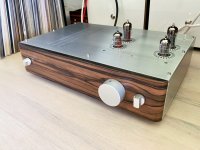
I'm updating this thread with my recent build of the Aikido Pre. This amp has absolutely transformed my system—and I have built a couple of preamps so far... This was the first tube based pre—first tube project ever actually. To be fair—its awesomeness is probably a combination of factors, power amps and phono pre and DAC combos as my system has evolved—but I seriously love this amp (Family agrees). Having a hard time seeing how I would change it for anything else at this time...!
Probably the most complex build I've done to date—in terms of options and configurations and high voltage!—I tried to simplify the process (a hair) by just following John's "test" build as described on the Aikido Noval page of the version I built here: Aikido Noval Stereo
and selecting—12AU7 input tubes and JJ ECC99 output tube and all the caps he offers on the page plus the Stereo-Freq and Selector for 3 inputs.
In the description he recommends this PSU: PS-21
I also used his AC Switch for 2 stage power, with a "family orientation" process, everyone waits for 10 seconds for heater love before hitting the B+. I did also consider the HV Delay—built it actually—From the diyaudiostore—but in the end the AC switch was easier.
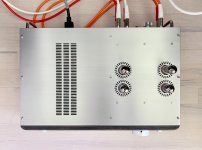
Besides gaining an understanding of how it all works...awesome learning to be certain...it was necessary to setup a test environment (on an open piece of plywood) to test all the PSU components separately before ever considering what to put it all in... That came later. I'm at a point where my preference is to build my own chassis from scratch..from raw aluminum and also some cutting services that you can find online.
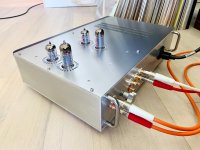
If anyone wants details on this... ask away. It was a great journey. Voltages are: 2x 12VDC heaters, B+ is 250VDC. One of the hardest parts was sourcing transformers—the fact that I ended up with toroids wasn't a bad thing since due to the super sized caps on the Aikido board there was plenty of room in the chassis... I always like to make a build as compact as is reasonably possible.
I'm updating this thread with my recent build of the Aikido Pre. This amp has absolutely transformed my system—and I have built a couple of preamps so far... This was the first tube based pre—first tube project ever actually. To be fair—its awesomeness is probably a combination of factors, power amps and phono pre and DAC combos as my system has evolved—but I seriously love this amp (Family agrees). Having a hard time seeing how I would change it for anything else at this time...!
Probably the most complex build I've done to date—in terms of options and configurations and high voltage!—I tried to simplify the process (a hair) by just following John's "test" build as described on the Aikido Noval page of the version I built here: Aikido Noval Stereo
and selecting—12AU7 input tubes and JJ ECC99 output tube and all the caps he offers on the page plus the Stereo-Freq and Selector for 3 inputs.
In the description he recommends this PSU: PS-21
I also used his AC Switch for 2 stage power, with a "family orientation" process, everyone waits for 10 seconds for heater love before hitting the B+. I did also consider the HV Delay—built it actually—From the diyaudiostore—but in the end the AC switch was easier.
Besides gaining an understanding of how it all works...awesome learning to be certain...it was necessary to setup a test environment (on an open piece of plywood) to test all the PSU components separately before ever considering what to put it all in... That came later. I'm at a point where my preference is to build my own chassis from scratch..from raw aluminum and also some cutting services that you can find online.
If anyone wants details on this... ask away. It was a great journey. Voltages are: 2x 12VDC heaters, B+ is 250VDC. One of the hardest parts was sourcing transformers—the fact that I ended up with toroids wasn't a bad thing since due to the super sized caps on the Aikido board there was plenty of room in the chassis... I always like to make a build as compact as is reasonably possible.
Attachments

Thanks! Dual mono worth it? It's not like I need that big of an excuse to build another one ;-) (I skipped dual mono for power amps and jumped straight into mono blocks, in pics, which was definitely worth it)... would be interested in dual-mono PSU details for Aikido pre...
Member
Joined 2009
Paid Member
I’d be interested in what transformers you used. I’ve had my 9 pin sitting around forever and I need to just get it built. Also, that chassis is exactly what I’ve been thinking. You had that custom cut? I have the PS-1 PS.
Probably have more questions but that’s all I can think of right now [emoji16]
Probably have more questions but that’s all I can think of right now [emoji16]
B+: Antek
A little bit "not perfect" since I cut and made safe all of the secondaries except 200 (white and yellow).
2x 12VDC: Hammond
Looks like the PS-21 vs PS-1 differ in their heater setup.
These guys do a great cutting job: Sendcutsend
I'm happy to provide my files... They are in Adobe Illustrator...which can be directly uploaded to Sendcutsend prior to selecting materials and thicknesses. Likely you will need to mod them... and putting a finish on raw aluminum isn't super simple...
Weird, musta been a mis-paste... Antek: AS-05T200 - 50VA 200V Transformer - AnTek Products Corp
Might be a single transfo solution with 6.3V heaters... I have no idea what that means from an audio standpoint, personally...
zip attached of AI files.
Might be a single transfo solution with 6.3V heaters... I have no idea what that means from an audio standpoint, personally...
zip attached of AI files.
Attachments
Last edited:
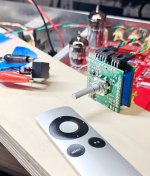
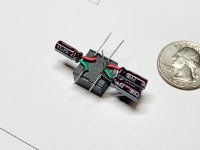
Guys—Muses inside my Aikido!—NICE. Apple remote. SMPS swticher off a heater supply to power it. Works dreamy. See pics. Sounds great—Kinda huge really.
Nice boards—small parts—but doable by hand:
https://www.diyaudio.com/forums/swap-meet/322983-muses-volume-20.html#post6321617
Nice boards—small parts—but doable by hand:
https://www.diyaudio.com/forums/swap-meet/322983-muses-volume-20.html#post6321617
Attachments

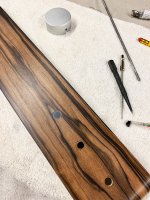

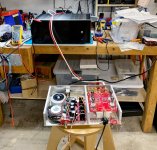
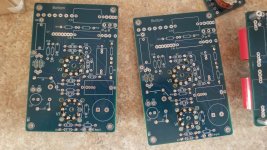
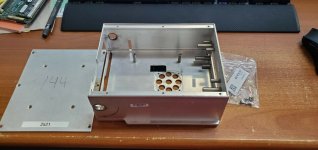
Hi all. New to this thread. I bought a box of stuff from a guy who didn't have the time or desire to complete the pre amp.
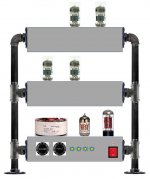
I plan on building a three tiered pre goning into my compaction amp driving my Radio Shack Minimus 11s.
I'm sure I'll have many questions along the way. Here is a mockup of the amp and I'll post pix of the boards and such when I get home.
I plan on building a three tiered pre goning into my compaction amp driving my Radio Shack Minimus 11s.
I'm sure I'll have many questions along the way. Here is a mockup of the amp and I'll post pix of the boards and such when I get home.
Attachments
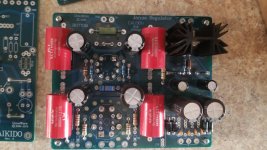
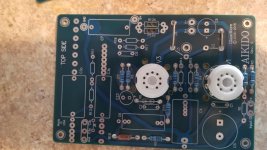
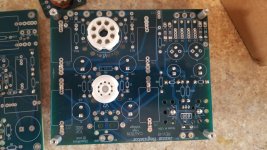
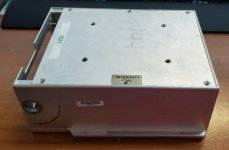
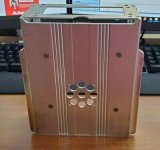
Here are pix of what I have. I have everything to complete this with the exception of the power transformer.
Attachments
Last edited:
I built the Aikido years ago and still use it. My board was maybe the second version, stereo 9 pin, and Broskie had suggested, but hadn't actually tried, to build it using a single 24v power supply by using 6GM8 tubes and then wiring the 4 filaments in series off the same 24v. I tried this and it worked, and still works to this day. The 24v supply I bought from InternationalPower.com. I stuffed the board, attached the supply, put in the tubes, and got music the first time I powered it up. I added a remote controlled attenuator/selector, and still use it with a wood box for the open frame PS and a sheet of steel bent in a U shape from HD for the electronics. Ugly as hell but it works well and I never have to get up from the couch.
Hi Z. what remote controlled attenuator/selector did you use?
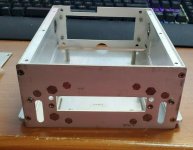
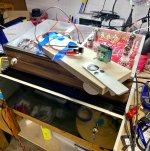
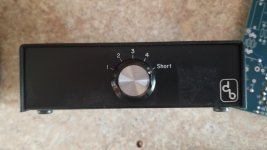
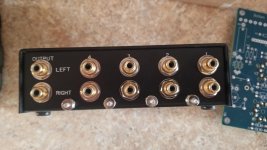
Forgot this pic of the top. There will be a volume pot and output to the amp in each of the signal board boxes.
In the bottom box will be the 4 inputs and selector switch and a master volume control which will drive a chain up to both volume pots in the signal boxes.
In the bottom box will be the 4 inputs and selector switch and a master volume control which will drive a chain up to both volume pots in the signal boxes.
Attachments
- Home
- Amplifiers
- Tubes / Valves
- Building a Aikido preamplifier