vitalstates said:Rule 6... I know the pythons said there was no rule 6, but in this case there is......
I'll bite, OK then... whats rule 6......
DTB
chrisb said:
We apply felt damping material to all internal panels, including approx 1/2 the driver brace immediately behind the driver. Leave clearance for "breathing room" at the internal openings of slots.
Aha! Rule 6, re-read ones own thread before askig questions
")
DTB
chrisb said:Well since I didn't actually state it before; no I don't cut matching holes in the felt on the driver brace . I glue the brace in first, and as you're likely finding, once the panels start going together, there isn't a lot of elbow room inside.
Oh, I see. I was going to release the clamps in a few mins then glue-in the woolfelt to the baffle/inner sides/to and bottom then glue-in the brace (with the woolfelt already in postion) to save having to stick my little mitts into wooly holes <sniggers> Oooh, that sound almost rude

Back soon, the shed...ahem..'workshop' beckons...!
DTB
Dave the bass said:
Oh, I see. I was going to release the clamps in a few mins then glue-in the woolfelt to the baffle/inner sides/to and bottom then glue-in the brace (with the woolfelt already in postion) to save having to stick my little mitts into wooly holes <sniggers> Oooh, that sound almost rude
Back soon, the shed...ahem..'workshop' beckons...!
DTB
that certainly sounds like a slideshow requiring credit card subscription

As I noted earlier, feel free to vary the fabrication / assembly process in any manner that makes sense to you. I frequently preglue the felt to the sandwich side wall panels, and of course always to the last panel installed (in my case the backs)
chrisb said:no I don't cut matching holes in the felt on the driver brace
The most important part of any felt on the driver brace is over the holes. LF will not see the felt, but the brace positions the felt in the best possible place (put it on the side that places the felt at the centre) to reduce/kill any standing waves traversing from one side of the cabinets to the other thru the holes. At this oint it should be also noted that the holey brace also makes the side-to-side distance much more complex.
dave
chrisb said:
As I noted earlier, feel free to vary the fabrication / assembly process in any manner that makes sense to you. I frequently preglue the felt to the sandwich side wall panels, and of course always to the last panel installed (in my case the backs)
Yep, for me as a newbie doing it 'my' way just makes things a bit easier visually, if I had the felt in position I'd have struggled to see if joints are rammed up tight and in the right place. I scribed a series of alignment marks over the inside of the cab when I was 'dry-fitting' so that when I came to glue-up I'd have a good idea if the all the panels were sitting in the right place. Yes, the backs will be the last to go on in this build too.
planet10 said:
The most important part of any felt on the driver brace is over the holes. LF will not see the felt, but the brace positions the felt in the best possible place (put it on the side that places the felt at the centre) to reduce/kill any standing waves traversing from one side of the cabinets to the other thru the holes. At this point it should be also noted that the holey brace also makes the side-to-side distance much more complex.
dave
Aaaaaah! So the felt just goes onto one side, doh! I've yet to glue the brace in so can remove the felt from one side if needs be, I saw Chris mention earlier that certainly covering the brace at least half way back behind the driver is advisable. I've gone completley over the holes so at least I got that bit right! I'll just cover one side tommorrow, the one nearest the centre of the cab. Got it! Thanks for the help Dave.
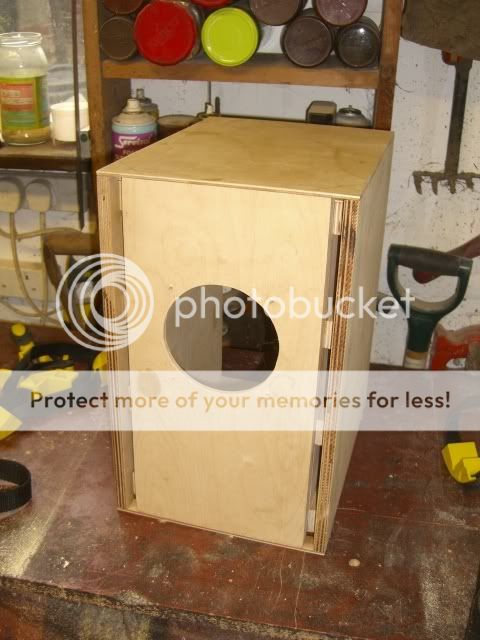
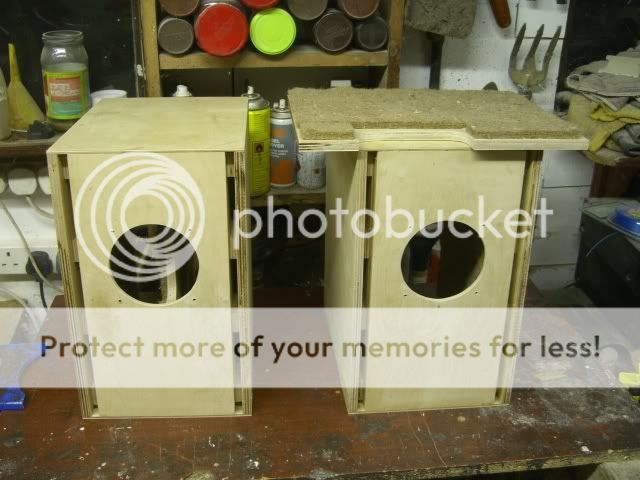
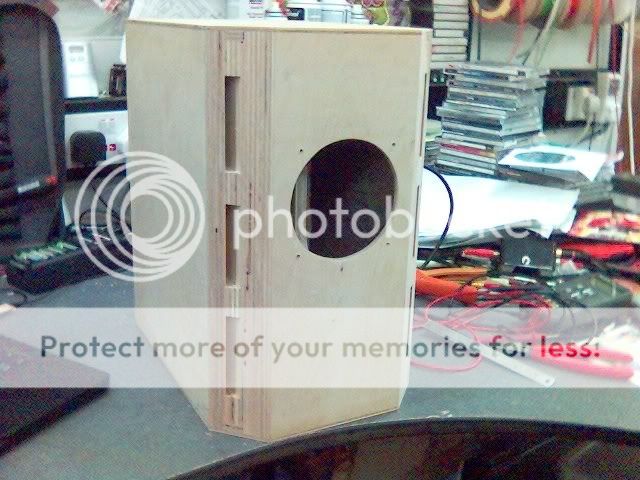
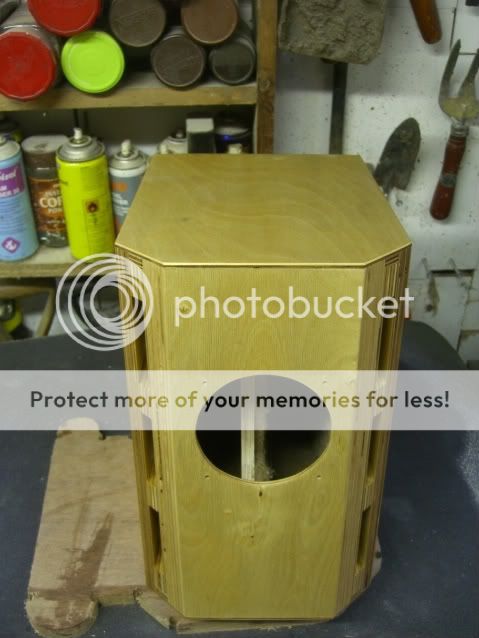
So, tonight the clamps came off cab 'A' and voilà...
...and from the inside...
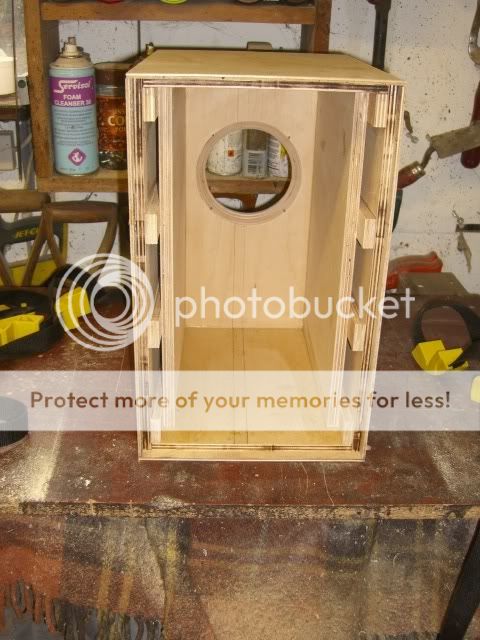
I'm pleased with all that so far.
Next up was to glue-up Cab 'B', same process and clamps as last night so not really worth taking the same piccies. Cab 'B' went together easier as I had everything to hand after last nights sticky sesh.
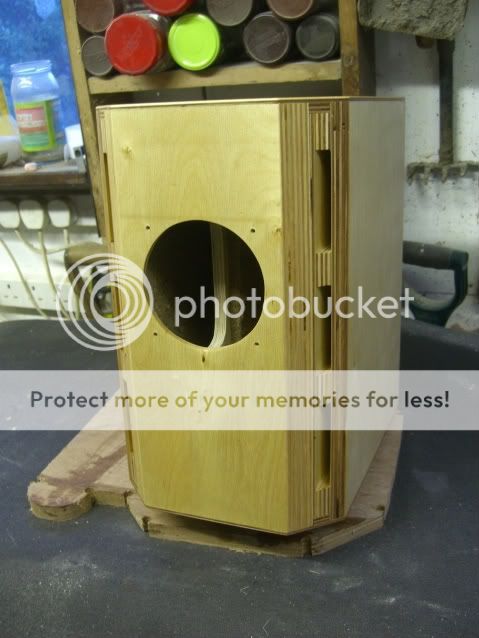
After that I started the woolly work, cutting the felt pieces to line the inside and glueing them in. It was like being back in Primary School again (which suits my level of intellect BTW!)...
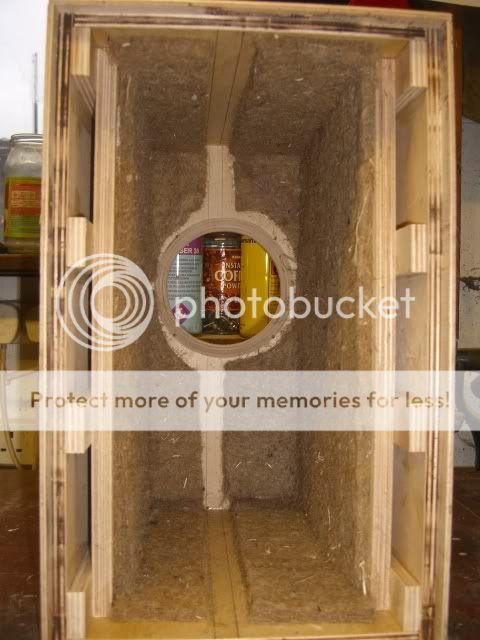
...and a view from the front of the double felted (oops) not-glued in brace. I'll recover it tomorrow night on just one side as per Dave D's advice.
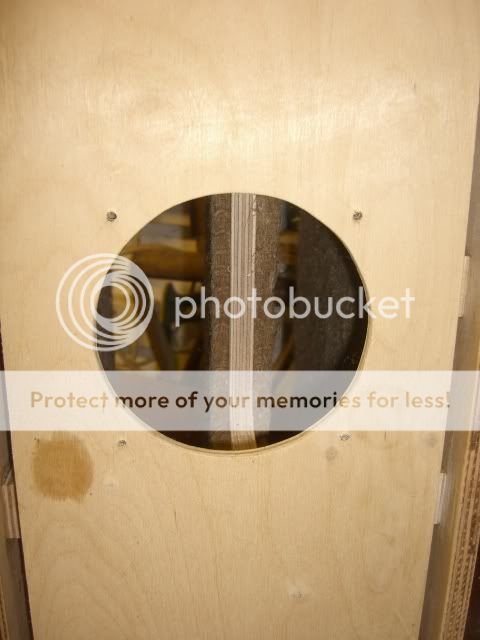
The annoying round marks on the front of the cab just below the driver cut-out is from a smear of oil I found on the little rubber covers on the big clamps, I dunno how it got there but it's marked the cab. The photo makes it look worse than it actually is, I was going to finish the cabs in a natural Danish Oil finish, hopefully I can blend the mark in with the finish. <fingers crossed>
As ever, thanks Chris and Dave for all the advice and input.
DTB
Starting to look mighty familiar
A couple more suggestions:
Try "Gun-wash" thinners, Varsol, or other toxic volatile petro-chemical based solvent to strip the oil from the plywood, and a thorough sanding down to at least 220G before applying your finish. I doubt the oil from the clamps and the Danish oil's finish are compatible, so the stain will likely not blend in - if anything it will be pronounced.
Before you glue the cabinet together, apply some wide painters masking tape overlapping the inside of the driver cut-out. If the box is already together, try tucking some paper under the edges of the felt padding on the back side of the front baffle. This will prevent sanding dust and/or finishing products from contaminating the felt.
Since my front panels are routed on a CNC machine and include rebate for flush mounting the drivers, I'm able to mask off the front of the driver cutout after veneering, and before sanding and spraying of lacquer finish.
Yup, Re- masking tape...will do Chris, thanks for the tip.
I had to stick the wand from our hoover down the insides of the MLTL's to remove sanding dust last time, live and learn!
Yes, I'll try and remove the oil mark too, bummer really, couldn't really be in a worse place could it
I'll strip one side of the brace tomorrow and fully cover the side nearest the centre.
If I have enough time hopefully I'll be able to felt-up Cab 'B' and its brace too, got other jobs for tomorrow night already
Just a thought, I've noticed that the joiners in the workshop next to mine put a very small radius edge on the side of any work they do in ply (which is rare, it's mostly Trespa they work with). I think they said it was to prevent the ends of the veneer/plys lifting or being 'caught' and damaging the finish. So is there any reason (sonically or otherwise) why I shouldn't apply a small radiused edge on the 90degree edges of the cabs?
DTB
PS. I think routing out the driver to it sits flush with the front is beyond my router skills at the mo, maybe one day, who knows
It would probably be just as easily break the edges with a sanding block and 150G or so paper. Use the PSA backed pads designed for 6" diameter power sanders with a hard sanding block for easing the edges, and a cork backed pad for sanding the flat surfaces. Stuff some cotton balls in the the vents to keep the dust out - they can be easily removed later.
In fact if the router bit's not deadly sharp and depending on the plywood, you can get chip-outs when routing cross grain - and of course mr Murphy would guarantee that to happen on the most highly visible edge.
In fact if the router bit's not deadly sharp and depending on the plywood, you can get chip-outs when routing cross grain - and of course mr Murphy would guarantee that to happen on the most highly visible edge.
Cheers for the tips re-cab finishing Chris, I've got some off-cuts I'll play with sanding and edging on these first before committing to the cabs.
Busy Bunny again tonight, late finish down the shed.
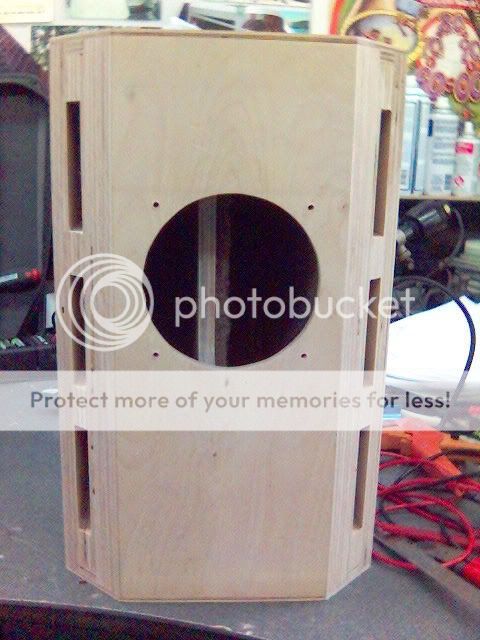
Clamps came off Cab 'B' tonight so introduced him to his twin, Mr 'A'.
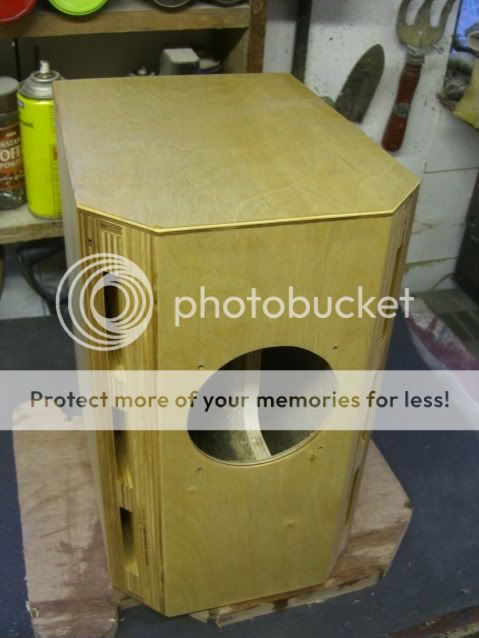
Then I removed one side of the felt I glued onto the brace last night and recovered all the side nearest the centre of the cab side as per Mr D's instructions then glued in the brace, which leaves Cab 'A' looking yummy and nearly finished...
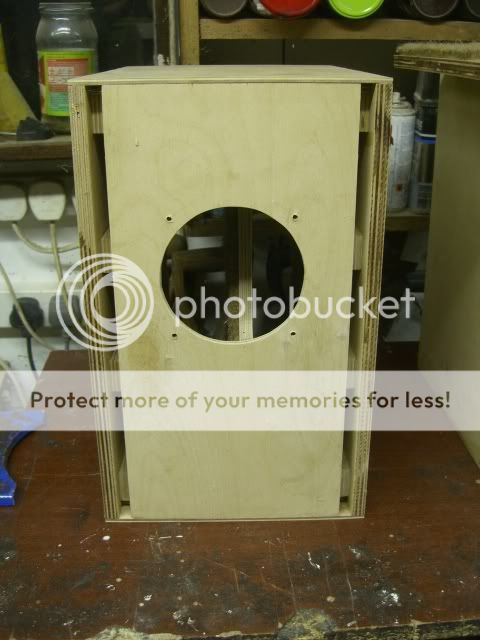
I refitted the FE127 temp to make sure the fit on the brace was still good and thankfully it is. I used a piece of paper to check the driver magnet housing is up tight against the brace cut-out, bang on. Yesssssssss, success
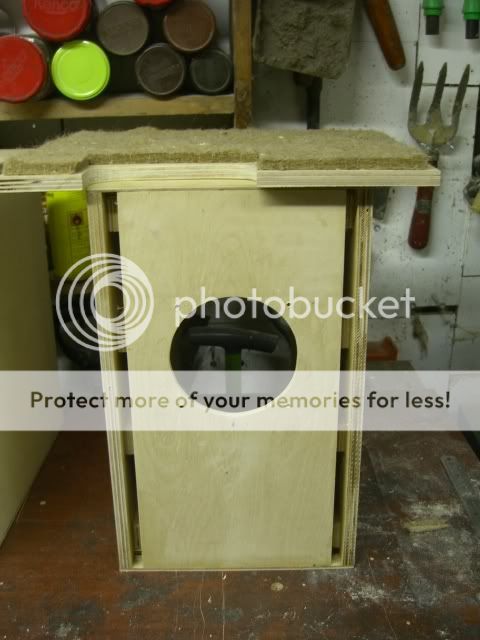
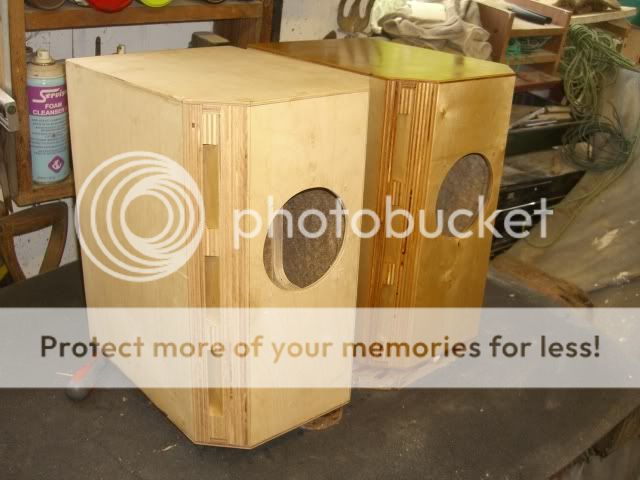
Next up was to cut and fit Fuzzy felt into cab 'B' and then do one side of the brace which leaves cab 'B' looking like this...
Knackered, off to bed now, night night.
DTB
Busy Bunny again tonight, late finish down the shed.
Clamps came off Cab 'B' tonight so introduced him to his twin, Mr 'A'.
Then I removed one side of the felt I glued onto the brace last night and recovered all the side nearest the centre of the cab side as per Mr D's instructions then glued in the brace, which leaves Cab 'A' looking yummy and nearly finished...
I refitted the FE127 temp to make sure the fit on the brace was still good and thankfully it is. I used a piece of paper to check the driver magnet housing is up tight against the brace cut-out, bang on. Yesssssssss, success
Next up was to cut and fit Fuzzy felt into cab 'B' and then do one side of the brace which leaves cab 'B' looking like this...
Knackered, off to bed now, night night.
DTB
So, the braces have now been glued in place and this morning the backs got glued into position after a jolly good hoovering out...
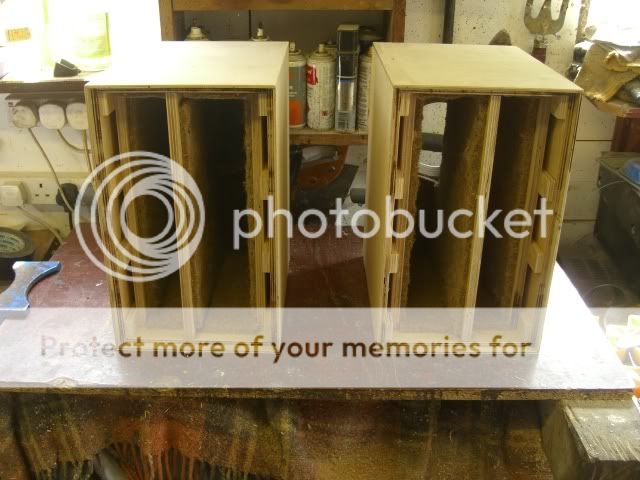
...then 'cos it was sunny and warm I left the cabs to dry outside...
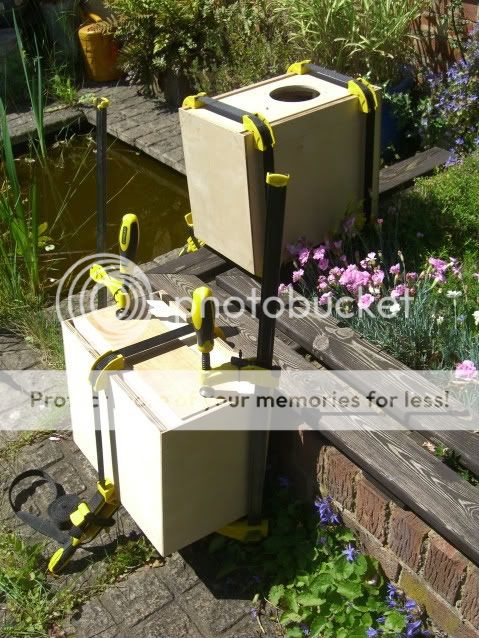
Looks like an advert for Stanley clamping devices dunnit
Next bit is to get the pesky 45degree angles cut then it's time to start rubbing down (the cab's not me BTW) and glue on the 4mm Terminal blocks.
Getting there.
DTB
...then 'cos it was sunny and warm I left the cabs to dry outside...
Looks like an advert for Stanley clamping devices dunnit
Next bit is to get the pesky 45degree angles cut then it's time to start rubbing down (the cab's not me BTW) and glue on the 4mm Terminal blocks.
Getting there.
DTB
chrisb said:Nice work - probably the toughest single cut on the hole cabinet. You're definitely down to the short strokes now.
enjoy
Thanks Chris, it's thanks to Mr Friendly Joiner next door that I got those cuts done. He reckoned I'd done OK too but noted I had a 0.5mm twist on one of the sides of the cabs so I wouldn't get a job with him
He's hard on me. I'll 'diss' his soldering next time he wants help DTB
Ooooooh my right arm aches (stop thinking that you durty boys )
Lots of sanding and finishing down the shed tonight. I experimented with different routing depths and profiles and decided I'm not good enough/my router bit is too worn to risk putting a tiny bevel on the edge all the way round so I went 'Organic' and did it myself with a sanding block as suggested!
Boo...burn marks and some chipping on my test piece...
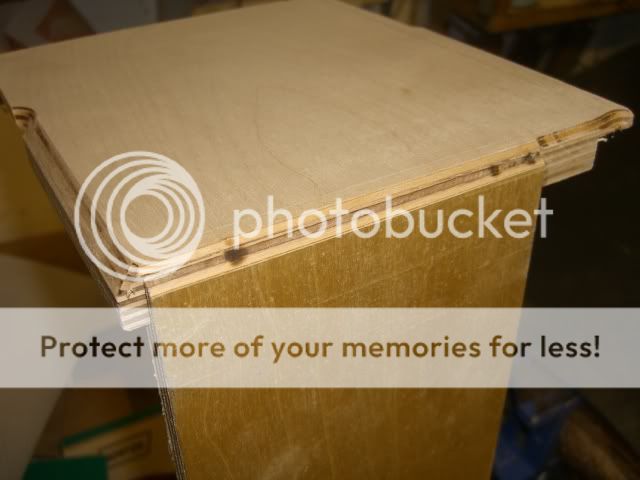
...but the 'hand edging' looks fabbo...

Then it was time to pay attention to the sanding and finishing, I went from 120G flattening (it says on the packet) up to 400G wet and dry, super smooth finish. Quick wash down with White Spirit to remove any dust and oil (that mark seems to have gone whahey) then once the cab was dry it got a good soaking with Danish oil.
Tonight Cab 'A' looks like this...
and
Oh yes. More tomorrow night, Cab 'B' should get the chop too.
DTB
)Lots of sanding and finishing down the shed tonight. I experimented with different routing depths and profiles and decided I'm not good enough/my router bit is too worn to risk putting a tiny bevel on the edge all the way round so I went 'Organic' and did it myself with a sanding block as suggested!
Boo...burn marks and some chipping on my test piece...
...but the 'hand edging' looks fabbo...
Then it was time to pay attention to the sanding and finishing, I went from 120G flattening (it says on the packet) up to 400G wet and dry, super smooth finish. Quick wash down with White Spirit to remove any dust and oil (that mark seems to have gone whahey) then once the cab was dry it got a good soaking with Danish oil.
Tonight Cab 'A' looks like this...
and
Oh yes. More tomorrow night, Cab 'B' should get the chop too.
DTB
Cab 'B' got the chop at lunchtime, this time Mr Friendly Joiner chap said the Cab was a good 'un and I might get the job afterall
Slight mishap transporting it home in my bag (all the best speakers are treated to a 42 mile commute on the on the back of my Motorbike, it's a trade secret...!) ) has caused a small piece of the laminate to lift, it must have got caught on summink as I was putting it in the bag.

Naturally Mr Murphy dictated that it be on the front edge, doh! It doesn't show too much thankfully and the Oil finish blends in the damage to some degree...
So Cab 'B' got a proper sanding down tonight, then a wipe down with white spirit and when dry the first coat of Danish oil.
Before applying I took a piccie to show just how lovely the treated cab looks. Looks more like the sort of Teak Furniture my Mum and Dad used to have in the 1970's!!! I like the darker finish now, it makes them look like relics from the 1930's or summat which is handy considering what I live in.
Cab 'A' has had 3 coats and will get buffed soon to finish orf. then it's just a case of drilling a small hole in the back for the LS Cables then leave running for at least 100 hours down the shed face to face in anti-phase to run the little beasties in.
Nearly there. Oooooo, exciting.
DTB
Slight mishap transporting it home in my bag (all the best speakers are treated to a 42 mile commute on the on the back of my Motorbike, it's a trade secret...!) ) has caused a small piece of the laminate to lift, it must have got caught on summink as I was putting it in the bag.
Naturally Mr Murphy dictated that it be on the front edge, doh! It doesn't show too much thankfully and the Oil finish blends in the damage to some degree...
So Cab 'B' got a proper sanding down tonight, then a wipe down with white spirit and when dry the first coat of Danish oil.
Before applying I took a piccie to show just how lovely the treated cab looks. Looks more like the sort of Teak Furniture my Mum and Dad used to have in the 1970's!!! I like the darker finish now, it makes them look like relics from the 1930's or summat which is handy considering what I live in.
Cab 'A' has had 3 coats and will get buffed soon to finish orf. then it's just a case of drilling a small hole in the back for the LS Cables then leave running for at least 100 hours down the shed face to face in anti-phase to run the little beasties in.
Nearly there. Oooooo, exciting.
DTB
AdamThorne said:Super nice! Looking forward to the comparo w/ the other speakers...
How did you end up removing the oil spot from earlier? Was it just with the sanding, or something else..?
Thanks Adam, WRT the oil blob well.. a combination of things really. Firstly almost half of it has been cut off when the 45degree chop was done, secondly white spirit and some canny sanding with 400G Wet n Dry saw to the rest of it. With the first coat of Oil on it seems to have vanished, phew.
Pure jammy luck I'd say on the whole
Chris advised a few solutions too a few post back, looks like I won't have to resort to any of them no thankfully.DTB
- Status
- This old topic is closed. If you want to reopen this topic, contact a moderator using the "Report Post" button.
- Home
- Loudspeakers
- Full Range
- As James Brown (almost) used to say... "Make it Fonken...!"