A local skaters 21st Birfday skate and dwinky last night so no work done yesterday evening but tonight was productive.
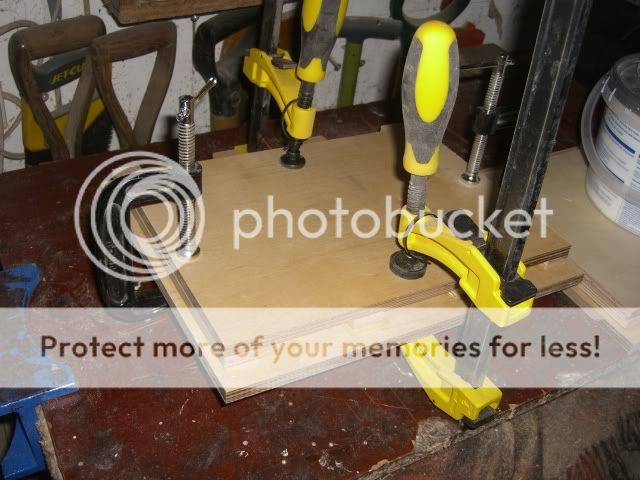
Each of the outside panels 4 Port-spacers glued to the Outer-side panel. Lots of dry assembling and marking out to get everything in the right place and square (see... I'm learning!). The inner panel piece isn't being glued yet, it's just there to hold the port spacers flat and in position while the glue dries. I didn't want to rush and risk gluing too many things together in 1 go.
and...
Late night last night, time for bed!
Night Night
DTB
chrisb said:yeppers, this is not as quick a build as a BIB - the 3 layers that make the sandwiched side panels are easy to mess up, and nothin'll fit square if they're off.
Yup, that's why I'm really being careful with it and doing lots of dry assembling before committing to glue.
It really helps having the cab front-back-bottom-top being temp held together in a bailey box clamp. That way I can just slide the whole assembly together over the sides to make sure I've got everything lined up and square.
More work tomorrow.
TTFN,
DTB
gurley123 said:Man DTB, you have got my project fingers itching. Unfortunately I have a drywall job in the garage that takes precedent.
Off Topic: Remember June 21st is Go Skateboarding day!
Cheers doode, quit talkin' an' get a-cuttin'
See that? I talked Amerrycan Yeah, we normally hit our local skate spots on the 21st.
..and the 22,23,24,25,26,27,28th etc etc etc
Where's your nearest goodly skate spots matey?More gluing and clamping.
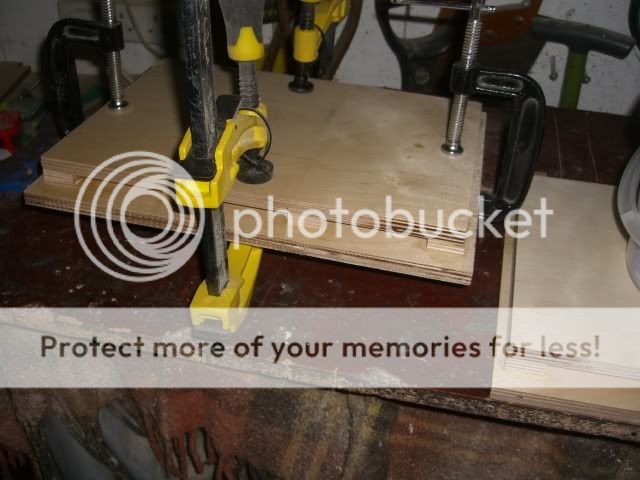
Loadsa clamps to hold each inner side panel on...

...which when dried looks nice and strong and neat like this...
Brace cutting next
TTFN
DTB
chrisb said:It's definitely not possible to have too many big clamps in your shop, - although when you get to the final assembly steps you'll see it's sometimes hard to have enough room on a small enclosure to actually fit them all on the box.
When Chris was doing the 1st µFonkens one could hardly see the box for the clamps
dave
I've got a few more Bailey Box clamps I had to buy for the MLTL build in addition to those that are in the piccies, thats the beauty of buy stuff really innit, once you've bought something you think you're only going to use once you end up using them all the time
Bit of brace tweakage tomorrow if I get time, got 2 major Gigs to go to this weekend.
DTB
Bit of brace tweakage tomorrow if I get time, got 2 major Gigs to go to this weekend.
DTB
Question for the panel...
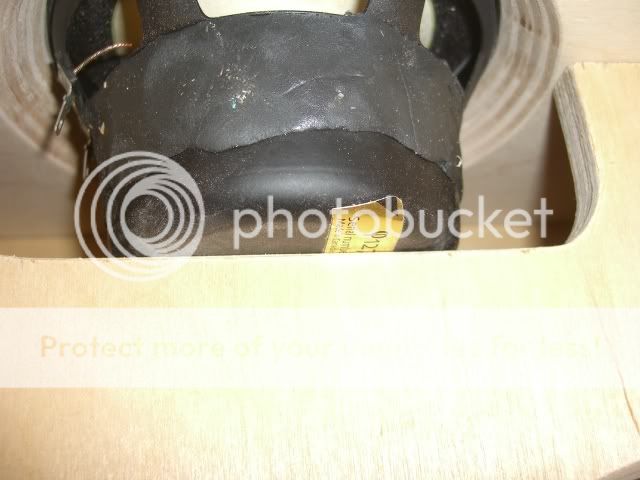
The FE127's come with a foam ring/gasket that fits between the metal speaker frame and the baffle front. Does this have to be completely squashed IE- So that the metal of the frame is tight against the wood of the baffle?
I'm not too sure and I'm hoping to cut the brace soon.
DTB
The FE127's come with a foam ring/gasket that fits between the metal speaker frame and the baffle front. Does this have to be completely squashed IE- So that the metal of the frame is tight against the wood of the baffle?
I'm not too sure and I'm hoping to cut the brace soon.
DTB
Dave the bass said:Question for the panel...
The FE127's come with a foam ring/gasket that fits between the metal speaker frame and the baffle front. Does this have to be completely squashed IE- So that the metal of the frame is tight against the wood of the baffle?
I'm not too sure and I'm hoping to cut the brace soon.
DTB
there's little compression in the gasket, so it doesn't take much to completely squash it (reminds me of an old Frank Zappa lyric).
I'd install the driver in the baffle, and screw down as tightly as would in the final installation, then mark out and fit the driver brace to that.
chrisb said:
I'd install the driver in the baffle, and screw down as tightly as would in the final installation, then mark out and fit the driver brace to that.
Thanks Chris,
Will do,
DTB
So, been fettling down the shed again.
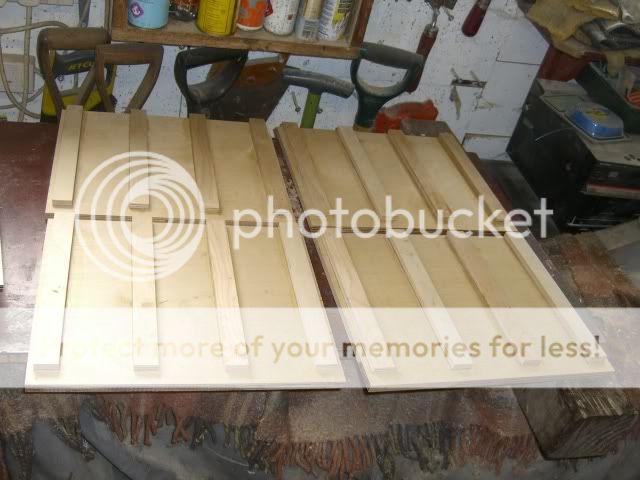
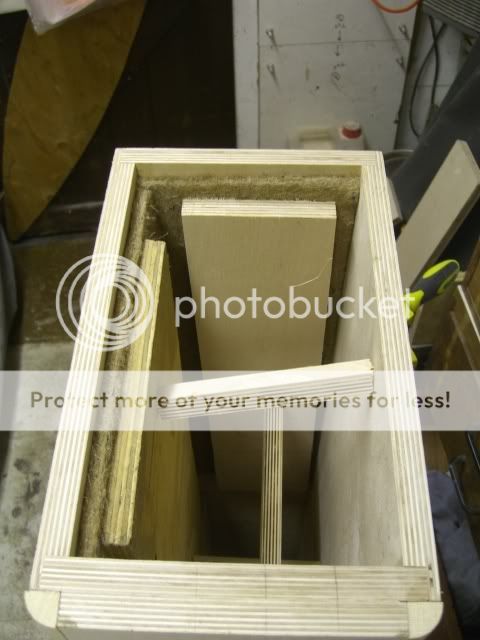
The Driver Brace came into being today as it did it's identical twin, whahey...
...and this is what it looks like in the box (nothings glued yet)...
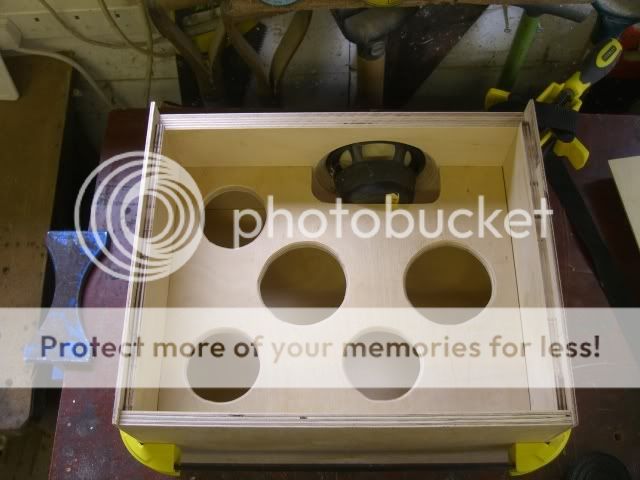
...and a close up of precision driver fitting
Chuffed. Each of the holes in the driver brace is routed on the edge to 45 degrees as advised.
I suppose the next step is to cut and stick the 1/2" woolfelt in before final assemblage?
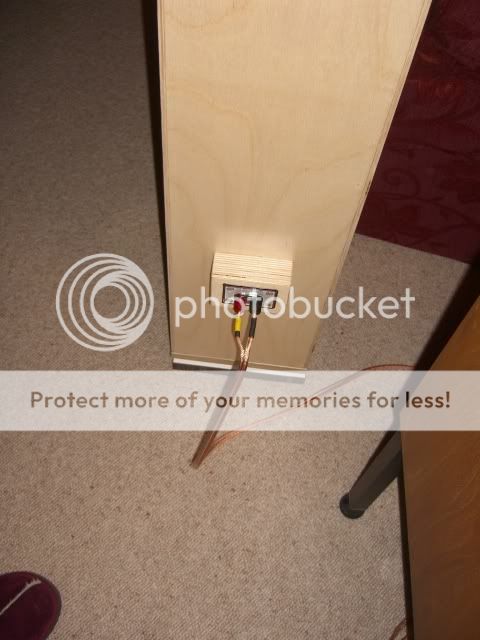
I'm mounting a separate block on the outside of the cabinet for the binding posts so I don't interfere with any of the internals, same as I did on the MLTL's...
That's it for now, off to see Gong tonight with Hillage again, double Whahey
DTB
The Driver Brace came into being today as it did it's identical twin, whahey...
...and this is what it looks like in the box (nothings glued yet)...
...and a close up of precision driver fitting
Chuffed. Each of the holes in the driver brace is routed on the edge to 45 degrees as advised.
I suppose the next step is to cut and stick the 1/2" woolfelt in before final assemblage?
I'm mounting a separate block on the outside of the cabinet for the binding posts so I don't interfere with any of the internals, same as I did on the MLTL's...
That's it for now, off to see Gong tonight with Hillage again, double Whahey
DTB
chrisb said:well on your way, Dave - almost time to start lining with felt.
Oh yes! I have my excited trousers on already
DTB
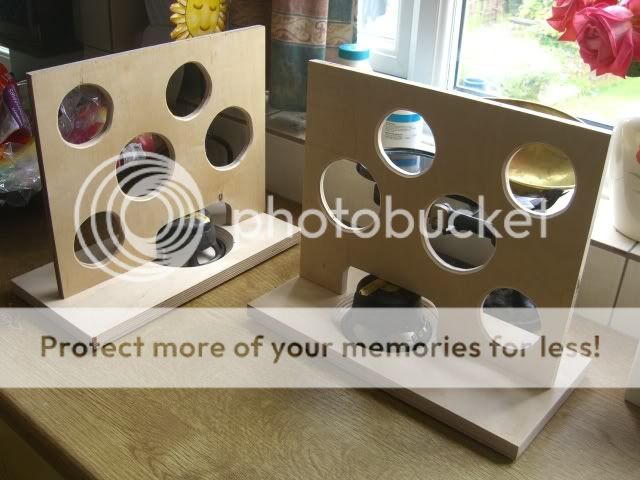
So, I've been a busy boy tonight.
First up was to do a final dry-fit-assemble on getting all the panels together. I was going to apply all the felt lining first but when I did a dry-fit it made it hard to see my alignment marks on the brace ... sooooo...I've come up with a hybrid plan to glue the top/bottom/sides and baffle in one hit and THEN fit the felt lining to the inner panels (avoiding clogging the ports, ta Fran!) THEN fit the brace then finally the back.
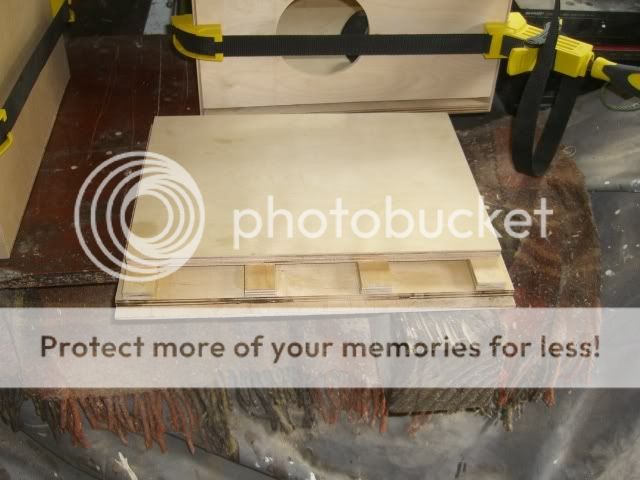
So tonight Cabinet 'A' looks like this...
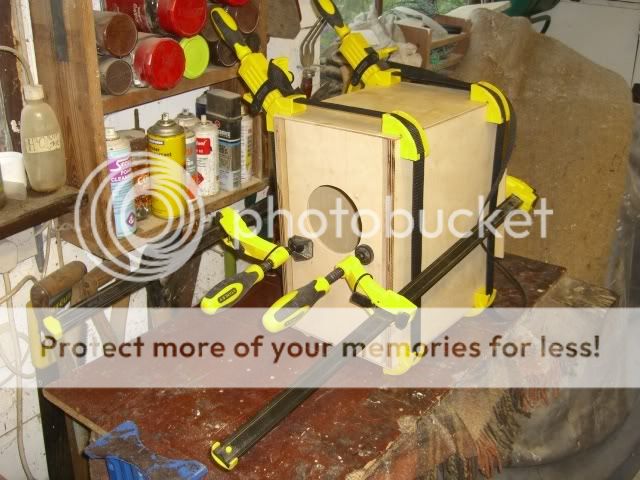
I'm going to leave stuff glued and clamped for 24hrs at a time, which is handy as thats how long it takes me to sleep/commute/work/commute/eat/glue the next bit Cabinet 'B' gets the sticky treatment tomorrow night.
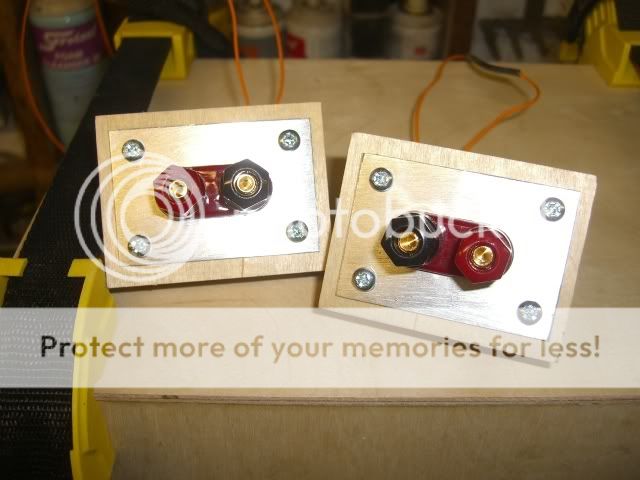
Other creations this evening are these likkle blocks, these'll mount onto the outside of the back panel ala my MLTL's. I've already wired 2 lengths of Teflon covered silver cable to each post so I only have to drill the tiniest hole in the back panel of each cab.
That's it for tonight, more gluing tomorrow.
TTFN,
DTB
First up was to do a final dry-fit-assemble on getting all the panels together. I was going to apply all the felt lining first but when I did a dry-fit it made it hard to see my alignment marks on the brace ... sooooo...I've come up with a hybrid plan to glue the top/bottom/sides and baffle in one hit and THEN fit the felt lining to the inner panels (avoiding clogging the ports, ta Fran!) THEN fit the brace then finally the back.
So tonight Cabinet 'A' looks like this...
I'm going to leave stuff glued and clamped for 24hrs at a time, which is handy as thats how long it takes me to sleep/commute/work/commute/eat/glue the next bit
Cabinet 'B' gets the sticky treatment tomorrow night.Other creations this evening are these likkle blocks, these'll mount onto the outside of the back panel ala my MLTL's. I've already wired 2 lengths of Teflon covered silver cable to each post so I only have to drill the tiniest hole in the back panel of each cab.
That's it for tonight, more gluing tomorrow.
TTFN,
DTB
woodturner-fran said:looking good - thats how I lined mine as well. I sprayed in some contact glue and fixed the lining to that.
Fran
I like the smell of Contact Adhesive a little bit toooooo much. I ration myself to PVA thesedays
I used a couple of off-cuts last time when I was making the MLTL's to hold the woolfelt in place whilst the PVA dried off like this...
Think I'll problee do the same again.
DTB
- Status
- This old topic is closed. If you want to reopen this topic, contact a moderator using the "Report Post" button.
- Home
- Loudspeakers
- Full Range
- As James Brown (almost) used to say... "Make it Fonken...!"