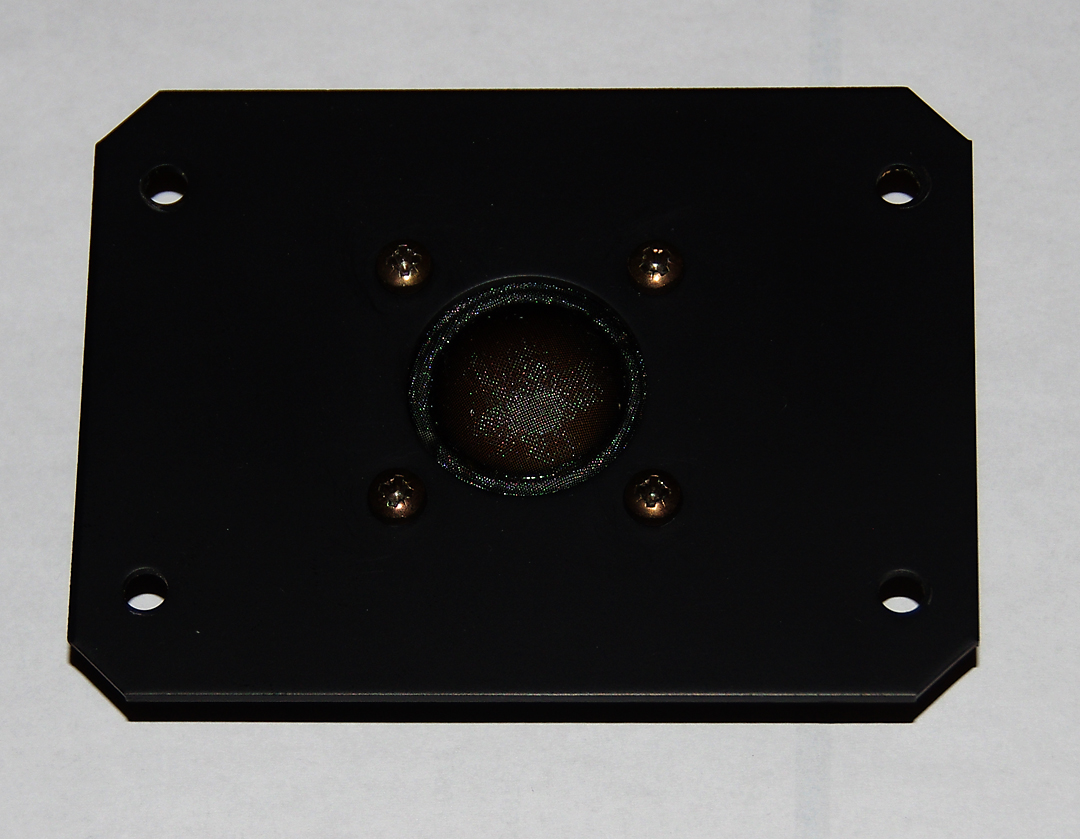
I have a set of Bozak DMS2500; B-800Bc woofers that are working, and what I believe are Audax HD12x9D25 soft dome tweeters that are not working. I don't see any broken leads or anything that looks burnt, but they don't work, no continuity, test open.
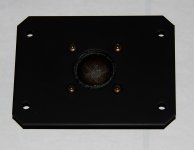
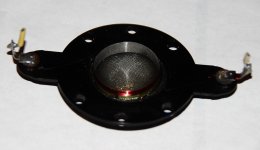
Here's what they look like:
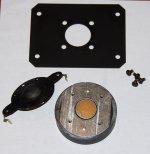
And taken apart:
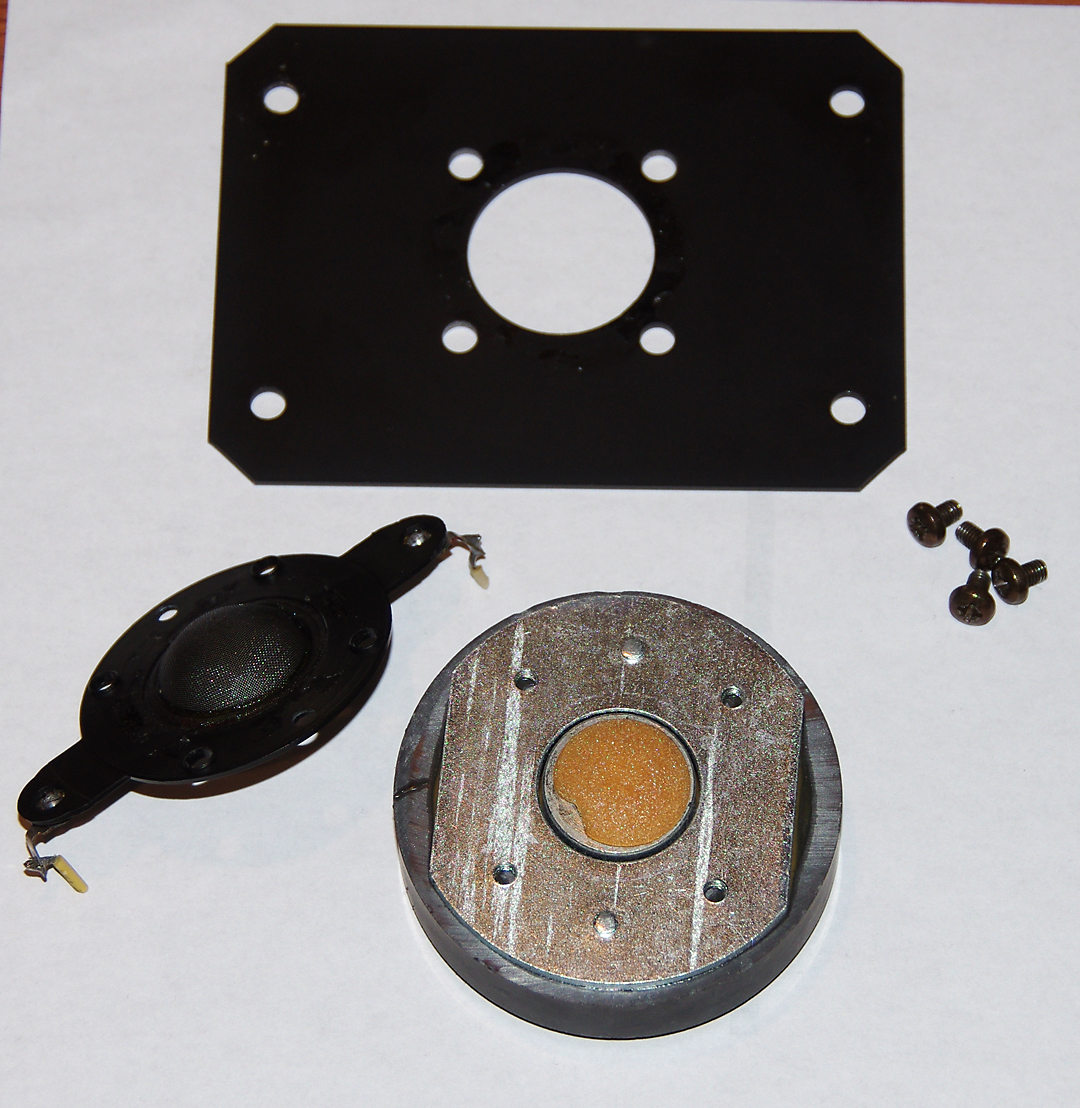
The existing coils/diaphragms are in a plastic holder.
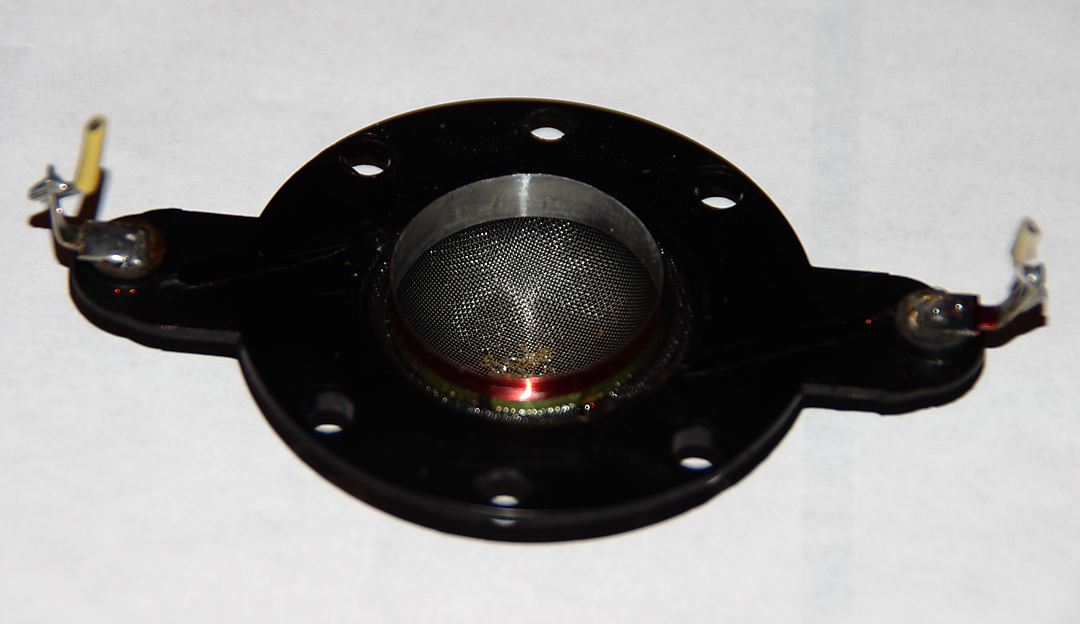
I will strip out the bad diaphragm salvaging the plastic holder:
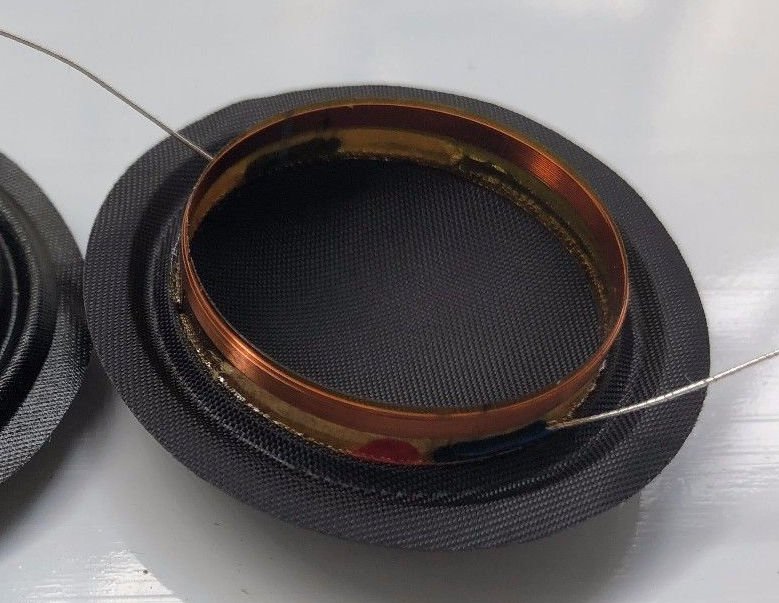
I can get new voice coil diaphragms like these:
The question is how to make sure they are centered in the gap around the pole piece?
Will this method work?
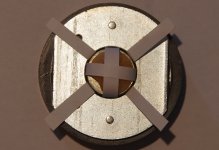
First place shims around the OD and ID of the gap:
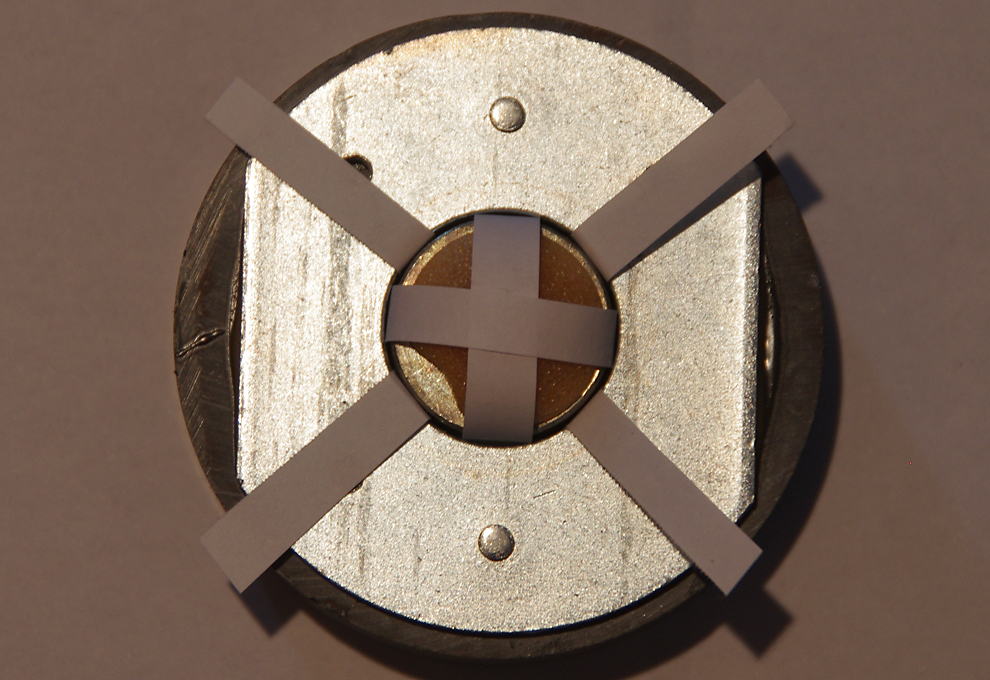
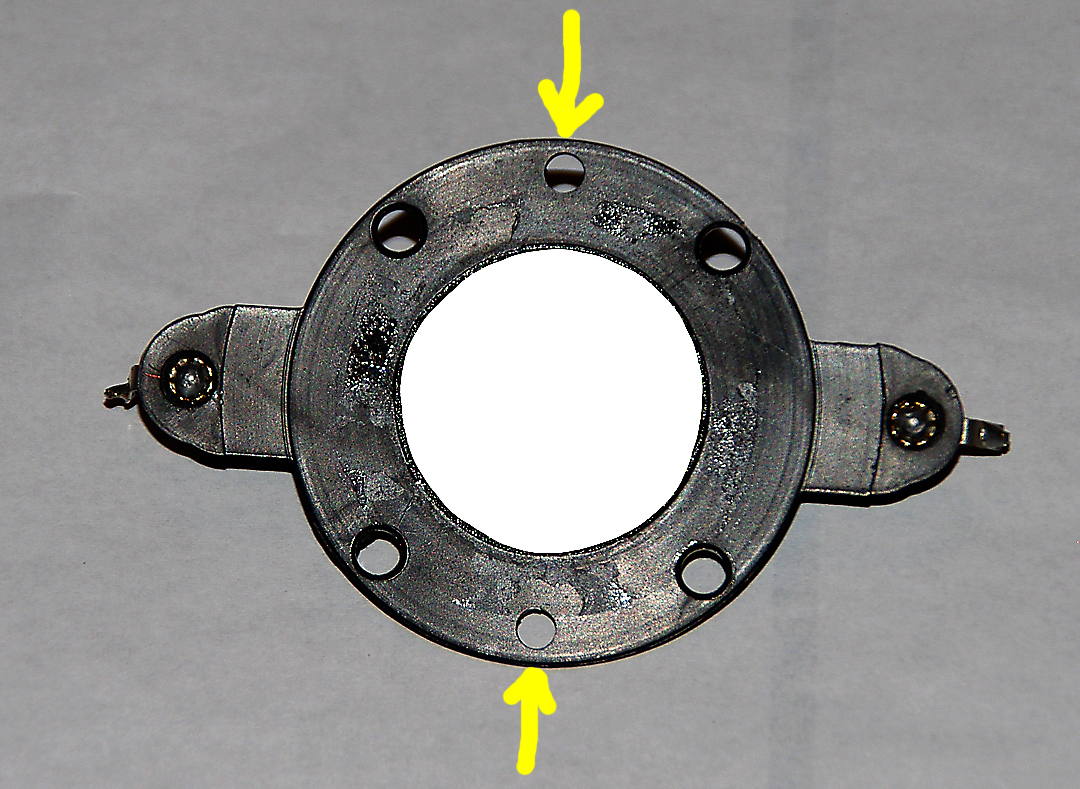
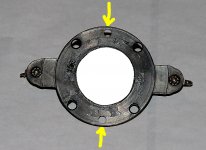
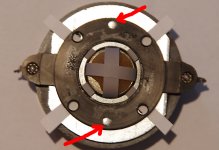
Next, after stripping out the old voice coil diaphragm, place the plastic voice coil holder on the magnet, there are two little posts that pressure fit into holes on the plastic holder where the red arrows are:
 [/IMG]
Then place the new voice coil diaphragms into the gap, and glue it down to the plastic holder.
Last, remove the assembled holder and new voice coil diaphragm, remove the shims. Attach/solder the lead wires to the terminal connectors. Put it all back together.
Seems too simple, will this work? BTW this model tweeter does not have the ferrofluid.
I have replaced a fair number of foam surrounds on cone drivers, but have never done one of these.
Thanks for any advice.
Here's what they look like:
And taken apart:
The existing coils/diaphragms are in a plastic holder.
I will strip out the bad diaphragm salvaging the plastic holder:
I can get new voice coil diaphragms like these:
The question is how to make sure they are centered in the gap around the pole piece?
Will this method work?
First place shims around the OD and ID of the gap:
Next, after stripping out the old voice coil diaphragm, place the plastic voice coil holder on the magnet, there are two little posts that pressure fit into holes on the plastic holder where the red arrows are:
Then place the new voice coil diaphragms into the gap, and glue it down to the plastic holder.
Last, remove the assembled holder and new voice coil diaphragm, remove the shims. Attach/solder the lead wires to the terminal connectors. Put it all back together.
Seems too simple, will this work? BTW this model tweeter does not have the ferrofluid.
I have replaced a fair number of foam surrounds on cone drivers, but have never done one of these.
Thanks for any advice.
Attachments

The question is how to make sure they are centered in the gap around the pole piece?
Will this method work?
This method should deform the parts, IMO you should remove everything and just put enough layers of Tamiya 87030 tape around the coil unless it fits perfectly the top plate hole.
then glue the dome with the screws slighly tighten on the plastic part and remove the Tamiya tape after the curing.
Tamiya 87030 - Google Search
Last edited:
That Tamiya 87030 is modelers masking tape. So I would apply it directly to the OD of the coil? Maybe one layer at a time and test fit into the gap. My concern is how easily the first layer will peel off adhered directly to the coil. I like idea, it uniformly applies a shim to the circumference of the coil.
My other concern in thinking this through is how critical is it to get the new coil to sit in the gap at the same vertical depth as the original?
My other concern in thinking this through is how critical is it to get the new coil to sit in the gap at the same vertical depth as the original?
That Tamiya 87030 is modelers masking tape. So I would apply it directly to the OD of the coil? Maybe one layer at a time and test fit into the gap. My concern is how easily the first layer will peel off adhered directly to the coil. I like idea, it uniformly applies a shim to the circumference of the coil.
My other concern in thinking this through is how critical is it to get the new coil to sit in the gap at the same vertical depth as the original?
Yes, this is a high quality thin masking tape, the outer surface is slippy and the tensile stress of the removal is low.
The gap have to be adjusted by measuring the top plate thickness with caliper and then put some annular papers shims that fits the outer size of the coil.
You stack the paper shims then put the dome on the shims and you add some shims unless the pile of shims move without the dome.
A 160Gr/m² paper sheet is appromiatively 0.1mm of thickness (measure it with the caliper) and you can cut the rings with a circle cutter.
1 circle cutter
When you have enough shims the coil former start to loose the contact with the table mat and the dome start to move with the pile of shims when you push the only the shims, you can finish with some 80Gr/m² paper shims (0.05mm of thickness).
Then you have to put the bobbin at the center of the top plate thickness by measuring the coil height and its position on the former with a caliper, the shims should be added in order to adjust the position.
Last edited:
- Status
- This old topic is closed. If you want to reopen this topic, contact a moderator using the "Report Post" button.