I have built probably more than 10 boxes, all car audio. They either get rattle canned or covered in carpet. The straightness of my cuts has always bothered me but never been a problem, until now.
Now I am cutting up wood that is alot more expensive AND in the end all the edges will be seen. They need to be perfect. How are you guys doing this!? I have a table saw with a fence but everytime I clamp the fence down it moves and my cuts end up crooked. Every time I want to cut I spend too long measuring the fence position and still end up with crooked cuts, even when I think I've measured well enough to make up for the fence. There really is no good way to measure fence position against the blade that I've found
The last few boxes that I've built, the only thing I use is the hand held skill saw. The only other thing I can think of to do is use my skill saw then sand the edges down to straight.
IS THERE A BETTER WAY? or do I just need to get a more expensive table saw and fence?
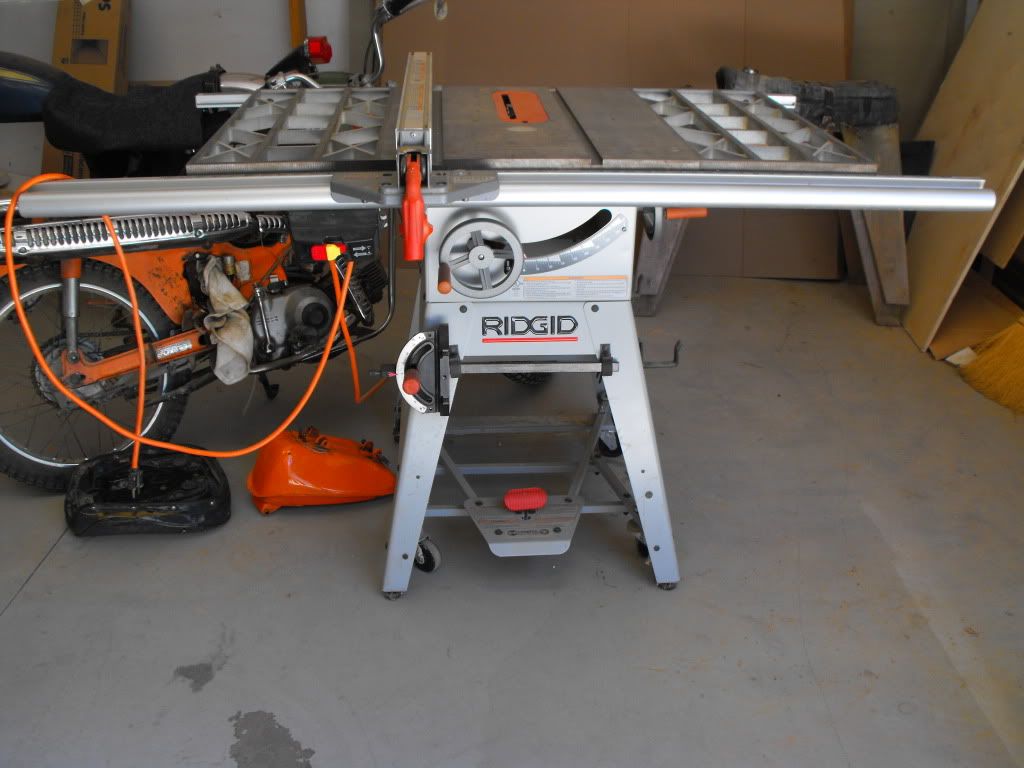
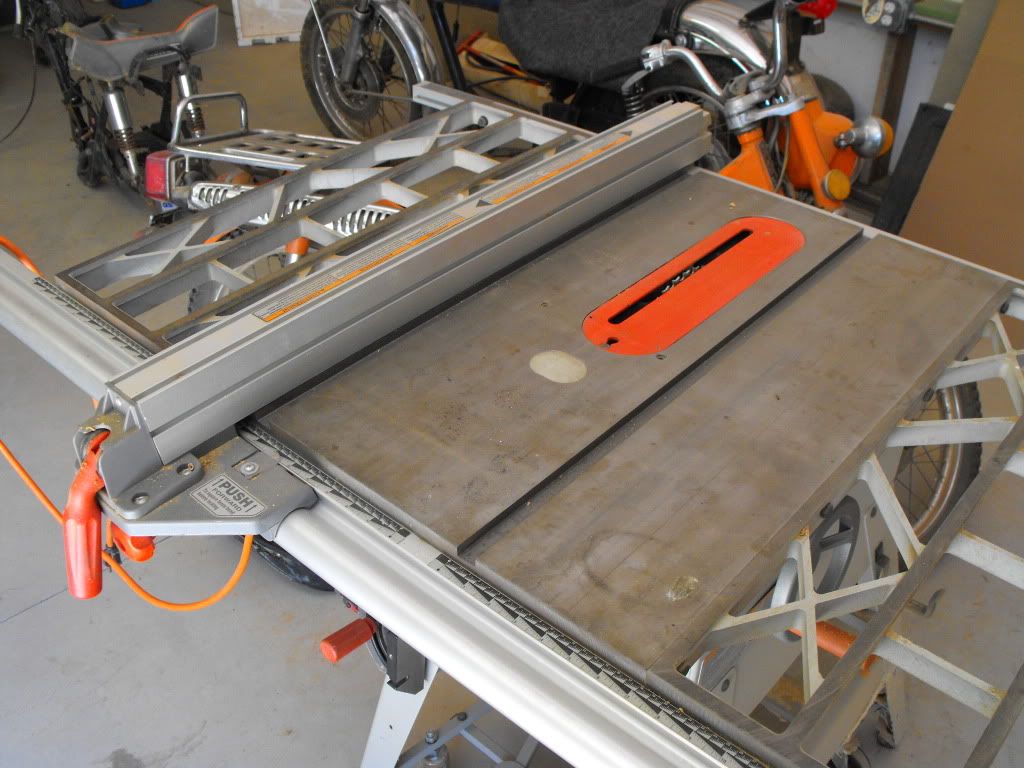
Here is my saw...
Now I am cutting up wood that is alot more expensive AND in the end all the edges will be seen. They need to be perfect. How are you guys doing this!? I have a table saw with a fence but everytime I clamp the fence down it moves and my cuts end up crooked. Every time I want to cut I spend too long measuring the fence position and still end up with crooked cuts, even when I think I've measured well enough to make up for the fence. There really is no good way to measure fence position against the blade that I've found
The last few boxes that I've built, the only thing I use is the hand held skill saw. The only other thing I can think of to do is use my skill saw then sand the edges down to straight.
IS THERE A BETTER WAY? or do I just need to get a more expensive table saw and fence?
Here is my saw...
First be sure the table is level.
To check the fence, take a 24" wide board 36" long. Set the fence to 2" use extra clamps to hold it, and keep cutting the board until there is 4" left. If it is 4" at one end and something else at the other end then the fence is not parallel to the blade. Take the error divide it by the number of cuts and adjust the fence by 2/3 of that amount. Then do it again.
If the cuts are curved it means the set on the blade is wrong. That may also cause the fence to move. Get a new one and not a cheapie!
Finally cut the edges slightly over and trim with a router or belt sander.
BTY there should be a nut at the back of the fence that adjusts clamping pressure!
Last edited:
Hi,
Impossible to tell just by looking at, but modify it such that the clamp does not
move. One option might be to spray the clamp rails with a textured paint or
car body undersealer, or similar. Or work out how to improve clamping, a
guide that moves simply isn't a guide, perhaps just roughen the rails and
/or the clamps, perhaps rubber sheet glued to the clamps, etc.....
rgds, sreten.
it's your fence and rail clamping, mess around or upgrade to Biesemeyer fence system
Comparison between Unifence and Biesemeyer Rip Fences
Comparison between Unifence and Biesemeyer Rip Fences
Well, your table saw appears rigid, so my advice is out the window...
(a joke really!)
I'm reading the given advice!
(a joke really!)
I'm reading the given advice!
The other thing to check is your blade, make sure it's sharp. If you have to force the material through, then you're likely to push everything out of alignment. You shouldn't need any more pressure than you can exert with your little finger, (well, for sheet materials, ripping a 6x4" length of old oak may need a little more.🙂 ).
when using a saw like that I draw my lines on the board then cut the piece a little over. next i'll use a oscillating edge/belt sander to get that last little bit of wood off. for box sides that are exposed i'll cut the board a little large install it and use a flushing bit in a router if i'm in a hurry. The sander works better if I have the time. http://www.ridgid.com/Tools/EB4424-Sander/
Even the humble table saw needs some set up
good blades. I like either
Forrest Saw Blades - Woodworker 2 Saw Blades Information
or
Forrest Duraline HI-A/T Saw Blade Information
Seems to me the 1/8" thick blades are the way to go.
The fence and blade must be parallel. With the blade all the way up I use my ruler flat on the table and check the same tooth in front and back. Adjust as necessary.
If the saw won't do it then there is the router and straight edge. A pia, but good cuts. Look for router bits that sheer cut.
Attachments
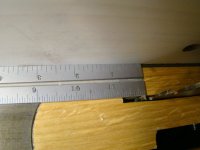
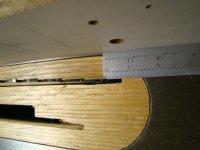
Hello Toy. With the saw UNPLUGED. Raise the blade all the way. Pick a tooth on the blade that rakes (points toward) the fence, mark it with a sharpie. Position the marked tooth a little above the table at the feed. Measure from the fence to the outer most tip of the marked tooth. Now rotate the marked tooth 180 degrees to the out feed. Measure. If the measurements are not equal either the fence is not square or the blade is not parallel. The adjustments will be covered in your user manual. I use this trick often, things come loose dirt or chips get into adjustments ect. Hint: the miter track is home, the point of reference from which you measure square and parallel. When you master this a veil will be lifted, no more over cutting or routing and little sanding. Good luck let us know how you do. Howie
I almost exclusively use a router + straight edge for making all of my cuts simply because it gets the job done well. Might take a while to set up, but once you're set up you know that you're cut is going to be right.
If the cuts you're making aren't that big then you can use one of these.
Set the distance correctly then you don't even need to measure and clamp a straight edge. For this kind of thing, with a rectangular box, 4 of the 6 sides would all be exactly the same depth.
I cut all the MDF for 4 of these, using the above method in 1 afternoon.

You can see that the top and the sides are all the same width, but they are different lengths. In this case I set the router jig thingy to the right size (25cm I believe) then I cut 25cm wide strips off 4*2 foot sheets of MDF so I ended up with enough 25cm * 2 foot strips to make the top, bottom and sides of the 4 enclosures. I then repeated the process, chopping identical lengths off of the 25cm * 2 foot strips, until I had all the MDF cut for the top and the sides of the 4 boxes. Using this method I didn't need to measure anything except the initial cut made with the jig, then one measurement each for the different lengths for the top and the sides. This in part is like using the table saw, you set the fence distance then keep chopping away until you've got enough 25cm * 2 foots etc for your cabinet. As explained this can be done with a router and if you don't have any luck with your table saw and you've got a router, you could swap to that. Every router I've bought has come with a free jig as shown above, so if you've got a router you might already have one of those.
Good luck with the fence though, we've got one on the band saw and it's a right pain to set up correctly.
If the cuts you're making aren't that big then you can use one of these.
An externally hosted image should be here but it was not working when we last tested it.
Set the distance correctly then you don't even need to measure and clamp a straight edge. For this kind of thing, with a rectangular box, 4 of the 6 sides would all be exactly the same depth.
I cut all the MDF for 4 of these, using the above method in 1 afternoon.
You can see that the top and the sides are all the same width, but they are different lengths. In this case I set the router jig thingy to the right size (25cm I believe) then I cut 25cm wide strips off 4*2 foot sheets of MDF so I ended up with enough 25cm * 2 foot strips to make the top, bottom and sides of the 4 enclosures. I then repeated the process, chopping identical lengths off of the 25cm * 2 foot strips, until I had all the MDF cut for the top and the sides of the 4 boxes. Using this method I didn't need to measure anything except the initial cut made with the jig, then one measurement each for the different lengths for the top and the sides. This in part is like using the table saw, you set the fence distance then keep chopping away until you've got enough 25cm * 2 foots etc for your cabinet. As explained this can be done with a router and if you don't have any luck with your table saw and you've got a router, you could swap to that. Every router I've bought has come with a free jig as shown above, so if you've got a router you might already have one of those.
Good luck with the fence though, we've got one on the band saw and it's a right pain to set up correctly.
Attachments
I'd be surprised if the stock fence on any saw with a cast iron table didn't have a lock-down force adjustment on it somewhere.
That table looks a bit corroded. One time I had to go over mine with a wire wheel in an angle grinder because I left the window open in the garage before a rain. Once in a while I hit it with some steel wool and always try to keep some wax on it. Makes it so more of your positioning/feed force doesn't get caught up on the table. Yours looks like it's ready for the wire wheel.
There's a good chance that the fence needs a complete setup.
I'd be surprised if the stock fence on any saw with a cast iron table didn't have a lock-down force adjustment on it somewhere.
That table looks a bit corroded. One time I had to go over mine with a wire wheel in an angle grinder because I left the window open in the garage before a rain. Once in a while I hit it with some steel wool and always try to keep some wax on it. Makes it so more of your positioning/feed force doesn't get caught up on the table. Yours looks like it's ready for the wire wheel.
There's a good chance that the fence needs a complete setup.
In that case wouldn't it be a good idea to spray the table with some sort of thin coating that would protect it or dya think pushing MDF/wood over it would wear the coating off in a matter of passes?
Yeah, that's the deal. Wax needs re-application, which helps a lot to stop corrosion and beats having to keep polishing the iron, but I haven't come up with any other coating that offers lower drag. Having a nice slick table really helps you focus on the blade and the fence.
Spot on Andrew. What ever you use will get on the wood so use only natural wax. It will wipe off with solvent before you finish it. Synthetics can cause fisheye or your paint could lift.
Does that fence only clamp at one side. I don't have a saw like this, but does it move a the other end as it's pivoting on the end with the clamp when you push wood up against it? Could you try also clamp the other end manually with another normal clamp?
Edit: I was about to say wax it up to stop it 'tugging' on your wood as you push it though, but it seems it's already being covered.
Edit: I was about to say wax it up to stop it 'tugging' on your wood as you push it though, but it seems it's already being covered.
I just use Mother's carnauba hard wax. By the time you buff it down well enough to seal up and protect the metal you've removed most of what would otherwise contaminate the wood. You can run a pair of speakers through the saw before any more wax is needed. Most of what would stick to the wood wont survive a finish sanding. I'm not into serious finishing but never had a problem. If you wax when you're done with the saw you get the best corrosion protection. It would be neat to come up with some other more durable way to treat/coat the table but I figure if there was anything better they'd have started putting it on new saws by now. Maybe someone makes a Teflon impregnated paint or powder coat?
If you are really going for a cabinet grade joint, I would look for a jointer. This is a planer that has a smaller width blade, and a guide fence. You can set the height of the blade to take off small amounts of the edge of the wood, and you can set the guide fence to allow for different angles. The trick here is to cut the wood a little larger than the finish size and then use the jointer to get the edges right.
As you probably guessed, it gets it's name from the fact that it's used to make sure the edges of your wood are just right for joining!
Peace,
Dave
As you probably guessed, it gets it's name from the fact that it's used to make sure the edges of your wood are just right for joining!
Peace,
Dave
- Status
- Not open for further replies.
- Home
- Design & Build
- Construction Tips
- How the heck do I cut straight!?